X
This article was co-authored by wikiHow staff writer, Nicole Levine, MFA. Nicole Levine is a Technology Writer and Editor for wikiHow. She has more than 20 years of experience creating technical documentation and leading support teams at major web hosting and software companies. Nicole also holds an MFA in Creative Writing from Portland State University and teaches composition, fiction-writing, and zine-making at various institutions.
This article has been viewed 30,771 times.
Learn more...
This wikiHow teaches you how to make money on 500px by scoring photography assignments and selling stock photos. 500px is a social network for photographers to share their photography.
Steps
Method 1
Method 1 of 2:
Joining the Photographer Directory
-
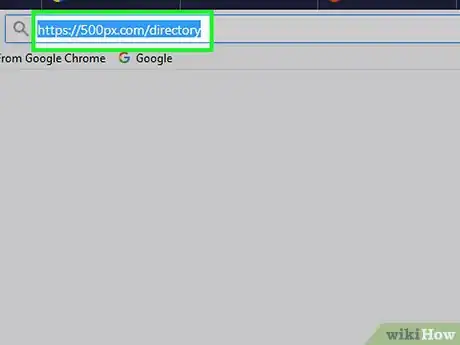
1Go to https://500px.com/directory in a web browser. Open your preferred web browser and navigate to the 500px Photographer Directory. The 500px Directory is a website that connects clients with photographers they can hire for specific assignments.[1] You’ll create a profile that displays your rates, services, location, equipment, availability, and other information that can help you land well-paying gigs. Begin by browsing the profiles of other photographers to get an idea of what to put into your profile.
- You must have a Pro or Pro+ account to list your services in the Directory. You can also list your services when you’re still in the 14-day free trial period.
-
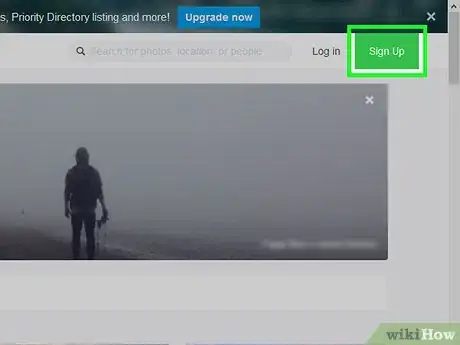
2Scroll down and click Sign up. It’s the blue button at the bottom of the page.
- If you’re not already signed in to 500px in your web browser, follow the on-screen instructions to sign in now.
Advertisement -
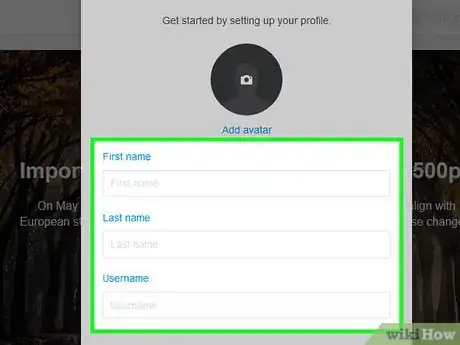
3Fill out the profile form and click Next. Enter your name, company name (if applicable), and other requested personal details.
- In the ″Biography″ section, introduce yourself and describe your work to your potential clients.
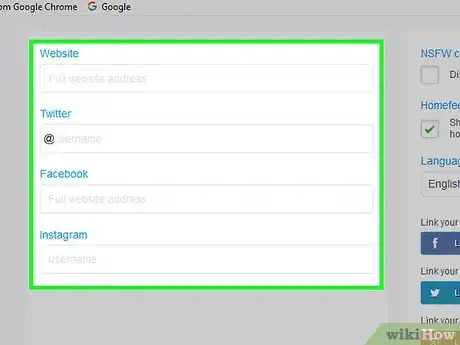
- If you have a website or social media accounts for your photography practice, enter the URLs into the blanks at the bottom of the form. Clients can then follow these links to see more of your work.
-
4Select the services you offer from the ″Service type″ drop-down menu. It’s the menu at the top of the page.
-
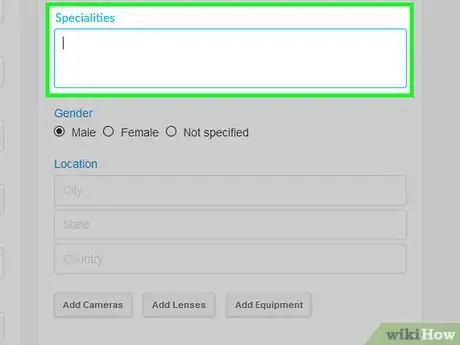
5List your specialties. Your specialties a list of the subjects or mediums you work with. To list your specialties:
- Click the ″Select specialties″ drop-down menu to view the list.
- Click a specialty to select it.
- Click + Add another specialty to add additional specialties.
-
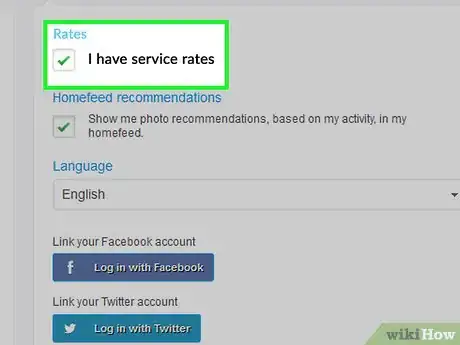
6List your rates. If you know what you’d like to charge for your services, check the box next to ″I have service rates,″ and then enter your rates (daily and/or hourly).
-
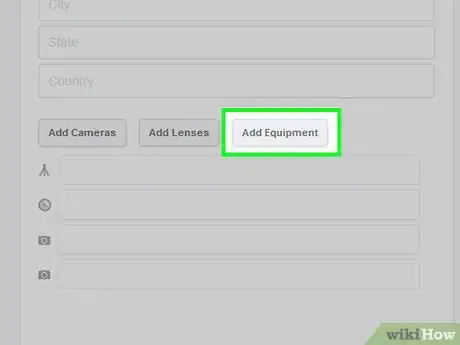
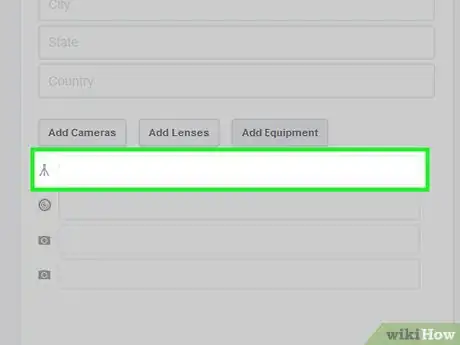
7List your equipment. Clients will want to know that you have the right tools for the job. To list your equipment:
- Type your camera information into the ″Cameras″ field.
- To add more cameras, click + Add another camera, and then enter the next model.
- Check the boxes for other equipment you have (e.g., Tripod, Wide angle lens) in the ″Other″ section.
-
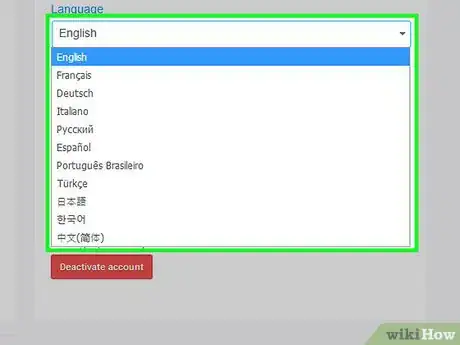
8Enter the language(s) you speak. Select a language from the first drop-down menu under ″Languages,″ and the fluency level from the second drop-down menu.
- If you speak more than one language, tap Add another language, then add that language and fluency level.
-
9List your work availability. Tap the boxes next to each time of day you’re available for shoots.
-
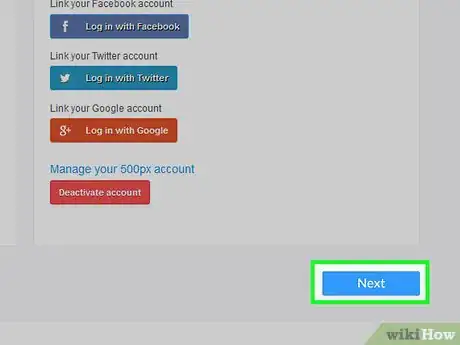
10Click Next. It’s at the bottom of the form.
-
11Upload your best photos for each specialty. You can add anywhere from 4 to 8 photos for each specialty you selected. To add photos:
- Click the + in the first box beneath the first specialty.
- Click Upload a new photo if the photo is on your Android, or Choose from Library to select one you’ve already uploaded to 500px.
- Browse to the photo location and select the photo.
- Repeat the process to upload additional photos.
-
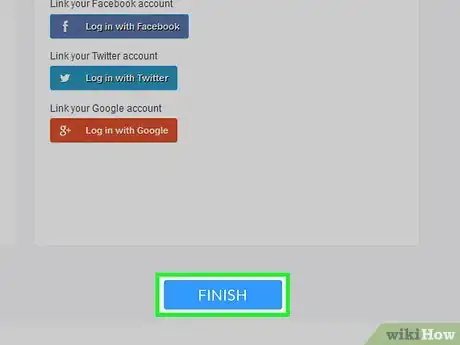
12Click Finish. It’s at the bottom of the page.
-
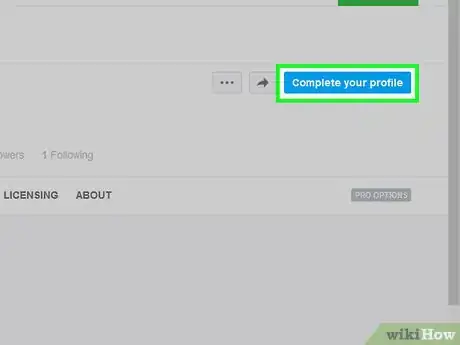
13Click Complete your profile. It’s the blue button near the center of the page. Your Directory profile is now complete. Clients will now see your profile when searching for photographers who fit their needs.
- If you haven’t yet completed your regular 500px profile, you’ll be prompted to do so. Fill out your personal info, then tap Save.
Advertisement
Method 2
Method 2 of 2:
Selling Your Photos
-
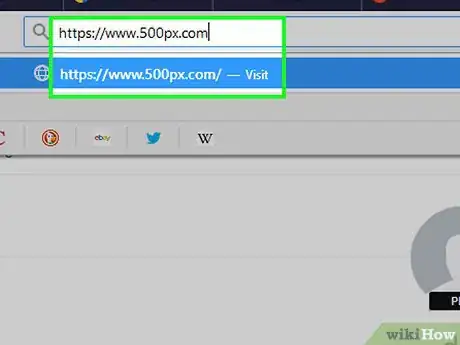
1Go to https://www.500px.com in a web browser. Use any web browser to navigate to the 500px main website. As a 500px member, you can sell your photos through their stock photo marketplace.
- If you’re not already signed in to your account, click Log In at the top-right corner of the screen, then follow the on-screen instructions to sign in.
-
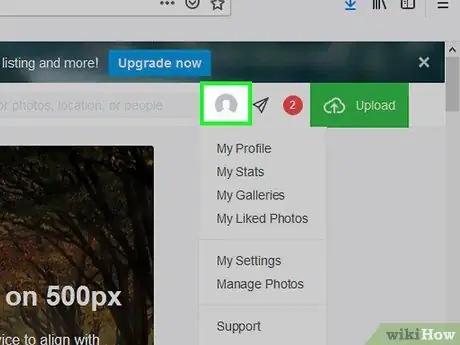
2Hover the mouse over your profile photo. It's in the top-right corner of the page. This opens a drop-down menu.
-
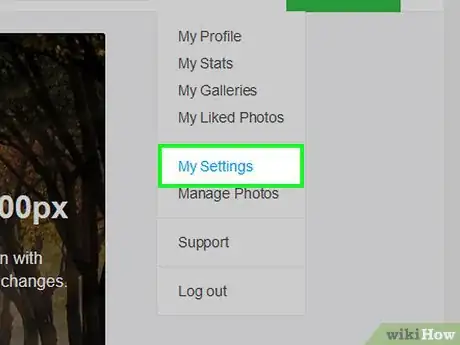
3Click My Settings. It’s at the center of the drop-down menu.
-
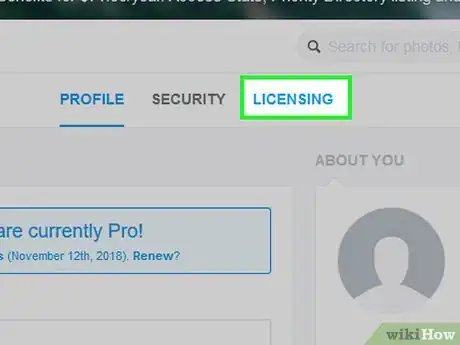
4Click the LICENSING tab. It’s at the top of the screen beneath the search bar.
-
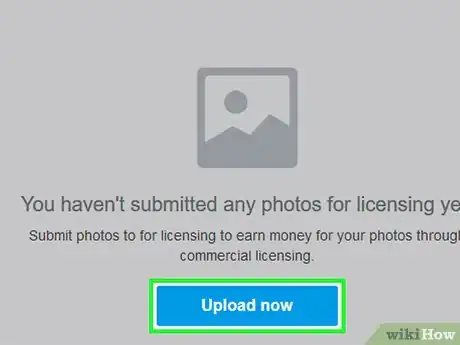
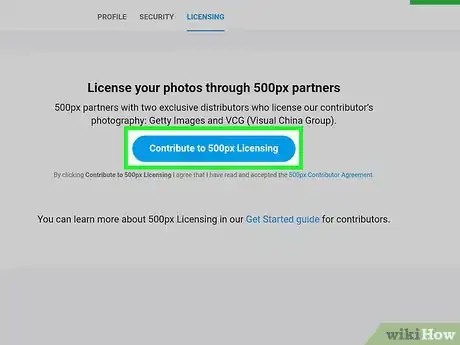
5Click Contribute to 500px Licensing. It’s the blue button at the top of the page.
-
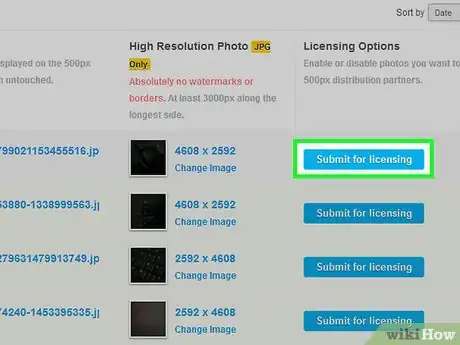
6Click Submit for licensing next to the photo you want to sell.
-
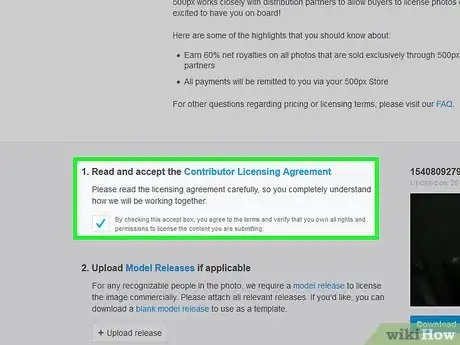
7Review and accept the licensing agreement. To read the agreement, click Contributor Licensing Agreement under Step 1, and then check the box to accept.
-
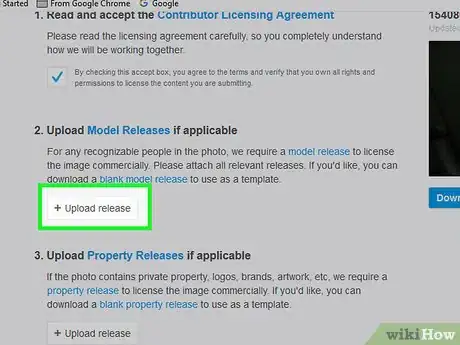
8Upload model release forms. If your photos contain recognizable people, you must share each model’s signed release form with 500px. If you’re not sure whether you need a form, see the model release guide for more information.
- You can download a free blank model release form template by clicking blank model release under Step 2.
- To upload a signed form, click Upload release, then select the file from your computer.
- If you can’t provide release forms, you can still offer a limited use version of the photo to buyers. People can still buy the photo, but they won’t be able to use it for commercial purposes.
-
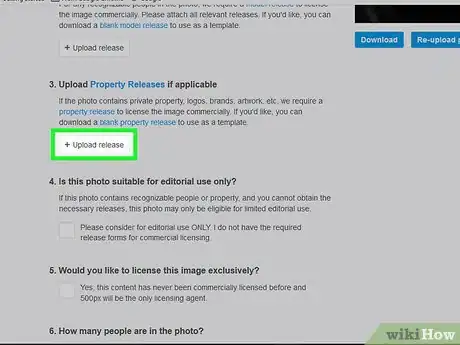
9Upload property owner release forms. If your photo contains artwork, logos, or other recognizable property, you’ll need the owner to sign release forms so you can share them with 500px.
- If you need a blank release form, click blank property release under Step 3.
- To upload a signed form, click Upload release, then select the file from your computer.
- If you can’t provide release forms, you can still offer a limited use version of the photo to buyers. People can still buy the photo, but they won’t be able to use it for commercial purposes.
-
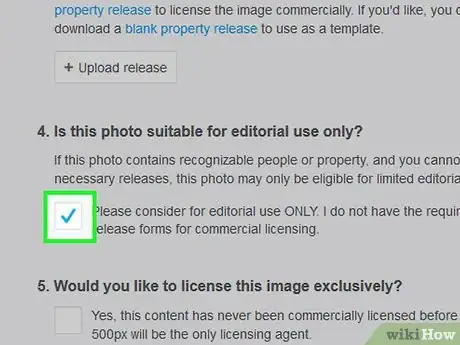
10Choose whether to make your photo available for editorial use only (optional). If you couldn’t provide release forms for models or property featured in the photo, check the box under Step 4 to request a license that approves the photo for editorial use only. This means that buyers can’t use your photo for marketing/advertising purposes, however, they can still use it for non-commercial purposes.
-
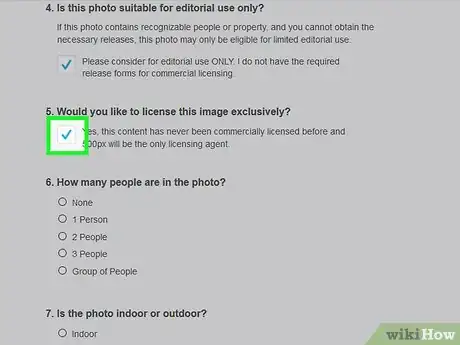
11Decide if you want to license the image exclusively. If this photo has never been licensed commercially and you don’t want to make it available for sale elsewhere, check the box to give 500px exclusive rights to the photo. This option is the most lucrative, as you’ll earn 60% of total photo sales.[2]
- If the photo has been licensed for commercial use in the past OR you want to sell it through another marketplace, do not check the box. You will still earn 30% of net sales with a non-exclusive license.
-
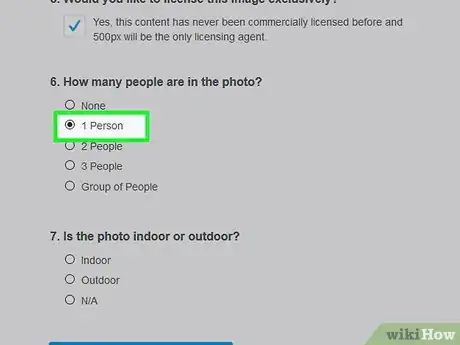
12Select the number of people in the photo. Check the box under Step 6 that describes how many humans (if any) are in the photo.
-
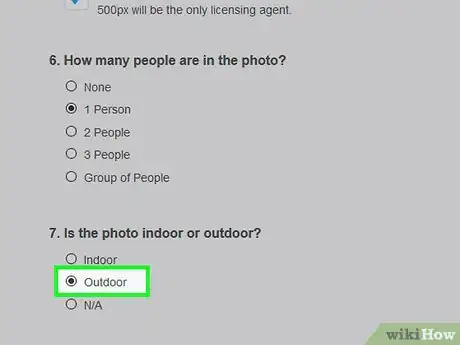
13Select a location. Check Indoor, Outdoor, or N/A under Step 7 to describe where you took the photo.
-
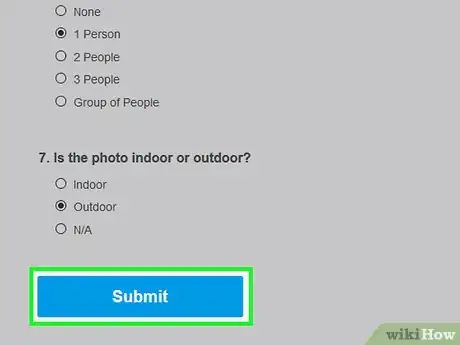
14Click Submit. It’s the button at the bottom of the form. Your license request will be processed by 500px’s licensing team.[3]
- 500px will contact you if they need more information to process your license.
- Once your photo is licensed, it will be listed for sale through Getty Images and other partners.[4]
Advertisement
References
About This Article
Advertisement
