This article was co-authored by Natalie Kay Smith. Natalie Kay Smith is a sustainable fashion writer and the owner of Sustainably Chic, a sustainability-focused blog. Natalie has over 5 years of sustainable fashion and green living writing and has worked with over 400 conscious brands all over the world to show readers fashion can exist responsibly and sustainably.
This article has been viewed 404,736 times.
Whether you're playing with your siblings or starting an inter-cubicle war, some homemade weapons can be a fun way to exercise your creativity and hand out a solid butt whooping! wikiHow presents a few ideas below but the possibilities are endless so remember the most important rules: be creative and keep trying! Get started with Step 1 below or see the sections listed above to learn how to build everything from a battle axe to nunchucks!
Steps
Paper Crossbow
-
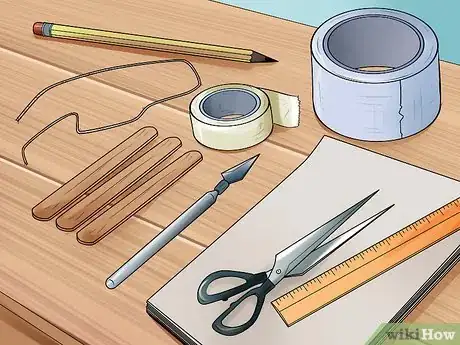
1Gather your materials. You'll need several sheets of printer paper, regular tape, duct tape, Popsicle sticks, a pencil, strong twine, a ruler, an x-acto knife, and scissors.[1]
-
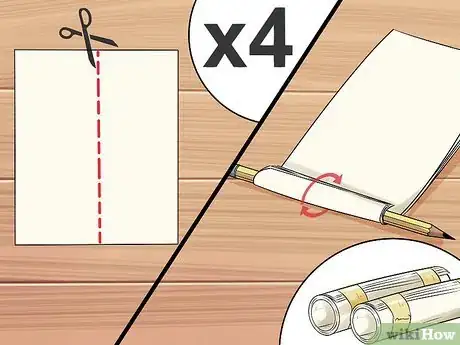
2Make the arms. Take 4 sheets of printer paper and cut them in half along the long line. Roll each set of collated 4 into a tube (with a pencil at the center) from short side to short side. Tape the tube closed at three points along the barrel and then remove the pencil.[4]Advertisement
-
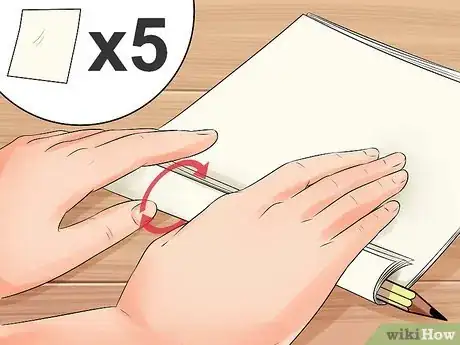
3Make the barrel. Take 5 sheets of paper, collate them, and wrap them short end to short end into a tube with a pencil at the center once again. Tape the tube in several places and then remove the pencil.[5]
-
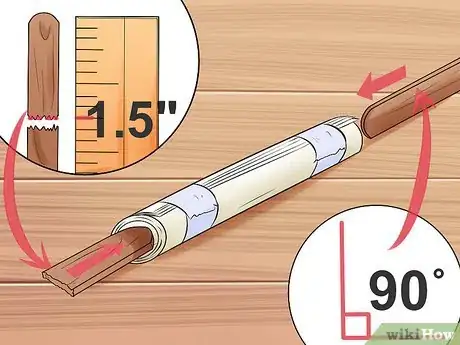
4Insert the arm supports. Cut two 1.5" sections of Popsicle stick and place it in the end of the tube so that the end is flush with the opening and mark 1.5" from that end of the tube on the outside of the barrel. Finally, insert a Popsicle stick in the opposite end and at a 90 degree turn from the other stick and place a single layer of duct tape around the whole barrel to keep it from breaking. Bend the arms at the 1.5" mark you made.[6]
-
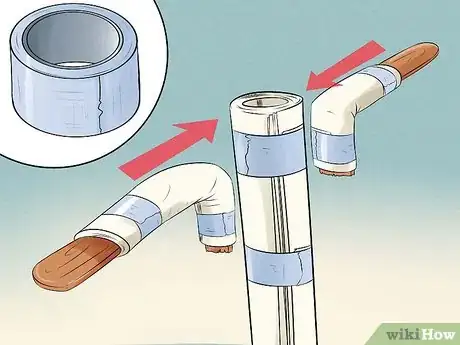
5Attach the arms. Pinch the end of the barrel and then place the short sections of the arms on either side of the pinched end. Duct tape them into place. Make sure the connection is very tight and strong.[7]
-
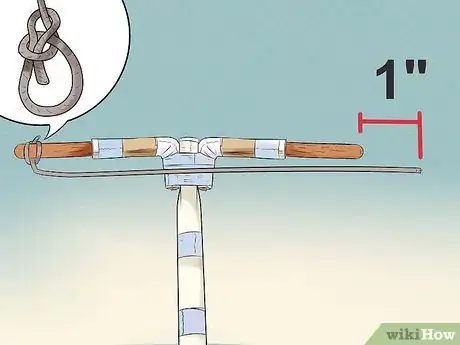
6String the crossbow. Use a bowline knot to attach the far ends of the bow together. Attach it to one side, secure with tape, pull the string about 1" beyond the end of the other side, and then attach that side and secure it as well.[8]
-
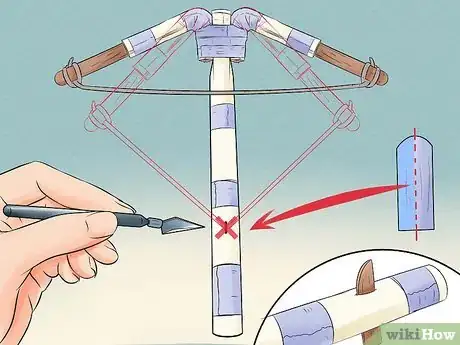
7Add the trigger. Pull the bow back until it makes a square shape with the arms. Mark the point on the barrel where the center of the string reaches and place your trigger at that location. Use the x-acto knife to cut a hole straight through the barrel. Cut the end off of a Popsicle stick, split it down the middle, and place it through the hole to create the trigger. It should be able to wiggle back and forth a bit, and be long enough to extend out from the barrel on either side of the hole.[9]
- If you're a kid, get help from an adult with this. It's very easy to stab yourself or cut your finger off!
-
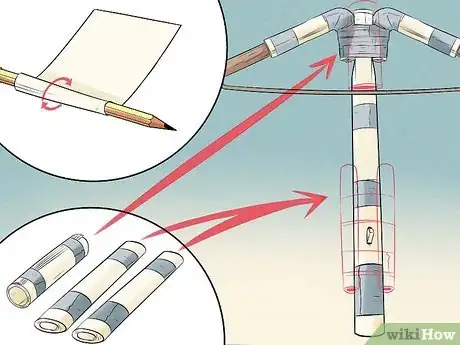
8Build the guides. Cut a single sheet of paper in half along the long line and roll two tubes. Flatten them and tape them in place along either side of the trigger. Then take another strip of single sheet, this time in quarters rather than halves, and roll a tube which you will place between the arms of the crossbow. Make sure a pencil fits easily through this tube.[10]
-
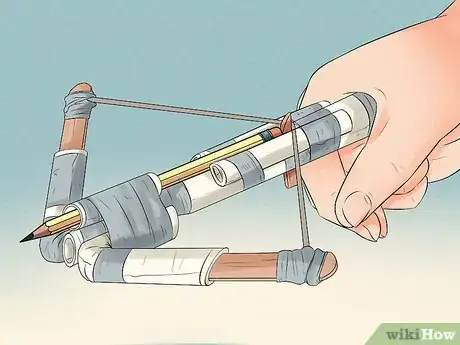
9Done! Cock your string back so that it fits on the trigger, load your pencil, and then fire!
Cardboard Battle Axe
-
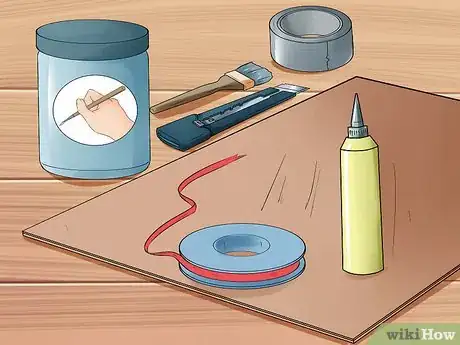
1Gather your materials. You'll need large pieces of thick, sturdy cardboard, craft glue, paint, ribbon, and optionally a flat corner bracket which you can purchase from your local hardware store.[11]
-
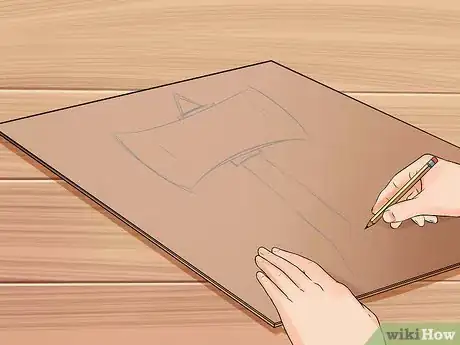
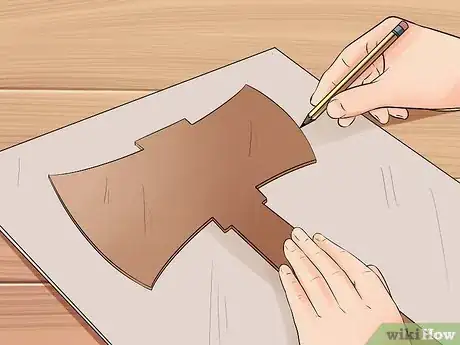
2Make your template. Draw the shape of the axe you want, blade and handle, onto a piece of paper. The simpler the shape, the better it will work.[12]
-
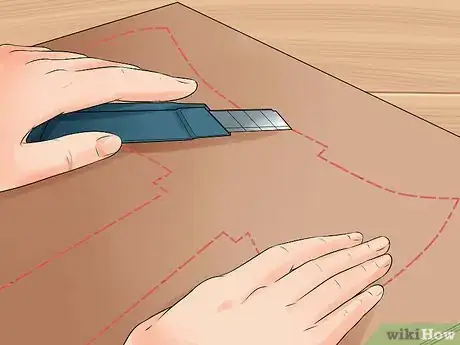
3Cut out your pieces. Trace this shape onto at least four pieces of cardboard (six is better) and cut them out with a box cutter knife.[13]
- If you're a kid, get help from an adult with this. It's very easy to stab yourself or cut your finger off!
-
4Reinforce the center. Take one piece of cardboard to act as the center. Glue the corner bracket at the L between the handle and the the blade. You can also place a thin stick or dowel rod in the handle piece if you want to.[14]
-
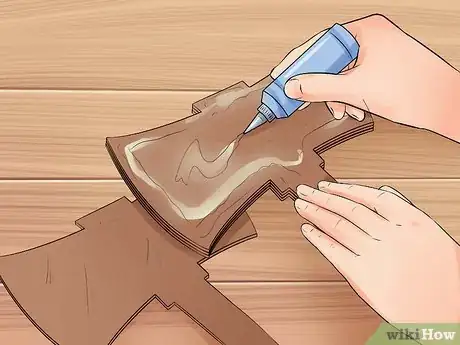
5Glue the pieces together. Glue all of the layers together, with the reinforced section in the middle.[15]
-
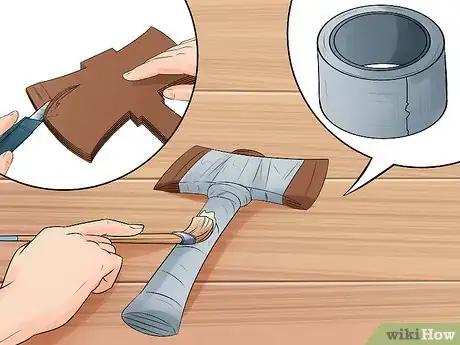
6Add finishing touches. You can use the box cutter to bevel the edges of the blade section if you want. Once this is done you can cover the whole thing in duct tape, paint it to look real, or wrap the ribbon around the handle to give it a really authentic look.[16]
-
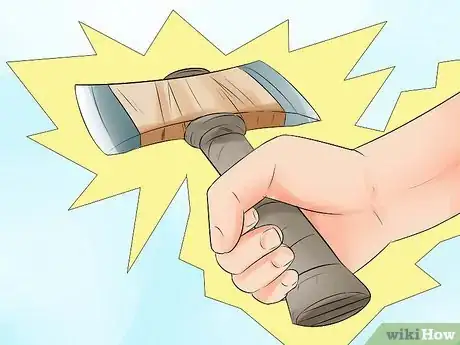
7Done! Enjoy your new battle axe!
Duct Tape Nunchucks
-
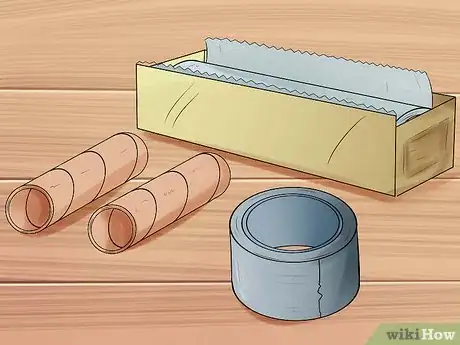
1Get your materials. You'll need two long cardboard tubes, such as the ones that come at the center of a roll of paper towels. You'll also need tin foil and duct tape. You can optionally make the nunchucks a bit more dangerous by adding weights (metal butter knives are good for this).[17]
-
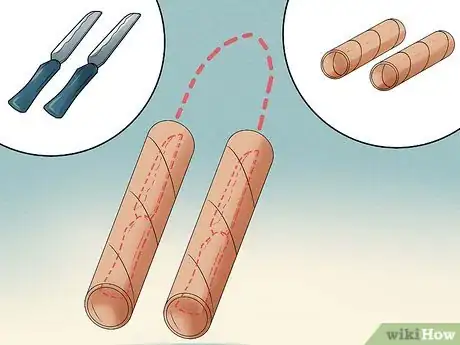
2Create the center weights if you are using them. If you decide to use the weights, you want to put them in first. Take two butter knives, flip them opposite end to opposite end, and tape them together into a single object. Thoroughly cover them in tape to keep them from breaking loose and cutting you.[18]
-
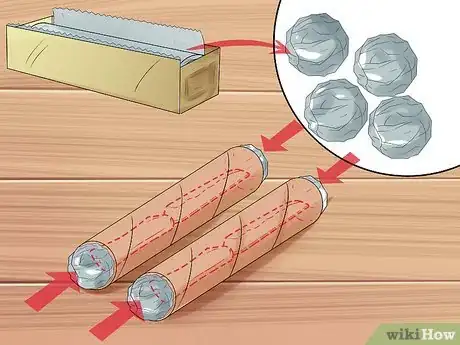
3Fill the cardboard tubes. Tape closed one end of each of the tubes. Make a ball of tin foil and shove it down into the end of the tube. Continue stuffing balls of tin foil into the tube or surround your weight in bunched tin foil and then center it in the tube. Fill the tube until the tin foil is level with the open end. Tape the end closed.[19]
-
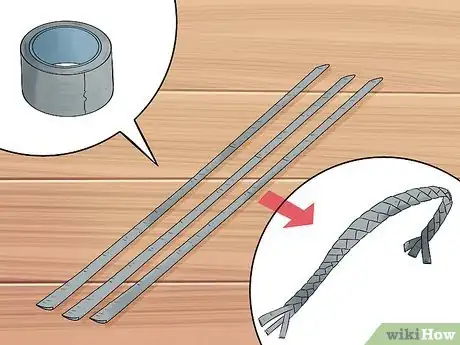
4Make the rope. Cut long strips of duct tape into thin sections and then fold those sections in half to create strings. Braid the strings together to create a rope. Your rope will need to reach from end to end of the tubes with about 6" of space between them.[20]
-
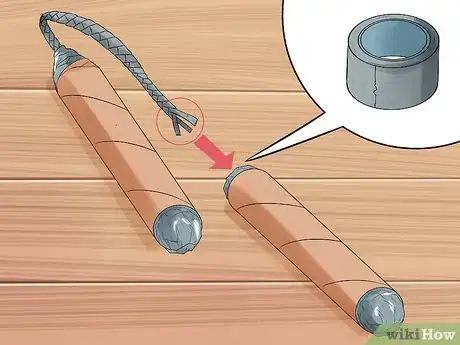
5Attach the rope to the tubes. Unbraid the section of the rope that covers the cardboard tubes and tape them, spaced equally, around the outside of the tube. This should leave the braided section at the center.[21]
-
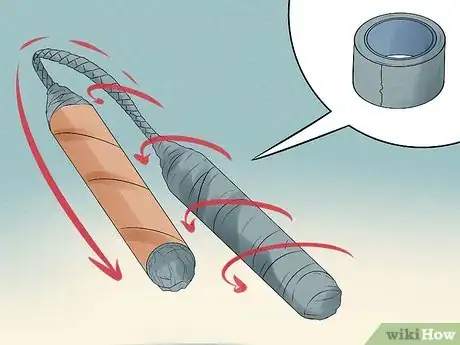
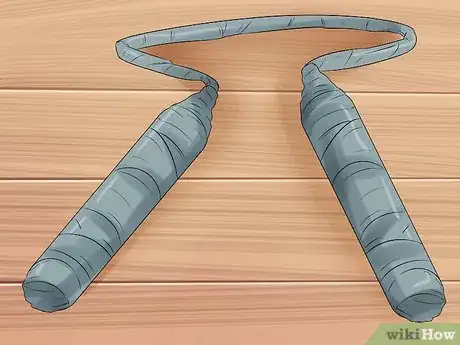
6Cover the outside. Wrap the tubes completely in duct tape and continue wrapping so that the rope is covered as well.[22]
-
7Done! Enjoy your nunchucks and be careful, especially if you used weights.
Community Q&A
-
QuestionHow powerful is the crossbow? How far can it shoot?
 Community AnswerIt can penetrate paper and dig into plywood about 3 cm at close range. It can shoot really far, but with good accuracy, probably 20-30 m.
 -
QuestionAre there alternative arrows for a crossbow that will not cause cuts on the target?
 Community AnswerCover the tip of the arrow with foam or something that covers the sharp end, like a suction cup.
 -
QuestionIs this for survival?
 Community AnswerNo, this is just for play.
Warnings
- Since these items are enough to harm anyone so play with it carefully. Alternatively you can use Latex or Larp weapons which do not harm and looks like real weapons.⧼thumbs_response⧽
- Don't fire at anyone's face or body.⧼thumbs_response⧽
- Don't bring these items to school or a workplace, as you may be reprimanded.⧼thumbs_response⧽
- Be careful when using nunchucks⧼thumbs_response⧽
- Be careful while you are working with these items. It may be dangerous for you and others.⧼thumbs_response⧽
References
- ↑ https://snapguide.com/guides/make-a-paper-crossbow-1/
- ↑ https://www.notimeforflashcards.com/2014/04/recycled-art-project-for-kids-2.html
- ↑ https://www.notimeforflashcards.com/2014/04/recycled-art-project-for-kids-2.html
- ↑ https://www.youtube.com/watch
- ↑ https://www.youtube.com/watch
- ↑ https://snapguide.com/guides/make-a-paper-crossbow-1/
- ↑ https://snapguide.com/guides/make-a-paper-crossbow-1/
- ↑ https://snapguide.com/guides/make-a-paper-crossbow-1/
- ↑ https://snapguide.com/guides/make-a-paper-crossbow-1/
- ↑ https://snapguide.com/guides/make-a-paper-crossbow-1/
- ↑ http://www.stormthecastle.com/Things/make-a-cardboard-battleaxe-or-polearm.htm
- ↑ http://www.stormthecastle.com/Things/make-a-cardboard-battleaxe-or-polearm.htm
- ↑ http://www.stormthecastle.com/Things/make-a-cardboard-battleaxe-or-polearm.htm
- ↑ https://www.youtube.com/watch
- ↑ https://www.youtube.com/watch
- ↑ https://www.youtube.com/watch
- ↑ https://www.youtube.com/watch
- ↑ https://www.youtube.com/watch
- ↑ https://www.youtube.com/watch
- ↑ https://www.youtube.com/watch
- ↑ https://www.youtube.com/watch
- ↑ https://www.youtube.com/watch
