This article was co-authored by wikiHow Staff. Our trained team of editors and researchers validate articles for accuracy and comprehensiveness. wikiHow's Content Management Team carefully monitors the work from our editorial staff to ensure that each article is backed by trusted research and meets our high quality standards.
There are 8 references cited in this article, which can be found at the bottom of the page.
This article has been viewed 234,373 times.
Learn more...
The task of making a photocopy seems simple enough but with so many different copy machines out there it's hard to know exactly how to operate each one. Choosing the right paper, preparing the machine, and recognizing important buttons can simplify the photocopying process.
Steps
Preparing Originals
-
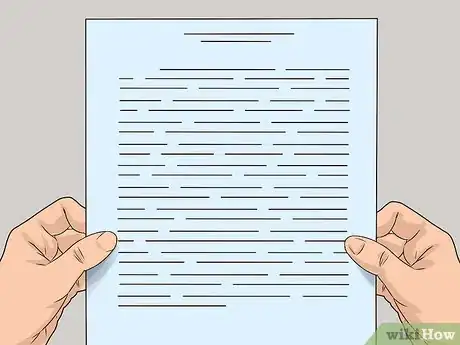
1Choose an original. Make sure the original is in good condition. Crisp and clean originals will make the best copies. When possible print originals on heavy weight paper from an inkjet or laser printer so they are fresh and of a high, clear quality.
- Undo any folds or creases. These may interfere with copy clarity. These do not transfer well to copies and can obstruct copy text or images. [1]
- Remove staples, tape, torn pages, etc. before making copies. Smooth paper feeds easily through the machine and has less chance of getting jammed or damaged.
-
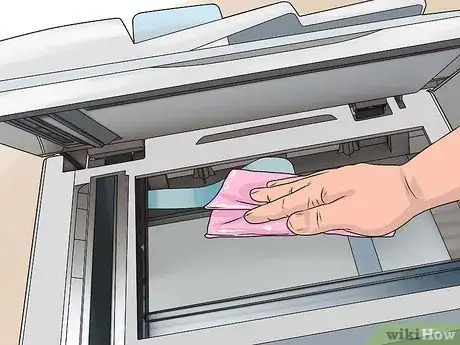
2Wipe down the glass. Foreign objects like dust or dirt on the glass can cause blemishes on your copies. Cleaning glass thoroughly can make for a cleaner copy.
- Unplug the machine to start cleaning the glass. Then apply a small amount of glass cleaner to a soft sponge and gently wipe away dirt. Dry immediately with a lint free cloth. Remember to never apply liquid directly to the glass as this can leak into the machine and cause expensive damage. [2]
Advertisement -
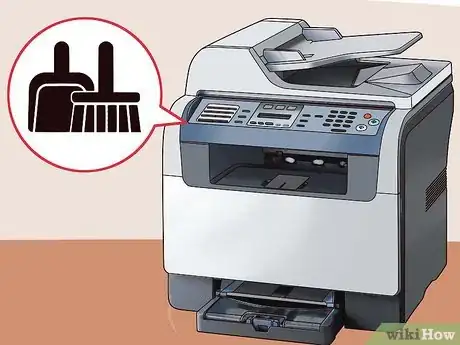
3Keep the machine clean. Cautious handling of the copy machine simplifies the photocopying process, saves time, and prevents waste, poor quality copies, and machine damage.
- Avoid placing fingertips directly on the copy glass. This prevents transfer of dirt and oils from your hand to the machine.
- Never place sticky-notes over an original. The residue of the sticky part can attract dirt that will harm both the original and the machine.
Selecting Copy Paper
-
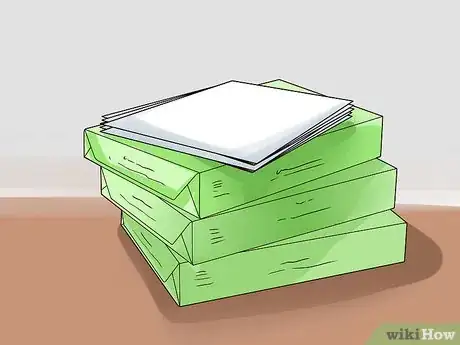
1Select your copy paper. Start by determining what weight paper you would like to use.
- Standard weight is the most economical and works well with high-speed copiers.
- Mid weight paper can be used in copiers and inkjet or laser printers. It's slightly heavier so it's good for double-sided copies.
- Heavy weight paper has a smooth finish. Due to its weight, however, it may slow down or jam a copy machine. Printing the original on heavy weight paper with an inkjet or laser printer can improve copy clarity.[3]
-
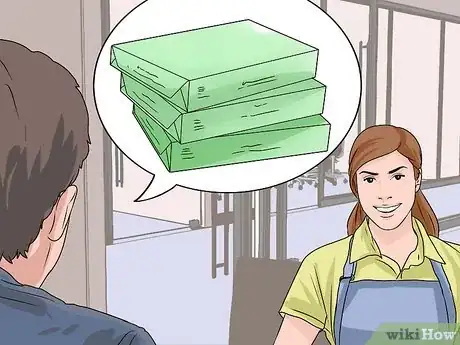
2Ask around. Don't be afraid to inquire at paper supply companies. If you are within an office try to get an idea of what paper has worked well in the past.
- If you're limited in your office paper choice ask about the best photocopying method for your machine. Approach someone you've noticed using the machine and see if they have any advice for you.
-
3Choose paper with a high brightness. This will give the copy a higher contrast, which will make it easier to read. Brightness ranges anywhere from 84 to over 100. Choose a brightness on the high end of the spectrum.
- Remember that copies print best from a white or light pastel colored original, no matter what color copy you wish to make. Deep color originals will copy gray and may be unreadable.
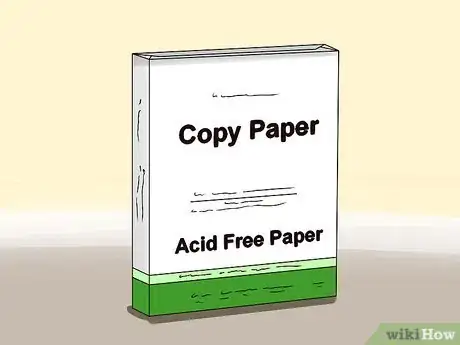
- Choose acid free paper. Most paper is acid free but it doesn't hurt to check the label.
Preparing the Copier
-
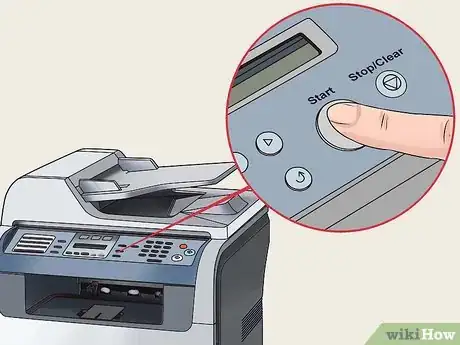
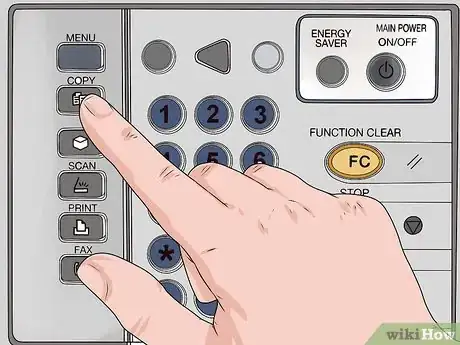
1Press the 'Start' button. This will turn the machine on. It is usually a large, green button. It may read “Start' or it may not have text on it. Allow the machine to warm up.
- Take this time to locate the 'Stop' or 'Cancel' button for future reference. This button is usually red.
- Some copiers have a power saving mode. This enables the machine to stay on without wasting too much energy. If the machine is in power saving mode, pressing the 'Start' button should wake it up.
-
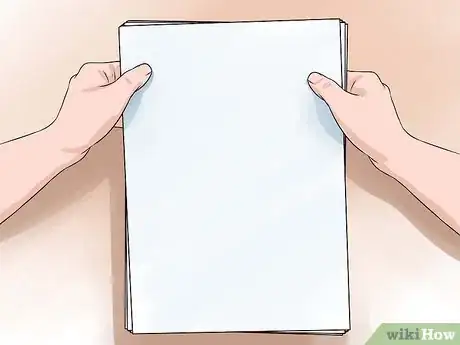
2Stack your copy sheets. Arrange them on top of each other. Pick them up and align them using two hands, holding the stack as you would a sandwich. Make sure there are sheets out of line or folded edges.
-
3
Using the Copier
-
1Choose your photocopy feature. This may depend on whether the machine has both a copy glass and an automatic document feeder. These features depend on the copy machine you are using. Copy glass gives you more control over your copies. Place the original face down and match it to the arrows or margins around the glass for proper alignment. The machine should recognize when an original has been placed on the glass. With the glass it is easier to center your original and you have the option to zoom.
- To zoom in on an original, jot down the measurements of the image you wish to enlarge, visible at the perimeter of the glass. Decide how large you want the image to become. This is your target dimension. Remember not to choose a target dimension larger than the paper size. Divide the target dimension width by the actual image size width and multiply this by 100. You can use height instead if you wish. The result is the enlargement percentage. It is the number you will enter into the menu under the enlargement or zoom option.[6]
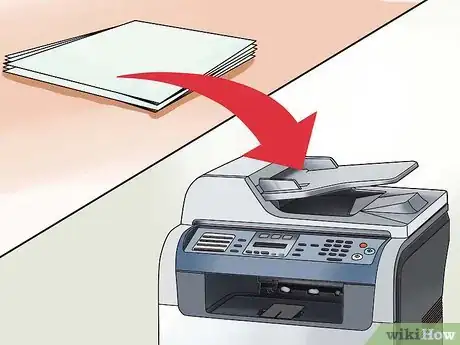
- The automatic document feeder is a feature on most copy machines no matter their size. While it gives you less control over your results, it is useful when you have multiple pages to copy. Simply slide the originals in order into the feeder tray.
-
2Adjust contrast. Contrast will make text and images stand out from the background. This will make copies clearer and easier to read. On most copiers you select the contrast option from the menu. One you have selected contrast, use the scale on the screen or the arrows on the keyboard to indicate higher or lower contrast.[7]
-
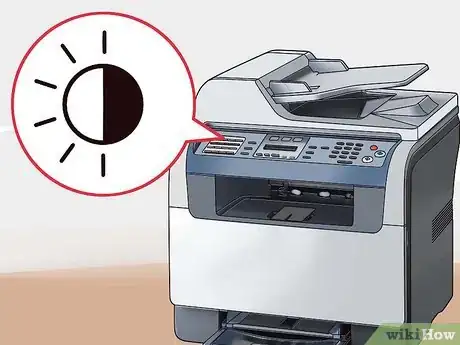
3Select lightness or darkness. There should be a scale on the screen or arrows on the keypad to indicate this. Newsprint, color to black and white, or photos will need to be lightened. Light text, light colors, or pencil drawings need to be darkened to show up well.
-
4Do a test copy. Enter 1 under quantity and examine the result. If you are satisfied you can proceed with a higher quantity.This is especially important when trying the contrast or zoom features for the first time. It is also easy to misalign a copy on the glass. Keep adjusting until the copies are as clear and centered as possible.
- Adjust settings in the machine if your copy is not how you like it. Pages that have been ripped out of a notebook (torn edges) can be moved over or there may be a margin shift button on the machine to make a better copy.
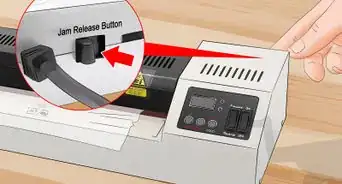
- If paper has become jammed, the machine will show you the location of the jam and may have steps for you to follow to clear the trapped page and continue.
- An error message means the copier does not have enough information to start copying. Make sure you entered copy quantity and color.
-
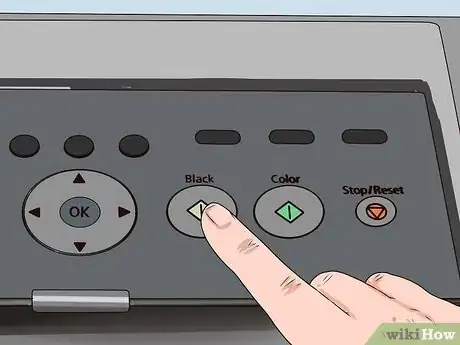
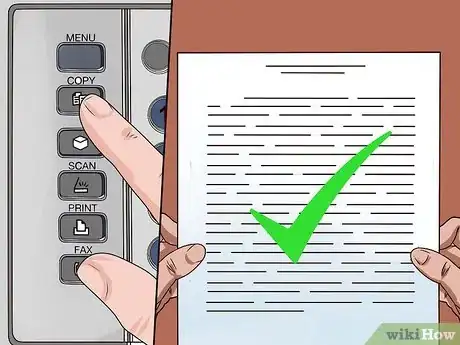
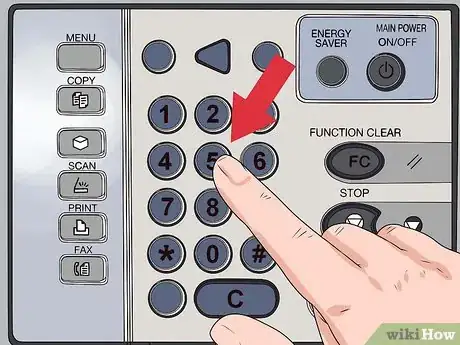
5Select quantity. Use the keypad or screen to enter the number of copies you need.
- Once you have entered your quantity, press the large copy button. If something goes wrong, press the red 'Stop' or 'Cancel' button. It may take the machine a few seconds to stop.
Community Q&A
-
QuestionHow do I use a photocopier?
 Community AnswerThat depends on the photocopier, as each one has it's own options and features. Generally though, you line the paper up in the marked area on the screen, close the top and hit the start button to make one copy. Use the instructions and pictures in this article as a guide, and ask someone who knows the machine to show you the options.
 -
QuestionWhat do I do if the touch screen is not responding to commands?
 Community AnswerAsk your cellphone provider or whatever it is from (company) such as Amazon if you have a problem with your Kindle, etc.
 -
QuestionHow can I make a copy smaller?
 Community AnswerUse the size reduction feature of the photocopier. This usually comes in presets, such as 82%, 70%, etc., or you can use the up and down buttons on the touch screen or push buttons to make it smaller or larger, as needed. Do a few test copies until you're satisfied with the size.
Warnings
- If you are copying onto transparencies, ensure that you use transparencies specifically marked "for copiers" or you risk damaging the copy machine.⧼thumbs_response⧽
- Check items such as Books, magazines, CD covers, sports cards, etc. for copyright info before copying.⧼thumbs_response⧽
- Let white out dry completely before copying. The liquid will stick to the copy glass and is difficult to clean.⧼thumbs_response⧽
- Professional studio pictures are also copyrighted by the photographer or company (even if you purchased them) and will usually say 'do not copy' on the back. Some photographers allow you to purchase the copyright and use these photos as you wish.⧼thumbs_response⧽
- Government forms, driver's licenses, passports, and other legal documents may have special guidelines for photocopying. Check with state laws.⧼thumbs_response⧽
- “Fair use” may permit the redistribution of copyrighted material for teaching or research purposes. [8]⧼thumbs_response⧽
References
- ↑ https://www.wikihow.com/Flatten-Crumpled-Paper
- ↑ http://www.dummies.com/how-to/content/how-to-clean-your-fax-and-copier.html
- ↑ http://www.staples.com/sbd/cre/products/perm/merch020622_paper_buying/
- ↑ https://support.usa.canon.com/library/attachments/embedded/3536_image_1.jpg
- ↑ http://support.lexmark.com/library/LEXMARK/primus/images/printer/printer_parts/paper_feed/ENUS12702_DoorBPaperJam4_W820_en_US.jpg
- ↑ http://yourbusiness.azcentral.com/enlarge-images-copier-4750.html
- ↑ https://files.support.epson.com/htmldocs/cx11nf/cx11nfug/copy_4.htm#adjusting
- ↑ http://copyright.gov/fair-use/
