This article was co-authored by wikiHow Staff. Our trained team of editors and researchers validate articles for accuracy and comprehensiveness. wikiHow's Content Management Team carefully monitors the work from our editorial staff to ensure that each article is backed by trusted research and meets our high quality standards.
This article has been viewed 50,608 times.
Learn more...
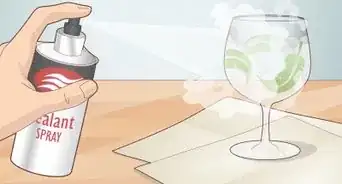
Cabochons are an important part of fused glass jewelry. Dichroic cabochons are widely used in fused glass earrings, fused glass pendants, bracelets, and necklaces. Fused glass art takes on another dimension with the inclusion of fused dichroic pieces. Making cabochons is not difficult, as one item only requires a piece of dichroic and a clear glass cap. After you have mastered this technique, you may wish to experiment by using layers of dichroic and fusing them together. Finished dichroic pieces may also be used in precious metal clay jewelry as well as with chain maille.
Steps
Making Dichroic Fused Glass Cabochons
-
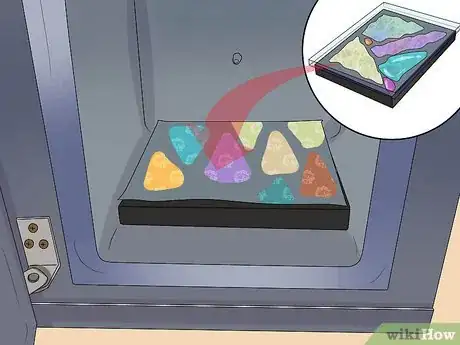
1Place the shelf paper on the kiln shelf. Assemble your glass pieces with the glass cap placed evenly on top of the dichroic, with the dichroic layer facing up. The clear cap needs to be larger than the base as the dichroic layer can sometimes seep out under the clear glass.[1]
- Be careful when stacking the glasses. Dichroic glass surfaces should not face each other because they do not bond well.
- Layer your glass as a gold dichroic (black base), stringers (transparent), ripple (transparent), and cover glass (clear cap).
-
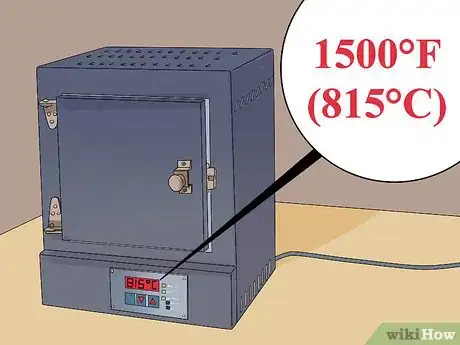
2Set the temperature on the kiln. If you’re using a manual kiln, set the temperature to medium for about 15 minutes. Bring up to 1500°F (815°C) per hour and hold for 10 minutes. If using a programmable kiln, ramp your temperature up to 1500°F per hour and hold for 10 minutes. Check that your cabochons have fully fused. If not, let the temperature return to 1500°F and hold for another 5 minutes.[2]
- Once the glass has fully fused, turn the kiln off and open the door until the temperature reaches 1000°F (540°C). Close the door. Repeat until the temperature is stable at 1000°F.
Advertisement -
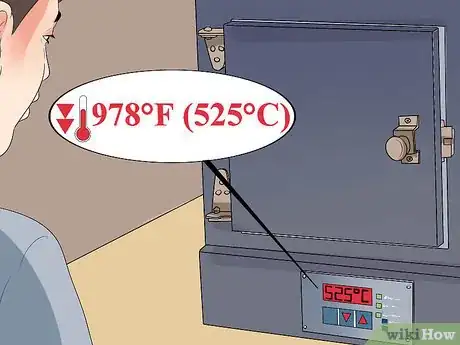
3Allow the temperature to slowly drop to 978°F (525°C). Turn the kiln back on and hold at this temperature for 20 to 30 minutes. This is the annealing temperature, which helps reduce the stresses and strains that build up in the glass during fusing.
- After annealing the glass, turn the kiln off and wait until the glass is fully cooled before removing.
- For programmable kilns, you will be able to include these steps in your firing schedule.
-
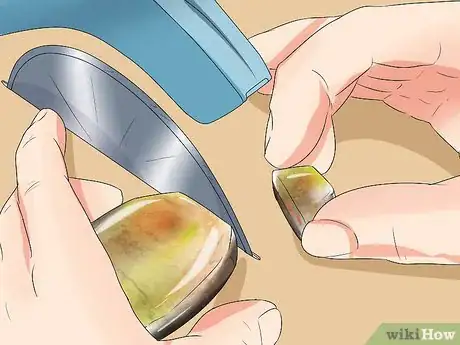
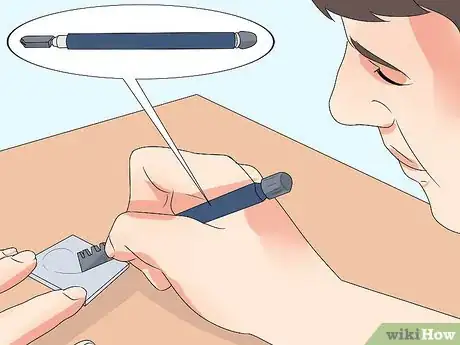
4Use a saw to trim irregular edges. After the fused glass has cooled, you can use a tile saw, a glass saw, or a ring saw to trim those edges. Use the saw to then cut the fused glass into a variety of different shapes, sizes, and pieces.[3]
-
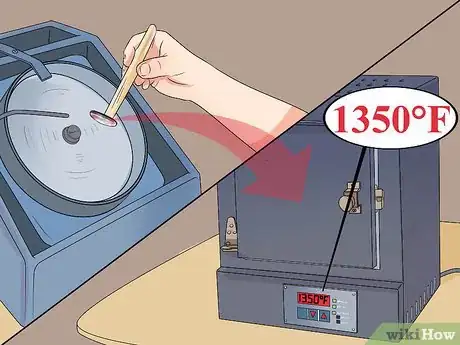
5Take the pieces you cut, smooth the edge, and fire polish.[4] Grind the edges of the pieces with a saw with a 600 grit bit to smooth down harsh, sharp edges. Rinse the cabochon in water. Place it back into the kiln and fire it at full ramp to a target of 1350 degrees, holding it for 10-15 minutes. Afterwards, allow the cabochons to cool completely between several hours to a full day.
Making Fused Glass Puddles
-
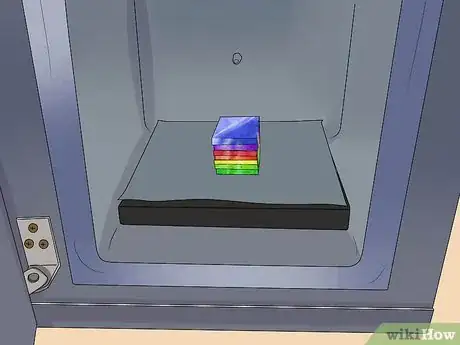
1Gather your glass pieces together. Place a stack of seven 1/8” thick layers of 3x3” glass in your kiln. If you are fusing together two stacks of glass in your kiln at a time, make sure that you leave enough empty space around them in the kiln so that the glass pieces can spread easily as they melt to fuse together.
-
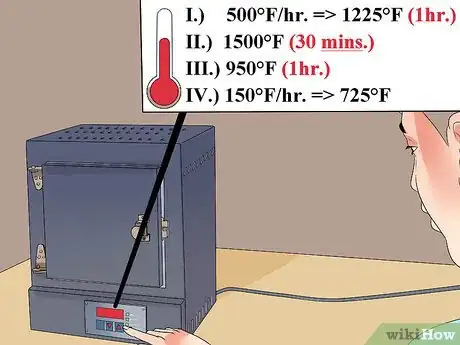
2Fire the kiln using a firing schedule. The firing schedule will be broken up into four different segments where you will adjust and hold the temperature for a specified amount of time to heat the layers. Avoid thermal shock by slowing the ramp of the first segment for firing layers bigger than 3x3” in size.
- For the first segment, fire the layers at a ramp of 500 degrees per hour with a target of 1225 degrees Fahrenheit. Hold that temperature for an hour.
- For the second segment, fire the layers on a full ramp with a target of 1500 degrees and hold that temperature for 30 minutes.
- For the third segment, fire the layers again on a full ramp with a new target temperature of 950 degrees Fahrenheit for an hour.
- For the fourth and last segment, fire the layers on a ramp of 150 degrees Fahrenheit per hour with a target of 725 degrees. This is a quick firing so don’t bother holding it for any allotted amount of time. Meet the target temperature and turn the kiln off.
-
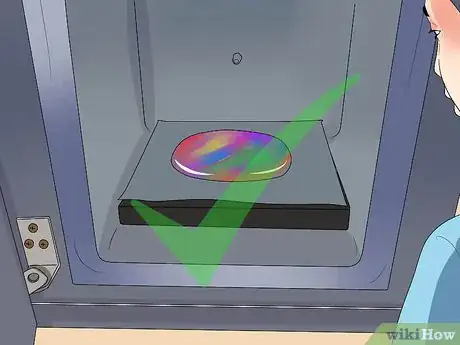
3Check to see if the seven layers are fully fused. At this point, the layers of glass should have spread to be about 1/3 of the original height of the stack of glass. Transport the puddles to your work table once they are fully cooled.
-
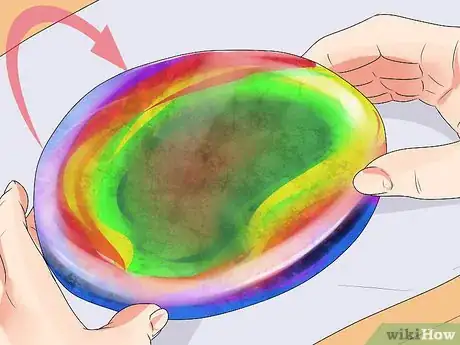
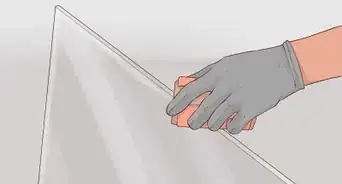
4Prepare to work on your puddles. Clean the fused glass and turn them over. You should be able to see concentric ring of colors as a result of the seven layers fusing together. Use firm pressure and score the puddle in the middle by scoring it down the middle with a glass cutter.
-
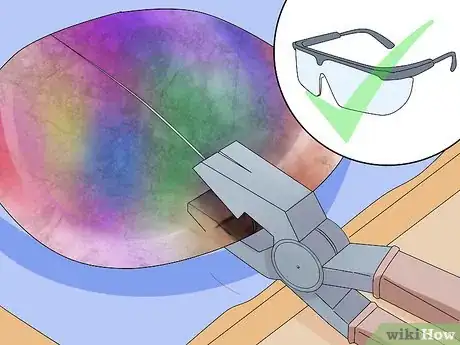
5Break the glass by using running pliers. If the glass is too thick to break away, which a lot of the time it is, there is an alternative method to breaking the glass. Set the glass on top of two pencils at both sides of the puddle’s long edges. Use the edge of a hammer’s face to give the glass a firm tap.
- The score line you created with a glass cutter in the previous step should be on the puddle’s other side when you break the class. So break the glass with the score line face down.
- Always use eye protection when you’re hitting glass with the hammer, even when doing a light or firm tap.
-
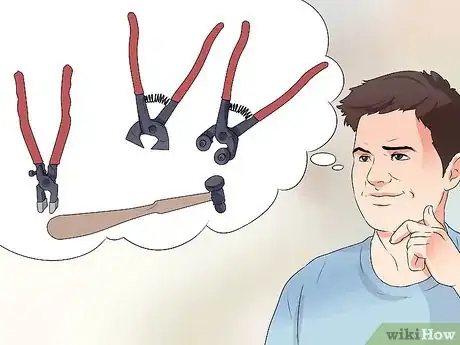
6Use your tool of choice to continue breaking the glass puddle. Each half of the puddle needs to be broken down further to create smaller pieces that will be easier to work with and refine. A recommended tool to use is a mosaic nipper. Cut the sheets into a variety of smaller pieces.
-
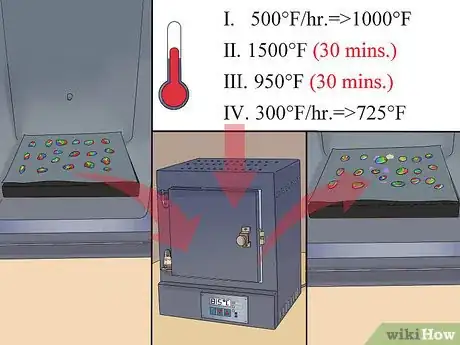
7Mold the jagged pieces into puddles. Heat is necessary to create cabochons into the round, non faceted stones, or puddles, that this method calls for. Firing it in the kiln again is necessary. Arrange the chunks onto the kiln, a few inches apart, as you would cookie dough on a baking sheet.
- For the first segment, fire the puddles at a ramp of 500 degrees Fahrenheit an hour with a target of 1000 degrees Fahrenheit. Do not hold it for any amount of time, just do a rapid fire and heat it quickly until it reaches its target temp.
- For the second segment, fire the puddles at a full ramp with a target of 1500 degrees Fahrenheit. Hold it for 30 minutes.
- For the third segment, fire the puddles at full ramp again with a new target of 950 degrees Fahrenheit. Hold it for 30 minutes.
- For the fourth segment, fire the puddles at 300 degrees an hour with a target of 725 degrees Fahrenheit. Don’t hold it. Instead just fire it rapidly again.
-
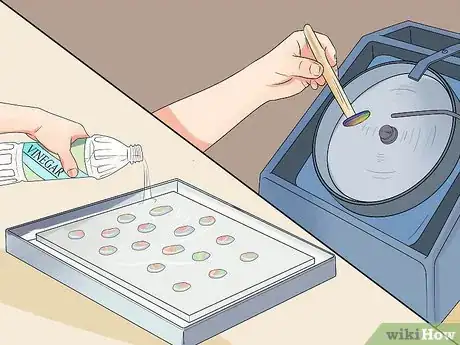
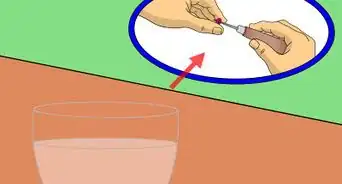
8Remove flaws from your puddle cabochon pieces. Shelf primer might be stuck on the bottoms of puddle cabochons and vinegar is a great way to remove this. Soak the pieces for 20-30 minutes, shake them in their container gently, and remove the puddle cabochons from the vinegar.
- Shelf primer should easily rinse away after a soak. If it doesn’t, soak them again for a longer time until you notice the shelf primer is completely gone.
- Remove any devitrification with a sandblaster. If you don’t have any access to a sandblaster, light devitrification can removed from the tops of cabochon puddles with glass etching cream. Coat the puddles with cream for 30 minutes and then rinse them clean.
-
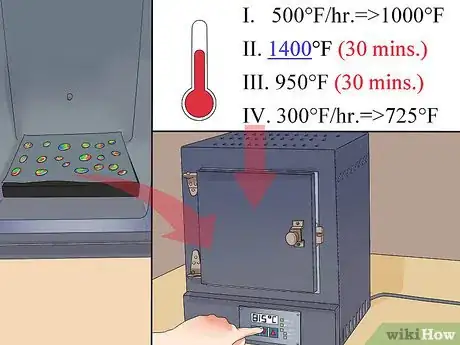
9Return sandblasted or etched cabochon puddles to the kiln. A final fire polish is the last step to finishing your puddles. Because it’s providing a polish to the puddles, holding times during most segments are obsolete.
- For the first firing segment, have a ramp of 500 degrees Fahrenheit an hour with a target of 1000 degrees Fahrenheit. Do not hold once it’s met its target.
- For the second firing segment, have a full ramp with a target of 1400 degrees Fahrenheit. Do not hold it.
- For the third firing segment, have a full ramp with a target of 950 degrees Fahrenheit. Hold it for 30 minutes.
- For the fourth firing segment, have a ramp of 300 degrees Fahrenheit an hour with a target of 725 degrees Fahrenheit. Do not hold it.
-
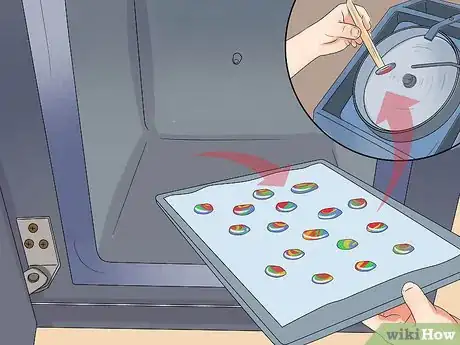
10Remove the finished cabochon puddles. When the firing is complete and the kiln has cooled, remove the cabochon puddles from the kiln. Your jewelry components are done and ready to be used. Be mindful that it can take several hours to a full day for the cooling to be complete.
Fusing Bullseye Cabochons
-
1Apply even pressure as you make a firm, clean cut. Hold your glass cutter like a pen and cut a straight line onto your glass. Cut towards you if you are making straight lines. Cut away from you if you are cutting curved lines.[5]
- Snap straight cuts by using breaking pliers. Alternatively, you can hold the piece of glass at either side of the cut you’ve made and snap the glass apart that way too.
- Tap curved cuts at the back of the glass along the score line until it begins to break.
-
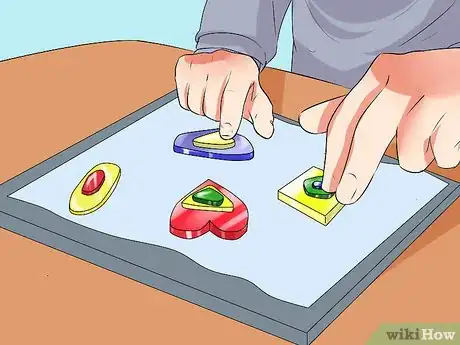
2Assemble pieces together to prepare them for the kiln. Create designs with 2-3 layers of 1.6 mm thick glass, either all different colors or in a pattern. Place them onto the kiln about 10 mm apart so that they can spread without interfering with the other fusing glasses on the kiln.[6]
- Add small amounts of the PVA/water mix (half PVA glue, half water) to the glass to help them stick together and to prevent displacement when you move them around.
- Make sure that the glue is dried completely before you turn on the kiln to begin firing the pieces.
- Consider the location of the glass pieces you place on the kiln. For example, if you want squarer cabochons, position the glass closer to the front where the kiln is cooler.
-
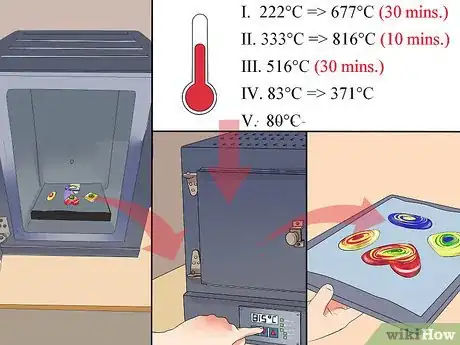
3Place the glass pieces into the kiln. Fire up the kiln and begin firing the pieces at different ramps and temperatures to make the glass pieces fuse together and create the bullseye cabochons. If you have an automatic kiln, enter the numbers below and the kiln will do the work. Otherwise, adjust the segments manually.[7]
- For the first segment, have the ramp at 222C at the target temperature of 677C, and hold it for 30 minutes.
- For the second segment, have the ramp at 333C at the target temperature of 816C, and hold it for 10 minutes.
- For the third segment, have the ramp at full at the target temperature of 516C, and hold it for 30 minutes.
- For the fourth segment, have the ramp at 83C at the target temperature of 371C, and do not hold it. This is a rapid fire.
- For the fifth segment, have the ramp at full at the target temperature of 80C, and again do not hold it. This is another rapid fire. Allow the fused pieces to cool afterwards. Be aware that it can take hours for it to cool completely.
Things You'll Need
Making Dichroic Fused Glass Cabochons
- Kiln wash or shelf paper
- Manual or programmable kiln capable of reaching 1500°F (815°C)
- Dichroic on clear or black glass cut slightly smaller than the cabochon size
- Clear glass cap cut 1⁄8 to 1⁄4 inch (0.3 to 0.6 cm) larger than the dichroic. Many people prefer to use thin clear glass.
- tile saw, glass saw, or ring saw
- saw with a 600 grit bit
Making Fused Glass Puddles
- 1/8" thick layers of 3X3” glass (7 to form a layered stack)
- kiln
- shelf primer
- running pliers
- glass cutter
- two pencils
- hammer
- eye goggles
- mosaic nippers
- vinegar
- sandblaster
- etching cream
Fusing Bullseye Cabochons
- kiln
- plastic kiln shelf and posts
- Thinfire shelf paper
- bullseye fusible glass
- glass cutter
- paintbrush, small
- half PVA, half water mixture
- ruler and/or T square
- spirit level
- safety glasses
References
- ↑ http://www.abasg.com/tutorials/FusingTutorial.pdf
- ↑ http://www.abasg.com/tutorials/FusingTutorial.pdf
- ↑ http://www.abasg.com/tutorials/FusingTutorial.pdf
- ↑ http://www.abasg.com/tutorials/FusingTutorial.pdf
- ↑ http://www.paragonweb.com/files/manuals/fusingtut1ffinstruct.pdf
- ↑ http://www.paragonweb.com/files/manuals/fusingtut1ffinstruct.pdf
- ↑ http://www.paragonweb.com/files/manuals/fusingtut1ffinstruct.pdf
