X
wikiHow is a “wiki,” similar to Wikipedia, which means that many of our articles are co-written by multiple authors. To create this article, volunteer authors worked to edit and improve it over time.
This article has been viewed 28,721 times.
Learn more...
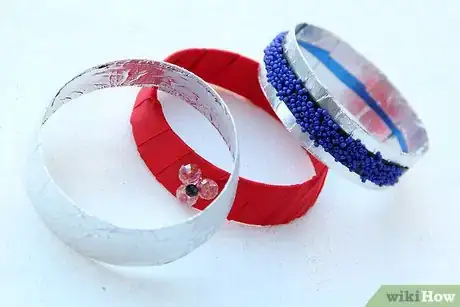
It's easy and fun to make bangles made from plastic bottles. You can decorate them in many different ways, allowing you to create lots of bangles that match different outfits. Save a fortune and re-purpose those plastic bottles into something fashionable.
Steps
Method 1
Method 1 of 5:
Basic bangle from a plastic bottle
This method produces the bangles needed for the remaining methods.
-
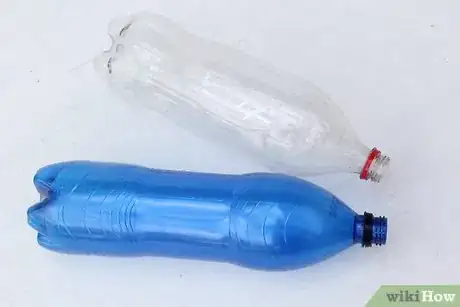
1Clean out the drink bottle. Allow the bottle to dry properly before making the bangles.
-
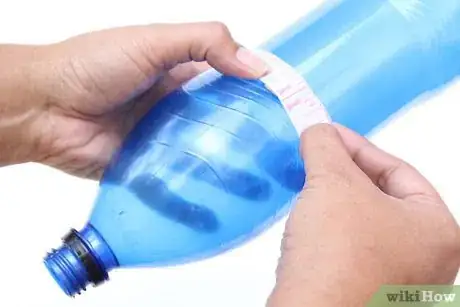
2Measure the width of the bangle. This will be determined by your preference, along with what the bangle needs to hold by way of decoration.Advertisement
-
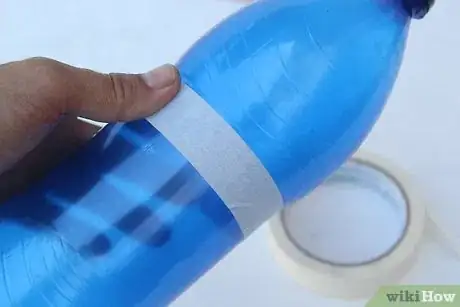
3Tape off the chosen width around the bottle. Use masking tape to do this, as it will be easier to remove than stronger tape.
-
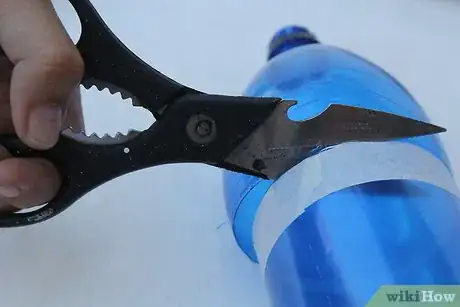
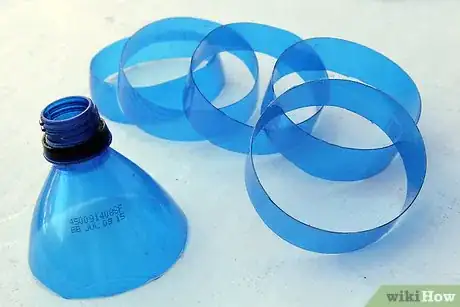
4Using scissors or a craft knife, cut out the bangle shape from the bottle. Work carefully and gradually.
- If you don't feel comfortable doing this, ask someone who is happy to do the cutting to do it for you.
-
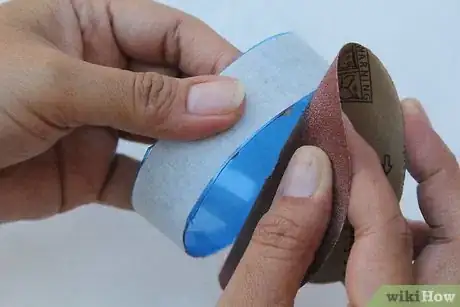
5Sand down the edges if needed. If the edges seem a little rough, use an emery board to quickly make them smooth again.
-
6Cut as many of these plastic bangles as you want from the bottle. If you're making gifts for friends, it's a good idea to make lots of basic bangles in readiness for decorating.
Advertisement
Method 2
Method 2 of 5:
Duct tape plastic bottle bangle
-
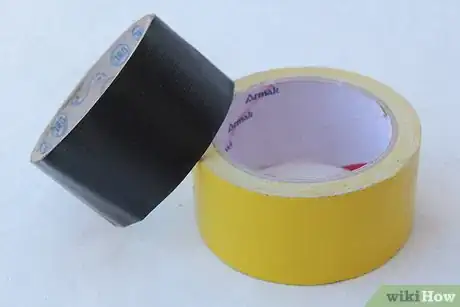
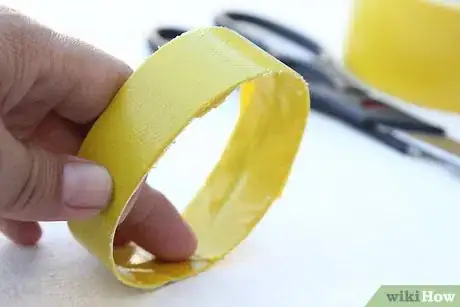
1Choose the duct tape. What color or pattern of duct tape would you like for a bangle? The choice is entirely up to you.
-
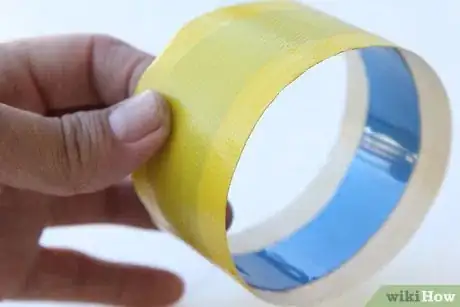
2Cut a large piece of duct tape. Wrap this tape around the plastic bangle, ensuring that the join meets on the inside of the bangle.
-
3Cut a thin strip of duct tape. Carefully run it around the inside join, so that the join is smooth and won't bother you when worn.
-
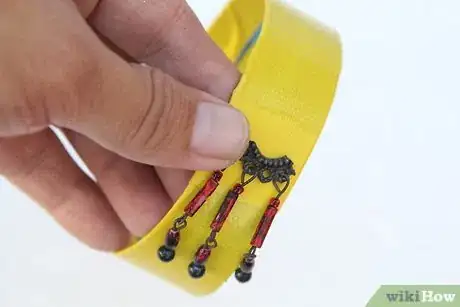
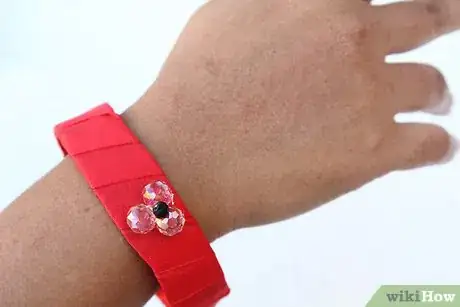
4Add decorative elements if wished. It is recommended that you draw up the design before cutting, arranging and gluing decorative pieces in place.
- You could glue on a piece of leather in a line, zigzag formation or as a series of designs.
- Add costume jewels, beads and other pretty objects to the bangle, as wished.
- Consider adding some ribbon for a final touch.
-
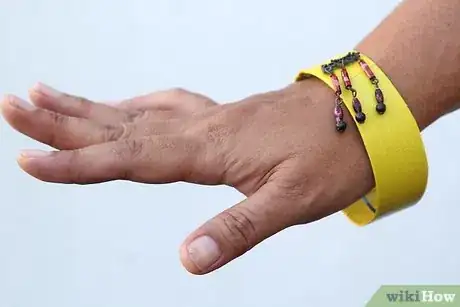
5Done. The duct tape plastic bangle is now ready for wearing.
Advertisement
Method 3
Method 3 of 5:
Bead and foil plastic bottle bangle
-
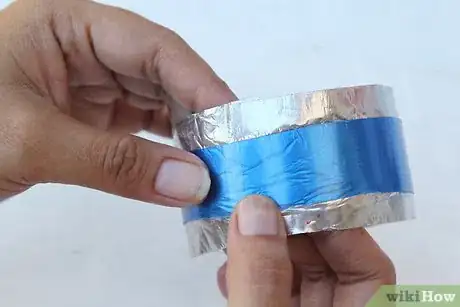
1Cut a length of foil tape (copper, silver or gold) to fit around the bangle. Allow a small overlap as well as the size of the bangle, to allow you to wrap it over onto the outer side.
-
2Wrap the foil tape around of both sides of the plastic bangle. The join should meet in the middle of the outside of the bangle. This join will shortly be covered up by the beads.
-
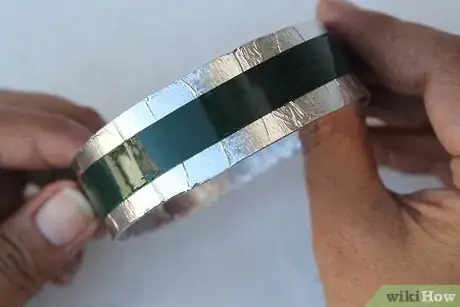
3Cut a width of double-sided tape. This width should be less than the width of the bangle, so that you can see the foil tape either side of it when applied to the bangle.
-
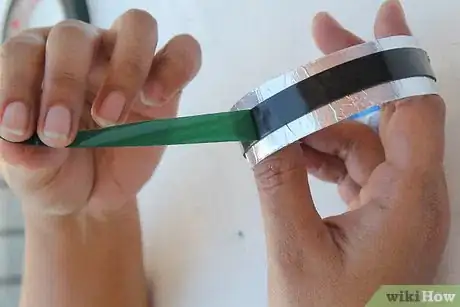
4Carefully wrap the double sided tape around the center of the outside edge of the bangle. Be sure to cover the join from the foil tape. Leave the upper backing on the double-sided tape until you're ready to add the micro beads.
-
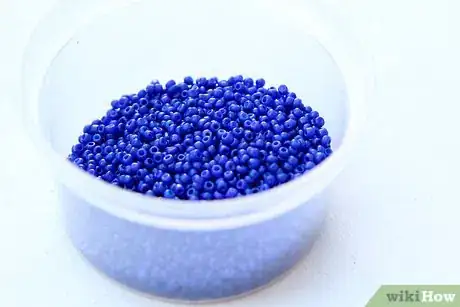
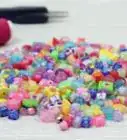
5Tip the micro beads into a small container. This will keep them in place and provides a place for you to roll the bangle.
-
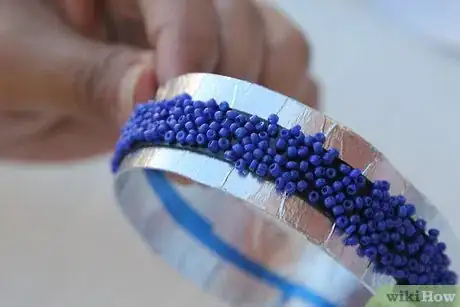
6Remove the backing from the double-sided tape. Roll the bangle slowly in the container of beads, pressing gently to pick up the micro beads on the double sided tape.
- Hold the bangle by the edges as you do this.
-
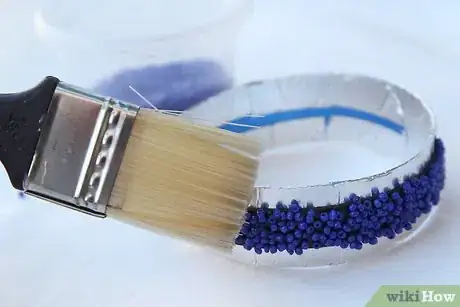
7Brush the sealant over the micro beads. This will hold them in place. As you do this, press more micro beads into place where there are gaps, using the sealant to keep them intact.
-
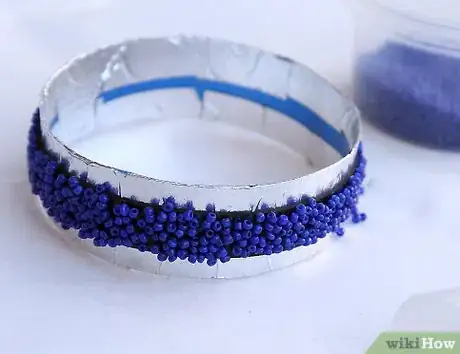
8Allow the sealant to dry. Adjust any areas which seem to be missing micro beads if needed, using the sealant as adhesive.
-
9Lay on wax paper or a silicone sheet to dry. When dry, check for any loose beads and fix as needed.
-
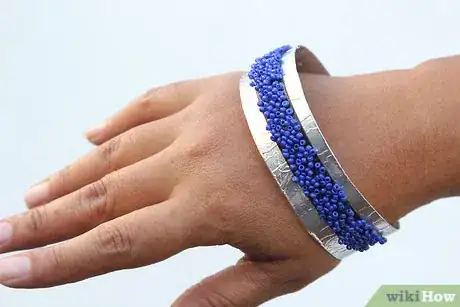
10Finished. The beaded foil bangle is now ready for wearing.
Advertisement
Method 4
Method 4 of 5:
Fabric wrapped water bottle bangles
-
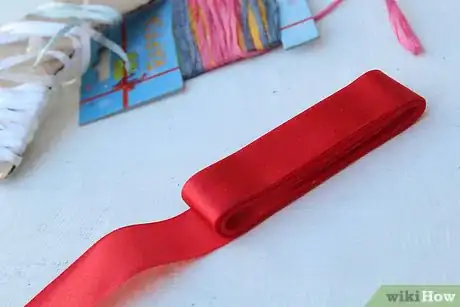
1Choose the fabric. This can be from almost any source, so don't hold back. You could make bangles that match your entire wardrobe! Fabric sources include:
- Scrap fabric or new fabric
- Ribbon
- Lace
- Old clothing
- Old house linen
- Handkerchiefs, etc.
-
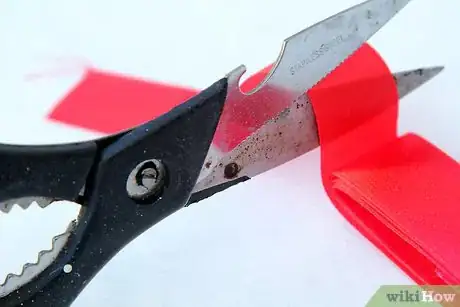
2Cut the fabric into strips.
-
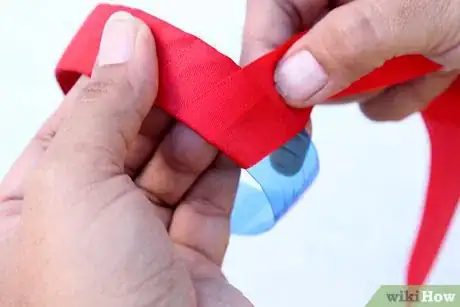
3Choose your method of application. You can either wrap the fabric around and around the bangle, creating neat overlap lines; or, you can carefully wrap the entirety of the bangle, gluing into the middle of the inside of the bangle.
- Glue the starting end, then every few wraps of the fabric with the first way, then glue the finishing end.
- If wrapping the entirety, roll glue over the bangle first, then glue at the join of the fabric. Add a length of ribbon or scrap fabric over the join, to neaten, and glue in place.
-
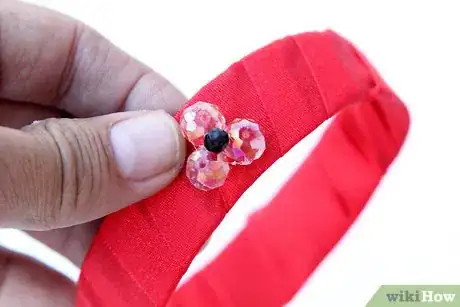
4Add decorative elements if liked. If the fabric looks great on its own, you don't need to do this. Otherwise, consider gluing or sewing on beads, buttons, jewelry pieces, feathers, etc.
-
5Done. The fabric-covered bangle is now ready to wear.
Advertisement
Method 5
Method 5 of 5:
Foil wrapped bottle bangle
-
1Select a suitable color of foil paper. Maybe choose a color to match an outfit.
-
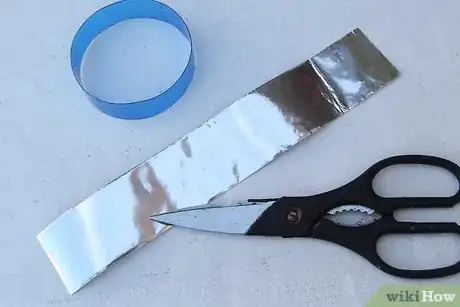
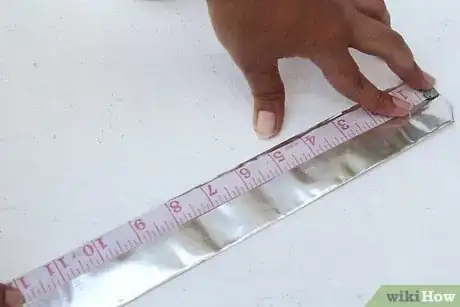
2Measure the paper foil. Measure the circumference of the bangle, along with a small allowance extra for wrapping around to the inner side.
-
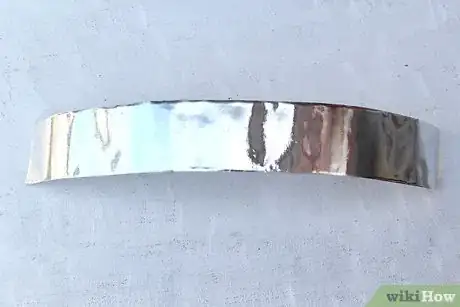
3Cut the paper foil. Follow the measurement you've made.
-
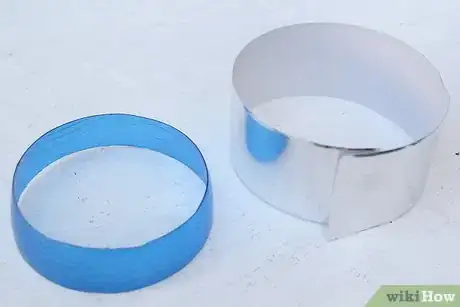
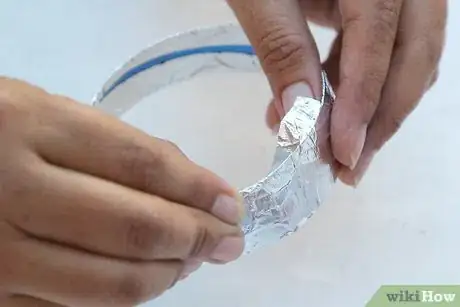
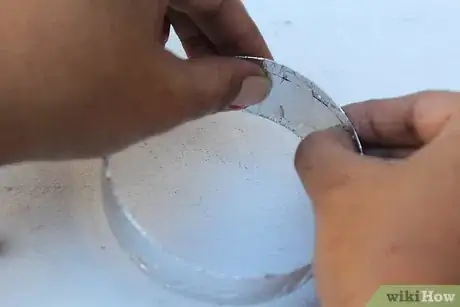
4Wrap the bangle. Wrap the foil paper piece around the outside of the bangle, folding it inside.
-
5Affix the foil paper from the inside. Glue in place, to prevent the foil paper from unraveling. For additional certainty, glue a length of thin ribbon to cover the foil paper join.
-
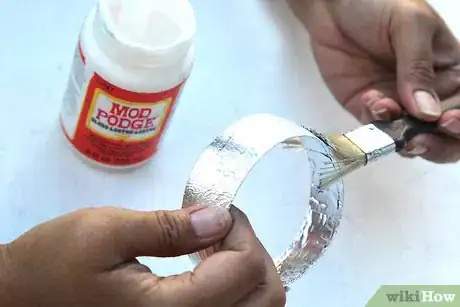
6Apply Mod Podge or another clear sealant to the foil paper. This will help prevent it from being ripped when wearing it. Allow to dry fully before wearing the bangle.
-
7Done. The foil-wrapped bangle is now ready for wearing.
Advertisement
Community Q&A
-
QuestionCan I wrap with silk thread?
 T. ChinsenTop AnswererIf you choose to wrap with silk thread, keep in mind that it is more fragile than synthetic thread and needs to be treated if it is to survive a lot of wear and tear.
Advertisement
Things You'll Need
Method 1:
- Plastic bottle, smaller sizes (to suit your wrist)
- Scissors or craft knife
- Masking tape
Method 2:
- Plastic bangles from method 1
- Scissors
- Duct tape
- Leather strip
- Glue suited to plastic
- Beads
- Costume jewels
- Ribbons
Method 3:
- Plastic bangles from method 1
- Foil tape (gold, copper or silver, as preferred)
- Micro-sized beads, in a variety of colors or in a color/colors that match your outfit of choice
- Double-sided tape
- Scissors
- Clear lacquer
- Wax paper or a silicone sheet, for drying
Method 4:
- Plastic bangles from method 1
- Fabric sourced from anything you like
- Glue suited to fabric and plastic
- Scissors
- Extra ribbon to cover center join (if relevant)
- Decorative elements (optional)
Method 5:
- Plastic bangle from method 1
- Foil paper, color of choice
- Scissors
- Ruler or measuring tape
- Glue
- Mod Podge
- Thin piece of narrow ribbon (match the color to the foil for best impact)
About This Article
Advertisement
