This article was co-authored by wikiHow Staff. Our trained team of editors and researchers validate articles for accuracy and comprehensiveness. wikiHow's Content Management Team carefully monitors the work from our editorial staff to ensure that each article is backed by trusted research and meets our high quality standards.
This article has been viewed 78,617 times.
Learn more...
Lighting an LED light bulb up with a battery is a fun experiment you can do to learn about electrical circuits and direct current (DC) electricity. It’s not a practical way to power an actual light source, as regular batteries do not supply enough voltage to power a strong enough light bulb. However, with just a few basic supplies, you can have some fun creating different circuits between a battery and an LED bulb. Once you get the hang of making a simple circuit, you can modify it with things like switches or multiple batteries. You can even try creating a natural battery out of lemons and pieces of metals to demonstrate how acidity works with metal to generate power!
Steps
Powering a Bulb with a Household Battery
-
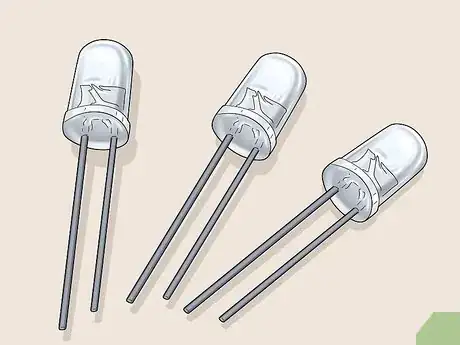
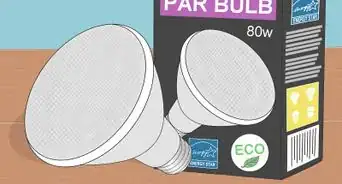
1Acquire a small low-voltage LED bulb of 3V or less. Regular-sized light bulbs, like those used in lamps or ceiling fixtures, typically require 120V or more to run them. A normal household battery won’t provide enough power to light these larger types of bulbs up.[1]
- You can use a small LED bulb from a flashlight, for example.
- To power a higher voltage light bulb, you would need to string together multiple batteries of 12V or higher, which isn’t safe to do for this experiment as you could get an electrical shock.
The instructions below are for LED bulbs.
If you follow those steps using a regular LED, remember they are polarized.
Always connect the longest leg to the positive terminal of the battery and the shortest leg to the negative terminal. Else the LED won't light or could be damaged.
Do not use a battery with a voltage over 3V, else your LED might explode. -
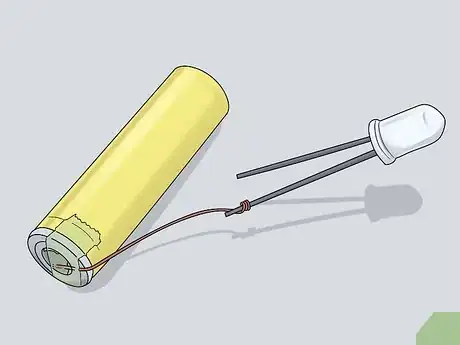
2Wire 1 terminal of a battery to the bottom of the bulb with a copper electrical wire. Set a household battery and your LED bulb on a flat work surface. Place 1 end of a copper electrical wire against 1 of the battery’s terminals and tape it in place with electrical tape. Tape the other end of the wire to the bottom of the LED bulb.[2]
- You can use any standard household battery, such as a AA, AAA, C or D battery, which are all 1.5V batteries.
- You could also just hold the wire in place if you don’t have any electrical tape to temporarily connect them. There is no risk of getting electrocuted by such a low voltage.
Tip: If you want to make a more permanent connection, you can solder the wire in place.
Advertisement -
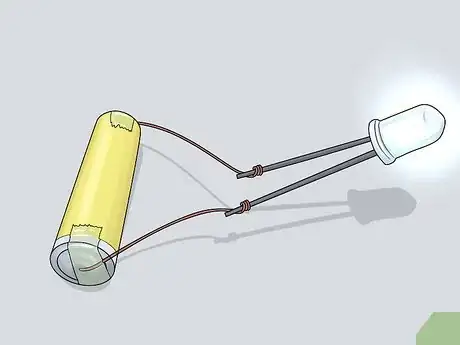
3Tape a wire to the battery’s other terminal and touch it to the side of the bulb. Place 1 end of a copper electrical wire against the second terminal of the battery and tape it in place with electrical tape. Put the other end against the side of the bulb’s base to light up the LED light and tape it in place if you want to keep the bulb lit.[3]
- The bulb lights up because you are making a complete electrical circuit between the positive and negative terminals of the battery and the 2 wires that are inside the light bulb’s base.
- You can also try this experiment with just 1 wire by touching the light bulb directly to 1 of the batteries terminals for 1 of the connections. For example, if you tape an electrical wire between the bottom of the bulb and 1 of the batteries terminal, you can light up the bulb by touching the side of the bulb’s base to the other terminal.
Adding Variations to the Experiment
-
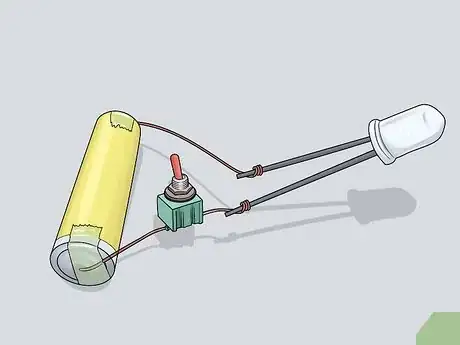
1Add a toggle switch to your circuit to turn the bulb on and off. Buy a small toggle switch with hookups for electrical wires. Wrap the end of 1 of the copper electrical wires connected to the battery around the toggle switch’s power terminal. Use an additional electrical wire to connect the side of the toggle switch labelled for accessories to the LED bulb.[4]
- A toggle switch is an electrical switch with a knob that you can flip back and forth to turn an accessory on and off. It works by blocking or connecting 2 wires in the electrical circuit.
-
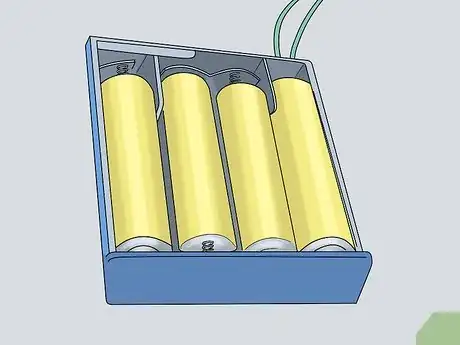
2Get a battery holder to make the experiment more portable. Purchase a battery holder for the size of battery that you are using in your circuit. Place the battery inside the holder, then connect the 2 electrical wires coming out of the holder to the side and bottom of the lightbulb.[5]
- Most battery holders have an ON/OFF switch, so you can both carry your experiment around and turn the light bulb on and off easily!
Tip: You could also get a miniature bulb holder to make your experiment even more sleek and portable!
-
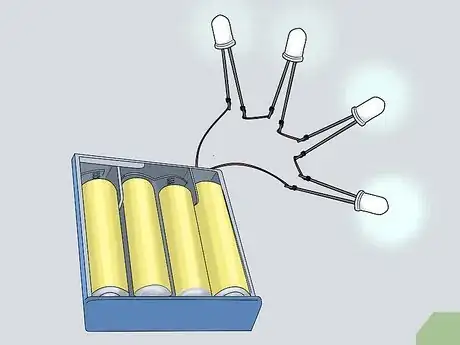
3Try adding additional bulbs and batteries. Wire multiple batteries together by taping copper electrical wires between the positive terminal of 1 battery and the negative terminal of the next battery in the series. Try seeing how multiple batteries affect the brightness of a single bulb, or add in more light bulbs by connecting them to any battery in the circuit.[6]
- If you choose to add more light bulbs into the circuit, it doesn’t matter which batteries you connect them to. Since all of the batteries are wired together, they essentially work as a single more powerful battery.
- Keep in mind that if you use too many batteries to power just 1 light bulb, you could blow it out. For example, if you use 6 1.5V household batteries to power a single 3V light bulb, it might blow out. This is not dangerous to you, but the light bulb won't work anymore.
Making a Lemon Battery
-
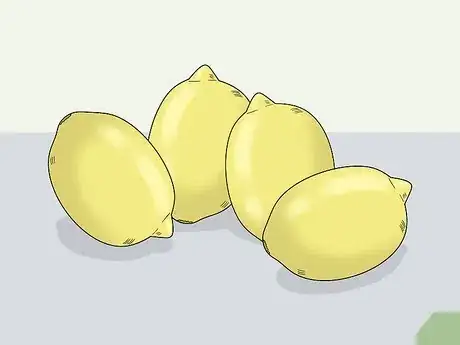
1Use 4 or more lemons and a low-voltage LED bulb of 3V or less. The more lemons you use, the more powerful your lemon battery will be. Use a small LED bulb that is less than 3V or the lemons will not provide enough power to light it up.[7]
- An LED bulb from a small flashlight or a small diode, like from a string of Christmas lights, works well for this experiment.
- The lemon juice inside the lemons provides an acidic solution to create a battery, like battery acid does inside normal batteries.
- Once you try this experiment with lemons, you can experiment with other acidic fruits or even potatoes![8]
-
2Roll the lemons around between your hand and a hard surface. Place a lemon on a hard surface like a table, then apply pressure with the palm of your hand. Roll it back and forth on the table, applying pressure the whole time, to release the juices inside. Do this for each lemon you are using.[9]
- This will ensure that the metals you insert inside of the lemons will make contact with as much acidic lemon juice as possible.
-
3Insert 1 small strip of copper wire and 1 galvanized nail into each lemon. Poke a straight piece of copper wire into 1 end of each lemon and 1 galvanized nail into the other end, so that the wire and nail reach about the middle of the lemon. Leave enough of each piece sticking up that you will be able to wrap electrical wires around them.[10]
- It doesn’t matter how long the pieces of wire and nails are, as long as you can stick them far enough into the lemons and there is still enough sticking up to connect electrical wires to.
-
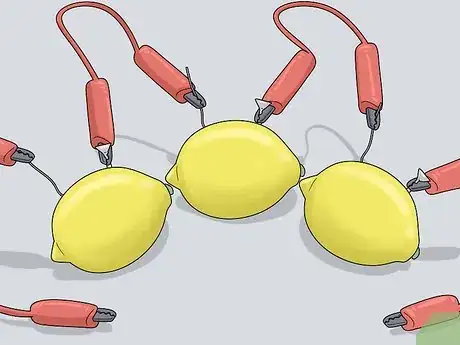
4Chain the lemons together by running wires between the copper and nails. Wrap 1 end of a copper electrical wire tightly around the galvanized nail in 1 lemon. Coil the other end tightly around the copper wire in another lemon. Repeat this for all the lemons to create a chain.[11]
- Make sure that the first lemon in the chain has a free piece of copper while the last lemon in the chain has a free nail.
Tip: You could also use electrical wires with alligator clips to make these connections.
-
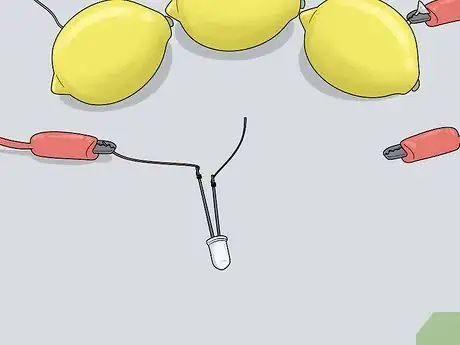
5Wire the free copper on the first lemon to the bottom of the LED bulb. Wrap 1 end of a copper electrical wire around the piece of copper in the lemon at the front of the chain. Touch the other end of the wire to the bottom of the bulb.[12]
- You could tape the wire to the bottom with a small piece of electrical tape if you want to hold it in place.
- If you are using an LED diode that has 2 legs instead of a bottom, just wrap this wire around the longer of the legs.
-
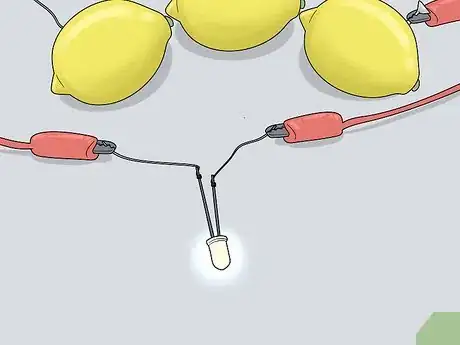
6Put a copper wire between the free nail in the last lemon and the side of the bulb. Wrap 1 end of a copper electrical wire around the galvanized nail in the lemon at the back of the chain. Touch the other end of the wire to the side of the bulb to light it up.[13]
- If you’re doing this experiment with an LED diode that has 2 legs instead of a side that you can touch the wire to, wrap this wire around the shorter of the legs.
- Since lemon batteries don’t produce a lot of power, the light will probably be pretty dim. You can experiment by using more lemons to make a more powerful battery and see how much brighter you can get the bulb to light up.
Things You’ll Need
Powering a Bulb with a Normal Battery
- Low-voltage LED bulb
- Household battery
- Copper electrical wire
Adding Variations to the Experiment
- Toggle switch
- Battery holder
- Low-voltage LED bulbs
- Household batteries
- Copper electrical wires
Making a Lemon Battery
- Low-voltage LED bulb
- Lemons
- Copper wire
- Galvanized nails
- Copper electrical wire
References
- ↑ https://van.physics.illinois.edu/qa/listing.php?id=574&t=powering-a-light-bulb-with-a-battery
- ↑ https://sciencing.com/light-bulb-work-battery-4798212.html
- ↑ https://sciencing.com/light-bulb-work-battery-4798212.html
- ↑ https://www.youtube.com/watch?v=SU-lbgSUA3Y
- ↑ https://sciencing.com/light-bulb-work-battery-4798212.html
- ↑ https://sciencing.com/light-bulb-work-battery-4798212.html
- ↑ https://www.rookieparenting.com/lemon-powered-light/
- ↑ https://sciencing.com/potato-light-bulb-experiment-kids-12105514.html
- ↑ https://www.rookieparenting.com/lemon-powered-light/
