X
wikiHow is a “wiki,” similar to Wikipedia, which means that many of our articles are co-written by multiple authors. To create this article, volunteer authors worked to edit and improve it over time.
This article has been viewed 65,503 times.
Learn more...
Before using clay for a project, you need to prepare it by kneading it, also known as wedging. Kneading clay properly will make it easier to work with and will eliminate air bubbles. Upper body strength and strong hands are helpful when kneading clay. Use these tips to knead clay.
Steps
-
1Purchase a quality clay. Find a clay that is soft enough to shape with ease. It should be hard enough that it won't stick to your hands when you draw them away from the clay. The clay should be consistent in color.
-
2Select a porous kneading surface. Thick canvas cloth or dry concrete are suitable kneading surfaces. Canvas will keep the clay from sticking to tables and other surfaces. Ensure that the surface is clean, and is at a height that will allow you to be comfortable when pressing down on the clay.Advertisement
-
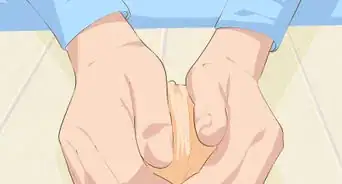
3Press the clay.
- Throw the clay down forcefully onto the kneading surface.
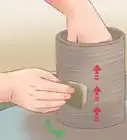
- Bear down on the clay using the weight of your upper body. Do not flatten the clay completely. Push the clay down about halfway to the kneading surface.
- Draw the clay towards you. Pull the clay up into a pile.
- Push down on the clay until you have flattened it halfway. Ensure that you do not press the clay past the middle section of the lump. Flattening the clay completely may result in air bubbles being trapped in the clay.
- Continue to draw and press the clay ten times more.
-
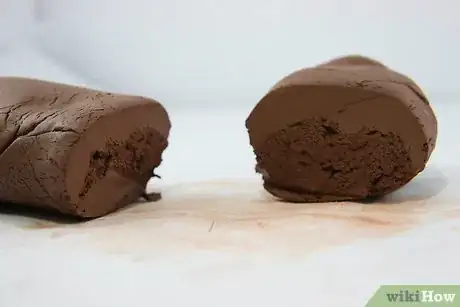
4Cut the clay. Use a clay cutter to slice the lump of clay in half.
-
5Layer the clay.
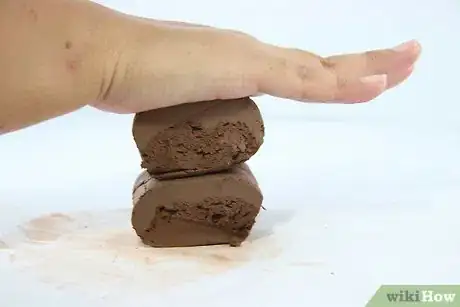
- Slap one cut half of clay forcefully on top of the other. Press the top half of clay into the bottom half. Ensure that you do not leave space where air may get caught between the two halves.
- Arrange the halves so that their cut edges are both facing out to the left or right side when pressed together. Aligning the halves of clay will help free the clay of air bubbles. Cutting the clay and rearranging the layers ensures that all parts of the clay mix together evenly.
-
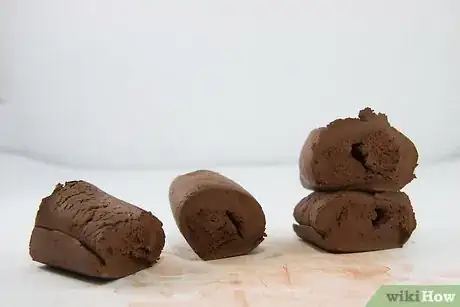
6Alternate kneading the clay with cutting and layering it until you have kneaded the clay between 50 and 60 times.
-
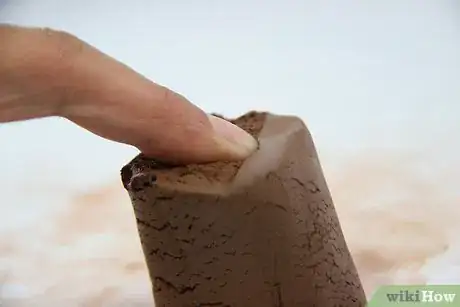
7Check the clay's readiness. Cut the clay using a clay cutter. Draw your finger over the surface of the cut edge on one of the halves of clay. The clay should be smooth and should display the same texture and color throughout the ball. If there are any rigid or weak spots or obvious lumps, continue kneading the clay before sculpting it.
Advertisement
Community Q&A
-
QuestionCan use pottery clay instead of a modeling clay?
 Abraham Emmanuel RenardCommunity AnswerIt depends on the purpose you want to use it for. Different clays have different purposes.
Advertisement
Warnings
- It is difficult work with clay on a potter's wheel when the clay contains air bubbles. If you do not release air from the clay, your finished product may have lumps in it. Air bubbles may also cause pieces to explode during firing.⧼thumbs_response⧽
Advertisement
Things You'll Need
- Clay
- Kneading surface
- Clay cutter
References
About This Article
Advertisement
