This article was co-authored by wikiHow staff writer, Sophia Latorre. Sophia Latorre is a Content Manager on the wikiHow team. Before joining wikiHow, Sophia worked as a technical editor and was published in six International Energy Agency (IEA) Wind Annual Reports. Now, she writes, edits, and reviews articles for the wikiHow Content Team, working to make the content as helpful as possible for readers worldwide. Sophia holds a BA in English from Colorado State University.
There are 7 references cited in this article, which can be found at the bottom of the page.
This article has been viewed 77,933 times.
Learn more...
You may find yourself in a pickle when you don’t have an ironing board and the garment you need is full of wrinkles. Don’t worry, there are several things you can do to get that item looking great quickly. The easiest solution is to cover a flat surface with a heat-resistant fabric for a makeshift ironing board. You can also try a few alternatives, like ironing on an ironing blanket or magnetic ironing mat, or even using a hair straightener to press out small wrinkles.
Things You Should Know
- Make a DIY ironing board by covering a sturdy, flat surface with heat-resistant fabric, like linen, wool, or canvas.
- Make sure the surface itself is heat-resistant. A wooden, tile, or metal surface works best.
- If you don't have a surface to iron on, try steaming your clothes in the bathroom with a hot shower running or tossing them in the dryer for 10 minutes.
Steps
Choosing a Safe Surface
-
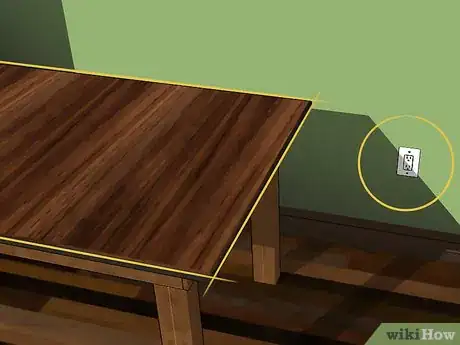
1Find a flat, even surface at a comfortable height. The surface should be completely flat and level, like a floor or table. Choose something as large or larger than the garment you plan to iron, if possible. It should also be at a comfortable height and near an electrical outlet to plug in your iron.[1]
-
2Choose a heat-resistant surface like wood or tile. Even if you cover it with fabric, the surface itself should still be heat-resistant. Choose something made from wood, tile, or metal, if possible. Avoid anything made from plastic, which could be melted from the heat of the iron.[2]
- Never iron directly on the surface! Cover it with heat-resistant fabric, first.
Advertisement -
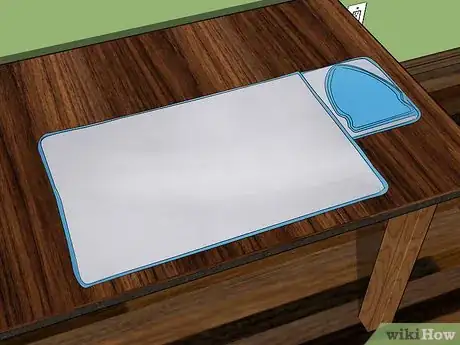
3Cover the surface with heat-resistant fabric. Choose a heat-resistant fabric, like linen, wool, or canvas, to do your ironing on. You could also use a thick terry cloth towel or even a flannel blanket. Avoid using delicate fabrics, like lace or rayon, which could be scorched or melted.[3]
-
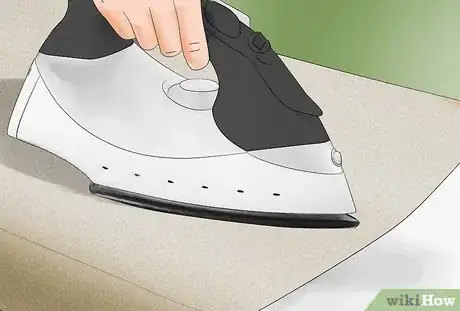
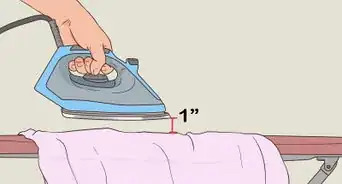
4Iron the garment carefully. Plug in and heat the iron to the setting recommended on the garment’s care tag. Carefully iron the garment, checking every so often to be sure the fabric and surface do not get too hot. Never leave your iron unattended or lying face down. Be sure to turn off and unplug the iron when you are finished.
- Wait until the iron has cooled completely before storing it, and take care not to trip over the cord.
Finding Alternatives
-
1Use an ironing blanket. An ironing blanket can turn just about any surface into a suitable spot for ironing. Pick one up from a superstore or order one online. Place it on top of a flat and sturdy surface, like a dining room table or a desk. You can even lay it on your bed or floor, if you want. You’ll be able to iron anywhere![4]
-
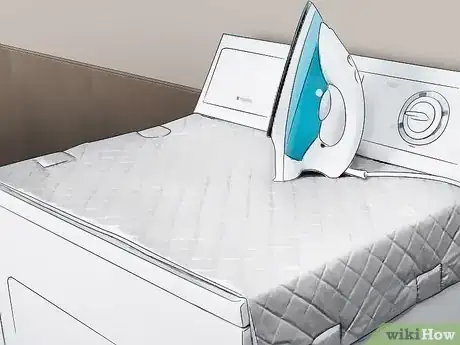
2Make or buy a magnetic ironing mat. Place it on top of your clothes dryer. The magnets keep the mat in place and the thick fabric prevents too much heat from transferring to the metal.[5] You could also make one yourself by layering three 39 in (99 cm) by 18 in (46 cm) pieces of 100% cotton fabric (top), 100% polyester (middle), and 100% cotton fabric (bottom). Sew the layers together, with a magnet sewn into each corner.[6]
- These materials should be available from your local craft or fabric shop.
-
3Make a portable ironing board. Choose a piece of wood with the approximate dimensions of 36 in by 24 in (91 cm by 61 cm). Wrap the board in foam or quilt batting and staple it to the bottom. Cover the board in heat-resistant fabric, such as linen or canvas, and staple it to the bottom. Then, simply lay it on a sturdy surface before ironing on it.[7]
- Use an old shelf or a spare piece of plywood for the board.
- Foam, batting, and fabric can be found at your local fabric and craft stores.
Removing Wrinkles without an Iron
-
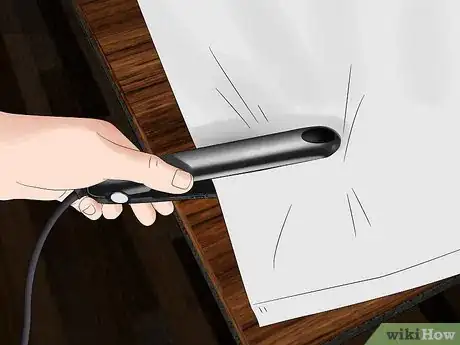
1Use a hair straightener for a few small wrinkles. If you just need to make a collar lie flat or get a small crease out of your dress shirt, you can use a hair straightener. Determine the appropriate heat setting by reading the garment tag. Once the iron is hot, press the wrinkled part of the garment between the plates for a few seconds at a time.[8]
- Make sure the hair straightener is clean and doesn’t have any product residue on the plates.
-
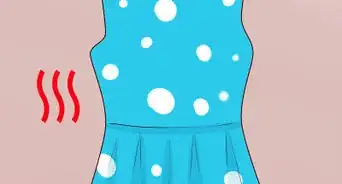
2Hang wrinkled clothes in the bathroom while showering. The steam and heat from the shower will help the wrinkles fall out of your clothes. Hang the item as close to the shower as you can without letting it get wet. Close the bathroom door to keep the steam in. When you get out of the shower, pull the fabric tight to ensure it is wrinkle-free and ready to wear.
- If you don’t want or need to shower, simply hang the garment in the bathroom, turn your shower to hot, and let it run for a few minutes with the door closed.
-
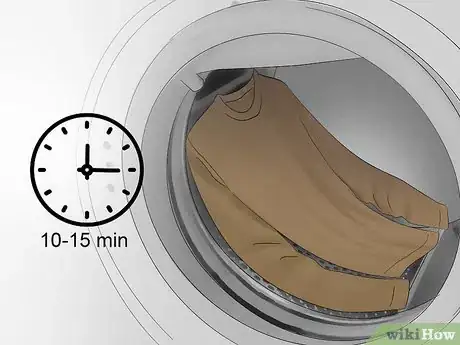
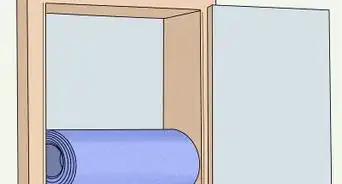
3Toss wrinkled garments in the dryer for 10 to 15 minutes. The heat from a dryer can easily remove wrinkles from your clothing. Some dryers have a specific setting for removing wrinkles, but if yours doesn’t, you can put it on the highest setting the fabric will allow for 10 to 15 minutes.
- You can add a slightly damp towel to the dryer if your garment is especially wrinkled. The moisture will help smooth out the fabric.
-
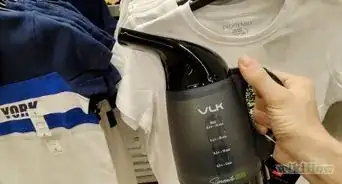
4Use a clothes steamer to remove wrinkles from clothes. Obtain a clothes steamer, fill the reservoir with water, and plug it in. Once it’s heated up, hang the wrinkled garment up and run the steamer down the garment in long strokes. Allow the clothing to dry before putting it on.
- Check the garment tag before steaming to ensure the fabric won’t get damaged.
-
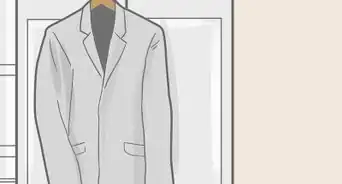
5Hang up your clothes instead of folding them. After laundering an item, promptly hang it in your closet. Hanging creates less wrinkles than folding clothes and stacking them in drawers. Choose padded hangers to keep your garments from creasing or losing their original shape.[9]
- Heavy items, like jeans, can be folded without acquiring wrinkles.
-
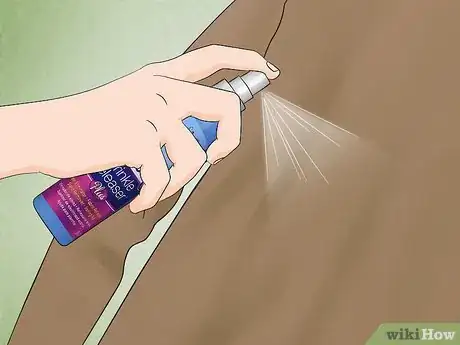
6Try a wrinkle-release spray if you’re in a pinch. Select a wrinkle-release spray, like Downy Wrinkle Releaser Plus or Mary Ellen’s I Hate Ironing! Spray Wrinkle Remover, from your fabric shop or superstore. Hang the garment or lay it flat and pull the wrinkled fabric taut with one hand. With the other hand, spritz the wrinkle-release spray generously over the wrinkled areas. Use your hand to smooth out the damp fabric.[10]
- Keep the spray a few inches from the fabric and be careful not to moisten it too much if you plan on wearing it immediately.
References
- ↑ https://www.thespruce.com/iron-without-an-ironing-board-2146172
- ↑ https://www.thespruce.com/iron-without-an-ironing-board-2146172
- ↑ https://www.thespruce.com/iron-without-an-ironing-board-2146172
- ↑ https://www.thespruce.com/iron-without-an-ironing-board-2146172
- ↑ https://www.realsimple.com/work-life/life-strategies/problem-solving-products-43#magnetic-ironing-blanket
- ↑ http://abeautifulmess.com/2015/06/magnetic-ironing-mat-diy.html
- ↑ http://www.patchworkposse.com/portable-ironing-board-tutorial/
- ↑ http://laundry.reviewed.com/news/6-ways-to-iron-your-clothes-without-an-iron
- ↑ http://stylecaster.com/what-clothes-to-hang-and-fold/
About This Article
If you need to iron something but don’t have an ironing board, you can create a makeshift ironing board. Find a flat, even surface, like the floor or a table, and make sure it’s larger than your garment and near an outlet. You’ll also want to pick a surface that’s heat-resistant, like wood or tile. Avoid things made out of plastic, which could melt. Cover the floor or table with a heat-resistant fabric, like linen, wool, or canvas. While ironing, check to make sure that the fabric and surface aren’t getting too hot or burned. To learn how to remove wrinkles without an iron, keep reading!
