X
This article was co-authored by wikiHow Staff. Our trained team of editors and researchers validate articles for accuracy and comprehensiveness. wikiHow's Content Management Team carefully monitors the work from our editorial staff to ensure that each article is backed by trusted research and meets our high quality standards.
This article has been viewed 23,487 times.
Learn more...
A portable ironing board is an easy DIY project, and you can repurpose things you have lying around the house to build it. Lay it on any table to iron-on crisp creases without having to pull out squeaky table legs. Acquire the right size board, add some foam or an old towel, and staple heavy fabric over the top.
Steps
Part 1
Part 1 of 3:
Measuring the Board and Fabric
-
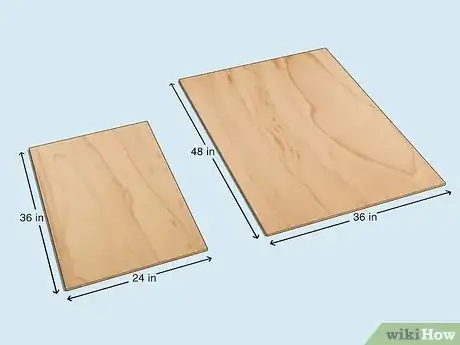
1Find a board between 36 x 24 in (91 x 61 cm) or 48 x 36 in (122 x 91 cm). Remember not to make your ironing board too big, so you keep it portable. Use an old wood shelf that’s not bigger than 48 x 36 in (122 x 91 cm) or purchase plywood at your local lumber store. Make sure the plywood is between 1⁄2 and 3⁄4 inch (1.3 and 1.9 cm) thick so it’s not too heavy.[1]
-
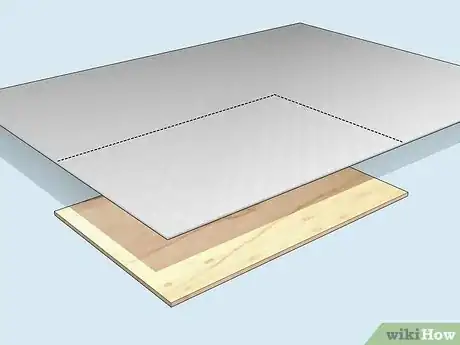
2Measure out the board’s cushioning. You can use an old towel or quilt batting for the cushioned part of your ironing board. Use a cotton/polyester blend if you decide on batting and double the thickness of any towel you use. Trace the size of batting to fit on the top and sides of your board.[2]Advertisement
-
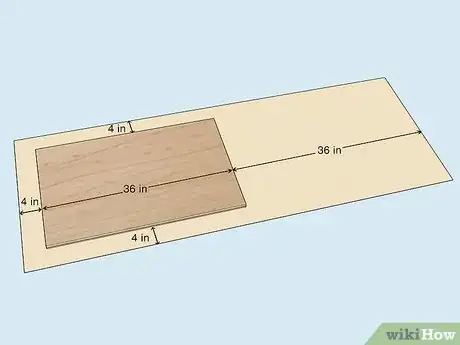
3Measure and cut the thick fabric covering. The fabric you use to cover the ironing board should be heavy, so it can withstand lots of high heat from your iron. Choose duck-cloth or linen fabric. Measure the fabric covering to be twice the size of the board’s length and 4 inches (10 cm) wider on the remaining three sides.[3]
Advertisement
Part 2
Part 2 of 3:
Wrapping the Board with Batting and Fabric
-
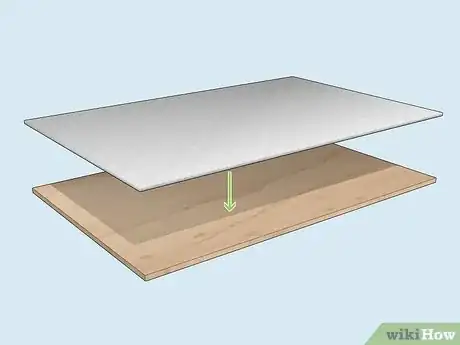
1Place the batting or the towel over the top of the board. Place the ironing board’s cushioning just right before you wrap the top fabric around it snugly. Position the batting or towel directly in the middle of the wood board.[4]
-
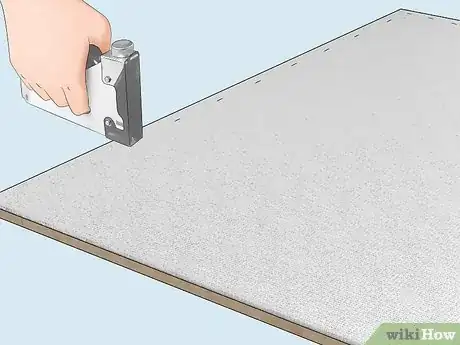
2Staple the batting. If you want to make sure the cushioning doesn’t move around when you wrap the fabric, secure it with staples on the sides. Use a staple gun to staple the cushioning in the middle of each side of the board. Use light tension to pull the towel or batting tight on each side. Don’t worry about pulling it too tight, because the fabric will flatten the cushioning out.
-
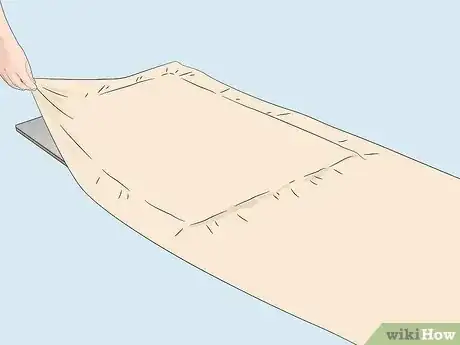
3Lay one long side of fabric over the top of the cushioned board. Position one of the longest ends of your cut fabric over the top of the cushioning and the board. Place the fabric so that the board lays directly in the middle of it and so that the 4 inches (10 cm) around the three remaining sides is even.
-
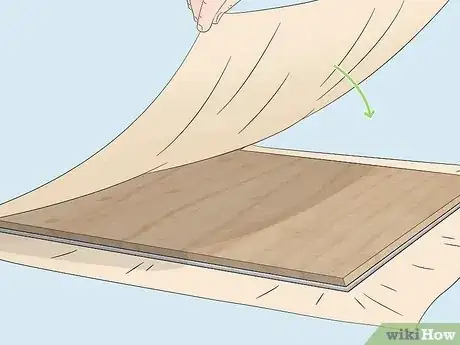
4Flip the entire board over and fold the longest fabric end. Hold the fabric in place while you flip the board upside down. Spread the ends of the fabric out on your workspace and fold the longest piece of fabric over the backside of the board first.
Advertisement
Part 3
Part 3 of 3:
Stapling it All Together
-
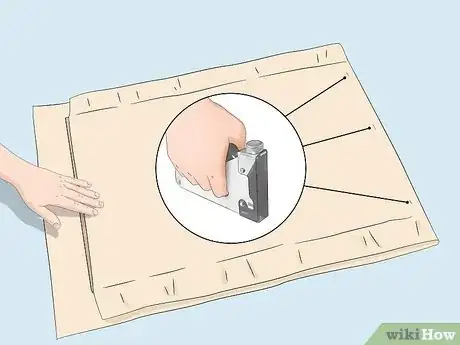
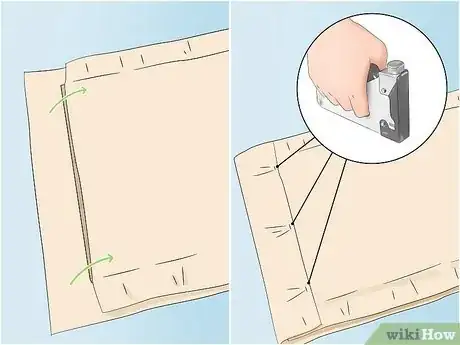
1Hold the long fabric piece tight while you staple. Pull the longest fabric piece that’s not on top of your wood board tight as you staple it down on the opposite side. Use a staple gun to place three staples near the edge of the far end of the board.
-
2Fold the opposite end of fabric. Fold the 4 inches (10 cm) piece of fabric opposite from the long piece you just stapled. Pull the fabric tight while you staple it down with three equally spaced staples along the edge.
-
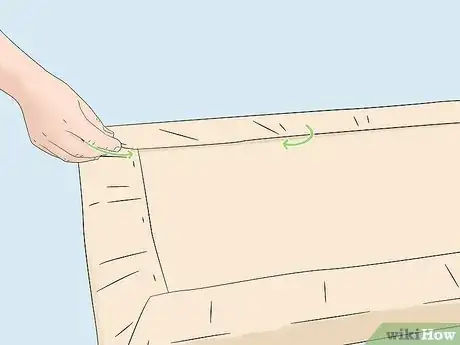
3Tuck each remaining edge of fabric in. Before you fold the two leftover sides of fabric, tuck each edge in. Do this by tucking the edge of fabric inwards and towards the board, so that it folds in a small triangle shape. Staple the corners down.
-
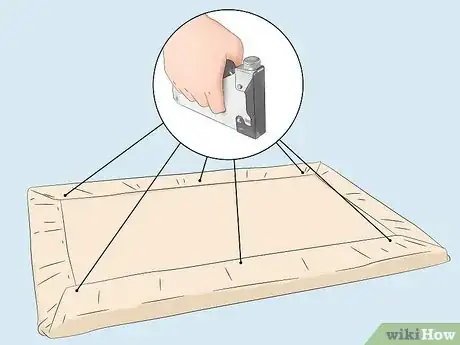
4Secure and pull the two leftover sides tight. Pull the middle of the two sides of fabric you just tucked to keep the fabric nice and flat on your new ironing board. Place one to two staples towards the middle of each on the backside of the board.
Advertisement
Things You’ll Need
- Old wood shelf or plywood board
- Cotton/polyester blend quilt batting or old bath towel
- Duck-cloth or linen fabric
- Scissors
- Staple gun
References
- ↑ http://www.dreamalittlebigger.com/post/diy-ironing-board.html
- ↑ https://www.createforless.com/buying-guides/sewing-and-quilting/quilt-batting-types-and-how-to-choose-the-right-one.aspx
- ↑ http://www.patchworkposse.com/portable-ironing-board-tutorial/
- ↑ http://www.hobbyfarms.com/diy-mini-ironing-board/
About This Article
Advertisement
