X
wikiHow is a “wiki,” similar to Wikipedia, which means that many of our articles are co-written by multiple authors. To create this article, volunteer authors worked to edit and improve it over time.
This article has been viewed 92,370 times.
Learn more...
Using an SSD (Solid-State Drive) can really boost your computer's speed and make programs installed on the disk load significantly faster. If you want your computer to be faster, you can install an SSD into your desktop computer easily on your own.
Steps
Part 1
Part 1 of 3:
Preparing for Installation
-
1Make sure your computer is fully powered off. Do this by clicking the Windows icon in the lower left, and then selecting “Shut down.”
-
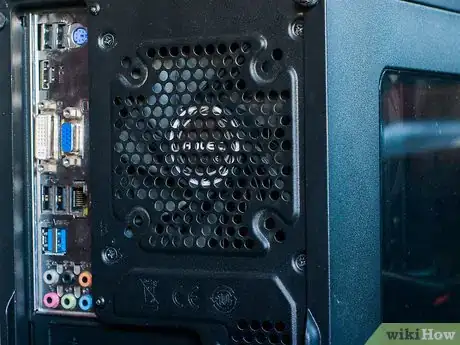
2Remove the cables attached to your computer. Once your computer is off, you need to remove all the cables from the back of your CPU tower.
- To easily remember where all the cables should go, take a picture of the cables while they are still hooked up and use it as an easy reference when you place them back again later.
Advertisement
Part 2
Part 2 of 3:
Installing the SSD
-
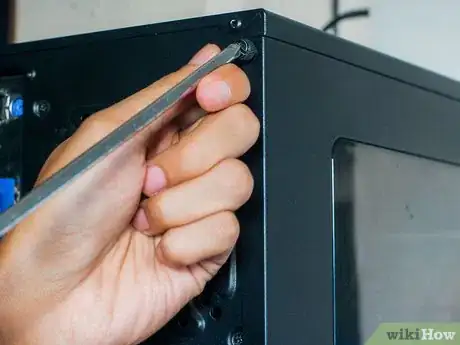
1Remove the side panel from the CPU tower. You can tell which panel you can remove by looking at the rear of the tower, unscrewing the screws along the edges, and sliding the panel off.
-
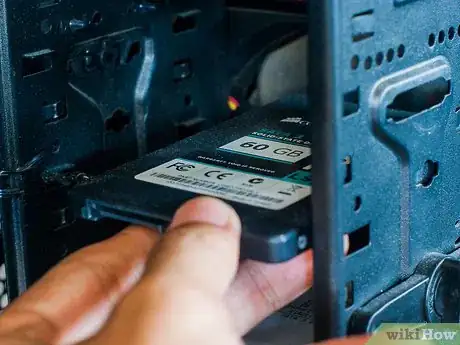
2Attach the SSD. Grab your SSD and screw it onto a vacant drive bay inside your CPU case.
-
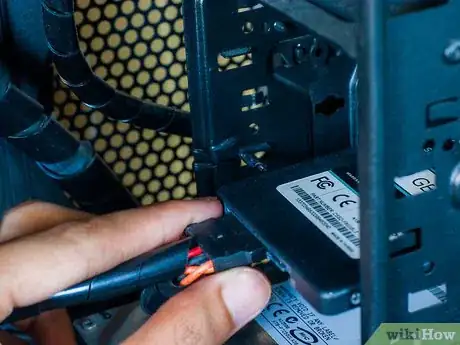
3Connect a power cable to the SSD. Take a power cable from your power supply, which should have a flat connector, and connect it to the matching terminals in your SSD.
-
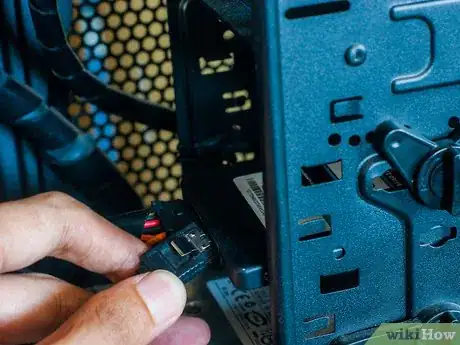
4Attach a SATA connector. Take a SATA connector, which typically has a flat red cable and black ends, and plug it into the smaller terminals on your SSD.
Advertisement
Part 3
Part 3 of 3:
Turning on Your Computer
-
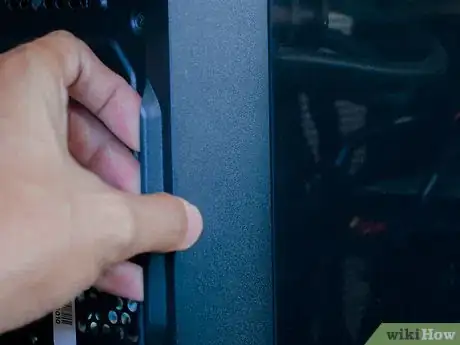
1Return the side panel to the CPU tower. Just slide the panel back on and firmly screw it in place at the back of the CPU tower.
-
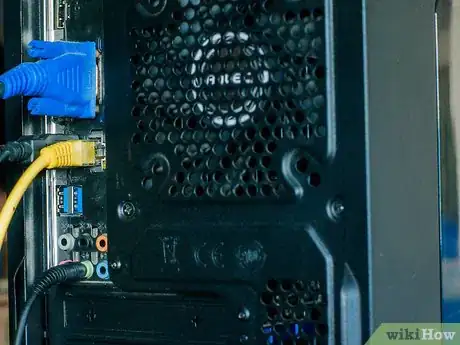
2Reattach all the cables to the CPU tower. Refer to the picture you took, if indeed you took one, to hook up all the cables you removed from the back of the CPU tower.
-
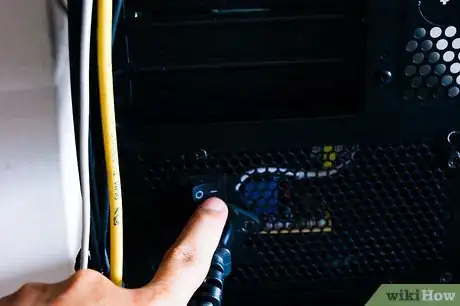
3Power on the computer. Turn your computer on by pressing the Power button and waiting for the computer to boot up.
-
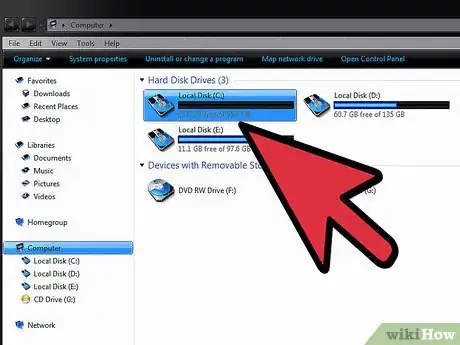
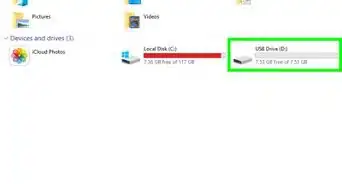
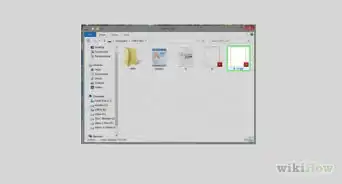
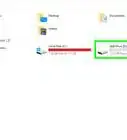
4Check out the new SSD drive. When Windows is loaded, head to My Computer by clicking on the Orb or Windows icon on the bottom-left corner of the screen and then clicking “Computer” or “My Computer” from the menu. You should see a new drive available for you to use among the other drive partitions you had before.
- You can now paste and install programs into the new drive for improved performance.
Advertisement
Community Q&A
-
QuestionWhere do I get an SSD and does it work for a Dell laptop?
 Community AnswerYou can buy an SSD on the internet or at an electronics store. You would have to take out the hard drive (usually on the side and opens with a few screws) copy all your data on to the SSD first that so you don't lose any data. Put the SSD into the hard drive case and reinsert, screw in the screws and you're done!
Advertisement
About This Article
Advertisement

