This article was co-authored by James Mansfield and by wikiHow staff writer, Jennifer Mueller, JD. James Mansfield is a Construction and Design Specialist and the CEO of WestVillage General Contracting, a high-end and luxury design/build firm in New York City. James specializes in apartment, bathroom, and kitchen remodeling as well as fine cabinetry, lighting, paint, and wallpaper. James has developed a proprietary system of construction called the Luxury Build Method that hinges on a skilled team, respected partnerships, and clear, transparent communication. WestVillage GC has completed more than 500 commercial and residential projects in New York with designers such as David Scott Interiors and Fox Nahem, Kelly Behun. WestVillage GC is also a preferred contractor for Related buildings including Hudson Yards.
This article has been viewed 64,179 times.
If you want to bring more sunlight into your home, a sliding glass door is a great option. But can you install it yourself? As long as you have a little home improvement experience and are confident, you sure can! In fact, this DIY project usually only takes a few hours. Knock it out on Saturday morning and you'll have the rest of the weekend free to enjoy your new door. Read on to learn everything you need to know for this project to run smoothly.
Things You Should Know
- Measure the rough opening from stud to stud to ensure the best fit for your new sliding glass door.
- Place flashing on the sill to keep your door from leaking.
- Install the new door from the outside by setting the bottom into the track and then tilting it up.
- Add insulation around the door before replacing the trim to stop drafts.
Steps
Preparing the Opening
-
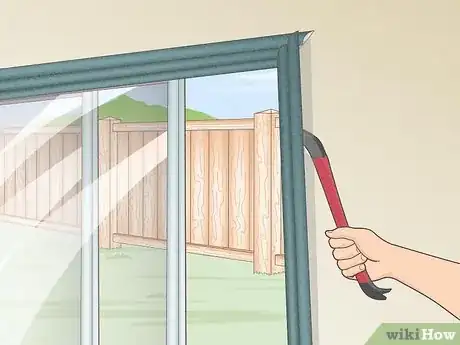
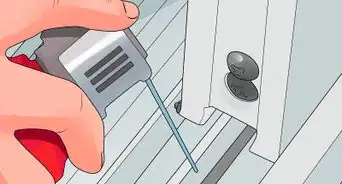
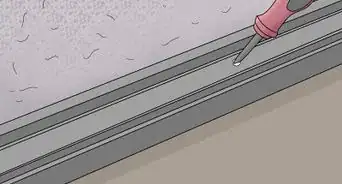
1Pry off the interior and exterior trim. Use your utility knife to cut through the caulk, then pry the trim off with a pry bar. Work slowly and carefully to avoid damaging your wall and be on the lookout for any staples that might've been used to hold the pieces together.[1]
- Unless you're also replacing the trim, set it to the side so you can put it back on after you install your new door.
-
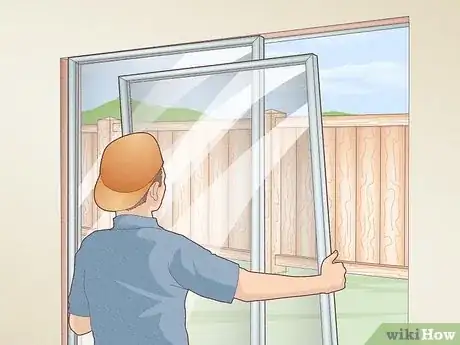
2Take out the old door and its frame. Grasp one side of the door firmly with both hands. Lift it straight up from the track, then tilt it out to remove it. Do the same thing with the other side of the door. Then, you can remove the nails or screws to take out the frame.[2]
- Each door can weigh 100 pounds (45 kg), so get someone to help you remove the old door and set it aside.
Advertisement -
3Clear away any nails or old hardware from the doorway. With the old frame out of the way, you likely have some nails and other attachments still hanging in the old doorway (called the rough opening). Remove those and scrape off any leftover caulk.[3]
- Get rid of any boards or shims that might've been added to make the old door fit as well. You should have nothing but the studs on the sides and the header on the top.
-
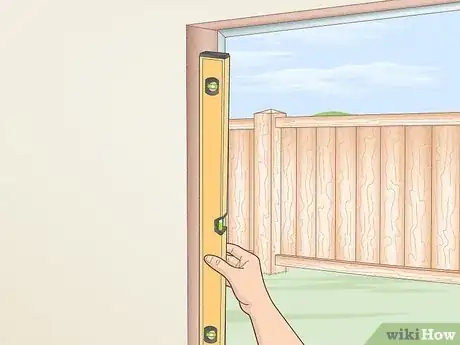
4Check the square, level, and plumb of the rough opening. Use your carpenter's level to make sure the sides are plumb and the top and bottom are level. To check the square, measure diagonally with your tape measure across the opening from the top left corner to the bottom right corner. Then, measure from the top right corner to the bottom left corner. If your rough opening is square, the two measurements will be the same.[4]
- Add shims where needed to correct so all four sides of the rough opening are plumb and square before you measure for your door.
-
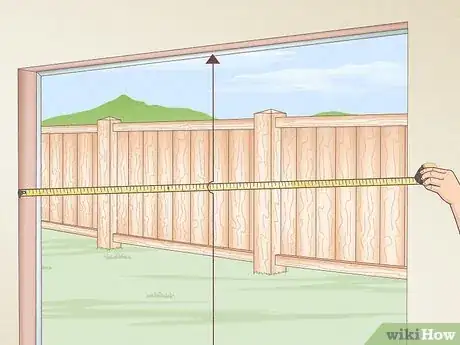
5Measure the height and width of the rough opening. Use your tape measure to get the height, width, and square (diagonal) of the rough opening. Measure the width from stud to stud and the height from the bottom of the header down to the subfloor. Write these measurements down so you can use them when you shop for a new door.[5]
- If your rough opening is square, level, and plumb, you should get the same measurements no matter where on the rough opening you measure.
Installing the Door
-
1Choose a pre-hung door for the easiest installation. Shop for a door that's between 1⁄2 and 3⁄4 in (13 and 19 mm) smaller than the height and width of your rough opening. Apart from the size, the price of your door can vary considerably depending on the materials.[6]
- When you get the door home, go ahead and take it around to where you're going to install it and leave it outside—you'll be installing it from the outside, so there's no need to try to get it inside the house.
-
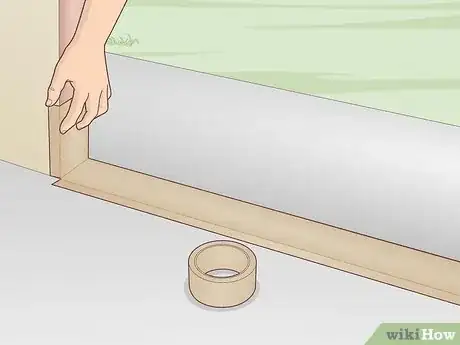
2Apply flashing tape to the bottom sill to waterproof it. Cut a strip of flashing tape 12 inches (30 cm) longer than the width of your rough opening. Press the adhesive side along the sill with at least 1 inch (2.5 cm) overhang. Cut a 1 inch (2.5 cm) tab at the corner so you can fold the overhang over. Fold the remaining 6 inches (15 cm) on either end up the side, folding the overhang over the same way as you did with the sill.[7]
-
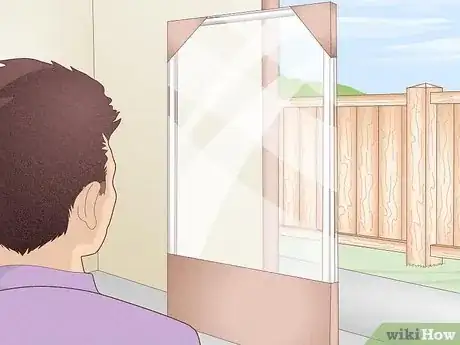
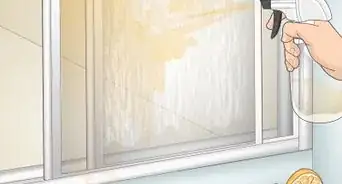
3Remove the door from its packaging and inspect it for damage or defects. If you notice anything before you install it, you can take it back and get a replacement for free. But if you don't notice something until after you've installed the door, you're usually stuck with it.[8]
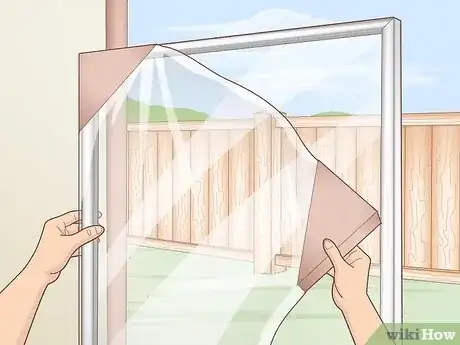
- Leave any protective film on the glass until you've finished installing the door.[9]
-
4Dry fit the door to make sure it fits in the rough opening. Stand up your door and angle the bottom into place, then lift the top until it's straight up and down. Have your friend hold the door in place while you check that it's plumb and level. Check the width of the door as well to make sure it's fully supported by the sill.[10]
- Check the installation instructions that came with the door to make sure you have it facing the right way. They'll tell you if the door is meant to open from right to left or from left to right.
-
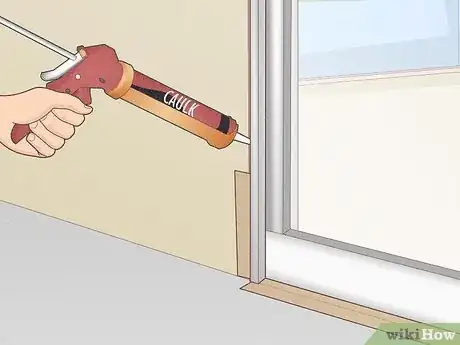
5Prep the sill with caulk and set the door in place from the outside.[11] Run caulk along the sill. Then, have your friend help you lift the sliding door. Start from the bottom, then angle the top into place, just as you did with the dry fit.[12]
- The caulk will help stabilize the door, but one of you still needs to support it until it's fully secured.
-
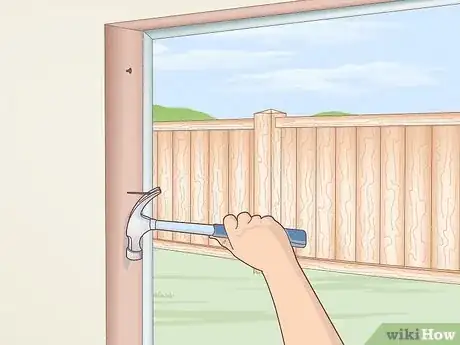
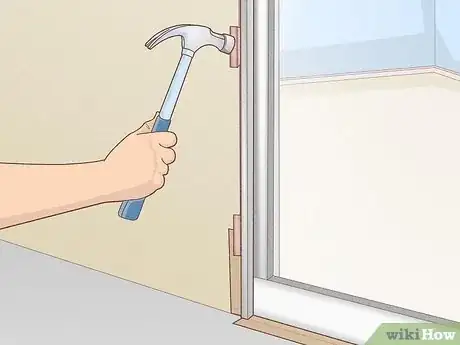
6Set shims every 12 in (30 cm) around the door to secure it. Tap each shim in with your hammer so that it's tight. If the shims are sticking out at all, cut them away with your utility knife so they're flush with the door.[13]
- Use roofing or finishing nails to secure the shims. Countersink the nail heads so they don't stick out beyond the shim.
-
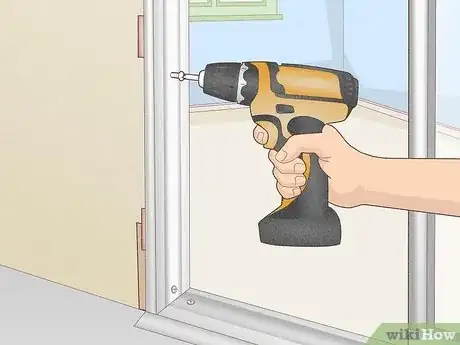
7Screw the frame in place. Add a drop of caulk in the hole, then set the screws. Screw them in about halfway, then check to make sure you're still plumb or level before you tighten them completely.[14]
- The screws will typically be included with the door. If they're not, the installation instructions for your door will tell you exactly what size nails or screws you need.
Trimming and Finishing Up
-
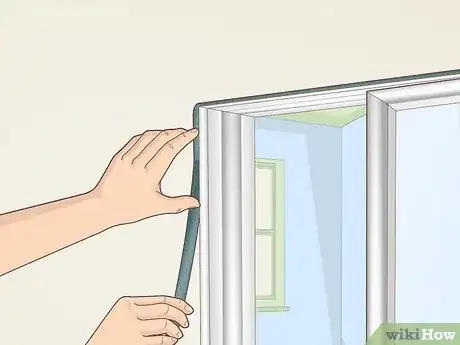
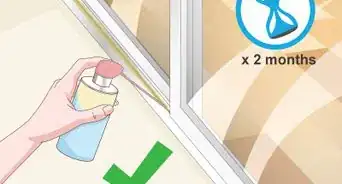
1Insulate around the frame. Start on the outside, placing foam backer rods in the gaps to allow the wood to shrink and expand with the seasons. Then, apply exterior-grade sealant around the entire perimeter of the door. Clean off the excess, then move inside. Apply low-expansion insulating foam sealant around the door on the inside, filling the space between the rough opening and the door.[15]
- Check the door when you're done to make sure it still opens and closes properly. If it doesn't, the foam has moved it. Check your plumb and level again, then cut away the foam and start over.
- Use shims to readjust the door as necessary if it's moved, then reapply your insulation.
-
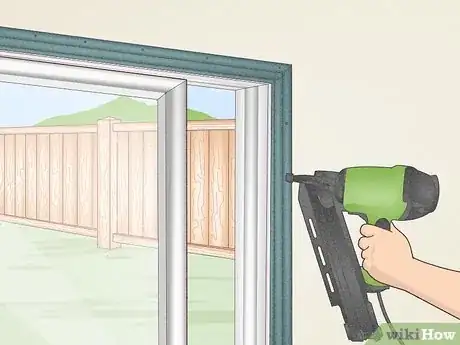
2Replace your trim. Unless you've bought new trim, you can use your old trim and the old nails and hardware that you removed. Start on the outside and fit the trim back on, then move inside and put that trim back.[16]
- If the shims are sticking out from the door on the inside, cut them down with your utility knife so the trim will fit properly.
-
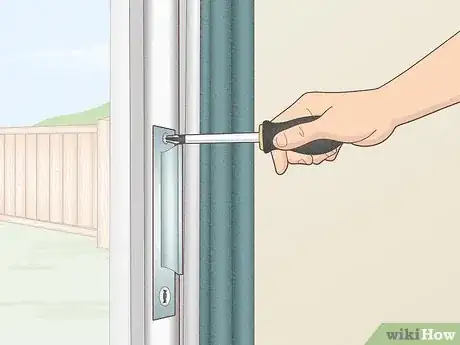
3Attach the door handles and locks. The handles and locks are included with your door along with all the hardware. Follow the instructions that came with your door to put these on so they work correctly.[17]
-
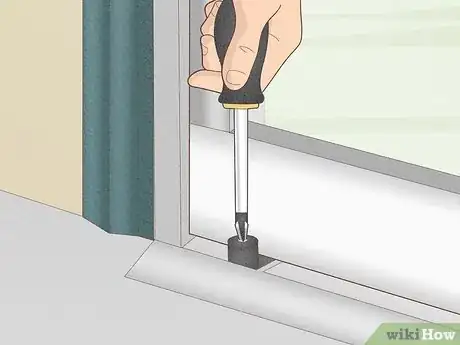
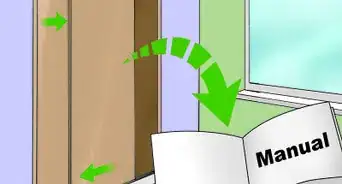
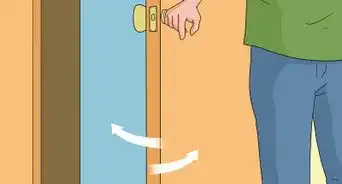
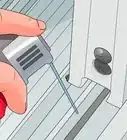
4Adjust the locks and panel rollers. Open and close the door a few times to test it. If it moves up and down on the track, use a screwdriver to adjust the rollers so the door fits tightly.[18]
- If you adjusted the door up or down, you might have to move the latch and locks so they fit as well.
-
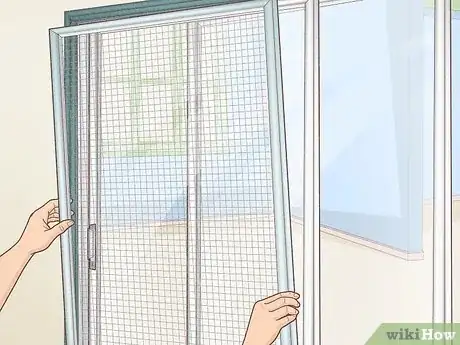
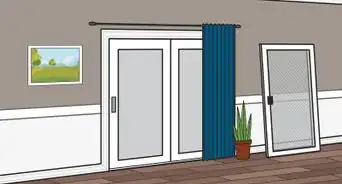
5Put in the sliding screen if you have one. Set the top of the screen in the top track of the door on the outside, then angle the bottom into place on the lower track. Adjust the rollers so the screen rolls smoothly on the track and can't move up and down.[19]
- For most sliding glass doors, you have to buy a sliding screen separately. They'll have a separate installation guide you can read through to make sure you're installing it properly.
-
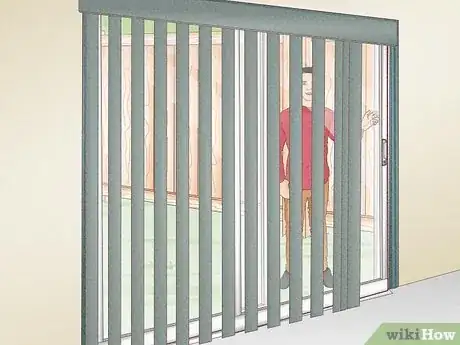
6Dress the area with blinds or drapes if you want. Now your door is completely installed, so you're free to add decorations. The right drapes or blinds give you more control over when the sunlight comes into your home as well as adding privacy.[20]
Community Q&A
-
QuestionHow do I put the "whiskers" on my patio door?
 wikiHow Staff EditorThis answer was written by one of our trained team of researchers who validated it for accuracy and comprehensiveness.
Staff Answer wikiHow Staff EditorStaff AnswerIf you're referring to the brush-style draft stoppers, these are typically bought separately and added after the door is installed. They go on the inside edges of the doors—the instructions that come with the draft stopper will tell you how to install them. Typically they have an adhesive backing, so you just stick them in place and trim off any excess.
 -
QuestionCan the total installation be done from the exterior?
 wikiHow Staff EditorThis answer was written by one of our trained team of researchers who validated it for accuracy and comprehensiveness.
Staff Answer wikiHow Staff EditorStaff AnswerNo, because you have to take off the trim on both the inside and outside of the rough opening. Then, once the door is installed, you'll need to add insulation to the inside before you replace the trim. That being said, you do install the actual door itself from outside, so there's no need to bring the door into the house.
 -
QuestionInstead of the door opening from right to left, we need to switch it to open from left to right. How do we do this?
 wikiHow Staff EditorThis answer was written by one of our trained team of researchers who validated it for accuracy and comprehensiveness.
Staff Answer wikiHow Staff EditorStaff AnswerSome sliding glass doors can be switched while others can't. Your options are either to buy a door that can be switched (which could be a little more expensive) or to buy a new door that opens from left to right. If you have a door that can be switched, the manufacturer's installation instructions will tell you how to switch the direction in which the door opens before you install it.
Warnings
- Get at least one other person to help you install the door to avoid injury. The door needs to be held stable until it's completely installed.[21]⧼thumbs_response⧽
Things You'll Need
Preparing the Opening
- Utility knife
- Pry bar
- Tape measure
- Carpenter's level
- Shims (as needed to plumb or level)
- Hammer
Installing the Door
- Pre-hung door
- Flashing
- Caulk
- Shims
- Roofing or finishing nails (for shims)
- Nails or screws (usually included with the door)
- Hammer
- Screwdriver (that matches included screws)
Trimming and Finishing Up
- Foam backer rods
- Exterior-grade sealant
- Low-expansion insulating foam sealant
- Screwdriver (that matches handle hardware)
- Trim
- Nails or screws
- Hammer
- Caulk
- Sliding screen
References
- ↑ https://www.ronhazelton.com/projects/how-to-install-a-sliding-patio-door-ronhazelton.com
- ↑ https://www.ronhazelton.com/projects/how-to-install-a-sliding-patio-door-ronhazelton.com
- ↑ https://www.ronhazelton.com/projects/how-to-install-a-sliding-patio-door-ronhazelton.com
- ↑ https://www.jeld-wen.ca/images/stories/pdf/installation_instructions/JII027.pdf
- ↑ James Mansfield. Construction & Design Specialist. Expert Interview. 11 June 2021.
- ↑ https://www.jeld-wen.ca/images/stories/pdf/installation_instructions/JII027.pdf
- ↑ https://media.pella.com/professional/installation/V984528.pdf
- ↑ https://media.pella.com/professional/installation/V984528.pdf
- ↑ https://www.jeld-wen.ca/images/stories/pdf/installation_instructions/JII027.pdf
- ↑ https://media.pella.com/professional/installation/V984528.pdf
- ↑ https://media.pella.com/professional/installation/V984528.pdf
- ↑ James Mansfield. Construction & Design Specialist. Expert Interview. 11 June 2021.
- ↑ https://www.ronhazelton.com/projects/how-to-install-a-sliding-patio-door-ronhazelton.com
- ↑ https://www.ronhazelton.com/projects/how-to-install-a-sliding-patio-door-ronhazelton.com
- ↑ https://media.pella.com/professional/installation/V984528.pdf
- ↑ https://www.ronhazelton.com/projects/how-to-install-a-sliding-patio-door-ronhazelton.com
- ↑ https://www.ronhazelton.com/projects/how-to-install-a-sliding-patio-door-ronhazelton.com
- ↑ https://www.jeld-wen.ca/images/stories/pdf/installation_instructions/JII027.pdf
- ↑ https://awwebcdnprdcd.azureedge.net/-/media/aw/files/technical-docs/accessory-guide/accessoryguide-0001666.pdf
- ↑ https://www.ronhazelton.com/projects/how-to-install-a-sliding-patio-door-ronhazelton.com
- ↑ https://www.jeld-wen.ca/images/stories/pdf/installation_instructions/JII027.pdf
About This Article
To install a glass door, start by appying waterprooof adhesive to the frame to protect it from water damage. Next, lift the frame into position and attach it to the walls with screws. If you see gaps between the wall and the frame, fill them in with insulation so you don’t lose heat from your home. Additionally, position the door panels in the slot at the bottom, and install the handles and lock clasp. Finally, install the screen, and the interior and exterior trim to complete the job. For tips on how to purchase a glass door, keep reading!
