This article was co-authored by Ryaan Tuttle. Ryaan Tuttle is a Home Improvement Specialist and the CEO of Best Handyman, Inc. in Boston, Massachusetts. With over 17 years of experience, he specializes in building home service businesses, focusing on creating scalable and efficient brands. With the help of his global team, the companies have achieved over 10+ million in sales and received recognition through magazine features, and enjoy partnerships with wikiHow and Jobber field service software. Boston Magazine and LocalBest.com have named Best Handyman Boston the Best Handyman in Boston. Ryaan holds Construction Supervisor and Home Improvement Contractor Licenses.
There are 12 references cited in this article, which can be found at the bottom of the page.
This article has been viewed 75,787 times.
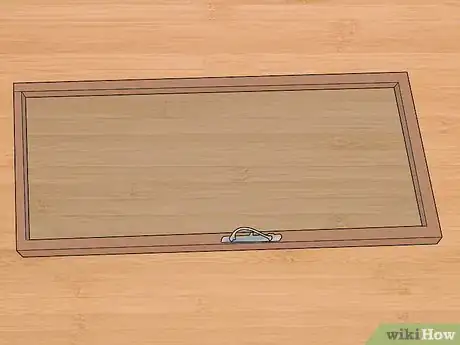
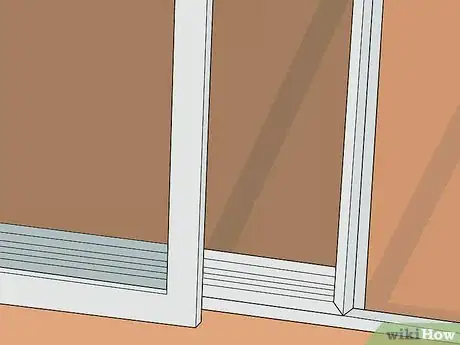
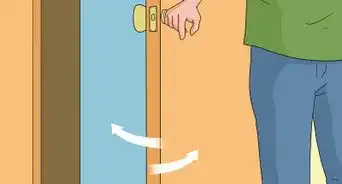
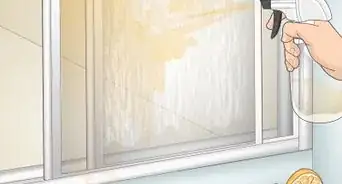
Over time, sliding glass doors can start to stick, stall, or become difficult to budge. This usually happens when dirt accumulates on the rollers or the grooved tracks that they sit in. Luckily, getting things moving again is a simple fix. Try using a screwdriver to adjust the height of the rollers until the door glides easily through a full range of motion. If you think dirty rollers might be the culprit, remove the door from the tracks and clean them with rubbing alcohol. Be sure to give the tracks themselves a good scrub with a wire brush, while you're at it.
Steps
Changing the Position of the Rollers
-
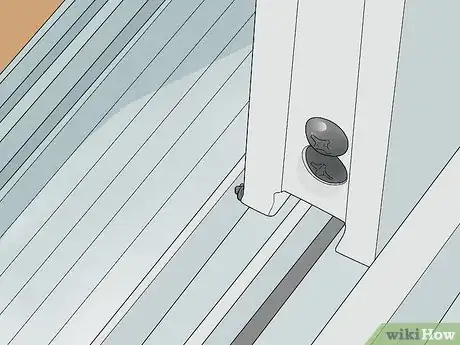
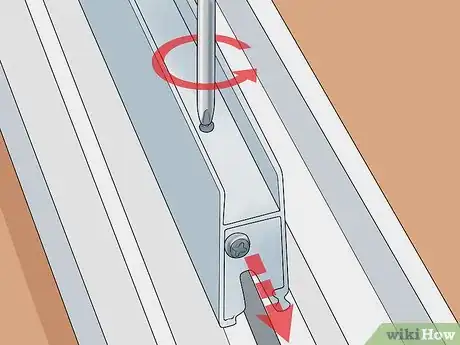
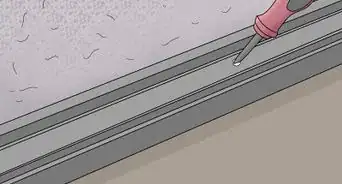
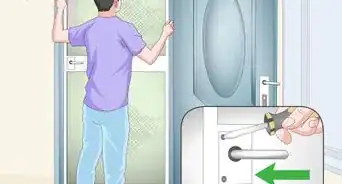
1Locate the adjustment screws on the lower edges of the door. Most sliding glass doors contain two sets of rollers, one on each side of the bottom of the door. You can alter the height of these rollers by accessing the adjustment screws.[1] They are set into slots on the door's outer edges, perpendicular with the rollers themselves.[2]
- If you don't see the adjustment screw slots at first glance, look more closely—it can be easy to miss the adjustment screws if they're hidden with plugs of the same color.[3]
- Some larger sliding glass doors may have rollers on both the top and bottom edges.
Tip: The plugs covering adjustment screw slots can typically be pried off using a fingernail or the tip of a screwdriver.
-
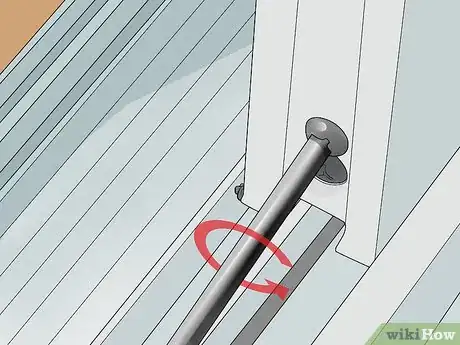
2Use a screwdriver to turn the screws and move the rollers up or down. On most models, rotating the screws to the left (counterclockwise) will raise them, while rotating them to the right (clockwise) will lower them. The idea is to get them sitting perfectly flush with the track. This may involve a little bit of trial-and-error.[4]
- Take a peek inside the slots at the screws to see whether you need a flat head or Phillips head screwdriver.
- You may only need to adjust one of the screws to get your door back on track, or you might have to tinker with both sets if the rollers are severely out of alignment.
Advertisement -
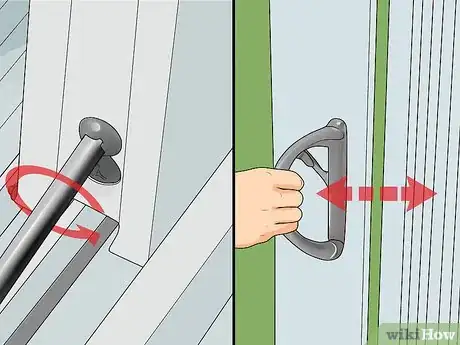
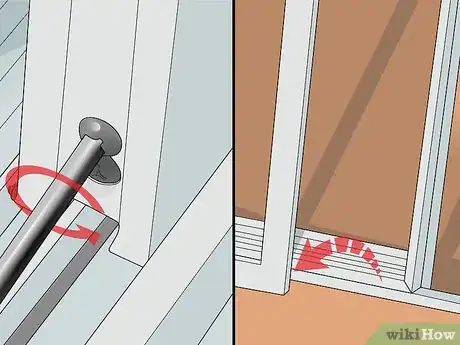
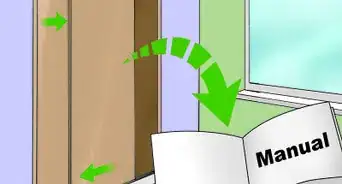
3Continue adjusting the rollers until the door glides smoothly. It may take a few attempts before you get the door rolling without resistance. By the time you're finished, the door should be sitting perfectly level on the track, and there should be an equal amount of space between the door and the track on both the top and bottom.[5]
- If you're not sure whether the door is straight, pull it slightly ajar and check the reveal, or the area where the inner edge meets the door jamb. It may be easier to spot alignment issues that way than by looking at the frame.
- Remember to replace the plugs that cover the adjustment screw slots if your door has them.[6]
Cleaning the Rollers
-
1Retract the adjustment screws fully to remove the door from its track. Locate the adjustment screw slots on the lower side edges of the door and use a screwdriver to turn the screws to the left (counterclockwise) as far as they'll go. This will lower the rollers completely. Take hold of either side of the door and carefully guide the upper edge out of the top track before lifting the lower edge out of the bottom track.[7]
- If your sliding glass door features a door stop at the top of the frame, you may need to unscrew it before you can remove the door from the track.
Tip: Sliding glass doors are often very heavy—too heavy for one person to handle on their own. Have someone else help you remove the door and haul it over to your work surface.
-
2Place the door on a flat, stable surface. Once you've removed your door, carry it over to a countertop, workbench, crafting table, or pair of sawhorses. Being able to set the door down will allow you to work on the rollers obstructed without worrying about the door falling over or becoming damaged accidentally.[8]
- If you don't have anywhere else to work on your door, you can also stretch a dropcloth out on the ground and set the door down carefully on top.[9]
-
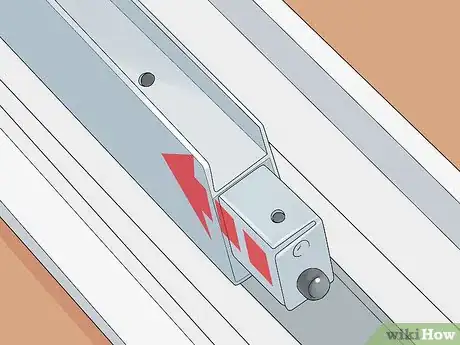
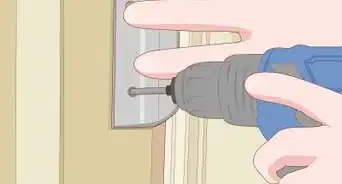
3Pry out the roller units with your screwdriver. Turn the adjustment screws all the way to the right (clockwise) to fully extend the rollers. Then, wedge the tip of the screwdriver into the space between the first set of rollers and the doorframe and lift the handle gently to coax the entire construction out. Repeat the process with the rollers on the opposite side of the door.[10]
- If it's not possible to remove your door's rollers with a screwdriver, you'll need to shift the side panels of the door upward enough to slide the rollers clear of the track. You can do this by tapping them with a rubber mallet.[11]
- Keep the extracted roller units together the entire time they're out of the doorframe, and be careful not to drop them, or they could break.
-
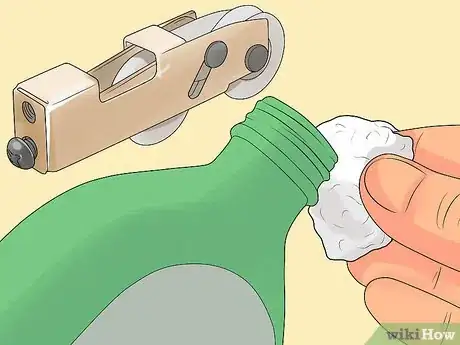
4Wipe the rollers clean using rubbing alcohol. Soak a cotton ball or the corner of a rag in the alcohol and use it to polish the removed rollers. Focus on areas that show signs of heavy grime or discoloration. Re-wet your cleaning pad with fresh alcohol before turning your attention to the second set of rollers.[12]
- If you need something a little stronger to cut through stubborn buildup, try using denatured alcohol instead. Denatured alcohol is especially useful for dissolving grease and sticky substances from metal.[13]
- There's no need to dry the clean rollers manually, as the alcohol will quickly evaporate on its own.
-
5Force the roller units back into the channel on the underside of the door. Line up the top of each unit with the opening and press straight up on them firmly to snap them back into place. Once they're secure, turn the adjustment screws on the lower edges of the door all the way counterclockwise to put them back in their fully retracted position and prepare the door for reinstallation.[14]
- If you're having trouble getting the rollers to go back in, tap them gently with a mallet and wooden block.[15]
- Don't forget to tap the door panels back into their original position if you had to shift them up in order to remove your rollers.
-
6Guide the door back into its track, starting at the top. Align the upper edge of the door with the inside of the top track and “walk” the lower edge forward until it rests up against the bottom track. Lift up on the door and shift the lower edge into the bottom track, then set it down delicately. Don't let go of the door until you've confirmed that it's seated squarely inside both tracks.[16]
- After mounting your door, open and close it a few times to test it out. If dirty rollers were the issue, it should glide smoothly without resistance or sticking.
Maintaining the Track
-
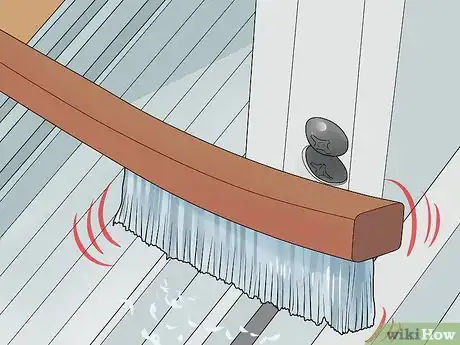
1Scrub the entire track with a wire brush. Slide both doors to one end of the track to leave the opposite half exposed. Run your wire brush along the inside of the track, making sure to work the bristles deep into every crack, crevice, and contour. When you're done cleaning the first half of the track, pull both doors over to the other end and go over the second half.[17]
- For extra cleaning power, dip your brush in a mild soapy water solution before you begin scrubbing.
- You may need to use a little elbow grease to whisk away long-standing dirt and grime, especially on doors that open to the outside.
- It will be much easier to clean your sliding glass door's track if you've already removed the door to clean the rollers.[18]
-
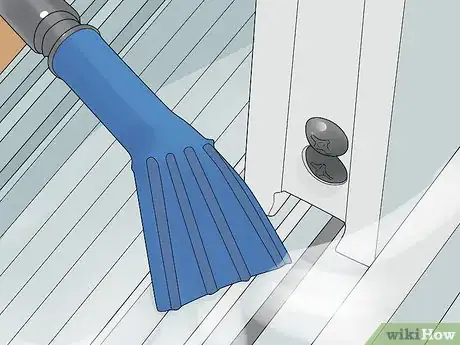
2Vacuum or wipe up the loose debris. Once you've successfully dislodged all of the dirt clogging up the track, grab a shop vacuum and suction it up to get rid of the mess. If you don't have a vacuum handy, wet a clean cloth and wring out the excess water so that it's just slightly damp, then use it to pick up the debris by hand.[19]
- Portable hand vacuums are also perfectly suited for this task.
- Get in the habit of vacuuming your sliding glass door track regularly between more intensive cleanings. In fact, with frequent vacuuming, more intensive cleanings may not even be necessary.[20]
-
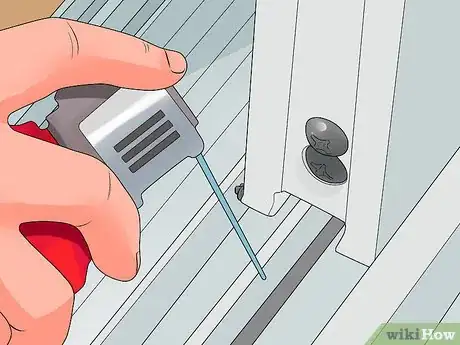
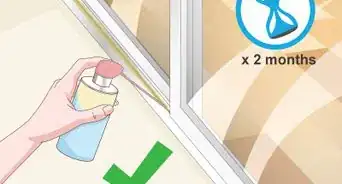
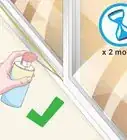
3Lubricate the track with a dirt-repelling silicone spray. Position the nozzle of the spray can 3–4 inches (7.6–10.2 cm) away from the track and move it slowly from one end to the other while holding down the spray button. Coat the track with a thin, even layer of lubricant, then clean up any excess lubricant that's found its way onto the surrounding floor with a folded paper towel.[21]
- You can pick up a can of silicone lubricant at any hardware store or home improvement center for just a few dollars.
- Another less messy option is to rub the length of the track with a block of paraffin wax.[22]
Warning: It's important to only clean your sliding glass door's track with a silicone-based spray or paraffin wax. Ordinary lubricants like WD-40 can actually attract dust and dirt and gum up your tracks faster than normal.
Things You'll Need
Changing the Position of the Rollers
- Flat or Phillips head screwdriver
Cleaning the Rollers
- Flat or Phillips head screwdriver
- Flat, stable work surface
- Cotton ball or old rag
- Rubbing alcohol or denatured alcohol
- Rubber mallet (optional)
- Wooden block (optional)
- Dropcloth (optional)
Maintaining the Track
- Wire brush
- Shop vacuum or damp cloth
- Silicone-based lubricant spray
- Paper towels
- Mild soap solution (optional)
- Paraffin wax block (optional)
References
- ↑ Ryaan Tuttle. Home Improvement Specialist. Expert Interview. 13 January 2021.
- ↑ https://www.homerepairtutor.com/how-to-adjust-a-sliding-glass-door/
- ↑ https://www.thisoldhouse.com/ideas/sliding-door-tune
- ↑ https://www.thisoldhouse.com/more/adjusting-your-sliding-door
- ↑ https://www.youtube.com/watch?v=lfXsLANE_xE&feature=youtu.be&t=67
- ↑ https://www.thisoldhouse.com/ideas/sliding-door-tune
- ↑ https://www.youtube.com/watch?v=WXC79HeKVRs&feature=youtu.be&t=117
- ↑ https://www.windsorwindows.com/news/tips-tricks-how-to-fix-5-commo
- ↑ https://www.thisoldhouse.com/ideas/sliding-door-tune
- ↑ https://www.thisoldhouse.com/ideas/sliding-door-tune
- ↑ https://www.youtube.com/watch?v=rBhWuzRjo1s&feature=youtu.be&t=244
- ↑ https://www.thisoldhouse.com/ideas/sliding-door-tune
- ↑ https://www.greenlivingtips.com/articles/uses-for-methylated-spirits.html
- ↑ https://www.thisoldhouse.com/ideas/sliding-door-tune
- ↑ https://www.windsorwindows.com/news/tips-tricks-how-to-fix-5-commo
- ↑ https://homequicks.com/how-to-remove-sliding-glass-doors
- ↑ https://www.familyhandyman.com/doors/repair/how-to-repair-a-sliding-door/
- ↑ https://www.homerepairtutor.com/how-to-adjust-a-sliding-glass-door/
- ↑ https://www.youtube.com/watch?v=lfXsLANE_xE&feature=youtu.be&t=83
- ↑ https://www.thisoldhouse.com/more/adjusting-your-sliding-door
- ↑ https://www.homerepairtutor.com/how-to-adjust-a-sliding-glass-door/
- ↑ https://www.thisoldhouse.com/ideas/sliding-door-tune
