This article was co-authored by wikiHow staff writer, Darlene Antonelli, MA. Darlene Antonelli is a Technology Writer and Editor for wikiHow. Darlene has experience teaching college courses, writing technology-related articles, and working hands-on in the technology field. She earned an MA in Writing from Rowan University in 2012 and wrote her thesis on online communities and the personalities curated in such communities.
This article has been viewed 33,924 times.
Learn more...
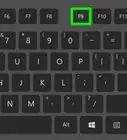
This wikiHow will teach you how to add a cross mark symbol or × in a Word document using the symbols menu in Windows and Mac or an alt code. If you have a 10-digit numerical keypad, you can use the ALT code, which is Alt + 0215.
Things You Should Know
- Open a word doc and go to Insert / Symbol.
- On a Windows computer, click More Symbols / Wingdings 2. Then, select the cross mark and click Insert.
- On a Mac computer, click Advanced Symbols. Select the cross mark from the pop up window and click Insert.
- You can also use the ALT code method to produce a small cross mark (×). Simply press "ALT + 0215".
Steps
-
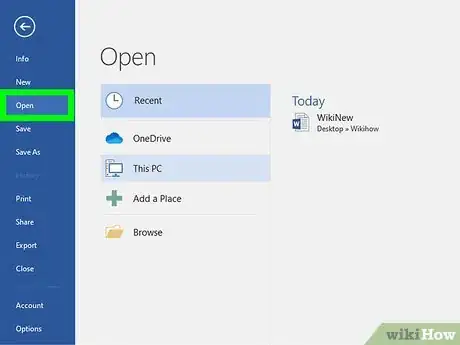
1Open your document in Word. You can either open Word, then go to File > Open to open your document, or you can right-click your document file and click Open with > Word.
- You can also create a new, blank document.
-
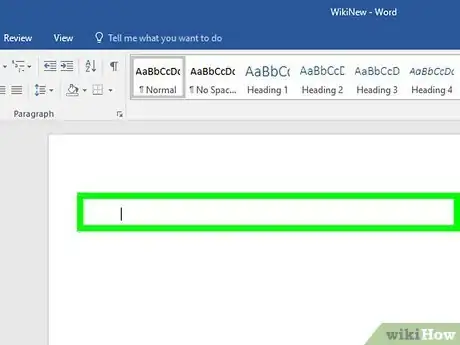
2Click where you want to add the symbol. The cursor defaults to the last place it was when you last worked on the document or in the most upper left corner of a new document.
- You can use the ALT code Alt + 0215 instead of continuing through with the rest of this method, though that alt code will produce a small cross mark (×). If you want to read more about ALT codes, read How toType Symbols Using the ALT Key.
Advertisement -
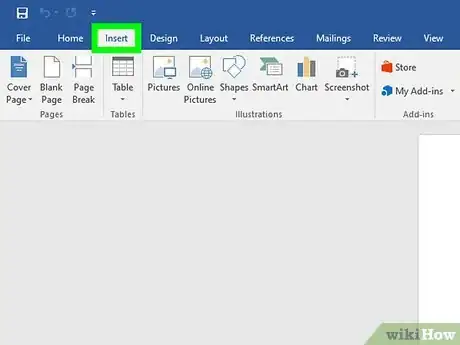
3Click the Insert tab. You'll see this along the top of your document space next to the Home tab.
- If you're using a Mac, you'll see this along the top of your screen, and it will produce a drop-down menu.
-
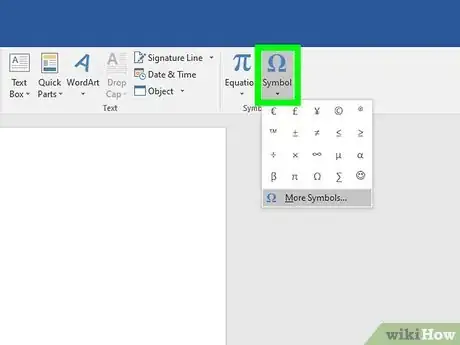
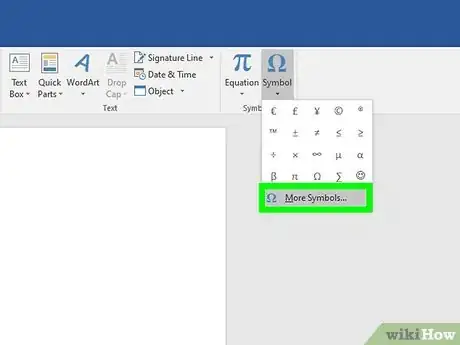
4Click Symbol. You'll see this in the far right of the menu in the Symbols grouping.
- If you're using a Mac, you'll find this in the middle of the drop-down menu.
-
5Click More Symbols. You'll see this at the bottom of the menu.
- If you're using a Mac, the button is Advanced Symbol instead. A window will pop up and you can click to select the cross mark symbol and click Insert.
-
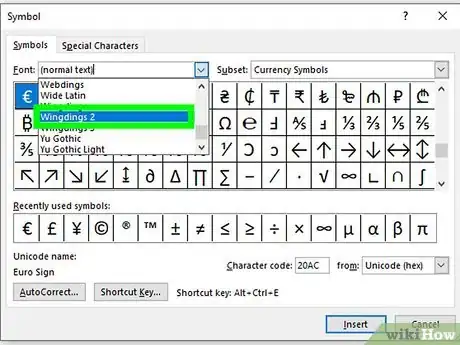
6Click to select Wingdings 2 from the font drop-down menu. You'll find this under the Symbols tab.
-
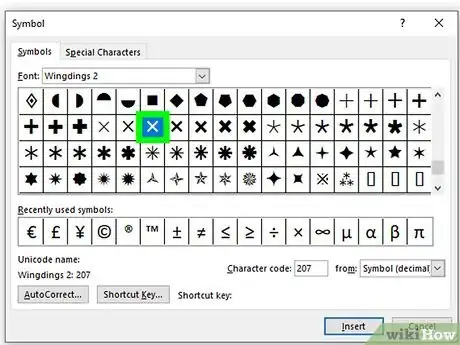
7Click to select the cross mark symbol and click Insert. You'll see the cross mark symbol appear in the document where your cursor is located.[1]
References
About This Article
1. Open your document in Word.
2. Click where you want to add the symbol.
3. Click the Insert tab.
4. Click Symbol.
5. Click to select Wingdings 2 from the font drop-down menu.
6. Click to select the cross mark symbol and click Insert.
