This article was co-authored by wikiHow Staff. Our trained team of editors and researchers validate articles for accuracy and comprehensiveness. wikiHow's Content Management Team carefully monitors the work from our editorial staff to ensure that each article is backed by trusted research and meets our high quality standards.
There are 16 references cited in this article, which can be found at the bottom of the page.
This article has been viewed 22,787 times.
Learn more...
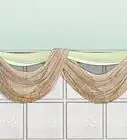
A waterfall valance is a special window treatment that drapes down to resemble a waterfall and can give your windows a refined appearance. Hanging a waterfall valance correctly is trickier than hanging traditional curtains, but becomes easy once you understand what you're doing. Before you hang your waterfall valance curtains, make sure to iron them and choose colors that will compliment the room. Then, it's just a matter of following the right steps to hang them on the rod.
Steps
Preparing Your Rod and Valances
-
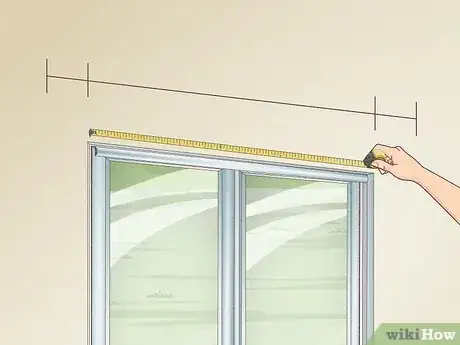
1Measure the width of your window to determine your curtain rod length. Use a tape measure and measure the top edge of your window. Write down the measurement and purchase a rod that is 8–12 inches (20–30 cm) longer than the width of your window. Mark the areas on the wall where you want to install the curtain brackets.[1]
-
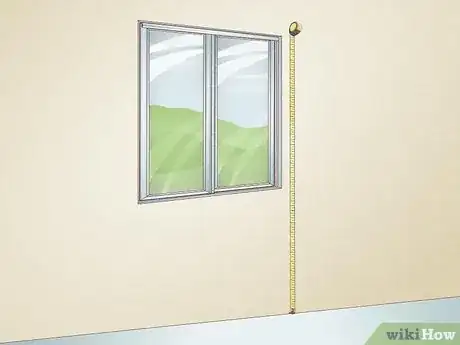
2Measure from the top of your window to the floor. Use a tape measure and measure the distance between the top edge of your window frame and the floor. This will help you determine the size of the curtain panels that you'll use to surround your waterfall valance.[2]Advertisement
-
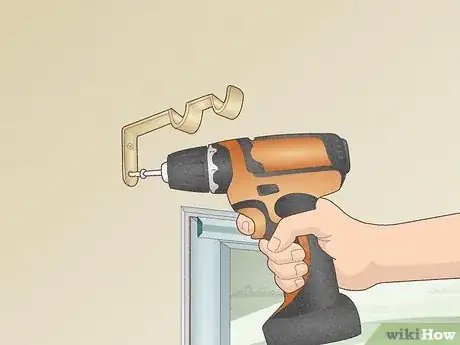
3Install a double-curtain rod or 2 individual rods for a layered effect. If don't have any rods installed, use a double curtain rod. Mark 4–8 inches (10–20 cm) on the left and right side of the top edge of the window. This will be where you install your brackets.[3]
- You can purchase a double-curtain rod online or at a hardware store.
-
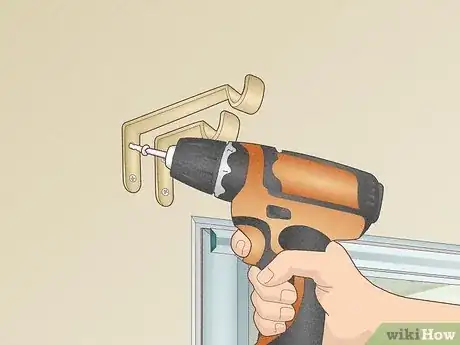
4Install a valance rod if you already have a curtain rod installed. If you already have a rod, you can use your existing rod for the curtain panels on the sides of your valance. Install the brackets for the second rod a couple of inches above your existing rod. Use the original rod for each of the valance's side panels and use your new rod for your waterfall valance curtains.
-
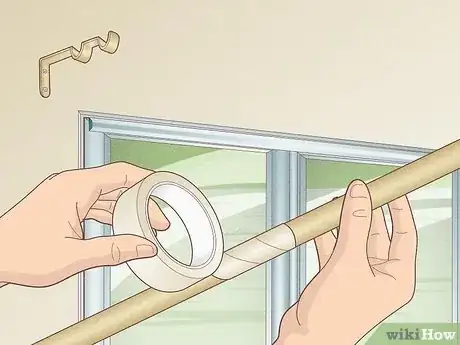
5Tape off the inside edges if using a detachable rod. A common rod style for waterfall valances is a detachable rod that comes apart in the middle. If you are using this rod, wrap masking tape around the sharp inside edges of the rod.[4]
- Taping off the edges prevents the curtains from getting caught on the rod and ripping as you install them.
-
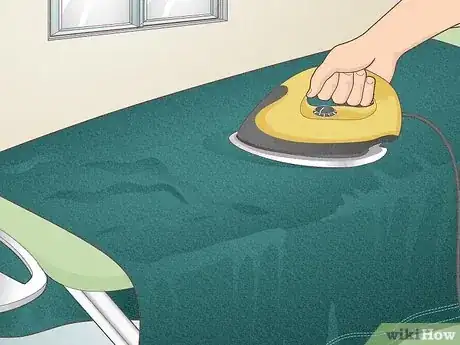
6Iron your curtains if they are wrinkled. Ironing your curtains will give them a crisp and neat appearance. Set the iron to low-medium heat so that you don’t damage the valances.[5]
- If your waterfall valance curtains are already free of wrinkles, you can skip this step.
-
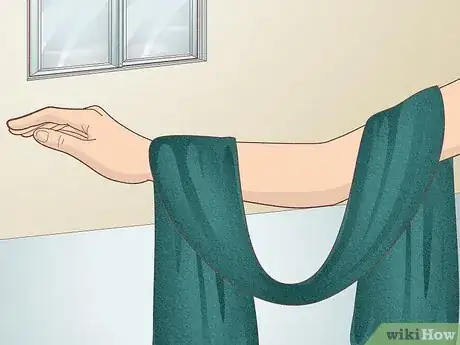
7Decide which color valances you want to use. You can either use contrasting or matching colors, depending on your preference. Matching colors will give your waterfall valance a cohesive look, while contrasting colors will give it a layered, stylized look. Hold the valances you plan on using side-by-side and decide if you like the color combination.[6]
-
8Hang your curtain panels on the inside rod. Before you hang the waterfall valance, you can hang the 2 side curtain panels that will hang to the floor. Thread the top of the panels through the inside rod and push them to the left and right side of the rod.
Layering Valances onto a Rod
-
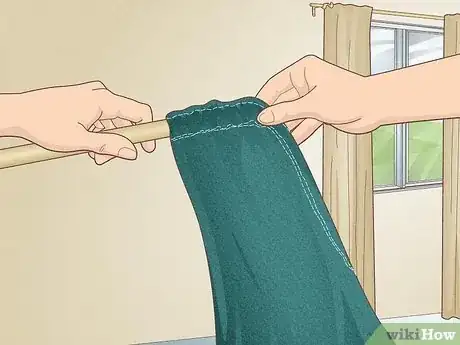
1Thread the left side of the first valance onto the rod. There should be an opening on both the left and right side of each of your valances, and you’ll use these to layer your curtains. Push the rod through the opening on the top of the first waterfall valance.[7]
-
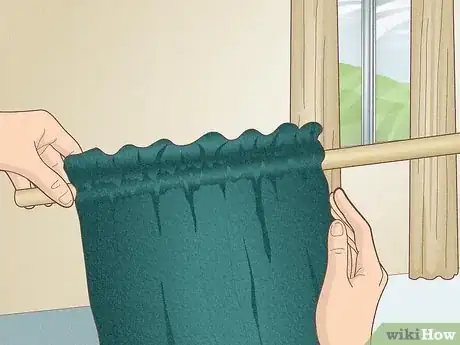
2Gather the fabric to the left side. Push the top of the valance down the curtain rod and bunch up the fabric on the left side of the rod. Doing this will give you more room to add the additional valances to the rod.[8]
-
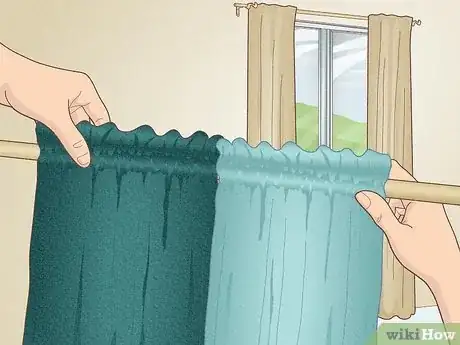
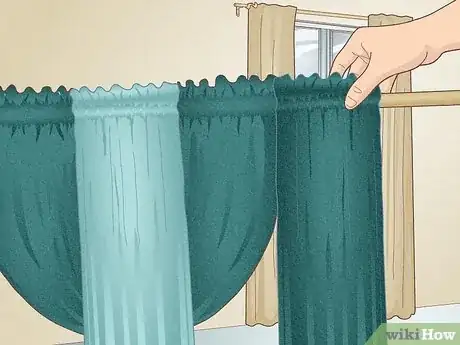
3Add the second valance to the rod. Take the left side of your second valance and thread it through the rod as you did the first one. The first and second valances should be bunched up next to each other.[9]
-
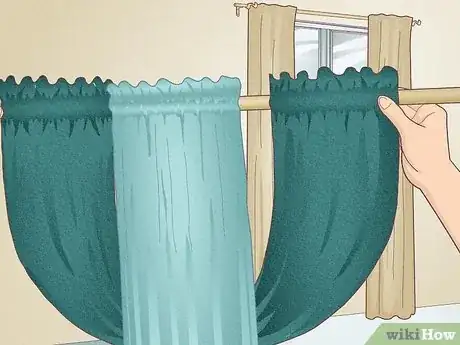
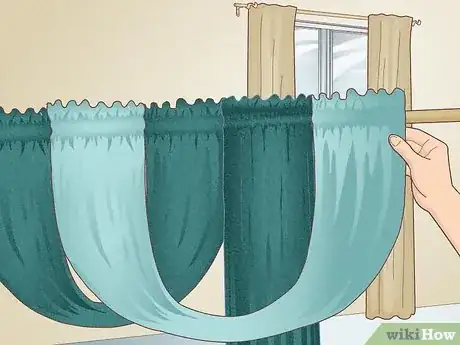
4Thread the right side of the first valance onto the rod. Take the opposite side of the first valance and pull it under the second valance. Connect the right side of the first valance to the rod. The second valance should now be overlapping and surrounded by the first valance.[10]
-
5Add the third valance onto the rod. Take the left side of the third valance and thread it to the left of the rod. The right side of your first valance should be touching the left side of your third valance.[11]
-
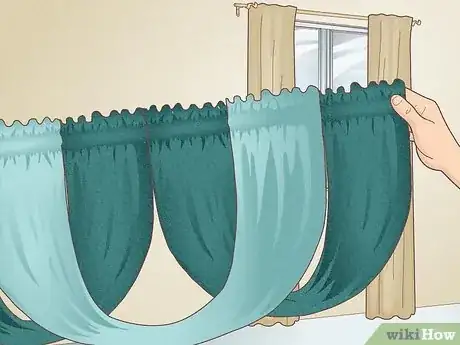
6Thread the right side of the second valance onto the rod. Take the right side of the second valance and thread it through the right side of the rod. This will create the waterfall effect that you’re trying to achieve.[12]
-
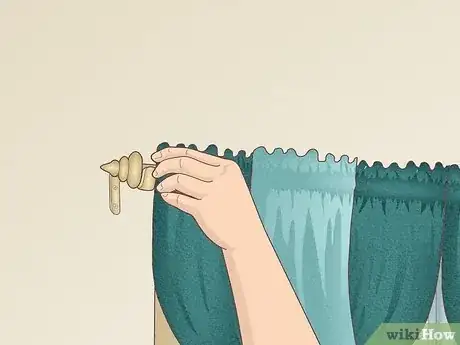
7Attach the right side of the third valance onto the rod. Finish hanging your curtains by attaching the final valance’s right side to the end of the curtain rod. If you did everything correctly, the valances should be layered on top of one another.[13]
-
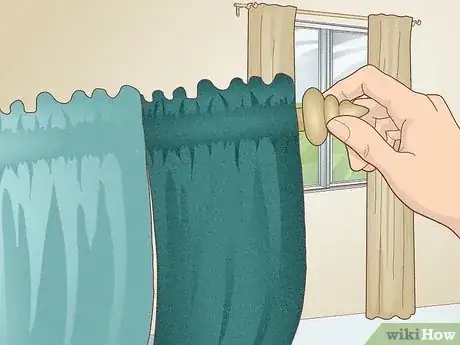
8Connect the rods together if you're using a detachable rod. Connect the right and left sides of the rod together and space out the valances so they don't look crowded. Your rod is now ready to be hung back onto the window.[14]
Making the Finishing Touches
-
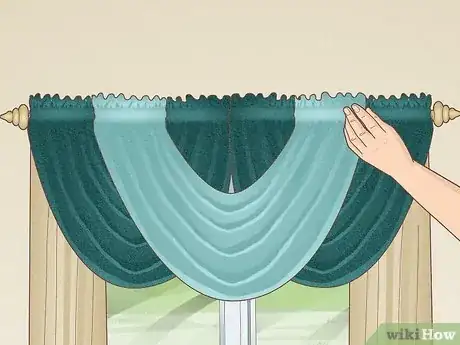
1Hang the rod on the curtain rod brackets. Once you’ve attached the valances to the curtain rod, place it back on top of the curtain rod brackets. Look at the valances and decide whether the color matches the door frame and other elements nearby.[15]
- If you don’t like the way it looks, unthread the curtains from the rod and use different color combinations until you achieve the look you want.
-
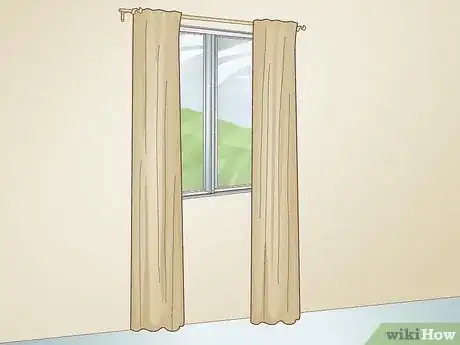
2Style the folds in the curtains. The folds in the curtains should be evenly spaced apart for a clean look. Even out the creases with your fingers and try to make them look uniform. This will enhance the way the curtains look.[16]
-
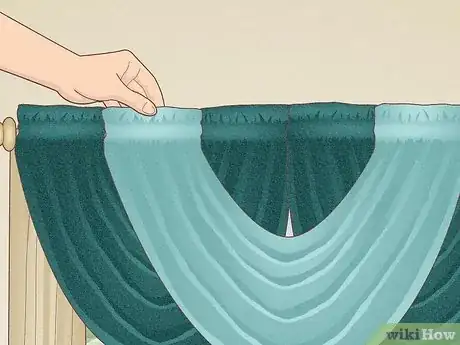
3Pull the tops of the valances up. Pull on the top of the valances to remove any folds and creases and to give the top of your curtains a neat look. Work your way down the entire length of the valances until you’ve straightened all of the fabric on the top.[17]
Things You’ll Need
Preparing Your Rod and Valances
- Masking tape
- Tape measure
- Curtain rod(s)
References
- ↑ https://www.apartmenttherapy.com/how-to-hang-curtains-227318
- ↑ https://youtu.be/9OiI6Hr20Xg?t=2m4s
- ↑ https://youtu.be/3mxzjLH04Qc?t=10s
- ↑ https://youtu.be/Rw9mkKqALCQ?t=26s
- ↑ https://youtu.be/Rw9mkKqALCQ?t=25s
- ↑ https://youtu.be/Rw9mkKqALCQ?t=38s
- ↑ https://youtu.be/ExzZfEMCjmU?t=41s
- ↑ https://youtu.be/ExzZfEMCjmU?t=57s
- ↑ https://youtu.be/ExzZfEMCjmU?t=1m3s
