X
This article was co-authored by wikiHow staff writer, Hunter Rising. Hunter Rising is a wikiHow Staff Writer based in Los Angeles. He has more than three years of experience writing for and working with wikiHow. Hunter holds a BFA in Entertainment Design from the University of Wisconsin - Stout and a Minor in English Writing.
This article has been viewed 24,986 times.
Learn more...
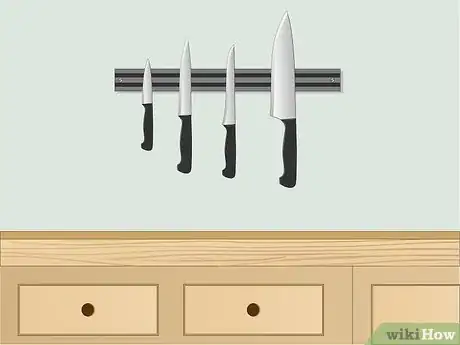
Knife blocks take up precious counter space, especially if you have a compact kitchen. Hanging your knives on your wall helps you clear up that counter space and be able to clearly see which knife you’re selecting. Whether you hang them on a magnetic strip or in a homemade rack, you can have an easy and convenient place to keep your knives.
Steps
Method 1
Method 1 of 2:
Hanging a Magnetic Knife Strip
-
1Find an area in your kitchen to hang the strip. Give yourself enough room to hang each your knives so you can easily grab them. There should be enough space for you to select a knife without knocking over any others.[1]
- Popular areas to hang knives are over the sink, above the stove, or on the backsplash behind your counter.
- Keep the knife strip out of reach of children.
-
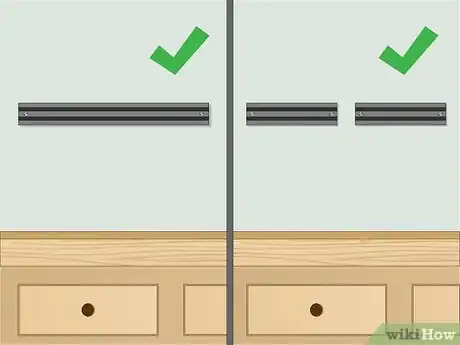
2Purchase a magnetic knife strip. Find a magnetic strip large enough to hold all of your knives or buy 2 shorter strips to split your knives into separate rows. Knife strips can be purchased at specialty kitchen stores or online.[2]Advertisement
-
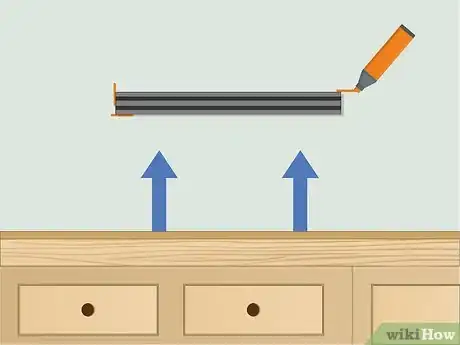
3Use a level to mark the wall where you’ll hang the strip. Make an initial mark on your wall where you want one end of the knife strip. Use the level to make sure you have the magnetic strip straight. Use a pen or pencil to draw the line where you want the strip to hang.[3]
- Add flair to your kitchen by hanging the strip diagonally or vertically if your space allows you to.
-
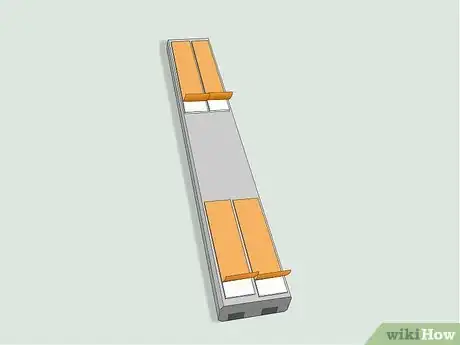
4Attach mounting strips to the back of the magnet. Apply adhesives, such as Command strips, to both ends of the magnetic strip. If you have a longer magnet or you plan on supporting a large number of knives, apply at least 1 more mounting strip in the middle.
- Some mounting strips come with Velcro attachments for a firm fit that you can also easily remove.
- If you want to secure the strip further, attach it to the wall with screws and a drill.
-
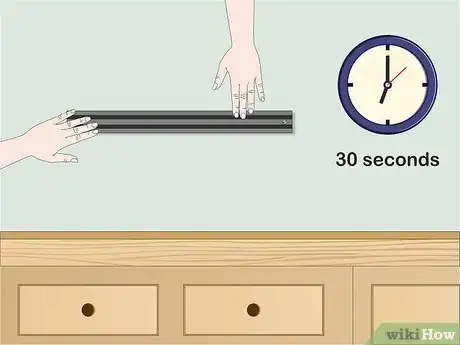
5Adhere the magnetic strip to the wall. Press the adhesives on the wall and hold it firmly for 30 seconds. Wait 1 hour before hanging any knives so it adheres to the wall fully.
-
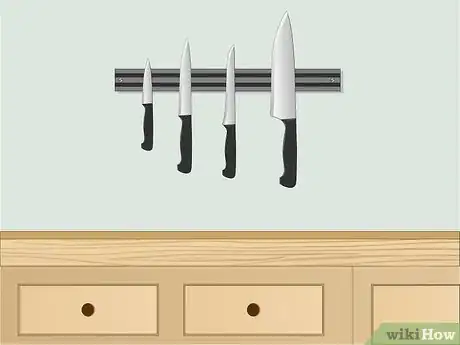
6Hang your knives with the blades pointing up. Organize your knives so they are not awkward to grab. Keep them in size order so you can easily find the correct place to return the knives after they’ve been cleaned.[4]
- When removing the knife, pull the handle straight so the tip of the blade doesn’t stab into the wall.
Advertisement
Method 2
Method 2 of 2:
Making a Mounted Knife Box
-
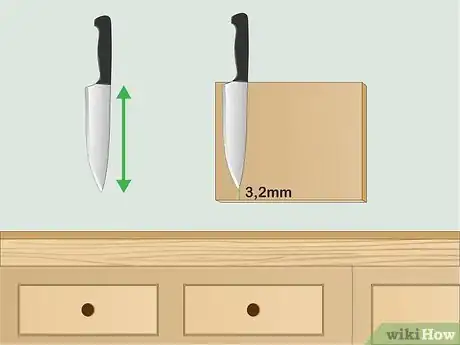
1Measure the length of your longest knife to determine the height of the board. Take the measurement from where the blade and the handle meet to the tip of the blade. You want to purchase a wooden board that’s 1⁄8 inch (3.2 mm) longer than the blade so it does not hang out of the bottom.[5]
- Purchase a board that’s at least 1⁄2 inch (13 mm) thick, but no thicker than 1 inch (2.5 cm).
-
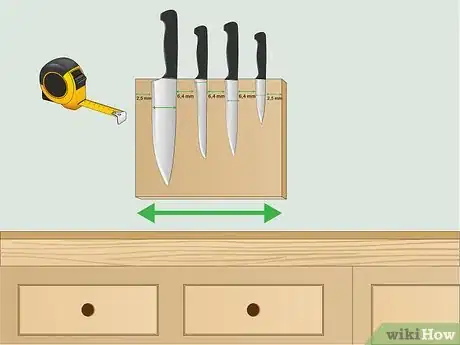
2Determine the length of the board by measuring the widths of all your knife blades. Use a ruler or tape measure the widest part of each blade. Add 1⁄4 inch (6.4 mm) to each measurement to account for the space between slots. Then, add all the measurements together to find out how long the board should be.[6]
- Add 1 inch (2.5 cm) to the final measurement to account for the side pieces of vinyl.
-
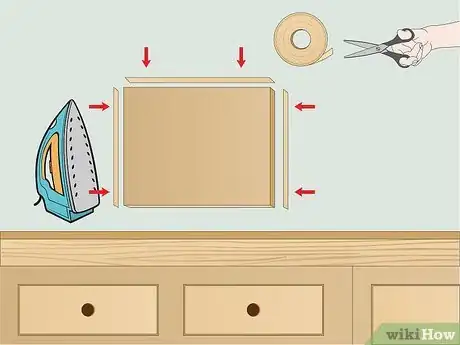
3Iron 3 layers of veneer edging to the left and right sides of the board. Edging is usually used to hide the exposed sides of plywood, but here you will use it to build slots for the knives. Use thin veneer edging that has heat-activated glue on the back. Cut the edging with scissors so it is the same height as the board. Use an iron on low to attach the first layer to the main board. Repeat the process for 2 more layers.[7]
- Veneer edging can be purchased at any home improvement store. It will come in a roll.
-
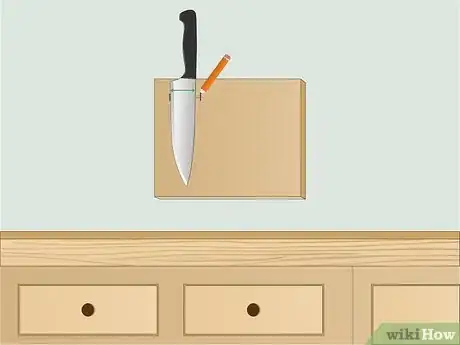
4Lay the largest knife on the board and mark the widest part of the blade. Use a pencil to mark the widest point. This point is usually at the base of the blade, but some knives may have a curve to them. Leave 1⁄8 inch (3.2 mm) of wiggle room so you do not damage the sharp edge of the blade.[8]
- Remove the knife once you make the measurement so it’s easier to work.
-
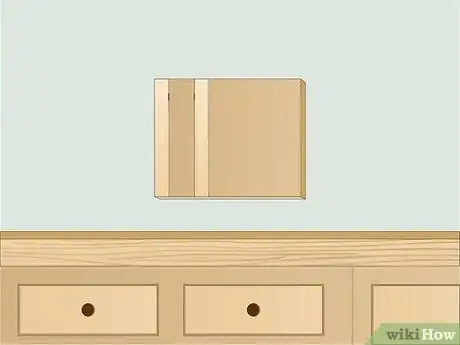
5Iron the edging onto the mark. Line up the edging with the pencil mark you’ve made, making sure it lays straight and not at an angle. Iron on 3 layers of edging so that it’s flush with the sides of the board.[9]
- The slots you make will not only keep your knife blades sharp, but it will also hold them in place so they are easy to grab.
-
6Repeat the process for each of your knives. One by one, lay your knives on the board and measure the widest part of the blade. Add the edging in between each blade so you have specific slots for each individual knife.[10]
-
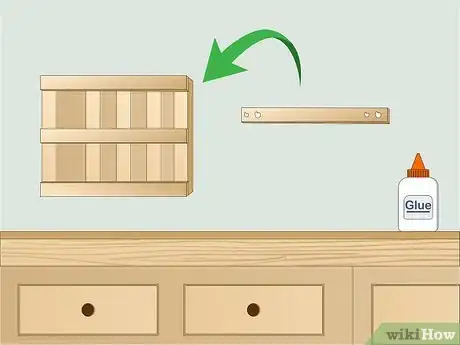
7Attach lattice to the top, middle, and bottom of the rack with glue dots. Lattice moulding is wooden trim that can be purchased at any hardware store. Use glue dots on the ends of the moulding board. Attach a piece of moulding to the top and the bottom of the board so they are flush with the edges. Add one more board to the middle so the knives don’t slip out.[11]
- Alternatively, you can use wood glue and clamps to adhere the lattice, though this is a messier and more time-consuming option.
-
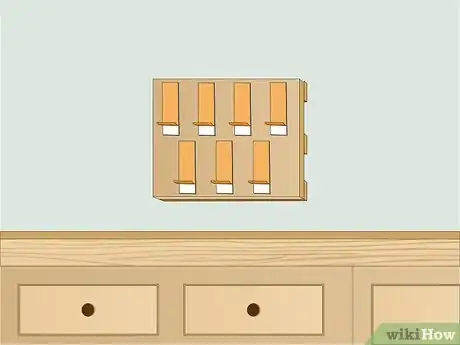
8Put adhesive mounting strips on the back of the rack. The rack can be stood up against the wall on the counter, but if you want to adhere it to the wall, attach at least 4 Command strips in the corners of the board.[12]
- Since this knife rack is solid wood, you may want to purchase extra-strength mounting strips or place a few extra in the middle of the rack.
-
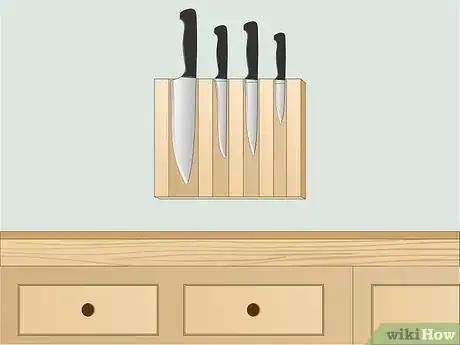
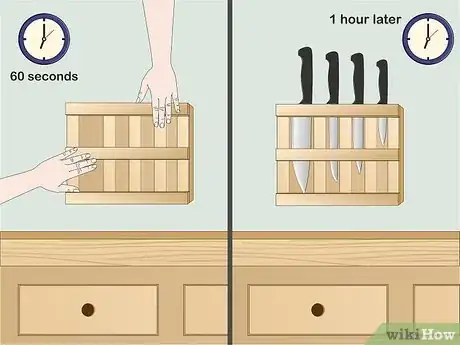
9Affix the rack to the wall and place the knives in their slots. Press the mounting strips onto the wall so they adhere firmly to the wall. Hold it against the wall for 60 seconds. Wait 1 hour until you put the knives into the block.
- Label which knives fit into which slot if you have trouble remembering.
Advertisement
Warnings
- Keep any knife rack out of children’s reach.⧼thumbs_response⧽
Advertisement
Things You’ll Need
Magnetic Knife Strip
- Magnetic strip
- Adhesive mounting strips
- Level
- Pencil
Mounted Knife Box
- Ruler or tape measure.
- 1 inch (2.5 cm) thick wooden board (height and length depends on size and amount of knives)
- 3⁄4 inch (19 mm) iron-on veneer edging
- Scissors
- Iron
- Wooden lattice moulding
- Glue dots or wood glue
- Adhesive mounting strips
References
- ↑ https://www.thekitchn.com/10-places-to-hang-your-magnetic-knife-rack-200833
- ↑ https://www.thekitchn.com/10-places-to-hang-your-magnetic-knife-rack-200833
- ↑ https://youtu.be/wUUOzn2nul8?t=44s
- ↑ https://www.thekitchn.com/10-places-to-hang-your-magnetic-knife-rack-200833
- ↑ http://www.engineeryourspace.com/diy-wall-mounted-wood-knife-rack/#.Wuef8tPwZIo
- ↑ http://www.engineeryourspace.com/diy-wall-mounted-wood-knife-rack/#.Wui_H9PwZIp
- ↑ http://www.engineeryourspace.com/diy-wall-mounted-wood-knife-rack/#.Wuef8tPwZIo
- ↑ http://www.engineeryourspace.com/diy-wall-mounted-wood-knife-rack/#.Wuef8tPwZIo
- ↑ http://www.engineeryourspace.com/diy-wall-mounted-wood-knife-rack/#.Wuef8tPwZIo
About This Article
Advertisement
