This article was co-authored by wikiHow Staff. Our trained team of editors and researchers validate articles for accuracy and comprehensiveness. wikiHow's Content Management Team carefully monitors the work from our editorial staff to ensure that each article is backed by trusted research and meets our high quality standards.
This article has been viewed 14,287 times.
Learn more...
Milkweed is sometimes known as “the butterfly plant,” as it is the sole source of food for monarch caterpillars. If you’d like to attract butterflies to your garden, growing milkweed is easy to do. For the best results, you’ll want to prepare your seeds by cold-treating them, and then germinate them indoors before springtime. Plant your seedlings outside after the danger of frost has past. Then continue caring for your plants throughout the summer and enjoy watching butterflies surround them all season long.
Steps
Cold-Treating Your Seeds
-
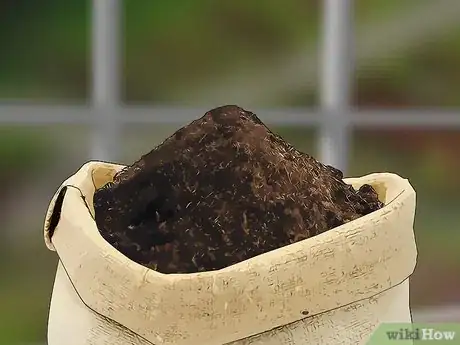
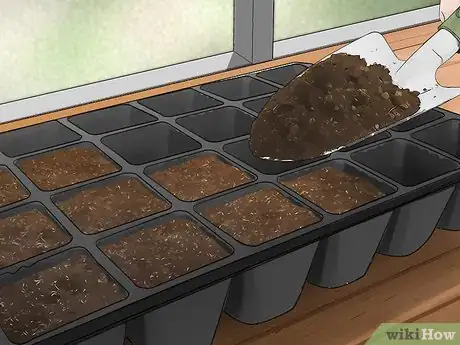
1Prepare a soil mix to cold-treat seeds indoors. Cold-treating your seeds causes better germination results in plants that are native to temperate climates, such as most types of milkweed. Purchase a large bag each of peat and potting soil, as many plastic seeding trays as you'd like, and milkweed seeds at a gardening store. Mix 1 part peat with 1 part potting soil in a large pot. Scoop the mix into plastic seed trays with a spoon or a trowel, filling each cup of the tray.[1]
- This method of cold-treatment will allow you to germinate your seeds directly from these trays near springtime.
- An alternative method of cold-treating is to wrap your seeds in moist paper towels and then a plastic bag. Refrigerate the bags of seeds for at least 3 weeks before germinating in the spring. Doing this does require an extra step, since you will still have to plant your seeds in seeding trays later, but it is ideal for people who don't have a lot of fridge space or another cold area to keep the trays.
- Tropical milkweed does not need to be cold-treated. If you are planting tropical milkweed, you can skip the cold-treatment steps.
-
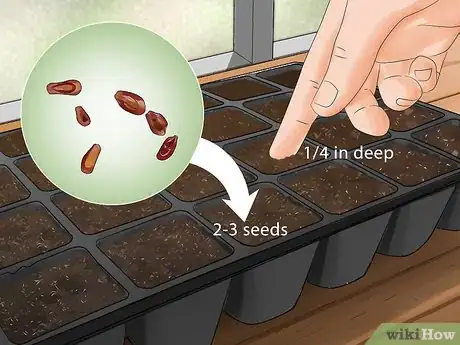
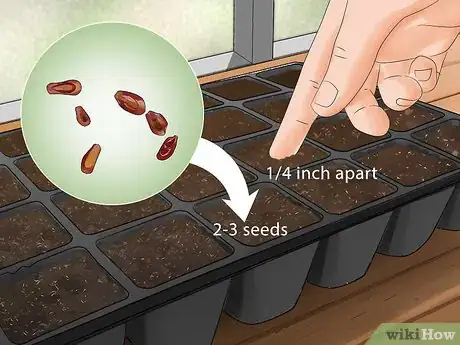
2Place the seeds 1⁄4 in (0.64 cm) deep in your soil mix. Place 2-3 milkweed seeds into each cup of the tray. Try to leave about 1⁄4 in (0.64 cm) of space between each seed in each cup.[2]Advertisement
-
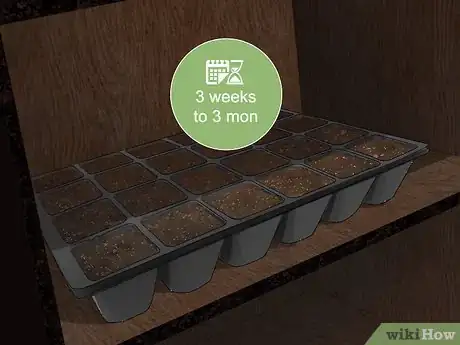
3Store the seed trays in a cool, dark place for at least 3 weeks and up to 3 months. Place your seed trays in a refrigerator, shed, or basement room that stays around 41 °F (5 °C). The area should also be dark, to avoid the chance of the seeds starting to germinate prematurely.[3]
-
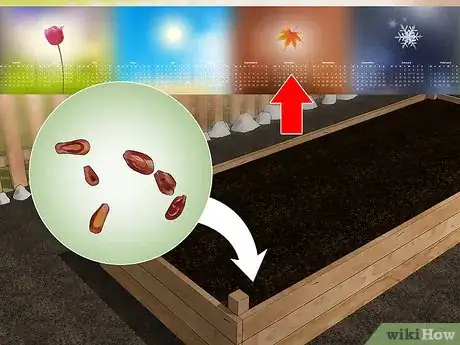
4Plant seeds directly in a garden bed in the fall to cold-treat outdoors. If you prefer to skip the process of cold-treating and germinating your seeds inside, you have the option to plant your seeds directly in a prepared garden bed in the fall. Choose an area that gets full sun for your garden bed, and plant your seeds 1⁄4 in (0.64 cm) deep and 6 to 24 in (15 to 61 cm) apart.
- This method works well only in areas that have cold winters. Milkweed seeds do need a period of cold-treatment in order to germinate well, so if you live in a warm climate, cold-treat your seeds inside.
- One reason some people do not choose this method is that the seedlings grow alongside other weeds in the springtime, making it more difficult to determine which plants need to weeded and which should be kept.
Germinating Your Seeds Indoors
-
1Fill some plastic flats with potting soil. About 2 months before the last frost in your area, purchase some plastic seed trays at a garden supply store. Fill each cup of the trays with your preferred potting soil. Work outside or on a surface covered with newspaper inside, as these steps can be messy.[4]
- If you cold-treated your seeds directly in seed trays already, you can skip the next couple of steps. Simply water your seeds until the soil is damp, allow it to drain, and go to the step that has you cover your flats with plastic.
-
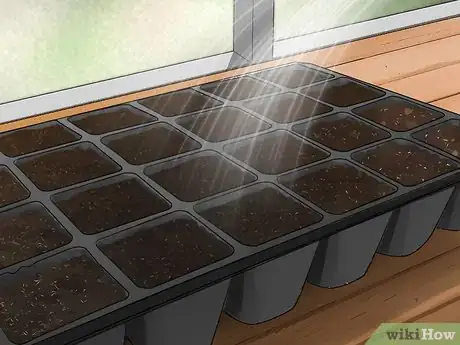
2Soak the soil and let the water drain. Fill a watering can with water from your sink or garden hose. Use the watering can to soak the soil in your seed trays. Allow the water to drain out of the bottom of the trays.[5]
- Take the seed trays outside for this step, or place them over old rags to soak up the water that runs out.
-
3Scatter your seeds 1⁄4 to 1⁄2 in (0.64 to 1.27 cm) apart on the soil surface. Drop about 2-3 milkweed seeds onto the surface of the soil in each cup. Then cover your seeds with 1⁄4 in (0.64 cm) more soil. Press the soil down flat with your fingertips to seal the seeds in place.[6]
-
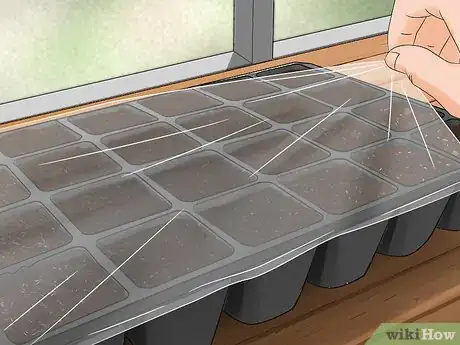
4Cover the seed flats with plastic. Some seed trays come with a plastic lid designed to use for germination. If yours does, put the lid back on. If it doesn’t, place your seed trays in plastic shopping bags and wrap the open end underneath the tray. Or, cover each tray with kitchen plastic wrap.[7]
- Covering your seed trays with plastic helps to lock in the heat and moisture that are necessary for getting the seeds to sprout.
-
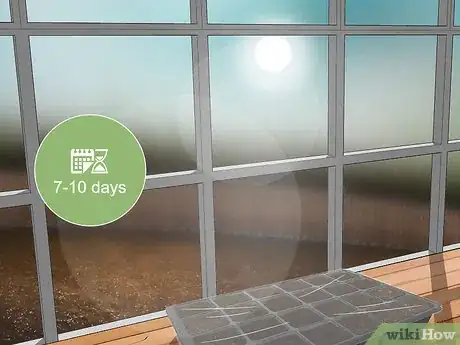
5Keep your seed flats in a warm, sunny, indoor location for 7-10 days. Place your wrapped trays near a window that gets good sun. Keep the temperature of the room where you’re germinating the seeds at 70 °F (21 °C) or above.[8]
-
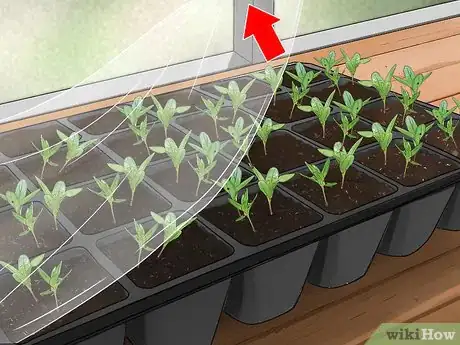
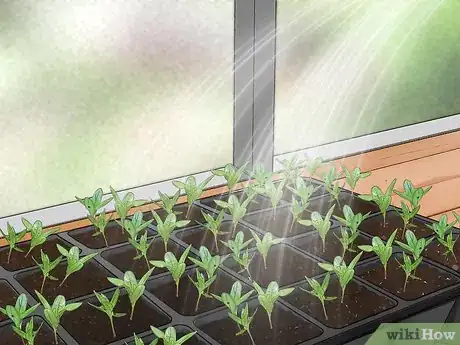
6Remove the plastic cover when you see sprouts. Continue checking on your seeds over the next 1-2 weeks. When you see sprouts, take off the plastic cover and throw it away. Leave the trays inside near the window, however, until your sprouts grow to about 3 to 6 in (7.6 to 15.2 cm) in height.[9]
- Don’t remove the plastic until you see spouts. As long as the soil was wet before you covered it, you will not need to add more water during this germination period.
Planting Milkweed
-
1Water indoor seedlings regularly until they are 3 to 6 in (7.6 to 15.2 cm) in height. When your seeds have sprouted, keep the soil in your trays moist until the seedlings are ready to bring outside. Check on the soil each morning and evening and add some water to it if it appears to be drying out.[10]
- Don’t let the soil in your cups dry out completely, but also don’t allow the seedlings to remain submerged in water. Be sure the water drains from the bottom of your tray each time you water your seedlings.
-
2Acclimate indoor seedlings for a few days before transplanting them outside. When the danger of frost has passed, and your seedlings are 3 to 6 in (7.6 to 15.2 cm) tall, they are ready to transplant. Start bringing the trays to a covered area such as your front porch for the daytime and bring them back inside at night.[11]
- This process allows the young plants to gradually adjust to the temperature difference outside before they are planted outdoors full-time.
-
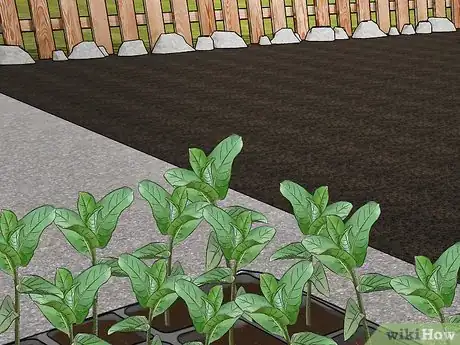
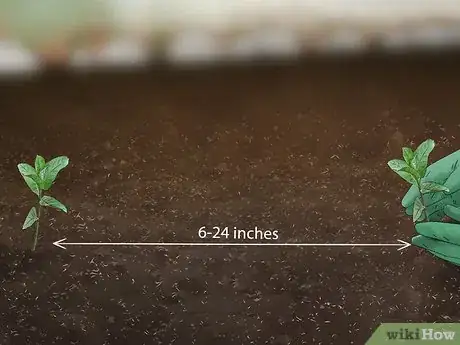
3Plant seedlings 6 to 24 in (15 to 61 cm) apart outside in full sun and well-drained soil. Prepare a garden bed for your milkweed in an area that gets full sun by pulling weeds and turning the soil. Add some potting soil to your soil if it is clumpy and continue working it until it’s light and drains well. Dig small holes in the bed and gently pull your seedlings out of their cups with the soil still attached.
- Place the seedlings into the garden bed holes and cover their bases with a mound of soil. Pat the soil in place with your hands to provide a firm base for your seedlings.
Caring for Your Plants
-
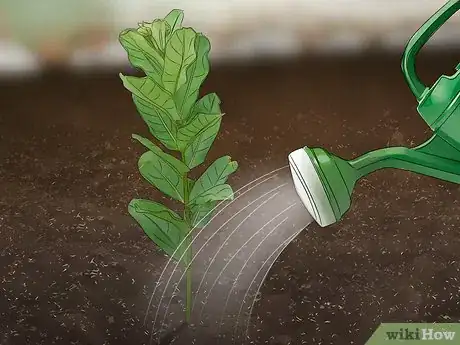
1Water your plants daily for their first few weeks outside. While the roots of your plants are establishing in their new home for the first few weeks, they’ll need plenty of water. Use a watering can or garden hose to water your plants each evening when the sun is less strong to avoid burning the leaves.[12]
- Give the plants just enough water to soak the soil. Don’t give so much water that the plants are sitting in puddles of water; this can drown the roots and cause them to rot.
- If it rained earlier in the day, you can give the plants a smaller amount of water than you normally would.
-
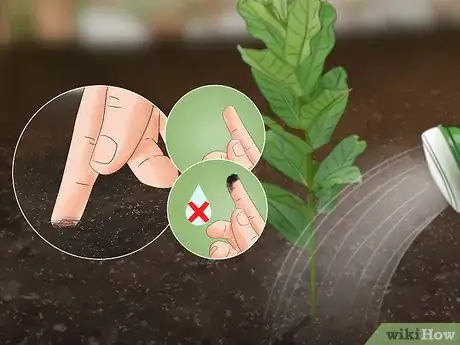
2Give water when the soil is dry after your plants’ roots are well established. After 2-3 weeks outside, you can water less frequently. Check the soil around your milkweed each evening; if it’s dry, water the soil and allow the water to soak in. If the soil is moist because it rained recently, you can wait until it’s drier to water the plants.[13]
- Checking on the plants each evening will help you avoid letting the plants go multiple days without any water.
-
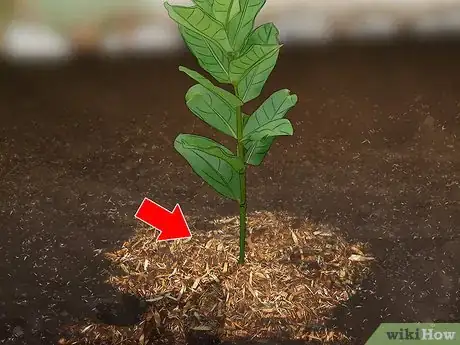
3Add mulch to minimize the growth of competing weeds. Buy some mulch at a garden supply store and spread it around the bases of your milkweed plants after you’ve planted them outside. This helps to keep the soil moist for longer as well as inhibits other weeds from growing too much.
-
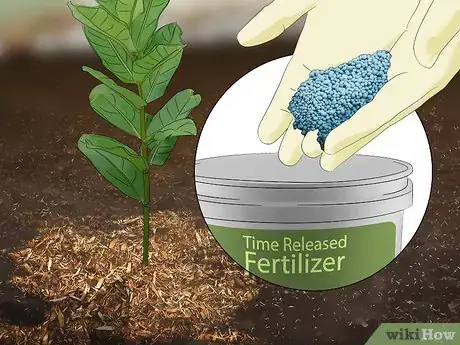
4Fertilize your plants 2-3 times throughout the growing season. Buy or make some water-soluble fertilizer and apply it to your plants once each month after you’ve planted the milkweed outside. If you use a chemical timed-release fertilizer, you only need to do one application in the growing season.[14]
- Shop for fertilizer at a gardening store; the packaging will indicate if it is water-soluble or timed-release.
-
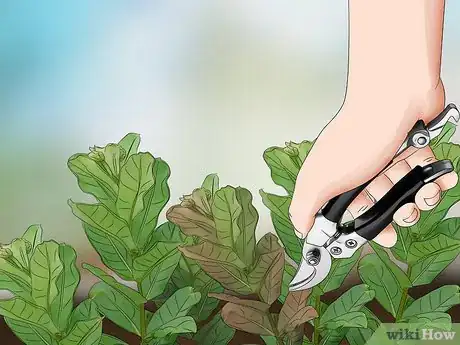
5Thin your plants if they begin to appear overcrowded. If you notice that some of your plants are dying off because they are running out of room, weed these dying plants and dispose of them. Then check the rest of your plants and separate ones that are extremely close together by carefully digging around the roots and pulling one of them up.[15]
- Re-plant a separated plant when you’re thinning by finding another area in your garden bed that has more room. Dig a hole and place your plant in it, then cover the base of the plant with more soil.
Community Q&A
-
QuestionI live in northern California. What is the best variety, and when is it recommended that I plant it?
 NinoxTop AnswererThe planting period starts in February if they are in a greenhouse, or in April if not. This period ends in May. The best varieties are Asclepias curassavica if you live outside the mountains or Asclepias incarnata if you live in the mountains.
 -
QuestionSeedlings are 17", stalks thin, soil just warm enough now to plant. Will they survive planting now?
 NinoxTop AnswererThe plants will survive if the temperatures do not drop below 16°C (61°F); otherwise, you should keep them in a warmer place.
References
- ↑ https://monarchlab.org/biology-and-research/monarch-rearing/finding-collecting-and-growing-milkweed/
- ↑ https://monarchlab.org/biology-and-research/monarch-rearing/finding-collecting-and-growing-milkweed/
- ↑ https://www.monarchwatch.org/milkweed/prop.htm
- ↑ https://www.monarchwatch.org/milkweed/prop.htm
- ↑ https://www.monarchwatch.org/milkweed/prop.htm
- ↑ https://monarchjointventure.org/resources/faq/growing-milkweed-from-seed
- ↑ https://monarchlab.org/biology-and-research/monarch-rearing/finding-collecting-and-growing-milkweed/
- ↑ https://www.monarchwatch.org/milkweed/prop.htm
- ↑ https://www.monarchwatch.org/milkweed/prop.htm
- ↑ https://www.monarchwatch.org/milkweed/prop.htm
- ↑ https://www.monarchwatch.org/milkweed/prop.htm
- ↑ https://www.monarchwatch.org/milkweed/prop.htm
- ↑ https://www.monarchwatch.org/milkweed/prop.htm
- ↑ https://www.monarchwatch.org/milkweed/prop.htm
- ↑ https://monarchlab.org/biology-and-research/monarch-rearing/finding-collecting-and-growing-milkweed/
