This article was co-authored by wikiHow staff writer, Jessica Gibson. Jessica Gibson is a Writer and Editor who's been with wikiHow since 2014. After completing a year of art studies at the Emily Carr University in Vancouver, she graduated from Columbia College with a BA in History. Jessica also completed an MA in History from The University of Oregon in 2013.
There are 9 references cited in this article, which can be found at the bottom of the page.
This article has been viewed 11,884 times.
Learn more...
You don't need a green thumb or even a lot of space to successfully grow beans in pots. In fact, container gardening is a great project for beginners. Spend a few minutes researching what kind of beans you want to grow and get the right size pot for it. As long as your plant gets enough sunlight and water, you should be rewarded with a healthy harvest within a few months.
Steps
Seed, Soil, and Container Prep
-
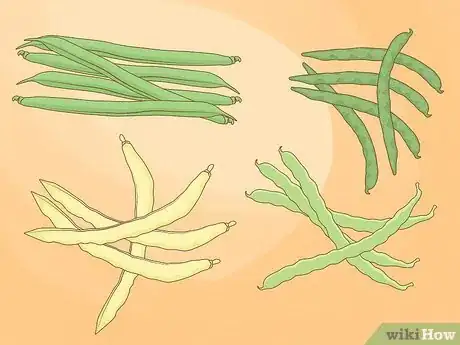
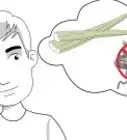
1Select a runner bean if you want a hardy, trailing bean. Runner beans are also called pole beans since they grow up and trail on vines. Since they do grow high, you'll need to use supports like stakes or a trellis. Any of these popular varieties are great for growing in pots since they put on a lot of vertical growth:
- Blue Lake
- Kentucky Wonder
- Algarve
- Golden Gate
-
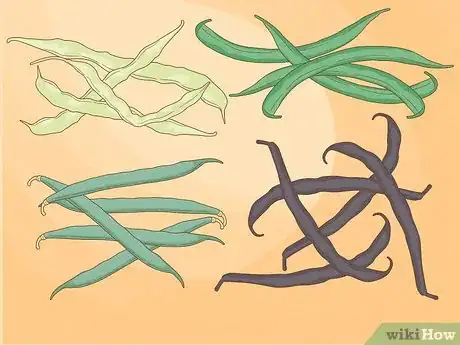
2Choose a bush variety for faster-growing beans that don't need support. Bush beans usually grow about 2 feet (61 cm) high, so they're great plants for balconies or small spaces. They also grow faster than runner beans. If you'd like to try your hand at growing bush beans, consider picking up one of these popular varieties:[1]
- Contender
- Kentucky Bean
- Purple Teepee
- Top Crop
Advertisement -
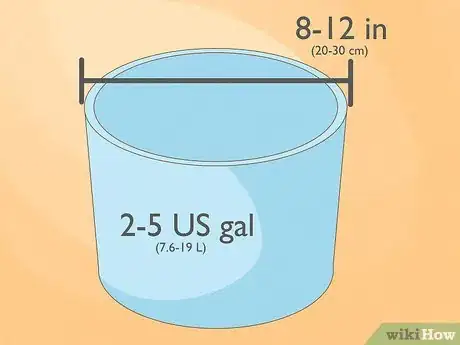
3Buy a pot that's at least 2 gallons (7.6 L) in size. A 2 US gal (7.6 L) pot has an 8 to 9 in (20 to 23 cm) diameter and you can plant 2 to 4 bean seeds in it. A slightly larger pot is even better, though—look for a 5 US gal (19 L) pot with a 12 in (30 cm) diameter to give your beans more space to grow.[2]
- If you decide to plant more than 1 seed in each pot, plan on leaving 3 inches (7.6 cm) of space between them.
- Pole beans need a container depth of 8 or 9 inches (20 or 23 cm) deep while bush beans need a depth of at least 6 or 7 inches (15 or 18 cm).
- If you're looking at terracotta or ceramic pots, buy one that's not glazed since the glaze traps moisture and can make the roots rot.
-
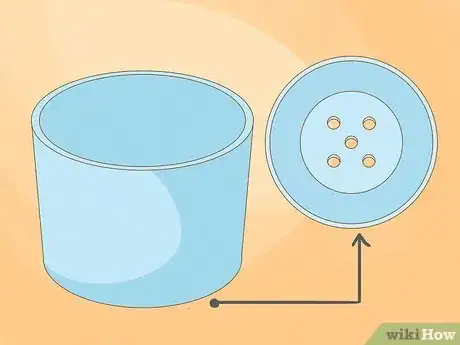
4Check the bottom of the pot for drainage holes or drill them yourself. Don't forget to flip over the pot and look for drainage holes so the roots of your bean plant don't become waterlogged. You should see at least 2 or 3 holes. If you don't see any and you're using a plastic pot, you can drill your own holes along the bottom edge.
- Use a power drill with a strong bit to drill through the plastic. Make the holes equal distances apart so water drains from the pot easily.
-
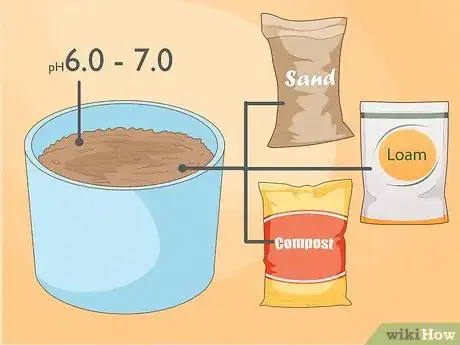
5Get potting mix or combine loam, compost, and sand create your own. Beans love healthy soil that has a pH between 6.0 and 7.0 Most potting mixes have a pH around 6.0, so you can buy a few bags of it or mix together equal parts of compost, loam, and builder's sand.[3]
- Don't have those ingredients? You can also make a basic potting mix with equal parts of peat moss or compost and perlite.
-
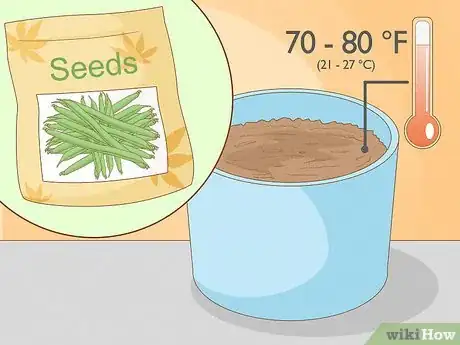
6Wait to plant the seeds until the danger of frost has passed. Bean seeds germinate faster when the soil is between 70 and 80 °F (21 and 27 °C), so wait until after the last frost date to plant. Want to check if the soil is warm enough? Buy a soil thermometer and push the tip down into the soil. Make sure it's at least 70 °F (21 °C) before you plant.[4]
- Check your local agricultural extension office to learn about frost dates in your region.
Planting Process
-
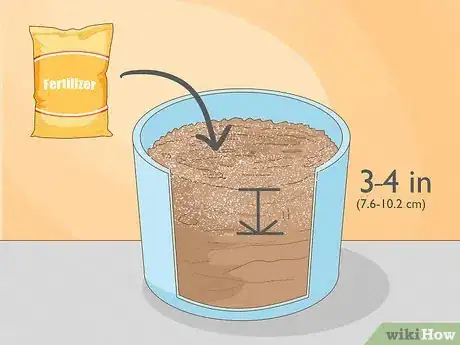
1Mix fertilizer into the top 3–4 in (7.6–10.2 cm) of soil in your container. Fill your pot with enough potting mix to come 3 inches (7.6 cm) from the top. Then, spread a 5-10-10 or 10-20-10 fertilizer over the soil in your container and mix it into the top 3 or 4 inches (7.6 or 10.2 cm) of the soil before you plant the seeds.[5]
- You don't need much fertilizer—just sprinkle a light dusting over the surface of the soil in your pot and mix it into the soil.
- Beans don't need regular fertilization. An initial nutrient boost before you plant the seeds is perfect!
-
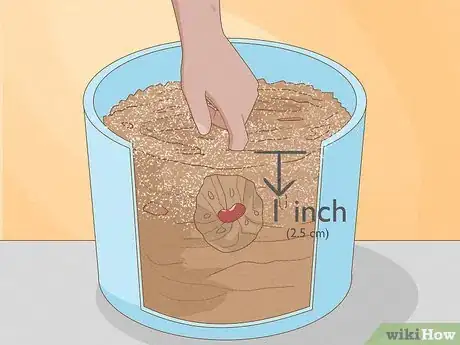
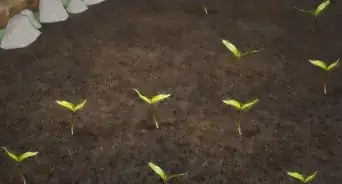
2Push pole or bush beans 1 inch (2.5 cm) deep into the soil. Make a 1 in (2.5 cm) hole with your finger and drop a seed into it. To save a little time, you could scatter the seeds over the surface of the soil and push each one down 1 inch (2.5 cm). Then, cover the seeds with potting mix.[6]
-
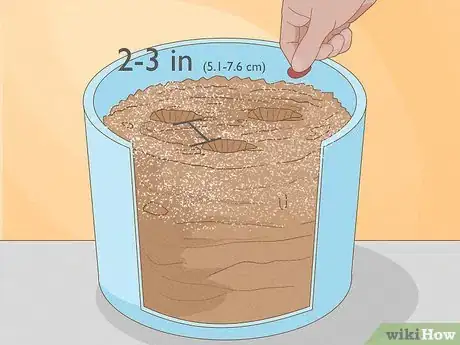
3Leave 2–3 inches (5.1–7.6 cm) of space between each pole bean seed. You can plant more pole beans in a container since most of their growth is vertical. Plan on spacing each pole bean plant 2 to 3 inches (5.1 to 7.6 cm) apart.[7]
- You can probably fit 2 to 4 bush plants in 1 large pot.
-
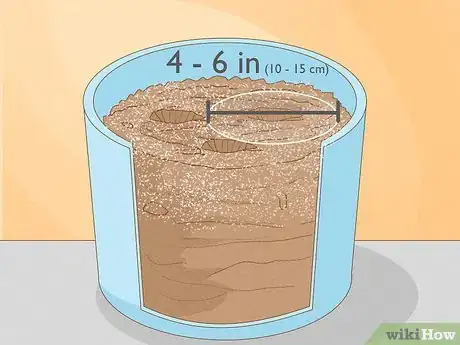
4Give each bush bean 4 to 6 inches (10 to 15 cm) of space. Bush beans take up a lot more room in the pot, so leave more space between each seed. If you don't leave at least 4 to 6 inches (10 to 15 cm) of space, the plants can crowd each other and they won't put on as much growth.[8]
- You'll get more beans if your plants have room to grow!
-
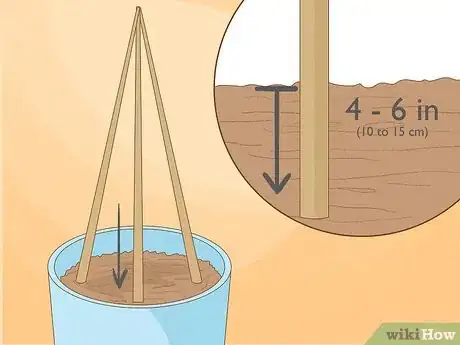
5Push a pole trellis into the soil if you're growing pole beans. Since pole beans can grow up to 12 feet (140 in), they need support! Push a flat trellis or 3 stakes of a tepee trellis into your pot before you plant the bean seeds. Insert the supports 4 to 6 inches (10 to 15 cm) down into the soil so they're sturdy.[9]
- If you're making your own teepee trellis with something like tent stakes, gather the top ends of the stakes and tie them together with strong rope. This makes the teepee shape.
-
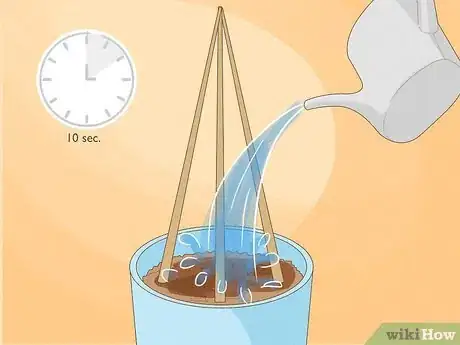
6Soak the soil on your bush or bean plant to help it germinate. Water the soil for at least 10 seconds so it can penetrate down near the seeds. The moisture helps the seeds germinate so they begin to put on growth.[10]
- Use a watering can or gentle shower setting on a garden hose so you don't blast the soil with a powerful jet of water.
Care and Maintenance
-
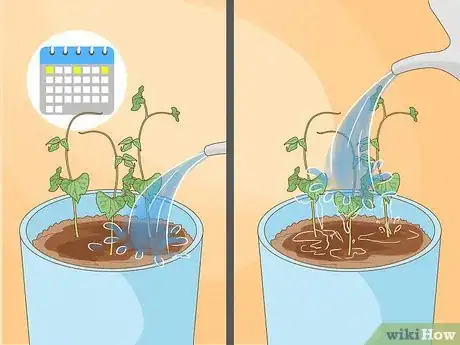
1Water the beans a few times a week to keep the soil evenly moist. Soil that stays moist encourages seeds to germinate and helps the plant grow. Since bean plants don't like wet leaves, water them in the morning to give the leaves a chance to dry in the sunshine.[11]
- It's easy to overwater your plants, which can cause root rot. Skip watering if the soil still feels moist to the touch.
-
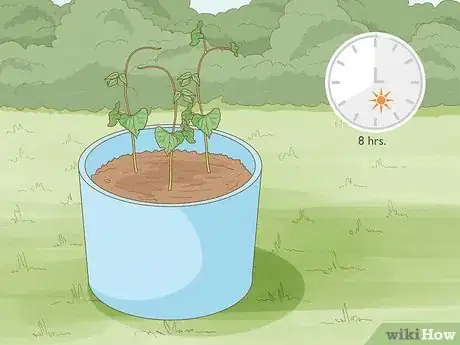
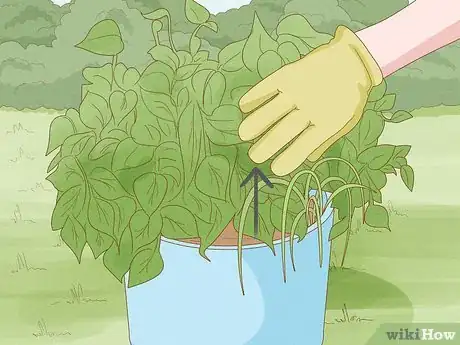
2Place your pot outside where it can get 8 hours of sunlight. Like most plants, beans need a lot of direct sunlight so put your container where the plant gets ample sunshine. If you're working with limited balcony or patio space, just put it in the sunniest spot possible.[12]
- Some bean plants are fine with just 6 hours of sunlight a day, but they might not produce as many beans.
-
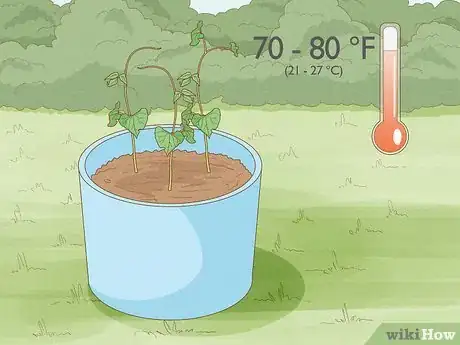
3Maintain temperatures between 70–80 °F (21–27 °C) for optimal growth. Your beans will quickly put on healthy growth if the soil is warm. Pay attention to your weather forecast and consider covering your pots or bringing them inside if the temperature is going to drop below 60 °F (16 °C).[13]
- Even cold temperatures that are above freezing can make it hard for your plants to grow leaves and beans.
-
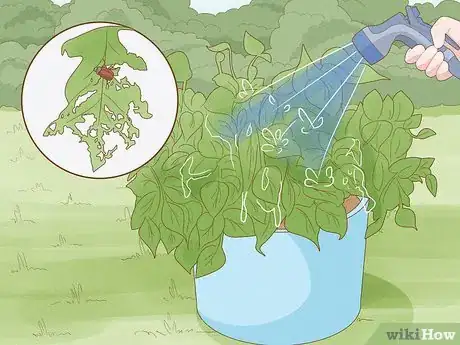
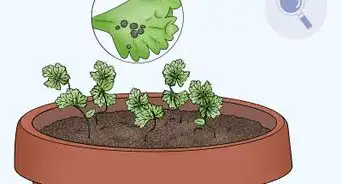
4Rinse or pick away pests that might eat the plants' leaves. Look for spider mites, aphids, and small beetles with their eggs on the leaves and stalks of the plant. If you spot any, pick them off by hand or spray them with water to remove them.[14]
- Make it a habit to check the health of your plant ever few days so you catch pests early and limit their damage.
-
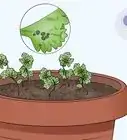
5Remove weeds to prevent bacteria and mold. If you see leaves with white mold, remove them from the plant along with any other weeds in the base of your container. If moldy leaves or weeds fill the container, they can choke out the bean plants.[15]
- This is another reason it's important to leave space between your plants. If they're too crowded, mold and bacteria can easily spread from one plant to another.
-
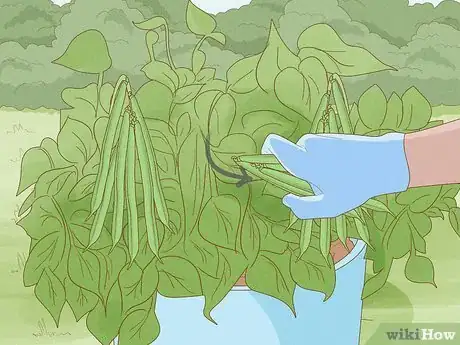
6Harvest your beans about 50 to 90 days after sowing. Bush beans mature faster than pole beans, so plan on harvesting the beans 50 to 60 days after you sow the seeds. For pole beans, begin checking them 60 to 90 days after sowing. For either kind of bean, look for plump pods that are long and tender. Then, snap them or cut them from the plant—don't pull them or you might tear the plant.[16]
- Use your beans right away or store them for about 1 week in your fridge.
Things You'll Need
- Bean seeds
- Soil
- 2 to 5 US gal (7.6 to 18.9 L) container
- Soil thermometer, optional
References
- ↑ https://www.gardeningchannel.com/how-to-grow-great-green-beans-in-containers/
- ↑ https://blog-yard-garden-news.extension.umn.edu/2019/05/become-smarter-gardener-in-2019-get.html
- ↑ https://www.gardeningchannel.com/how-to-grow-great-green-beans-in-containers/
- ↑ https://gardenerspath.com/plants/vegetables/grow-bush-beans/
- ↑ https://agrilifeextension.tamu.edu/library/gardening/green-beans/
- ↑ https://gardenerspath.com/plants/vegetables/grow-bush-beans/
- ↑ https://www.gardeningchannel.com/how-to-grow-great-green-beans-in-containers/
- ↑ https://www.gardeningchannel.com/how-to-grow-great-green-beans-in-containers/
- ↑ https://www.finegardening.com/article/plant-green-beans-up-a-teepee-trellis
- ↑ https://youtu.be/p70z5r3Y6uU?t=522
- ↑ https://www.gardeningchannel.com/how-to-grow-great-green-beans-in-containers/
- ↑ https://content.ces.ncsu.edu/home-vegetable-gardening-a-quick-reference-guide
- ↑ http://www.gardening.cornell.edu/homegardening/scenef57c.html
- ↑ http://www.gardening.cornell.edu/homegardening/scenef57c.html
- ↑ http://www.gardening.cornell.edu/homegardening/scenef57c.html
- ↑ https://www.canr.msu.edu/resources/how_to_grow_beans_part_1
- ↑ http://www.gardening.cornell.edu/homegardening/scenef57c.html
