This article was co-authored by Ryaan Tuttle. Ryaan Tuttle is a Home Improvement Specialist and the CEO of Best Handyman, Inc. in Boston, Massachusetts. With over 17 years of experience, he specializes in building home service businesses, focusing on creating scalable and efficient brands. With the help of his global team, the companies have achieved over 10+ million in sales and received recognition through magazine features, and enjoy partnerships with wikiHow and Jobber field service software. Boston Magazine and LocalBest.com have named Best Handyman Boston the Best Handyman in Boston. Ryaan holds Construction Supervisor and Home Improvement Contractor Licenses.
This article has been viewed 53,068 times.
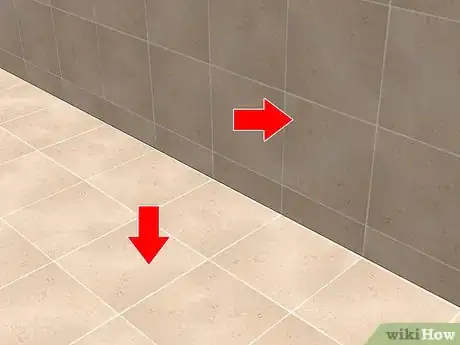
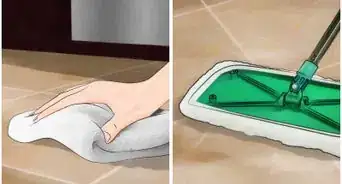
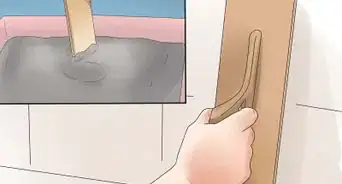
If you're in the final stages of doing some tiling work, the last thing you have to do is grout your tiles. Grouting involves applying grout, a material made by mixing water, cement, and sand, to the areas in between tiles. To grout your tiles, the first thing you need to do is choose and mix your grout. Then, just spread the grout along the tiles, remove the excess, apply a sealant, and you're done!
Steps
Choosing and Mixing Your Grout
-
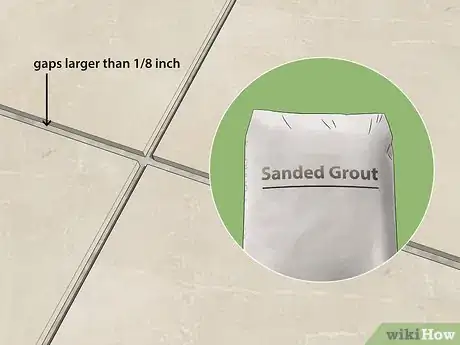
1Choose sanded grout for larger gaps between tiles. Sanded grout is best used for gaps (called grout joints) that are larger than 1⁄8 inch (3.2 mm) in width. This type of grout has been mixed with fine sand, so it's better able to fill a large joint instead of shrinking.[1]
- Don't use sanded grout on joints that are narrower than 1⁄8 inch (3.2 mm), since the sand may take up too much of the width and weaken the overall structure.
- Avoid using sanded grout on polished marble or other easily scratched surfaces, as the sand may scratch or damage these surfaces.
- You can buy sanded grout at any home improvement store. A 25 pounds (11 kg) bag of grout compound will be enough to grout around 200 square feet (19 m2) of tile space.
-
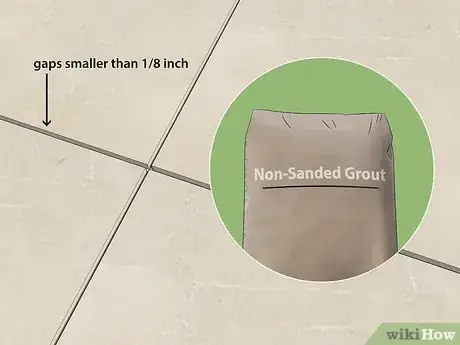
2Opt for unsanded grout for narrower joints. Unsanded grout is ideal for joints that are 1⁄8 inch (3.2 mm) or smaller. This type of grout shrinks significantly as it dries, but as long as the joint is narrow, this shrinkage won't be that noticeable.
- Unsanded grout may also be packaged as “non-sanded grout” or “wall grout.”
- A 25 pounds (11 kg) bag of grout compound should be enough to grout around 200 square feet (19 m2) of tiles. Unsanded grout is available for purchase at almost any home improvement store.
Advertisement -
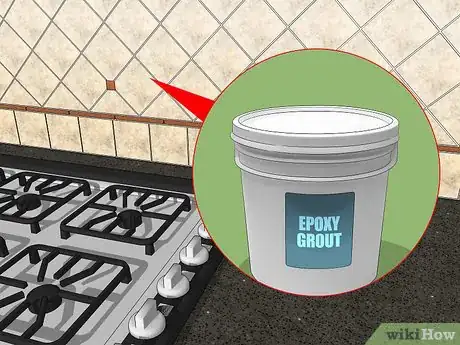
3Go with epoxy grout in areas with lots of exposure to acid or grease. Epoxy grout provides serious protection against acid, grease, and stainers, so it's best used for kitchen countertops and other “high spill” areas. However, note that epoxy grout is much harder to apply because it dries very fast.[2]
- Because of the difficulty involved in applying epoxy grout, it may be better to hire a professional to do it for you.
- Note that epoxy grout is also significantly more expensive than other forms of grout. Most home improvement stores will carry epoxy grout.
-
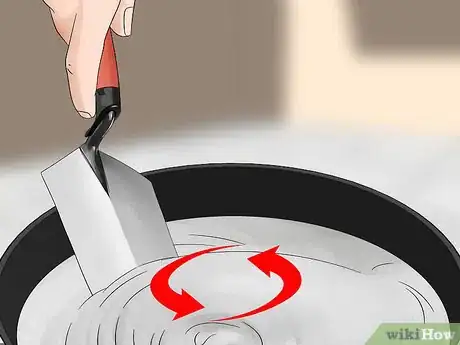
4Use a margin trowel to mix your grout with water. Follow the manufacturer's instructions to mix together the right amount of grout for your job with the appropriate amount of water.[3] Start by pouring about ⅔ of the water you'll use into a mixing bucket, add the necessary amount of grout compound, and mix these ingredients together. Then, add the rest of the water and continue mixing until the consistency is correct.[4]
- The manufacturer's instructions should tell you how to determine when your grout is at the right consistency. However, usually it is at the correct consistency when you can roughly form it into a ball.
- After you mix the grout, let it sit for a few minutes. Then give it some quick whips with your mixing tool, and it is ready to be used.[5]
- There are also many additives you can mix into your grout. These can help combat staining, prolong the life of the grout, or have other helpful benefits. Talk with your local hardware store about what is available to you.
Applying Grout to Walls and Floors
-
1Load your grout float by scraping it against the side of the bucket. Tip the bucket toward you first, then drag some of the grout toward you and along the side of the bucket. This will give you a “working batch” of grout to use at first. Scrape the float tightly against the bucket to make sure you get a decent amount to work with.[6]
- A grout float is a flat, handled tool used to apply grout. You can find a grout float at any hardware store.
- This technique also prevents any grout from spilling onto the floor when you go to take some out of the bucket.
-
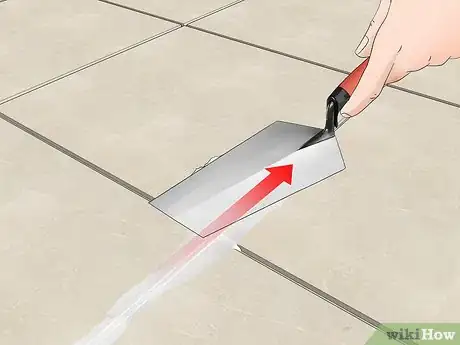
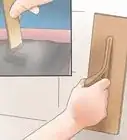
2Apply the grout to the wall tiles first by pressing down on the joints. Position the float at a 45-degree angle along a joint, press the float into the joint, then run it along the line to fill in the joint. Turn the float onto its side to scrape off the large globs of excess grout on your tiles.[7]
- Repeat this process to fill in all of the grouts you intend to fill on your wall. Just don't allow too much time to pass before you do some cleanup work.
- Do not apply grout to any expansion joints. These are the gaps at the edge of a floor or wall, and especially at spots exposed to water, such as the edge of a bathtub.
- It's important to start by grouting your wall tiles instead of your floor tiles, since you'd have to walk on top of your newly grouted floor tiles in order to reach the wall.
-
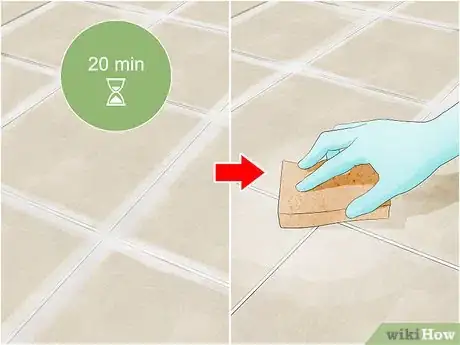
3Allow the grout to dry for 20 minutes, then clean the tiles with a sponge.[8] Use a damp sponge to gently wipe any remaining excess grout off of the surface of the tiles. Make sure that the sponge is not wet, because water can loosen the grout and it won't dry or won't keep the same strength.[9] For best results, clean the sponge after each short swipe.[10]
- Read the instructions on the package for drying times, since some grouts may need more or less time.[11]
- Wipe in a circular motion to most effectively clean the tiles.
-
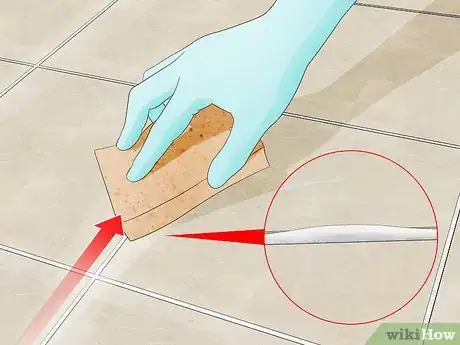
4Use a sponge to smooth out any high or uneven grout lines.[12] Press down on the sponge with your index finger as you run it along the grout lines to smooth them out. You don't have to press down too hard; your goal is just to make sure all of your grout lines are at consistent heights and depths.[13]
- It's fine to use the same sponge that you used in the previous step, so long as it's been thoroughly cleaned first.
-
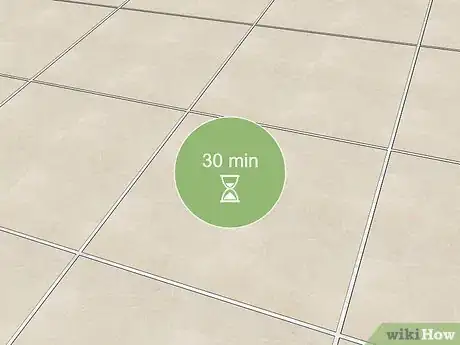
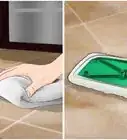
5Let the grout dry for about 30 minutes, then wipe the tiles with a towel. Stepping aside for half an hour should allow the grout and water on the surface of the tiles to form a dry, easily removed haze. For best results, use a microfiber towel to wipe off this haze.[14]
- You can also use a cotton towel, but microfiber towels work best for quickly and cleanly removing the haze from the wall.
-
6Repeat these steps to grout your floor, if necessary. Now that you've completed the tiles on the wall, it's a good time to grout any tiles on the floor that you need to grout as well. The process of grouting the floor will be the same as grouting the wall. Just make sure you're ok with not walking inside this room for 24 hours, since this is how long it will take the grout on the floor to cure.
Finishing Your Grouting Project
-
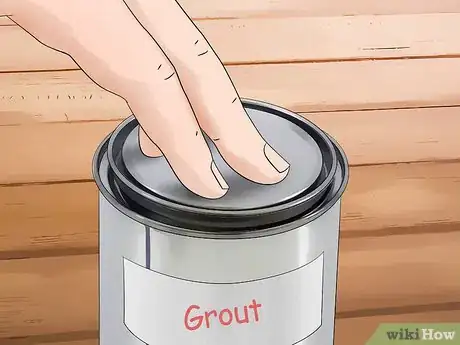
1Keep any leftover grout in an airtight container for touch-ups. You may need to come back to the tiles you've just grouted and re-apply grout later on, so it will be helpful to have grout already set aside. Grout will easily absorb moisture that it comes into contact with, so be sure to store it in an airtight container and away from moisture exposure.[15]
- A sealable plastic bag is a great container for storing leftover grout.
- Grout, especially epoxy grout, dries incredibly quickly, so put your leftover grout in an airtight container as soon as you know that you won't be using it on your walls or floors.
- Your unused grout should last for about a year, so long as it's stored properly.
-
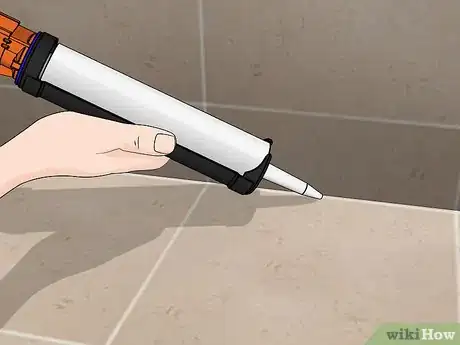
2Allow the grout to cure, then use caulk to finish the expansion joints. Allow your grout adequate time to set completely, according to the manufacturer's instructions. Then, fill the expansion joints with caulk that matches the color of the grout you used on the rest of the tiles. Use your finger to remove excess caulk and form it into the right shape.[16]
- Expansion joints and inside corners that are grouted tend to crack over time, which is why it's better to use caulk in these gaps.
- Grout usually takes 24-48 hours to cure, although this may vary based on the specific kind and brand of grout that you use.
- There's no harm in allowing your grout to cure for even longer than the recommended time, as long as you don't run water over the tiles or apply too much force to them.
-
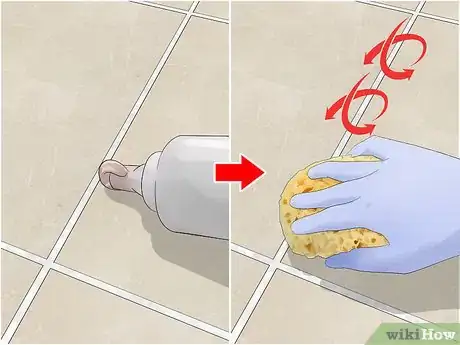
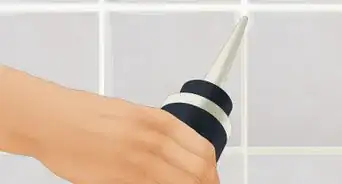
3Apply a sealant once the grout has cured. Sealant will help prevent mold growth and various forms of water damage from affecting your tiles. Pour a small amount of sealant onto the grout, then work it in with a sponge by rubbing it in small, circular motions. Finally, wipe off the sealant after 5-10 minutes.[17]
- To stay safe, re-apply sealant to your grout about every 6 months.
Expert Q&A
-
QuestionHow long do you leave grout before wiping it?
 Kevin TurnerKevin Turner is a handyman and the owner of Red Gator Maintenance, a handyman business based in Fresno, California. Working on handyman-related projects since the age of 12, Kevin specializes in a wide variety of home improvement projects such as (but not limited to) lighting/electrical, plumbing, deck staining, drywall repairs, cabinet installation, air conditioning, trash removal, and window, roof, and appliance repairs.
Commercial Handyman Grouts vary, so always read the instructions on the packaging for dry times. In general, the grout should no longer be runny when you start to wipe it.
Warnings
- For maximum safety, be sure to wear rubber gloves, safety glasses, and a dust mask when mixing and applying grout.⧼thumbs_response⧽
- If you're grouting a floor, expect to be kneeling on hard tile for a long period of time. To protect your knees, make sure you wear kneepads during this process.⧼thumbs_response⧽
References
- ↑ https://www.thisoldhouse.com/ideas/all-about-grout
- ↑ https://www.thisoldhouse.com/ideas/all-about-grout
- ↑ Ryaan Tuttle. Home Improvement Specialist. Expert Interview. 13 January 2021.
- ↑ https://www.bobvila.com/articles/how-to-grout-tile/
- ↑ Ryaan Tuttle. Home Improvement Specialist. Expert Interview. 13 January 2021.
- ↑ https://www.familyhandyman.com/tiling/grouting/grouting-tips-and-techniques/view-all/
- ↑ https://www.bobvila.com/articles/how-to-grout-tile/
- ↑ Ryaan Tuttle. Home Improvement Specialist. Expert Interview. 13 January 2021.
- ↑ Ryaan Tuttle. Home Improvement Specialist. Expert Interview. 13 January 2021.
- ↑ https://www.artofmanliness.com/articles/how-to-grout-tile/
- ↑ Kevin Turner. Commercial Handyman. Expert Interview. 15 July 2020.
- ↑ Kevin Turner. Commercial Handyman. Expert Interview. 15 July 2020.
- ↑ https://www.familyhandyman.com/tiling/grouting/grouting-tips-and-techniques/view-all/
- ↑ https://www.familyhandyman.com/tiling/grouting/grouting-tips-and-techniques/view-all/
- ↑ https://www.familyhandyman.com/tiling/grouting/grouting-tips-and-techniques/view-all/
- ↑ https://www.familyhandyman.com/tiling/grouting/grouting-tips-and-techniques/view-all/
- ↑ https://www.bobvila.com/articles/how-to-grout-tile/
About This Article
If you need to grout tile, use a margin trowel to mix your grout with water according to the manufacturer’s instructions. Once it’s mixed, tip the bucket toward you first, then scrape the grout float against the side of the bucket to load it. Position the float at a 45-degree angle along a joint and press downward, running down the line to fill the joint with grout. Use the side of the float to scrape off excess grout. Allow the tiles to dry for about 20 minutes, then clean off the tiles with a sponge. Keep reading to learn how to apply grout to your floor!
