This article was co-authored by wikiHow staff writer, Travis Boylls. Travis Boylls is a Technology Writer and Editor for wikiHow. Travis has experience writing technology-related articles, providing software customer service, and in graphic design. He specializes in Windows, macOS, Android, iOS, and Linux platforms. He studied graphic design at Pikes Peak Community College.
This article has been viewed 72,662 times.
Learn more...
While a free domain may be sufficient for a personal website, professional businesses should look into web hosting plans that come with a safer, more secure domain. This wikiHow article teaches you how to get a free domain name.[1]
Steps
Getting a Freenom Domain
-
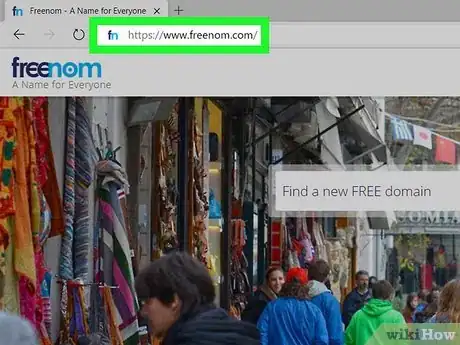
1Navigate to https://www.freenom.com/ in a web browser. You can use any web browser on your PC or Mac.
-
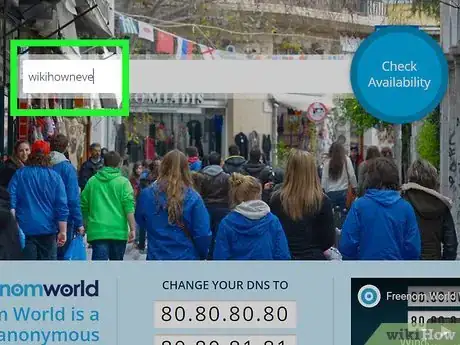
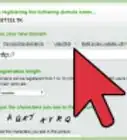
2Enter your domain name in the search bar. This should be a domain name without an extension. Do not include a ".com", ".tk" or other extensions at the end.Advertisement
-
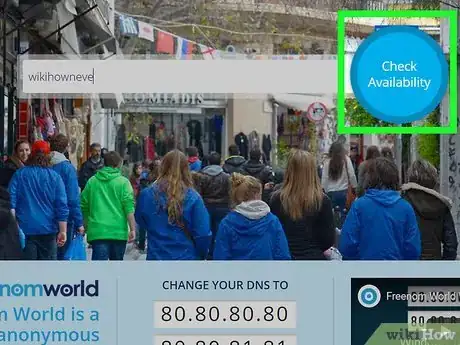
3Click Check. This will display a list of extensions your domain is available for your domain name.
-
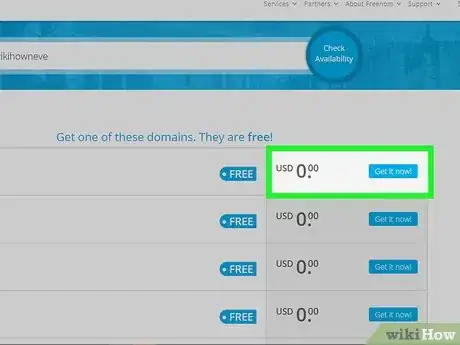
4Click Get It Now next to the domain you want. This adds a green sign that says "Selected" next to your domain name. There are five domain extensions that are available for free domains: .tk, .ml, .ga, .cf, .gq.
- Your domain name may not be available for all extensions. If it's not available for any of them, you will need to choose a different domain name.
- Alternatively, you can click Select next to one of the paid domain names. This will get you a more professional domain name.
-
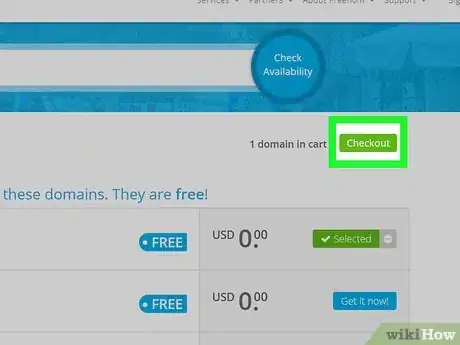
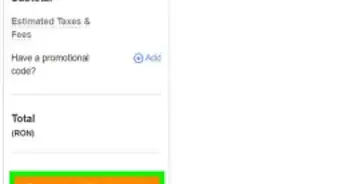
5Click Checkout. It's the green button at the top of the screen.
-
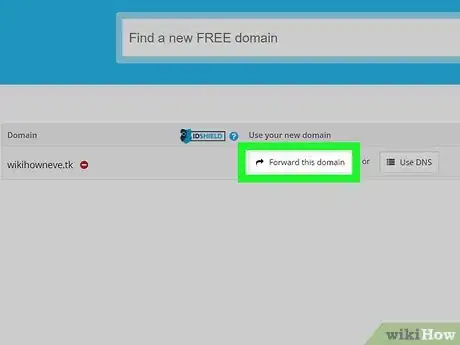
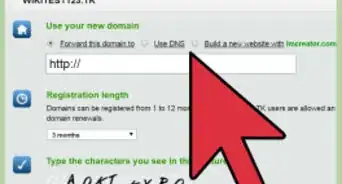
6Select Forward this domain or Use DNS if you have web hosting. If you want the domain name to forward to a different website, click Forward this domain and then enter the URL you want the domain to route to. If you want to use Freenom's DNS service, click Use DNS. If you have an A record, enter the IP address next to your domain name. If you have a different DNS provider, click Use your own DNS and enter the name server and the IP address for your DNS service.
- If you don't have web hosting yet, don't click either button.
-
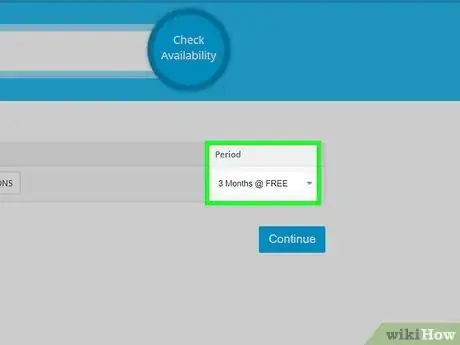
7Select the billing period. Use the drop-down menu below "Period" to select a billing period. You can select up to 12 months for a free domain.
-
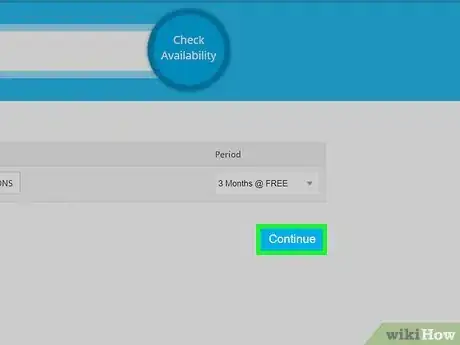
8Click Continue. This takes you to the checkout page.
-
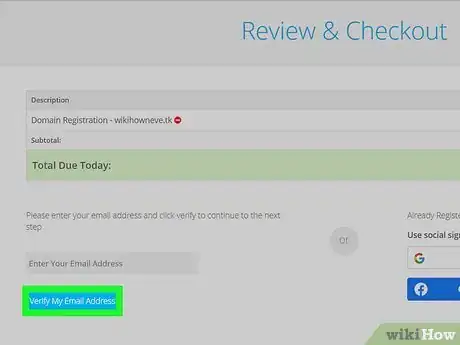
9Enter your email address and click Verify My Email Address. It's at the bottom of the checkout page on the left. You will need to enter a valid email address. This sends a verification email to your email address.
- Alternatively, you can click the button with the Google "G" or the Facebook logo to sign in with your Google or Facebook account.
-
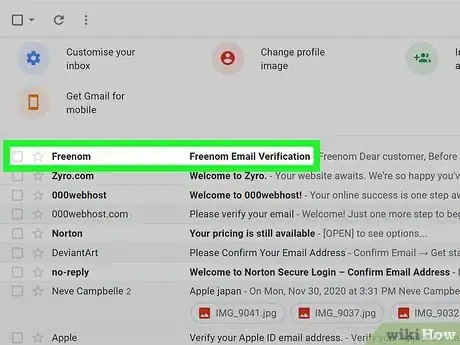
10Check your email. Open the email account you used on the Freenom website. You should receive a verification email within a few minutes.
-
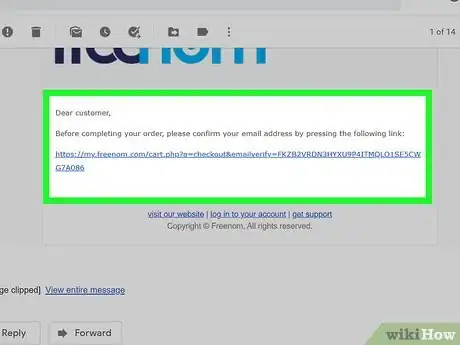
11Verify your email. Look for an email called "Freenom Email Verification" in your email. Open the email and click the link in the email to verify your email.
- If you don't see the email, check your junk or spam folder.
-
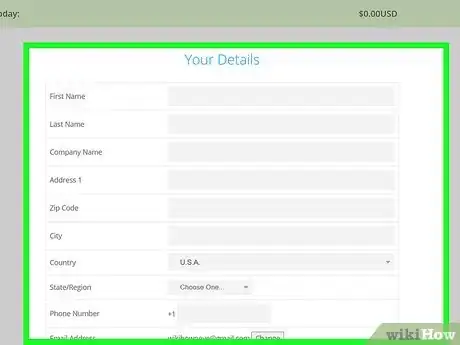
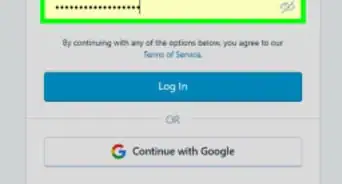
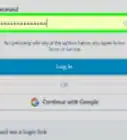
12Fill out the form. You'll need to fill out the form with your information to complete your order. To fill out the form, you'll need to enter your first and last name, address, company name, phone number, and choose a password.
-
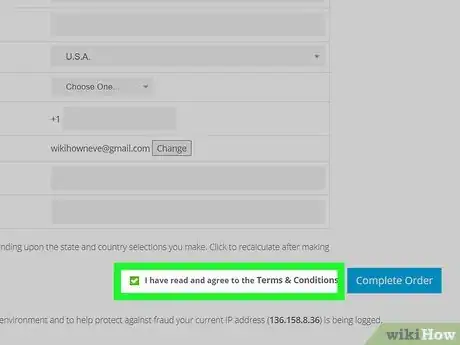
13Click the checkbox next to "I have read and agree to the Terms & Conditions." It's at the bottom of the screen below the form. Click the checkbox to agree to the terms and conditions.
-
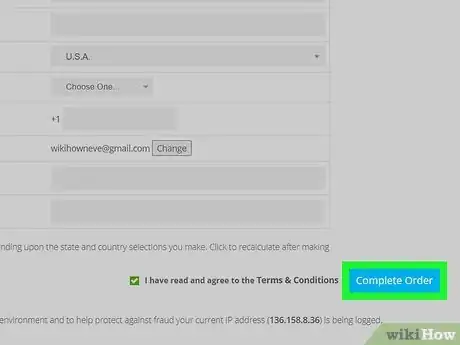
14Click Complete Order. It's the blue button next to the checkbox at the bottom of the screen. This completes and registers your domain name. You will see an order number displayed on-screen and you will receive a confirmation email.
Creating a Subdomain
-
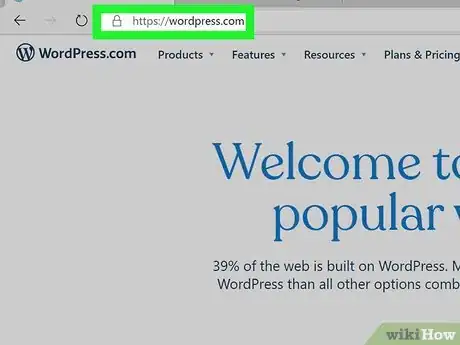
1Navigate to https://wordpress.com/ in a web browser. WordPress is a popular blog tool used to create a variety of professional websites. You can sign up for a WordPress subdomain and use WordPress tools to create a free website.
- Alternatively, you can use other websites like https://www.blogger.com/
-
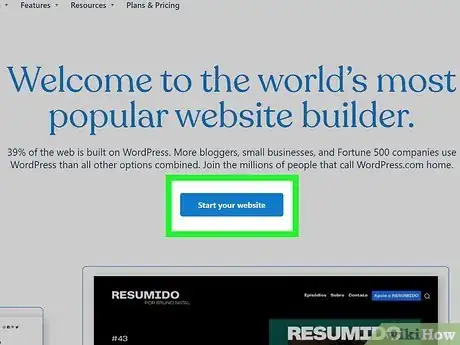
2Click Start Your Website. It's the blue button in the center of the screen.
-
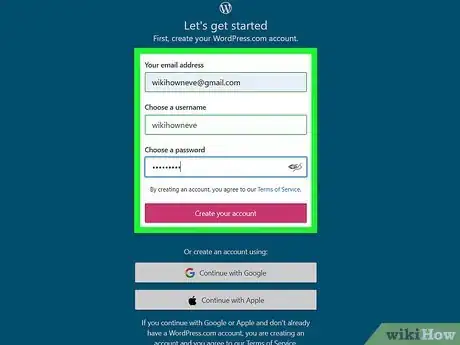
3Enter your email address and choose a username and password. Use the fields in the center of the screen to enter a valid email address. Then pick a username and password of your choice.
-
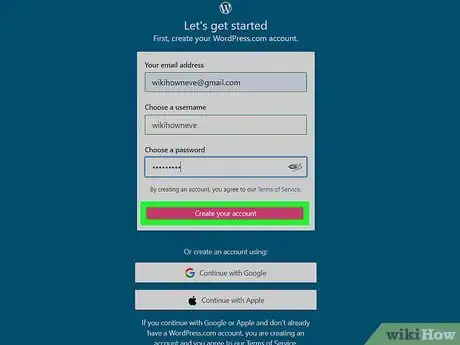
4Click Continue. It's the pink button at the bottom of the form. This registers your account with WordPress.
-
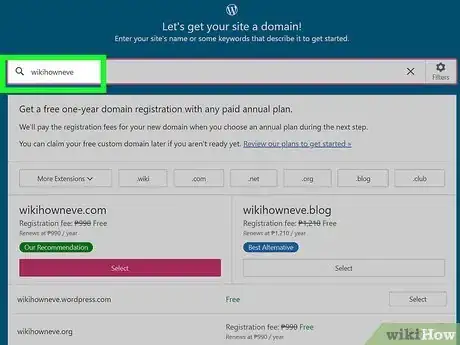
5Enter your desired domain name. The domain name should not include any extensions (i.g. .com, .net, etc). If your domain name is not available, you'll need to pick a different domain name.
-
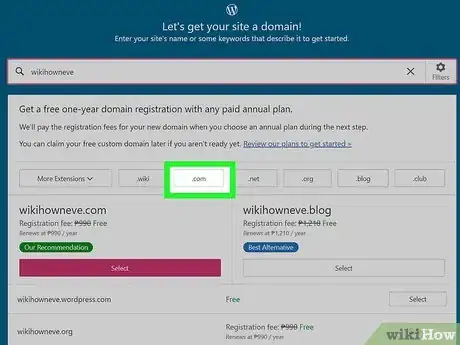
6Click the extension you want. Click one of the boxes at the top of the page to select your domain extension. You can select any of the standard website extensions. These include: .com, .net, .org, .site, .website, and more.
-
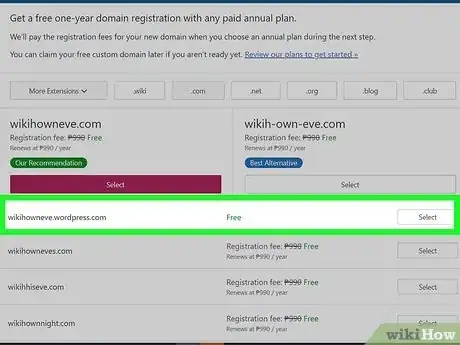
7Click Select next to the ".wordpress" domain name. The free domain is the one that has ".wordpress" in the domain (i.g. yourwebsite.wordpress.org). It's at the top of the list of domains. All the other domains do not have ".wordpress" in the domain, but they have a yearly registration fee.
-
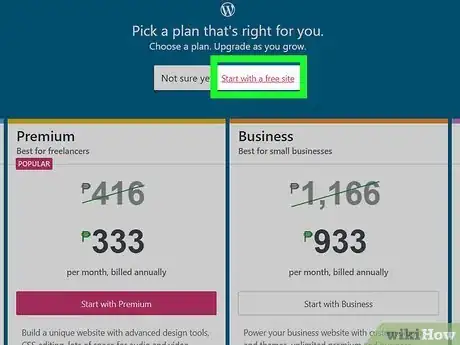
8Click Start with a free site. It's the small pink text at the top of the page above the list of monthly plans. Your domain will be registered in a few short minutes and you will be able to start designing your website immediately.
Community Q&A
-
QuestionDo I have to pay after some months?
 Community AnswerMost sites have a basic website option that is free of charge. These sites will also have other paid options for building more advanced websites.
 -
QuestionAfter the first year, do you have to pay for your .tk domain name, or is it free forever?
 A_random_readerCommunity AnswerUnfortunately, there is no free lunch. You may have to pay to keep the domain, or you may lose the website. That’s how web hosting companies lure you in!
Warnings
- Don't get too invested in a free domain. Nothing too valuable in life is ever free, and free domains are severely limited in their utility. Paid domains are actually very affordable, and may save you a lot of hassle in the long run.⧼thumbs_response⧽
References
About This Article
1. Go to https://www.freenom.com/
2. Enter a domain name idea.
3. Click Check.
4. Click Get it now next to the domain extension you want.
5. Click Checkout.
6. Enter your email address and click Verify My Email Address.
7 Open the Verification Email and click the link.
8. Fill out the form and agree to the Terms & Conditions.
9. Click Complete Order.
