This article was co-authored by wikiHow staff writer, Jack Lloyd. Jack Lloyd is a Technology Writer and Editor for wikiHow. He has over two years of experience writing and editing technology-related articles. He is technology enthusiast and an English teacher.
The wikiHow Tech Team also followed the article's instructions and verified that they work.
This article has been viewed 649,191 times.
Learn more...
This wikiHow teaches you how to install XAMPP on a Windows 10 computer. XAMPP is a server manager which allows you to run Apache, MySQL, and other types of servers from the same dashboard.
Steps
-
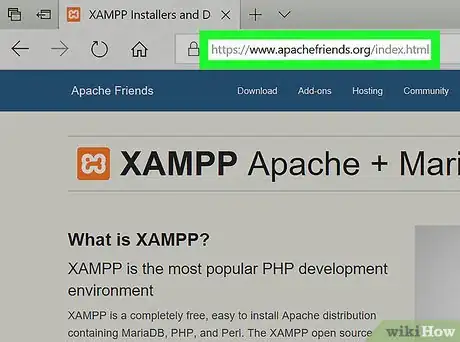
1Open the XAMPP website. Go to https://www.apachefriends.org/index.html in your computer's web browser.
-
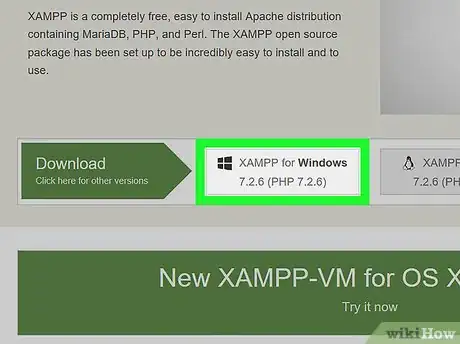
2Click XAMPP for Windows. It's a grey button near the bottom of the page.
- Depending on your browser, you may first have to select a save location or verify the download.
Advertisement -
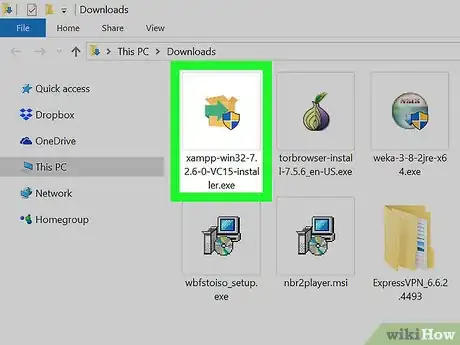
3Double-click the downloaded file. This file should be named something like xampp-win32-7.2.4-0-VC15-installer, and you'll find it in the default downloads location (e.g., the "Downloads" folder or the desktop).
-
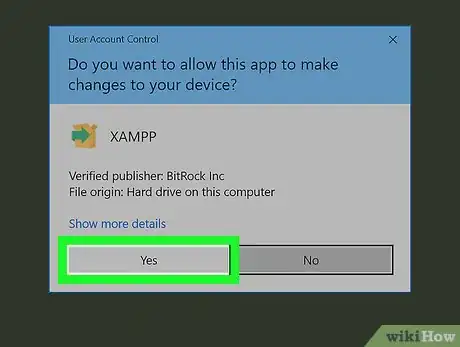
4Click Yes when prompted. This will open the XAMPP setup window.
- You may have to click OK on a warning if you have User Account Control (UAC) activated on your computer.
-
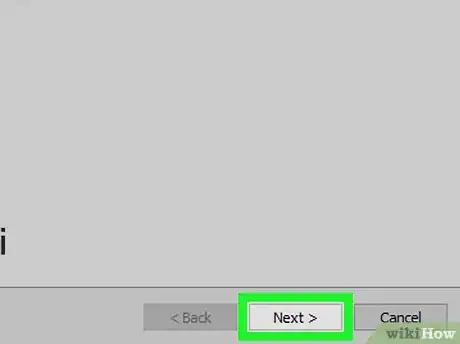
5Click Next. It's at the bottom of the setup window.
-
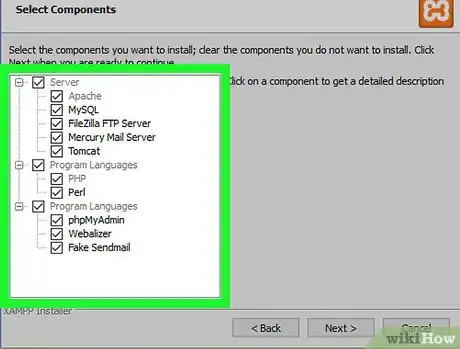
6Select aspects of XAMPP to install. Review the list of XAMPP attributes on the left side of the window; if you see an attribute that you don't want to install as part of XAMPP, uncheck its box.
- By default, all attributes are included in your XAMPP installation.
-
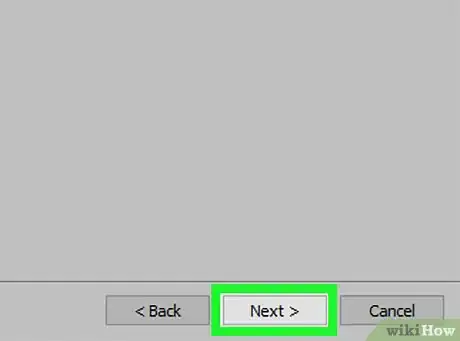
7Click Next. It's at the bottom of the window.
-
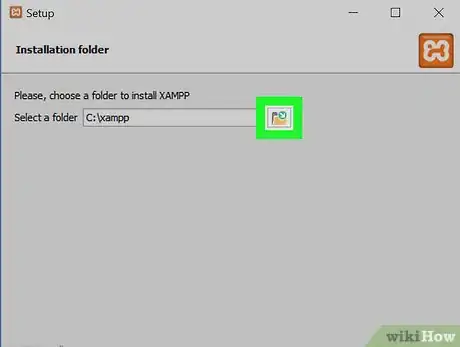
8Select an installation location. Click the folder-shaped icon to the right of the current installation destination, then click a folder on your computer.
- If you have the UAC activated on your computer, avoid installing XAMPP in your hard drive's folder (e.g., OS (C:)).
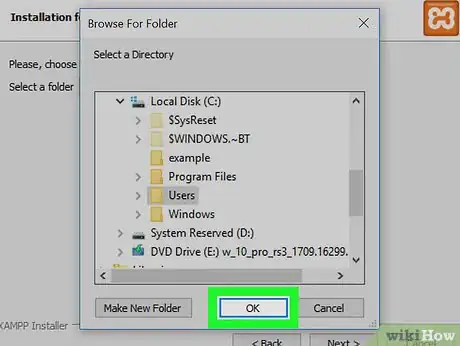
- You can select a folder (e.g., Desktop) and then click Make New Folder to create a new folder and select it as the installation destination.
-
9Click OK. Doing so confirms your selected folder as your XAMPP installation location.
-
10Click Next. You'll find it at the bottom of the page.
-
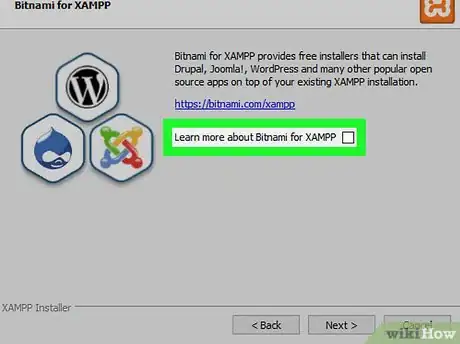
11Uncheck the "Learn more about Bitnami" box, then click Next. The "Learn more about Bitnami" box is in the middle of the page.
-
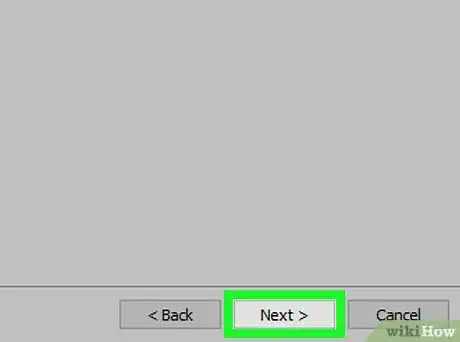
12Begin installing XAMPP. Click Next at the bottom of the window to do so. XAMPP will begin installing its files into the folder that you selected.
-
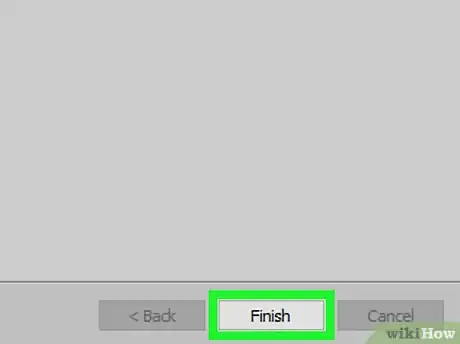
13Click Finish when prompted. It's at the bottom of the XAMPP window. Doing so will close the window and open the XAMPP Control Panel, which is where you'll access your servers.
-
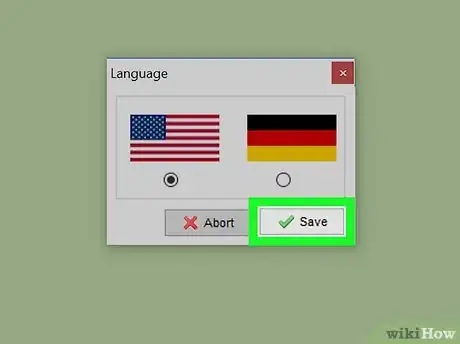
14Select a language. Check the box next to the American flag for English, or check the box next to the German flag for German.
-
15Click Save. Doing so opens the main Control Panel page.
-
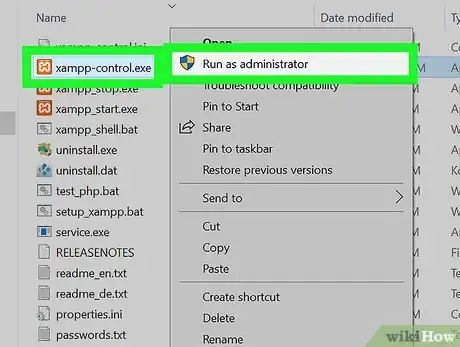
16Start XAMPP from its installation point. If you need to open the XAMPP Control Panel in the future, you can do so by opening the folder in which you installed XAMPP, right-clicking the orange-and-white xampp-control icon, clicking Run as administrator, and clicking Yes when prompted.
- When you do this, you'll see red X marks to the left of each server type (e.g., "Apache"). Clicking one of these will prompt you to click Yes if you want to install the server type's software on your computer.
- Counterintuitively, double-clicking the xampp_start icon doesn't start XAMPP.
-
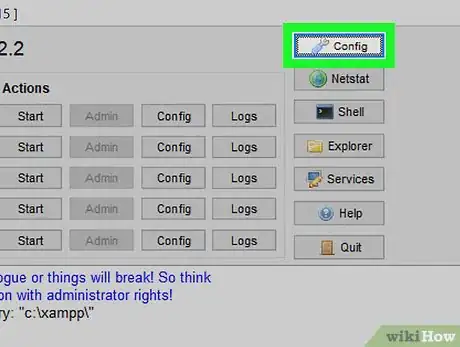
17Resolve issues with Apache refusing to run. On some Windows 10 computers, Apache won't run due to a "blocked port". This can happen for a couple of reasons, but there's a relatively easy fix:[1]
- Click Config to the right of the "Apache" heading.
- Click Apache (httpd.conf) in the menu.
- Scroll down to the "Listen 80" section (you can press Ctrl+F and type in listen 80 to find it faster).
- Replace 80 with any open port (e.g., 81 or 9080).
- Press Ctrl+S to save the changes, then exit the text editor.
- Restart XAMPP by clicking Quit and then re-opening it in administrator mode from its folder.
Community Q&A
-
QuestionHow can you change UAC settings?
 Community AnswerUser Account Control (UAC) provides security against unauthorized changes in your computer in order to prevent changes from being made maliciously. Simply type Msconfig in the Run window -- you should see appear the system configuration. In it, select the Tools tab; select Change UAC Settings and hit Launch. Then drag the bar down that would prevent the writing restriction. Save the settings and you are ready to go; or you can type "C:\WINDOWS\System32\UserAccountControlSettings.exe" to directly jump into UAC settings from the CMD.
 -
QuestionI have installed XAMPP successfully, but the Apache server does not run. Where can I find additional help?
 Community AnswerMake sure your ports are port forwarded or your firewall may block it. If you need additional help, you can go to the Apache Friends support forums.
 -
QuestionHow do I save the PHP and HTML files on XAMPP?
 Community AnswerDepending on where you have installed the XAMPP, you will need to look through the XAMPP Directory and look for the folder 'htdocs' (e.g. 'C:\xampp\htdocs'). Create a folder inside 'htdocs' (e.g. chosenOne). When running your servers (Apache and MySQL) on your browser (Firefox, Chrome, etc.), type : localhost/chosenOne. This should run the pages. Save any PHP and HTML files inside 'htdocs' under XAMPP.
Warnings
- If you're trying to run Apache on Port 80, you can't have Skype open at the same time.⧼thumbs_response⧽
About This Article
1. Go to https://www.apachefriends.org/index.html.
2. Click the Download link.
3. Double-click the installer.
4. Click Yes.
5. Click Next.
6. Follow the on-screen instructions.
