This article was co-authored by wikiHow staff writer, Travis Boylls. Travis Boylls is a Technology Writer and Editor for wikiHow. Travis has experience writing technology-related articles, providing software customer service, and in graphic design. He specializes in Windows, macOS, Android, iOS, and Linux platforms. He studied graphic design at Pikes Peak Community College.
This article has been viewed 377,599 times.
Learn more...
On Windows and Mac you can use widgets to pin a calendar to your desktop. However, many of these widgets lack the ability to add events or sync with other calendars. This wikiHow teaches you how to add a calendar widget to your desktop as well as quickly access the built-in calendar from your desktop and sync it with other calendar services.
Steps
Adding a Calendar Widget to Your Windows 10 Desktop
-
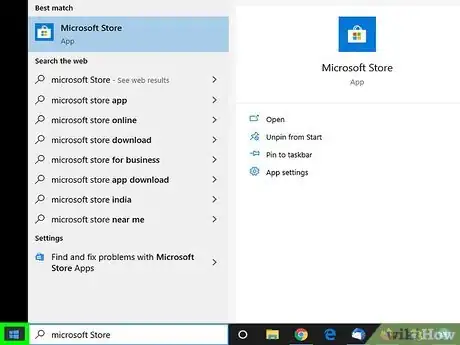
1Click the Windows Start menu . It's the button with the Windows logo. It's in the lower-left corner in the taskbar by default.
- Unfortunately, none of the calendar widgets for Windows 10 have the ability to add events or sync with your Windows calendar or other calendars. However, you can quickly access the built-in Windows calendar by clicking the date and time in the taskbar. Click the plus (+) to add a new event or sync another calendar service with your Windows calendar.
-
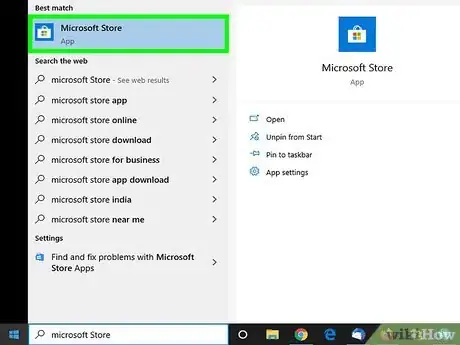
2Click the Microsoft Store . It has an icon that resembles a white shopping bag with a Microsoft logo on it.Advertisement
-
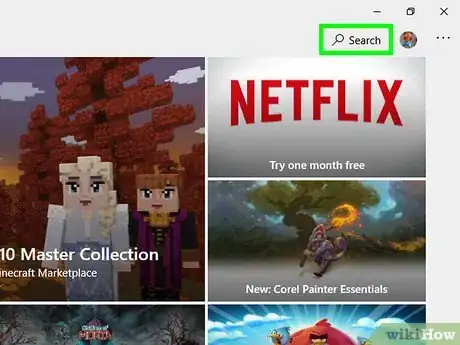
3Click Search. It's in the upper-right corner of the Microsoft Store. This displays a search bar.
-
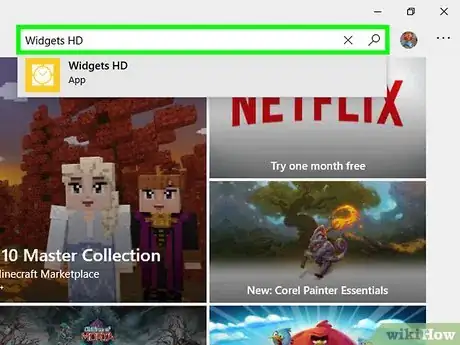
4Type Widgets HD in the search bar. The search bar is in the upper-right corner where you clicked the "Search" button. This displays a list of apps that match your search.
-
5Click GET next to the app title. This adds the app to your purchases (Widgets HD is free).
-
6Click Install. It's the blue button that appears after you add Widgets HD to your apps. This installs Widgets HD.
-
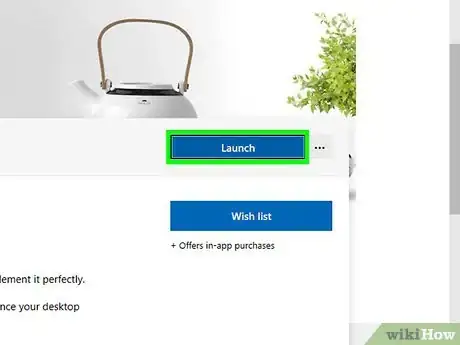
7Open Widgets HD. After Widgets HD finishes downloading, you can either click Launch in the Microsoft Store or click the Widgets HD icon in the Start menu. It has a yellow icon with an image that resembles a clock.
-
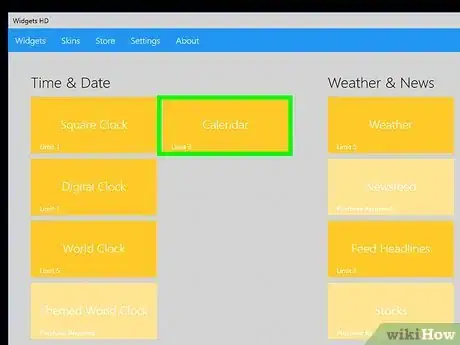
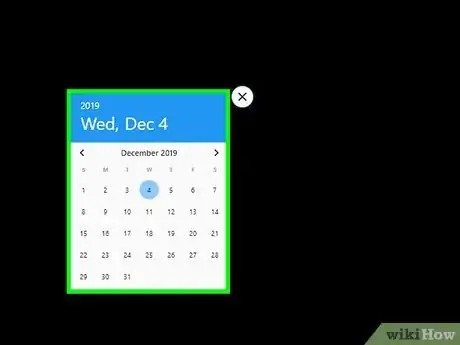
8Click Calendar. It's below "Date & Time" in the list of widgets you can add. This adds a widget with a calendar to your desktop. The calendar widget displays the current date and all the days of the month.
-
9Click and drag the calendar widget. You can place the Calendar widget anywhere you want on your desktop by clicking and dragging it.
- To change the size of the calendar, open Widgets HD and click Settings. Click the drop-down menu below "Display Size" and select "Large" or "Small".
-
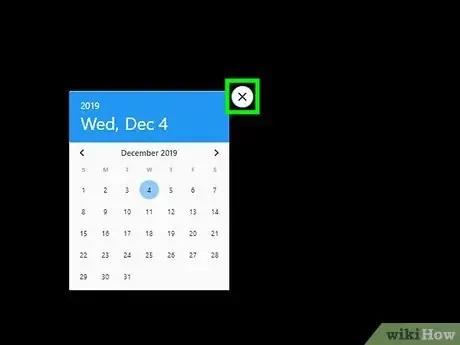
10Click the "x" icon to the left of the calendar. This removes the calendar widget from your desktop.
Syncing Another Calendar to the Windows Calendar
-
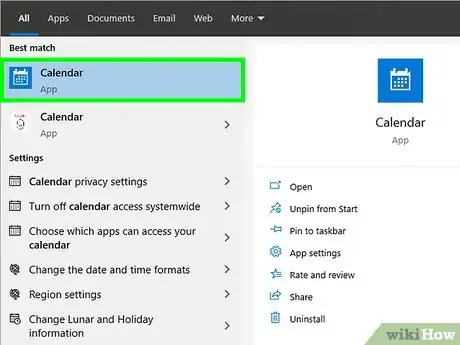
1Open the Windows Calendar app. Use the following steps to open the Windows Calendar.
- Click the Windows Start menu.
- Type "Calendar".
- Double-click the Calendar app in the Start menu.
-
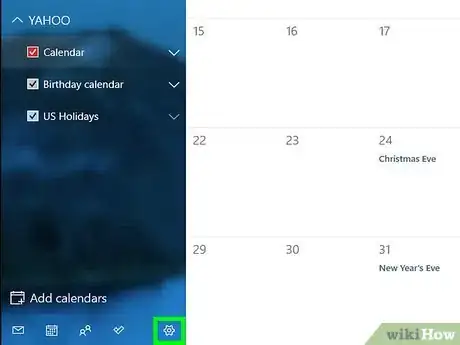
2Click the Gear icon. It's at the bottom of the sidebar menu to the left. This displays the Settings menu in a sidebar to the right.
-
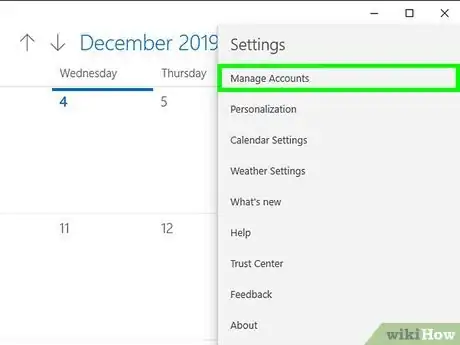
3Click Manage Accounts. It's at the top of the Settings menu to the right.
-
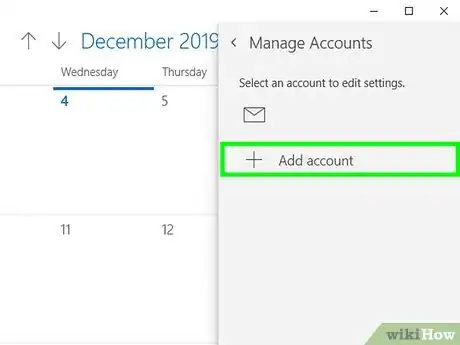
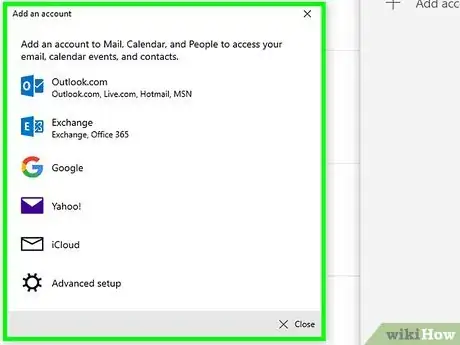
4Click + Add Account. This option appears in the menu to the right when you click "Manage Accounts". This displays a window with a list of services you can add.
-
5Click a service you want to add. You can add an Outlook, Exchange, Google, Yahoo, or iCloud account.
-
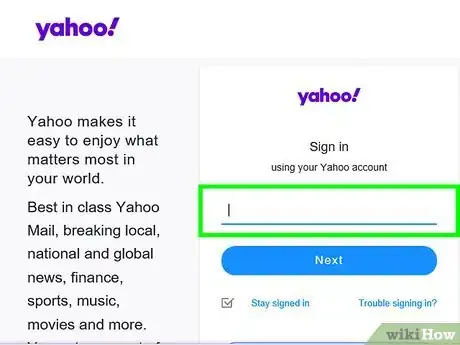
6Sign in to your account. The sign-in screen is a little different for each service. You will most likely need to enter the email address and password associated with the service you want to add. For example, if you want to add a calendar associated with your Google account, you would sign in with the email address and password associated with your Google account.
-
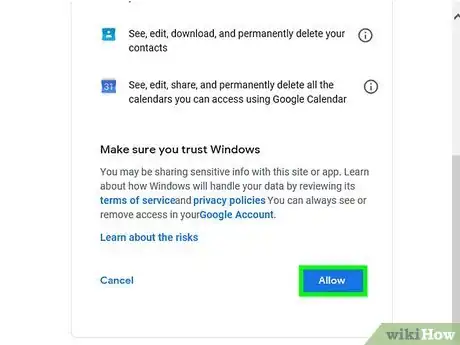
7Click Allow. This allows Windows to access the information associated with the account you signed in to.
Adding a Calendar Widget to Your Mac Desktop
-
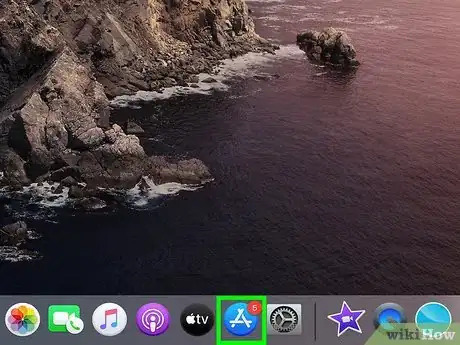
1Open the App Store. It's has a blue icon that resembles a capital "A". If the App Store is not in your dock, click the magnifying glass icon in the upper-right corner and type "App Store" in the search bar and press the Enter key.
-
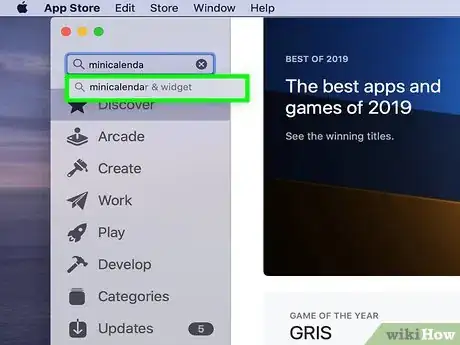
2Type MiniCalendar & Widget in the search bar. The search bar is in the upper-right corner of the screen. This searches for the MiniCalendar & Widget app.
- Alternatively, you can place your mouse cursor in the upper-right corner or lower-right corner to display the Apple calendar in a sidebar to the right.
-
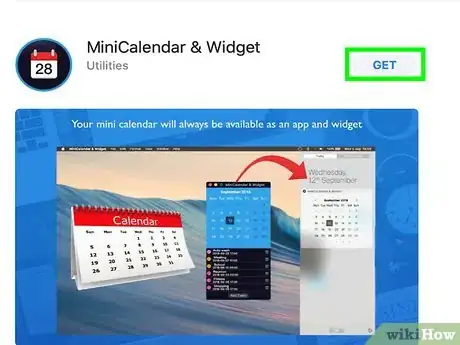
3Click GET below Mini Calendar & Widget. It's below the app title in the App Store. This displays an install button below the app title.
-
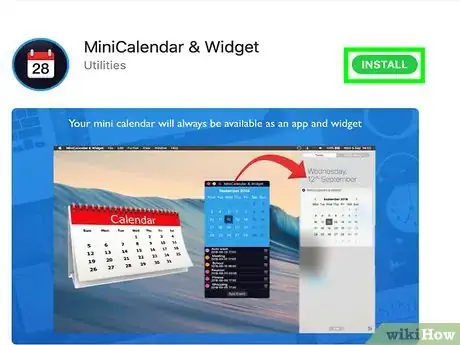
4Click Install App. This appears below the app after you click GET. This installs the.
-
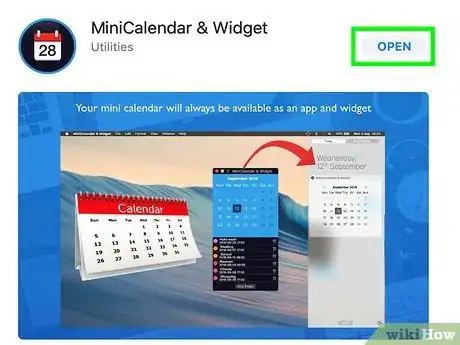
5Open Mini Calendar & Widget. After the MiniCalendar & Widget app finishes installing, you can click Open in the App Store to open it, or you can click on it in the Applications folder in the Finder.
- Alternatively, you can click the magnifying glass icon in the upper-right corner and search "Mini Calendar & Widget" and press the Enter key.
-
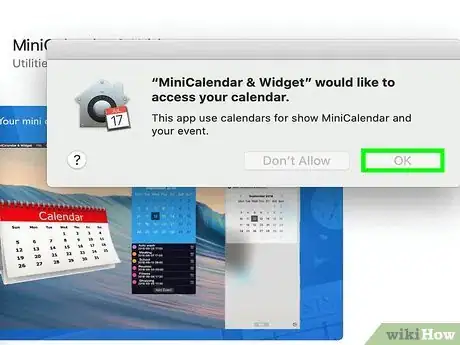
6Click Allow. When you first open Mini Calendar & Widget, it asks if you want to allow it to access your Mac calendar. Click Allow to agree.
-
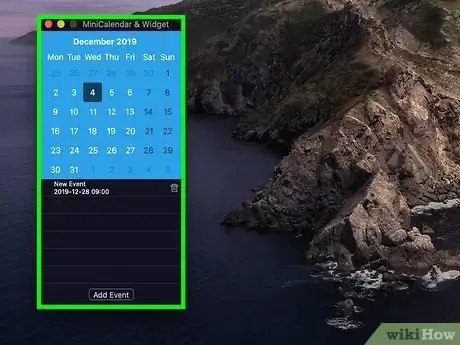
7Click and drag the calendar to move it. This allows you to move the Calendar widget to your desired location on your desktop.
- To add a new event to the Mini Calendar & Widget, click New Event at the bottom of the list of events. Fill out the form and click Ok.
-
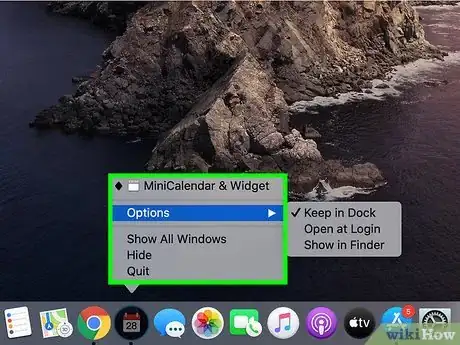
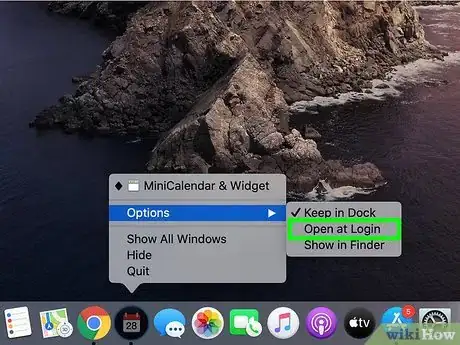
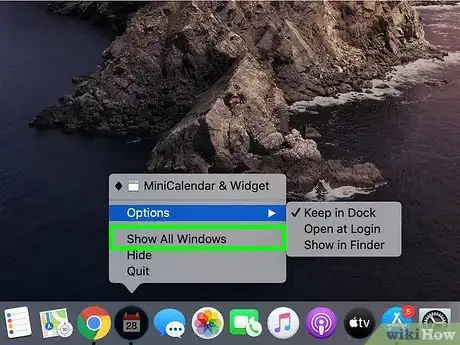
8Right-click the Mini Calendar app in the dock. It has a black icon with an image that resembles a calendar page. Right-click it to display a pop-up menu.
-
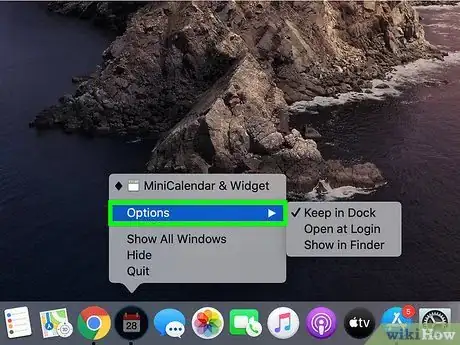
9Hover over Options. This displays a pop-out menu with some additional options.
-
10Click Open at Login (optional). This enables the Mini Calendar & Widget app to start as soon as you log in to your Mac.
-
11Click This Desktop below "Assign To" (optional). This pins the Mini Calendar & Widget to the desktop you currently have open.
- Alternatively, you can select All Desktop to pin it to every desktop.
-
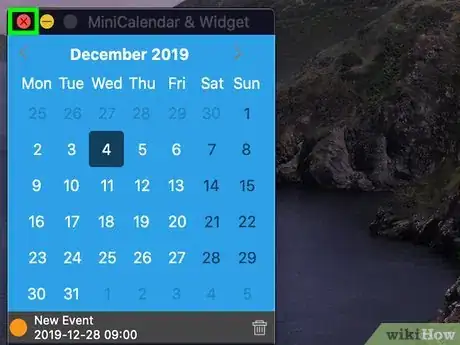
12Click the red "x" icon to remove the calendar. If you want to remove the calendar Widget, click the red-x icon in the upper-left corner to close the app.
Adding a New Calendar Service to Apple Calendar
-
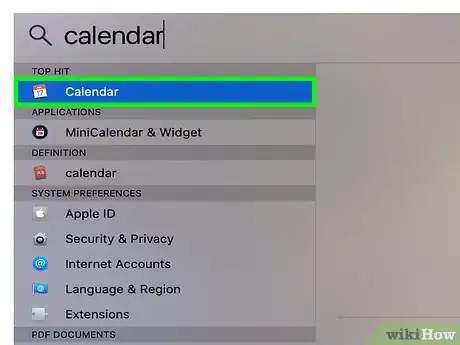
1Open the Calendar app. If it's not in your dock, click the magnifying glass icon in the upper-right corner and type "Calendar.app" and press the Enter key. This opens the Apple Calendar app.
-
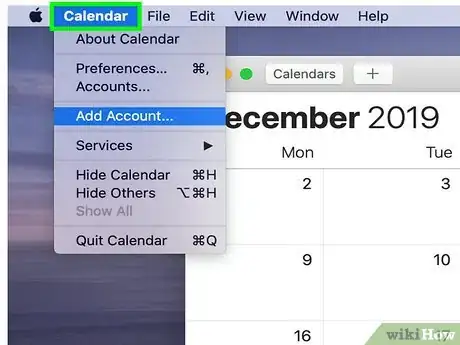
2Click the Calendar menu. It's in the upper-left corner of the screen in the menu bar. This displays a drop-down menu.
-
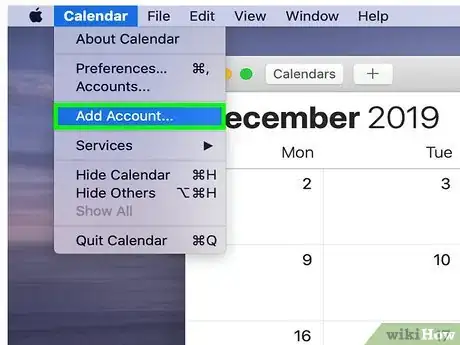
3Click Add Account. This displays a window with a list of services you can add.
-
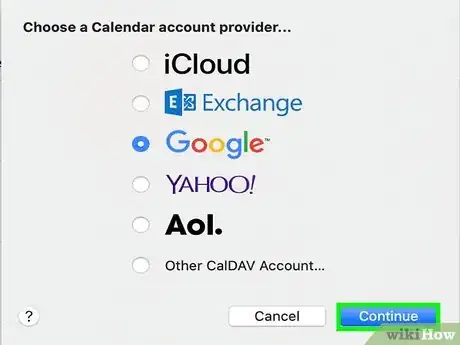
4Select a service and click Continue. There are several calendar services you can add to Apple Calendar. You can add an iCloud account, Exchange, Google, Facebook, Yahoo, AOL, or Other CalDAV account. Click Continue in the lower-right corner of the window when you are ready.
-
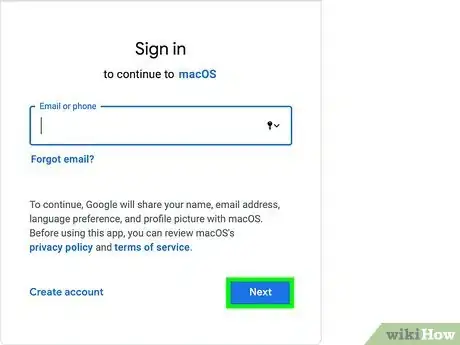
5Sign in to your account. The sign-in screen is going to be a little different depending on which service you want to add. You will most likely need to enter the email address and password associated with the account you want to sign in to. For example, if you want to add a calendar associated with your Google account, you would sign in with the email address and password associated with your Google account.
-
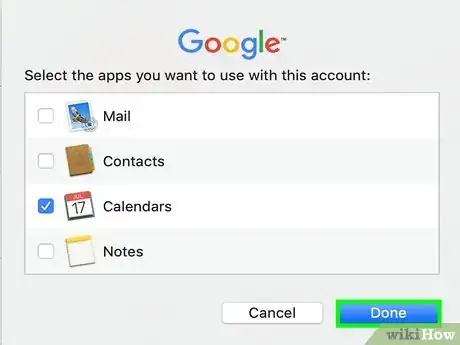
6Click the checkbox next to "Calendar" and click Done. You can also add email, contacts, and notes to your Apple services. Check Calendar to add your calendar and click Done in the lower-right corner. This adds the calendar to your Apple Calendar app. You can click the different calendars you have added in the sidebar to the left.
- To add an event to the Apple Calendar, click a time slot below a date and fill out the form in the pop-out window.
Our Most Loved Articles & Quizzes
Community Q&A
-
QuestionI have Windows 7. The calendar used to be displayed all the time on the right side of my computer when I had my email page open, but it's disappeared from there. How do I get it back to that location, and why aren't I sent reminder notices for the events that I've asked to have reminders sent for?
 Community AnswerThe Widgets feature of Windows 7 was removed because of malicious use -- hackers could create widgets which seemed benign, but would access system data and files once installed from the Widget public sharing space. Microsoft could not counter these security flaws and decided to disable the software entirely. So, you may need to move on to a different calendar.
 -
QuestionI have Windows 10, and these instructions for Windows 7 or later didn't work. What do I do?
 Community AnswerWidgets do not work on Windows 8 or later; in fact, they were removed from Windows 7 due to malicious use. You will have to move to a different calendar.
About This Article
1. Open the App Store on Mac or Microsoft Store on Windows.
2. Search "miniCalendar & Widget" on Mac, or "Widgets HD" on Windows.
3. Click GET followed by Install.
4. Launch Widgets HD or MiniCalendar & Widget.
5. Click Allow (Mac only).
6. Click and drag the calendar Widget to where you want to it on your desktop.
