This article was co-authored by wikiHow staff writer, Finn Kobler. Finn Kobler graduated from USC in 2022 with a BFA in Writing for Screen/Television. He is a two-time California State Champion and record holder in Original Prose/Poetry, a 2018 finalist for the Los Angeles Youth Poet Laureate, and he's written micro-budget films that have been screened in over 150 theaters nationwide. Growing up, Finn spent every summer helping his family's nonprofit arts program, Showdown Stage Company, empower people through accessible media. He hopes to continue that mission with his writing at wikiHow.
There are 15 references cited in this article, which can be found at the bottom of the page.
Learn more...
Does the romantic, black-and-white aesthetic of old-school Charlie Chaplin movies inspire you? Do you wish your camera could capture that same magic? Well, you’ve come to the right place. In this article, we’ll teach you over a dozen techniques to make your images resemble the best of the Silent Film era. With all the charm but none of the outdated technology, keep reading to transport your shots back over a century in time!
Things You Should Know
- The best way to make your images look vintage is to capture them with a vintage lens. You can also add that vintage grain to shots by increasing the camera’s ISO.
- Chaplin was known for big expressions and simplistic framing. Keep shots simple, but use your whole body to capture emotion.
- For film, shoot at a lower frame rate for that silent movie aesthetic.
- There are several old-timey filters you can use in post. VSCO works great for stills, while video editing softwares offer many grainy options for footage.
Steps
During Production
-
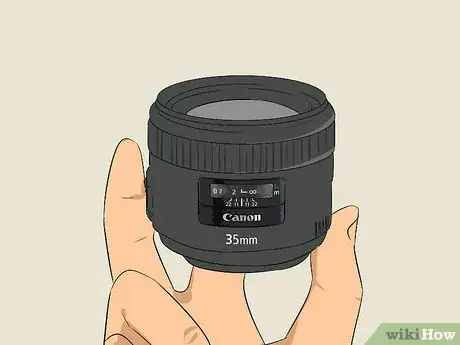
1Use an old-school lens. Most old-school movies (including Charlie Chaplin’s The Gold Rush) were filmed using a flat or spherical lens as opposed to a matte one. Find the most vintage lens you can (lenses are usually considered “vintage” if they’re shot on film cameras instead of digitals) and shoot with it. Pro tip: only use that lens for filming, as silent films were usually shot with just one lens.[1]
- Using a 35 millimeter lens will capture more low-res, classic film-like images no matter how modern your digital camera is.
- If you’re just doing a photoshoot, a vintage lens is arguably the best way to capture the old-school Chaplin aesthetic in your stills.
-
2Crop to the classic 4:3 aspect ratio. Before high-definition, all silent movies had the same aspect ratio. At a proportion of 4:3 (4 units by 3 units), all films were shot with this tighter format. Go to your digital camera’s settings and select “aspect ratio.” Then, select 1.33 (or 4:3) and begin shooting this way.[2]
- Aspect ratio can easily be cropped during the editing phase of your project (“in post”) online or with any editing software, but it’s probably easier to shoot this way too so you don’t mess up your framing.
Advertisement -
3Adjust your depth-of-field. Silent movie directors like Chaplin didn’t have the same camera features as today, so their depth of field (DOF) was often simplistic. There was no way to vary the focus in shots to make certain images and keep others blurry. Whether you’re capturing stills or film, use deep-focus DOF shots to make sure everything in frame is focused equally (subject, background, all of it), just as it would be on 1920s cameras.[3]
- Usually, focus is achieved by twisting your lens to adjust the shot’s blurriness. However, if your lens focuses too heavily on one object, there is usually an “auto-focus” in your camera’s settings that keeps everything in frame pretty equal.
-
4Shoot in monochrome. Since color cameras didn’t exist in Charlie Chaplin movies, one of the easiest ways to make your digital camera resemble his is to shoot without technicolor. Go to your camera’s display settings and adjust the saturation until each shot is black and white.[4]
- When shooting a photo or video in monochrome, look for contrast. Black and white images look better when darks and whites are juxtaposed.
- Use lighting to add shadows to midtone colors, which will appear gray and dull if they’re all side-by-side.
-
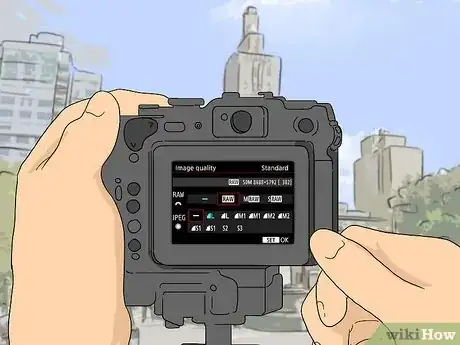
5Use RAW format. Considering Charlie Chaplin’s movies were all black-and-white, your editing is probably going to require a lot of color adjustment to make blacks and whites stand out. RAW files make this color balance much easier, because, unlike MOVs or JPEGs, they maintain the images (still or video) exactly as they were recorded. No compression. No adjustments. This will also make your shots look more professional if you decide to compress them with other effects in post.[5]
- To switch from JPEG or .MOV to RAW, open your camera’s display settings and click “Image Quality.”
- If you’re trying to open RAW files on a Windows 8.1 or earlier, you may need to download a converter.
-
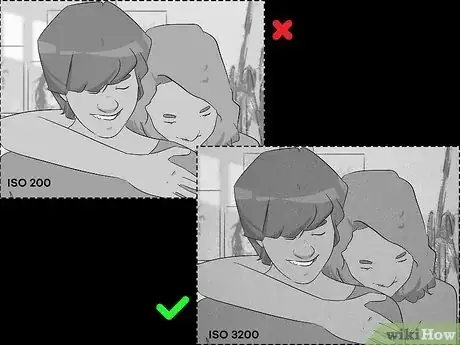
6Add grain by increasing ISO. ISO creates film granularity manually. Almost all of Chaplin’s movies were grainy, because the cameras were primitive. Nowadays, digital cameras offer much more crisp images…unless you increase their ISO. ISO governs the amount of light in your digital camera’s sensor and can be adjusted based on each shot’s light sensitivity. However, as ISO increases, film “quality” decreases and there may be a slight grain or noise. Upping your camera’s ISO settings just a tad can give you the Chaplin grain, without hurting too much of your camera’s clarity.[6]
- If you’re shooting still photos, adjusting ISO is another great way to resemble a Charlie Chaplin film without reducing the image’s size or quality, since it doesn’t require any filters that may compress the picture.
-
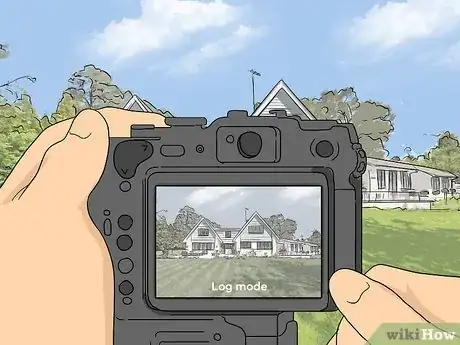
7Record in log format. Log makes it easy to color grade in black and white in post if you don’t want to shoot monochromatically. Log format, which can be activated in your camera settings, increases exposure in shadowy areas and makes each shot a more easy canvas to colorize.[7]
-
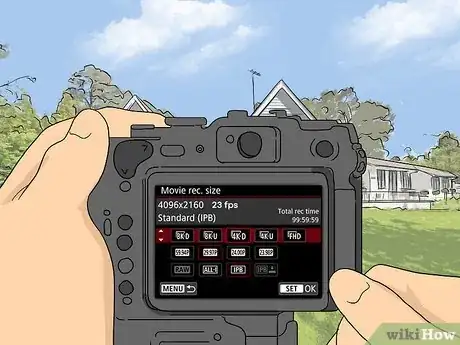
8Shoot video at <24 frames per second. Back in the era of silent pictures, cameras had to be cranked manually, which meant the frame rate was about 16 frames per second (FPS), but projectors still screened films at 24 FPS, which gave silent movies like Chaplin’s jerky aesthetic in the way they captured motion. Go to your digital camera’s display settings and set your frame rate as low as possible to make your footage resemble Chaplin’s a little more closely.[8]
- You can also adjust your frame rate later by using editing software like Handbrake. However, it’ll look cleaner if you shoot with a low frame rate instead of altering it in post.
-
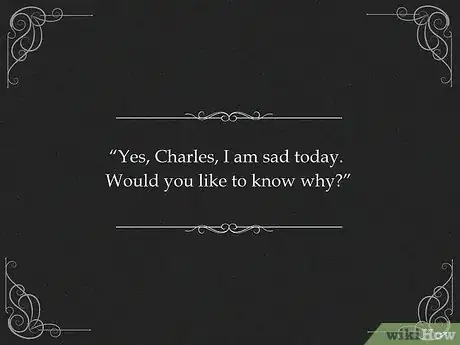
9Use intertitles for dialogue. Since silent movies were…well, silent, they didn’t have the luxury of spoken language - or even the technological advancement to use subtitles. All dialogue was placed on individual cards (intertitles) that would be screened between footage. Using this technique for your movie will give it Silent Era appeal.[9]
-
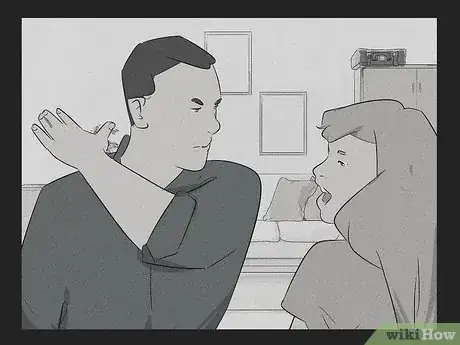
10Capture big expressions and body language. Charlie Chaplin was known for the grand way he expressed emotion. Because his movies didn’t have the equipment to capture a lot of subtlety or nuance in-frame, it all relied on him using his entire body to show his feelings. To get that Charlie Chaplin look, frame your shots so you can see most of the subject’s body and have them use everything (arms, torso, face) when they express joy, anger, or anything in between.[10]
- To gauge if an actor’s expression is big enough, take a few big steps back. If you can’t see the emotion they’re portraying once you’ve added some distance, it’s too small.
- If you’re only taking a picture, the whole body may be too much for one frame. Start with a close-up using a big expression and adjust from there.
-
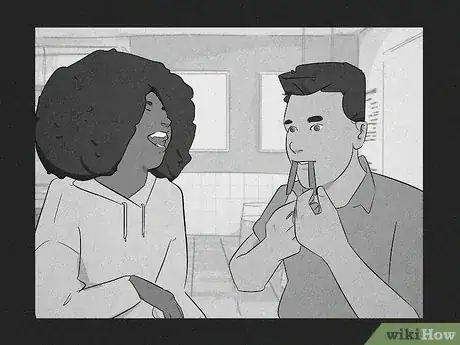
11Use slapstick humor. Having started in vaudeville, Chaplin carried a lot of that broad physicality into his on-camera work. No matter how many filters you use, the best way to make your digital camera capture something “Chaplin-esque” is to use broad sight gags that celebrate physical eccentricities.[11]
- Common sight gags include eye poking, play slapping, and pretty much anything the Three Stooges did in their routines.
- If you need inspiration for physical comedy that’s less clownish or mean-spirited, Lucille Ball in I Love Lucy is a great example. Watch some old episodes and notice she uses her entire body to for each joke.[12]
- When it comes to slapstick, the cleaner the better! The more crisp and recognizable each gesture is, the funnier it will be when the punchline lands.
Film Editing
-
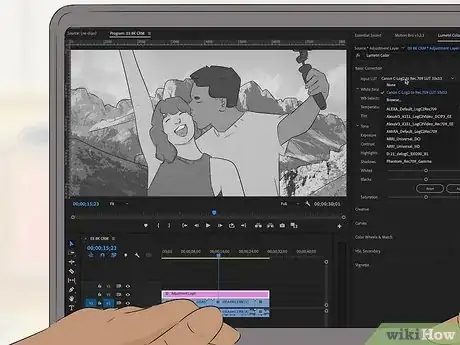
1Use LUT color grading. An LUT (or Look-Up Table) gives your shots a colorized look. Like a filter, but better, LUTs detect the optimal colorization for your movies in post. Even though your footage will likely be in black and white, using LUT when you edit will allow you to sharpen the shadows and highlights of your images more clearly than ever.[13]
- Shooting in log format with LUT color grading makes for extremely seamless editing.
-
2Stabilize your footage with software. While shaky-cam is a unique choice that can work well for some genres, it’s not suited for silent films. Nearly all silent films (especially Chaplin’s) were shot on tripods so the footage was static. Every editing app has some form of footage stabilizer. If you have any shaky shots, apply this effect to them.[14]
-
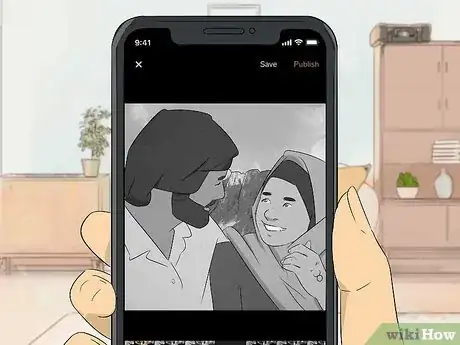
3Use an old-timey filter. If changing your camera’s settings while shooting is too risky or time-consuming, editing softwares have several vintage movie filters available as an alternative. Whether it be sepia tones, generic black-and-white, or grain, pretty much all post-production apps from AVID to iMovie offer a “filters option” with several simple ways to achieve the silent movie aesthetic in post.[15]
References
- ↑ https://www.widescreen.org/aspect_ratios.shtml
- ↑ https://www.scientificamerican.com/article/a-brief-history-of-aspect-ratios-aka-screen-proportions/
- ↑ https://www.screenwritingstaffing.com/post/silent-film-tricks-for-making-every-scene-pop
- ↑ https://www.adorama.com/alc/monochrome-photography-10-tips-for-compelling-black-white-photos/
- ↑ https://nofilmschool.com/raw-video-worth-it-when-you-can
- ↑ https://www.nikonusa.com/en/learn-and-explore/a/tips-and-techniques/understanding-iso-sensitivity.html
- ↑ https://www.bhphotovideo.com/explora/video/tips-and-solutions/understanding-log-format-recording
- ↑ https://cs.mcgill.ca/~rwest/wikispeedia/wpcd/wp/s/Silent_film.htm
- ↑ https://cs.mcgill.ca/~rwest/wikispeedia/wpcd/wp/s/Silent_film.htm
- ↑ https://www.filmsite.org/silentfilms.html
- ↑ https://nupress.northwestern.edu/9780810129528/charlie-chaplin-director/
- ↑ https://theatrelinks.com/slapstick/#techniques
- ↑ https://www.vegascreativesoftware.com/us/video-editing/what-are-and-how-use-luts-in-color-grading/
- ↑ https://support.apple.com/guide/imovie/stabilize-shaky-clips-mov52b5a78a6/mac
- ↑ https://www.videosoftdev.com/how-to-create-old-film-effect
- ↑ https://www.vsco.co/
