You can automatically add sequential numbers to cells using AutoFill or the ROW function.
X
wikiHow is a “wiki,” similar to Wikipedia, which means that many of our articles are co-written by multiple authors. To create this article, 10 people, some anonymous, worked to edit and improve it over time.
This article has been viewed 137,160 times.
Learn more...
It's easy and fast to create a number series in Microsoft Excel. Understanding how to use the spreadsheet correctly to generate an automatic number series will save you a lot of time, especially if you are working with a large amount of data.
Things You Should Know
- To use AutoFill, type the first number in your series, then click and drag the square at the cell's bottom right corner down the column.
- You can use the =ROW() function to start a new series from any cell value.
- To create a series of dates, type the first date into a cell, then drag the AutoFill handle to instantly generate a series of sequential dates.
Steps
Part 1
Part 1 of 3:
Choosing Increments
-
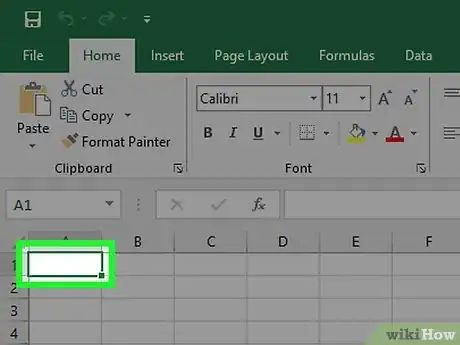
1Click on the cell that you want to start the number series in. A cell is one of the individual blocks that make up an Excel spreadsheet.
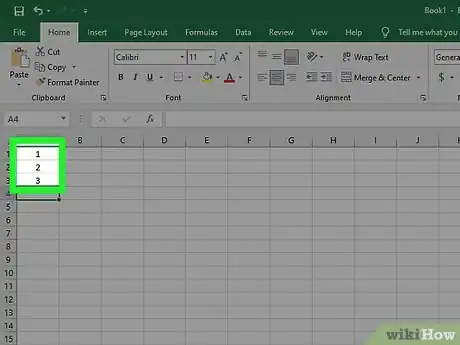
- Type the number that you want to start the series with in that cell and hit enter. By way of example, type “1.” This is called a “value” in Excel terminology.[1]
- Now, write the first few numbers of your series in adjacent cells. You could write them in the vertical columns or horizontally in a row.[2]
-
2Figure out the increment for your number series. For example, if you want cells to increase by the same increment (say by “1”), then type two numbers with that increment. Thus, you would type “1” in the first cell and “2” in the cell beneath it.
- If you want the number series to increase by increments of 2, you would type 2 and then 4.
- If you want the series to use more complicated increments (say, “2, 4, 8, 16”) type the first three numbers so it doesn’t assume you are asking it for increments of 2.
Advertisement
Part 2
Part 2 of 3:
Using the Fill Handle
-
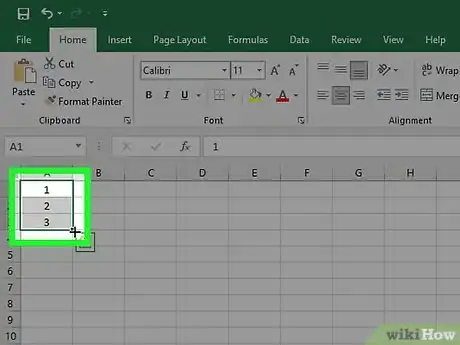
1Click and hold to highlight all the cells with your numbers. To do so, hold your cursor in the top left of the first cell, and drag it down to the last cell with a number in it (in the first example, the cell with the “2” in it.)[3]
- Do this without letting your finger off the cursor. This will highlight the 2 (or 3) numbers that you have already typed into the cells.
- Remember that, in Excel, cells form vertical columns but horizontal rows. You can create the number series vertically down a column, or horizontally across a row.
-
2Hover your cursor over the little black (or green) square in the bottom right cell. The square will appear in the bottom right of the last cell you typed a number in (in the first example, the cell with the “2.")
- The little black square will turn into a small black plus sign in the bottom right corner of that cell. This is called the fill handle. The key to creating a number series in MS Excel is the fill handle.
- When you look at the individual cell, notice the green or black border around the cell. That means you are working in the active cell.[4] [5]
-
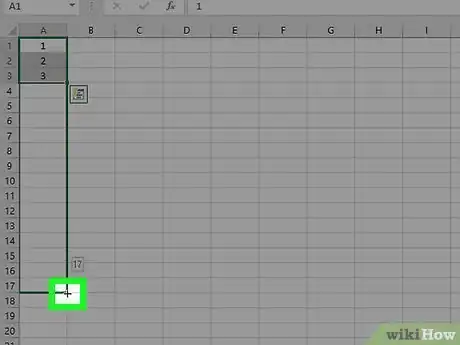
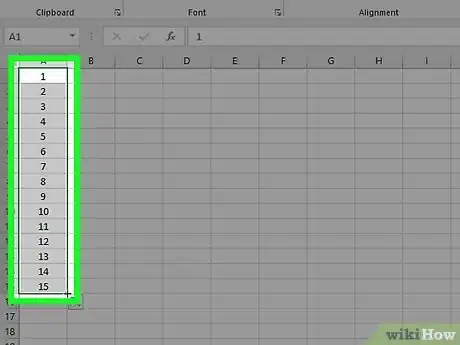
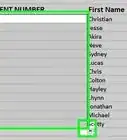
3Left click on your mouse while hovering your cursor over the plus sign. Drag the cursor down the vertical column. Excel will automatically create a number series for as long as you drag your cursor.
- Use the same process with a number series in a horizontal row. But drag your cursor horizontally. Remember, by default, Excel uses a linear growth pattern to determine these values.
- If you already have a sequence of numbers and you just want to add to it, select the last two in the sequence and drag the fill handle to the new selection, and it will continue the list.
Advertisement
Part 3
Part 3 of 3:
Using a Formula
-
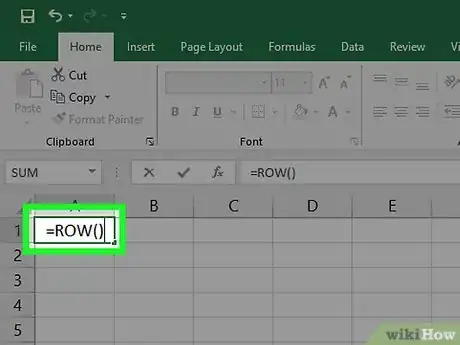
1Use an Excel formula to generate a number series. Put your cursor in the cell at A1. This means the block that is located where Column A meets Row 1.
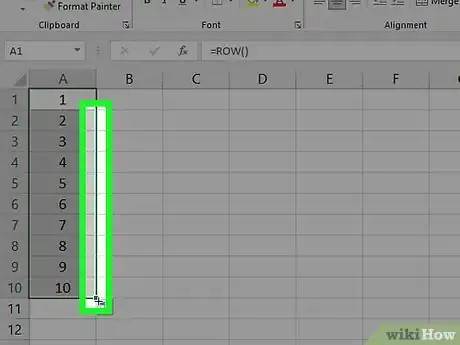
- In A1, type =ROW(). This formula should generate the first number in your series. Select the fill handle on the bottom right of the A1 cell, and drag down or across to create the number series.
- If you want to find the number of any cell, you can put your cursor in it, and type =ROW(C10), replacing C10 with the coordinates of that cell. Hit enter.
-
2Right click on the plus sign with your mouse, and drag the fill handle. This will open a shortcut menu that allows you to perform other functions with the number series.
- To fill the series in increasing order, drag down or to the right. To fill in decreasing order, drag up or to the left.
- In the shortcut menu, you can choose such options as fill series to populate the numbers or copy series.
-
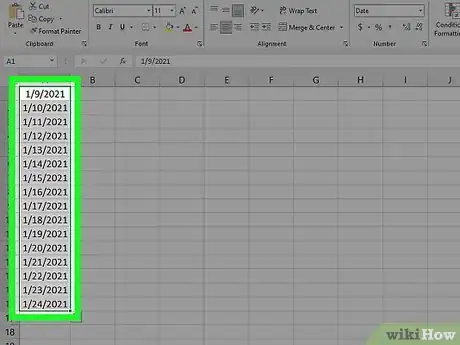
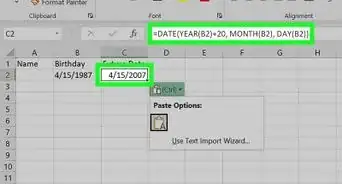
3Count days in Excel. This same trick also allows you to count up by days. To make this work, type a date in any recognizable format in any one cell.
- Drag the fill handle to the adjacent cells, and it will add the days as you go.
- You can skip days, for example, showing every other day or every third day, as long as the sequence is repetitive.
Advertisement
Community Q&A
-
QuestionWhy do I need to enter the first two values of a number series?
 Community AnswerYou need to enter two values of a number series in Excel to create the pattern. Using only one number, you can't get a unique pattern of numbers, so two numbers are required.
Advertisement
References
- ↑ https://www.youtube.com/watch?v=hBy7BZs-zx0
- ↑ https://support.office.com/en-us/article/Automatically-number-rows-76ce49e3-d8d2-459b-bd85-ee1d3973e6e6
- ↑ https://www.ablebits.com/office-addins-blog/2014/05/30/howto-use-autofill-excel/
- ↑ https://support.office.com/en-us/article/Enter-a-series-of-numbers-dates-or-other-items-41e0bbf2-7198-4d78-8545-fdd4709976b4
- ↑ http://www.accountingweb.com/technology/excel/creating-a-series-of-letters-in-excel
- ↑ https://support.office.com/en-us/article/Exchange-copy-import-export-data-between-Excel-and-Access-409c27cc-c69d-461d-a74c-35392a68ed53?CorrelationId=3c15d0cb-78c2-4a74-b367-203b52e3a779&ui=en-US&rs=en-US&ad=US
About This Article
Advertisement
