This article was co-authored by wikiHow staff writer, Nicole Levine, MFA. Nicole Levine is a Technology Writer and Editor for wikiHow. She has more than 20 years of experience creating technical documentation and leading support teams at major web hosting and software companies. Nicole also holds an MFA in Creative Writing from Portland State University and teaches composition, fiction-writing, and zine-making at various institutions.
This article has been viewed 57,778 times.
Learn more...
This wikiHow teaches you how to customize and update the table of contents in your Word document. When you create a table of contents in Word, page numbers are added automatically based on the headings you've added to each section. Word makes it easy to customize the way the page numbers and section titles appear on the table. If you make changes to your document that affects your section headers or page numbers, you'll need to choose the Update Table option so the table of contents remains correct.
Steps
Adding a Table of Contents
-
1Format the headings of each section of your document. Word's table of contents builder automatically generates a table of contents based on the headings in your document.[1] This means each section that you want represented in your table of contents must have a properly-formatted heading.
- If a section should appear as a primary section in the table of contents, select its heading, click the Home tab, and then select Heading 1 on the "Styles" panel.
- To add a sub-section to the primary section in the table of contents, give that section a Heading 2 header: Select its heading and choose Heading 2 from the Styles section.
- You can can also use Heading 3, Heading 4, etc., to add even more pages to your table of contents.
- Make sure any page you want to include in the table of contents has a heading.
-
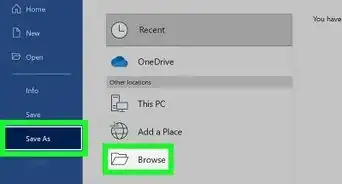
2Click the location where you want to insert the table of contents. Typically this will be at the beginning of your document.Advertisement
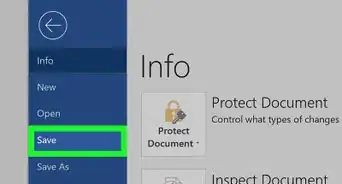
-
3Click the References tab. It's at the top of Word.
-
4Click Table of Contents on the toolbar. It's at the upper-left corner of Word. A list of Table of Contents styles will expand.
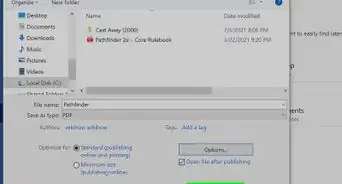
-
5Select an automatic style template. Several style options appear for your table of contents—choose one of the suggested styles to get started. Once selected, this will add a table of contents that lists the page numbers for each of your formatted sections.


Updating the Table of Contents
-
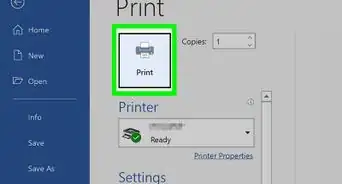
1Click the References tab. It's at the top of Word.[2]
- Use this method if you've made a change (changing a heading, adding/removing pages) to your document and need to update the table of contents to reflect that change.
- The only way to change the name of a section on the table of contents is to change the name of the corresponding header in the document.
-
2Click Update Table on the "Table of Contents" panel. It's in the upper-left corner. Two options will appear.
-
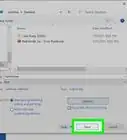
3Select an update option.
- Select Update page numbers only if you want to refresh the page numbers without applying any changes you've made to the headings.
- Select Update entire table to apply all heading and page number changes.
-
4Click OK. The table of contents is now up-to-date.


Stylizing the Table of Contents
-
1Click the References tab. It's at the top of Word.
-
2Click Table of Contents on the toolbar. It's at the upper-left corner of Word. A list of Table of Contents styles will expand.
-
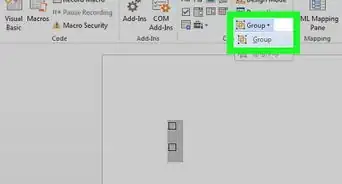
3Click Custom table of contents on the menu. This opens the Table of Contents dialog box.
-
4Adjust your general preferences. The "Print Preview" box at the upper-left corner shows you how the printed table of contents will appear, while the "Web preview" box displays how it will look on the web.[3]
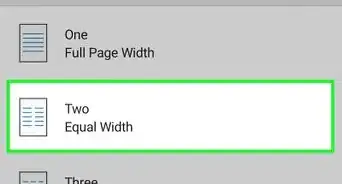
- Use the checkbox next to "Show page numbers" to show or hide page numbers. If you just want to hide page numbers on the web version of the table of contents, check the box next to "Use hyperlinks instead of page numbers."
- Use the checkbox next to "Right align pages numbers" top adjust the alignment.
- To change the style of the line or pattern that separates the heading title and the page number, make your selection from the "Tab leader" menu.
- To choose another theme, select something from the "Format" menu.
- To adjust how many heading levels are displayed in the table, select an option from the "Show levels" menu (the default is 3).
-
5Click the Modify button. It's in the lower-right corner of the window. This is where you can change the properties of the text on the table of contents page.
- If you don't see this button, click the "Formats" menu and select From template. It should appear then.
-
6Select a style and click Modify. The styles you can change appear in the "Styles" box on the left side of the window. When you click a style (e.g., TOC 1), you'll see the font size, spacing, and other details—clicking Modify allows you to change these details.
-
7Make your changes and click OK. You can choose different fonts, alignments, colors, and numerous other details for each selected style. Alternatively, you can keep the defaults, which come from the table of contents template you selected.
-
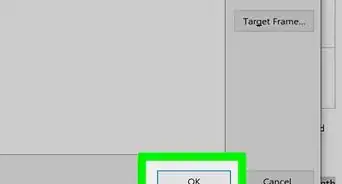
8Click OK. The style changes you've made will apply to your table of contents immediately.


References
- ↑ https://support.microsoft.com/en-us/office/insert-a-table-of-contents-882e8564-0edb-435e-84b5-1d8552ccf0c0
- ↑ https://support.microsoft.com/en-us/office/update-a-table-of-contents-6c727329-d8fd-44fe-83b7-fa7fe3d8ac7a
- ↑ https://support.microsoft.com/en-us/office/format-or-customize-a-table-of-contents-9d85eb9c-0b55-4795-8abb-a49885b3a58d#ID0EAACAAA=Newer_versions
About This Article

1. Click the References tab.
2. Click Update Table.
3. Select an update option.
4. Click OK.