This article was co-authored by wikiHow staff writer, Dan Hickey. Dan Hickey is a Writer and Humorist based in Chicago, Illinois. He has published pieces on a variety of online satire sites and has been a member of the wikiHow team since 2022. A former teaching artist at a community music school, Dan enjoys helping people learn new skills they never thought they could master. He graduated with a BM in Clarinet Performance from DePauw University in 2015 and an MM from DePaul University in 2017.
This article has been viewed 2,917 times.
Learn more...
RV trips are a relaxing way to explore new places, and thankfully, dumping your RV waste doesn’t have to cut into your vacation time—it’s a straightforward process that first-time RV travelers can do without breaking a sweat. In this article, we’ve put together a step-by-step guide to dumping RV waste from your black and gray water tanks, including the best places to dump. Read on to lighten your RV’s load and get back on the road!
Things You Should Know
- Wear protective gear such as close-toed shoes and rubber gloves, and park close to the dump station.
- Connect the waste tank to the dump station with the sewage hose. Pull the valve handle to empty the black water tank first. Then, empty the gray water.
- Flush both tanks with fresh water to remove stuck waste. Disconnect the sewage hose from the RV and rinse it with fresh water. Finally, disconnect from the dump station.
- You can generally dump RV waste at campgrounds, approved municipal sewer systems, gas stations, rest stops, and RV dealerships.
Steps
Emptying the Black and Gray Tanks
-
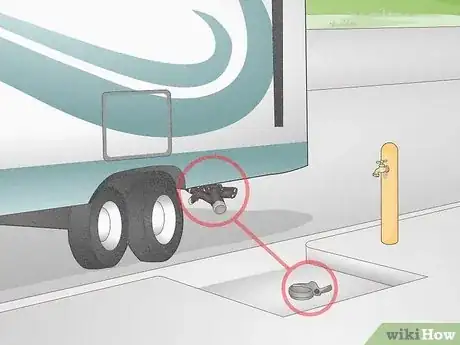
1Park the RV close to the dump station. Most connecting hoses for waste dumping are 10 feet (3.0 m) to 20 feet (6.1 m) long, so make sure you park in a spot where your hose can reach the dumping port. Park on a patch of ground that’s level to help the drainage, if possible.[1]
- If the ground is severely uneven, use jack stands to level the RV before connecting to the dump site.
- Once you’re parked, close the RV’s windows and vents to keep noxious smells and fumes outdoors.
- If you’re purchasing a new sewer hose, opt for one that is long, flexible, and made of durable material. Hoses are designed to fit a 3 in (7.6 cm) drainpipe (the standard size on modern RVs).
-
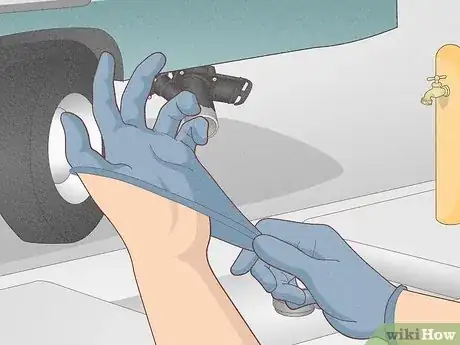
2Put on disposable gloves and close-toed shoes. It seems obvious, but always wear protective gear when dealing with waste to prevent contact with germs like E.coli or Salmonella. Some sites provide disposable gloves as a courtesy, but it’s a good idea to store some in your RV for waste dumping.[2]
- Dispose of your gloves in a waste bin at the dumping station and wash your hands thoroughly after emptying your tanks.
- Carry disinfectant wipes with you as well. Wipe down any surfaces you come in contact with before and after dumping, (like hoses, tank valves, and dump station inlets) to prevent the spread of germs.
Advertisement -
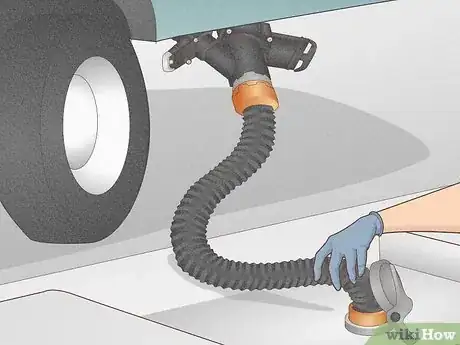
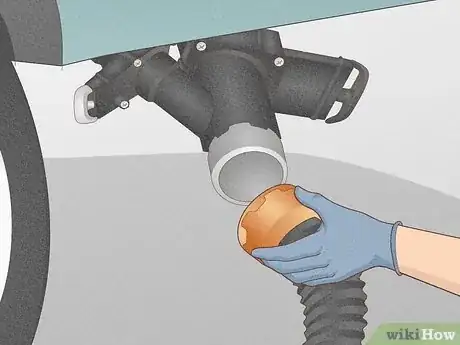
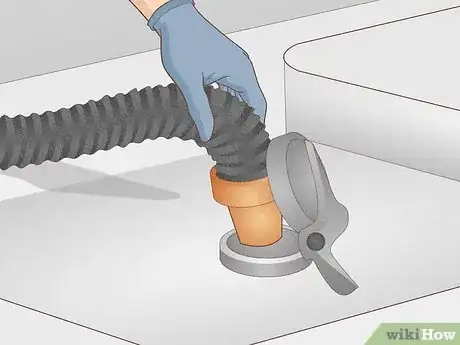
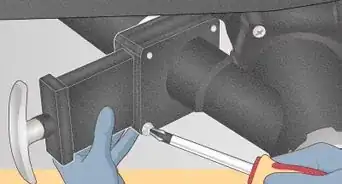
3Connect the sewage hose to the dump station inlet and waste tank valve. Remove your hose from storage and secure it to the dump station inlet first (you may need a 4-in-1 sewer fitting to ensure a good seal). Then connect the other end to the valve on your RV's waste tank system.[3]
- The waste tanks are usually located on the driver’s side of the RV. Look for a 3 in (7.6 cm) connection valve to secure your hose to.
- Some RVs have one hose connection for all waste tanks, while others have separate connections for the black and gray tanks.
- Hooking up to the dump station inlet first allows any old waste left in the hose to drain into the dump site rather than onto the ground.
-
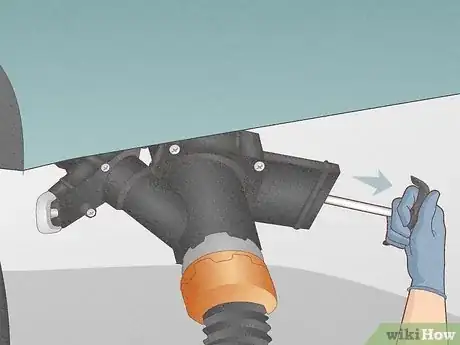
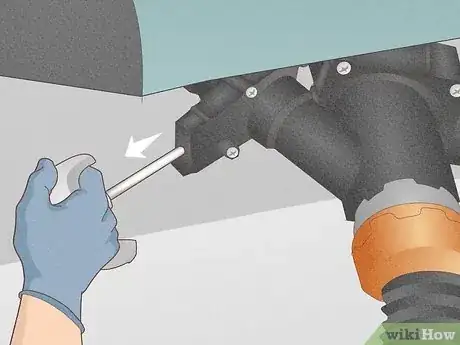
4Pull the black water tank valve handle to empty the toilet waste first. On most RVs, the handle is located on the side of the valve where your sewer hose is connected. Slowly pull or turn the handle to begin draining, and allow the tank to empty completely. The black and gray water tank valves will be labeled or color coded—in case they're not, the black water tank valve is usually bigger.[4]
- Always empty the black water tank first. The gray water tank has soapier water that cleans out the sewage hose after waste goes through.
- If needed, use sewer hose supports to elevate the hose near the RV and gradually slope it downwards to the dump inlet.
- Once the tank is empty, turn or push the release valve handle back to its original position to close the tank.
-
5Pull the gray water tank valve handle to empty sink and shower water. This process is identical to emptying the black water tank. Once the gray water tank is empty, push the valve handle back to its original position to close the tank.[5]
- If your RV has separate hose connections for each tank, disconnect your hose from the black tank and move it to the gray tank before opening the valve.
- On most RVs, the gray tank valve handle will be on the side of the valve where you connect your sewer hose to the gray tank (and likely labeled).
- If you have multiple gray or black water tanks, repeat this emptying process until all are empty (always finishing with a gray water tank).
-
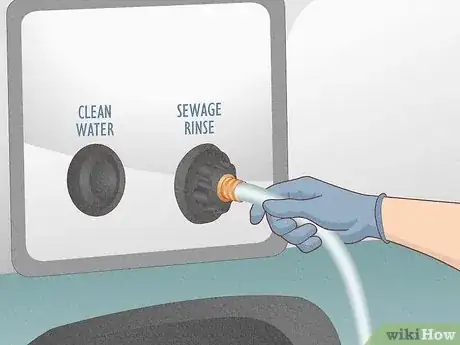
6Flush the waste tanks with fresh water to remove stuck waste. Connect one end of a non-potable water hose (never your drinking water hose) to the dump station’s water supply, and the other end to your RV’s tank rinse system (look for a valve that says “Sewage Rinse” or “Tank Flush”). Fill the tanks about ⅔ full, then drain the water through the sewage hose and waste tank release valves.[6]
- For a thorough cleansing, fill and drain the tanks until the water runs mostly clear.
- If there is a line of RVs waiting to use the dump site, skip this step and flush the tanks later.
-
7Disconnect the sewage hose from the RV and rinse it with clean water. First, make sure the waste tank valves are fully closed and disconnect the sewage hose from the RV. Then lift the RV end of the hose to drain any remaining water into the dump inlet. Use a non-potable water hose to spray the inside of the sewage hose.[7]
-
8Disconnect the hose from the dump station inlet and close all outlet covers. Once the inside of the sewage hose is rinsed, take it off of the dump station inlet and rinse the outside of the hose too. Spray the area around the inlet hole to rinse away any waste that spilled onto the ground, then cover the inlet hole.[8]
- Double check once more to make sure all waste tank valves are fully closed. Close all outlet covers on your waste tanks and the dump station inlet hole.
-
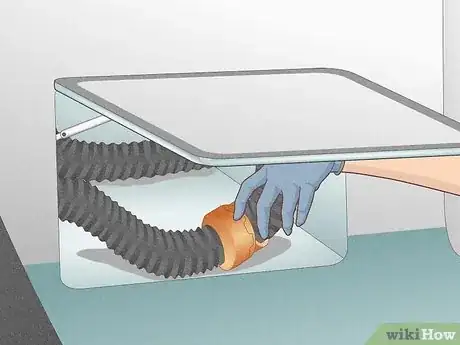
9Store your sewage hose and accessories in a contained area. Keep your hose, sewer fittings, and any other waste dumping materials somewhere where they won’t touch and contaminate your other belongings. If possible, connect the 2 ends of the hose together to contain any remaining water.[9]
- Common storage places include the RV’s basement storage compartment, hollow bumpers, a designated bucket, a plastic storage bin, or an underside rack.
- Once the hose is put away, wipe down any compartment handles, latches, valves, or other surfaces you touched with disinfecting wipes.
-
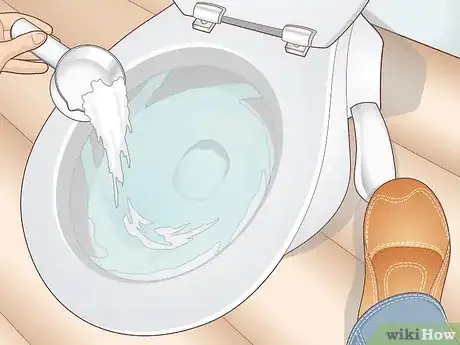
10Add water and disinfecting treatment to black water tank. Add about 3 flushes worth of water to your black water tank, plus the appropriate amount of holding tank treatment recommended by the instructions (typically 1 fluid ounce (30 mL) per 2 people using the RV).[10]
- Treat your gray water tank every 2 to 3 dumps.
- Regular treatment prevents waste buildup, reduces harmful bacteria, and neutralizes bad odors.
- Once your tanks are treated, you’re done emptying waste and are ready to hit the road again!
Where to Dump
-
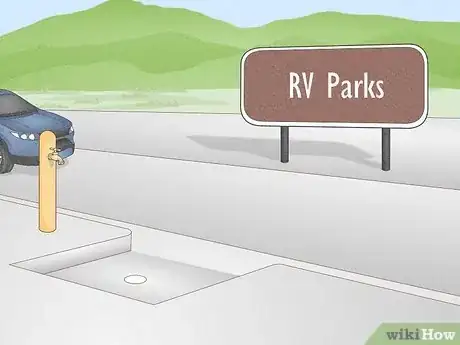
1Campgrounds or RV Parks: Many campgrounds have RV dump stations or sites with full sewer hookups for guests. Some even allow non-guests to dump their waste as they pass through the campground, although they may charge a one-time fee.[11]
-
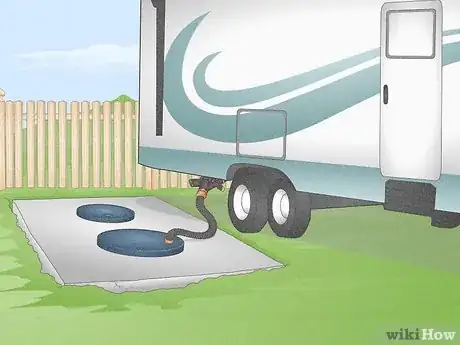
2Approved Municipal Sewer Systems or Home Septic Tanks: If you’re dumping at home before you travel, connect to a septic system cleanout pipe (a PVC or metal pipe sticking out of the ground near your house) or a city sewer cleanout port (a pipe coming out of your house pointing towards the street, usually buried a few inches underground).[12]
- Connect and empty your tanks like normal in these locations. You may need a sewer fitting to ensure the hose fully seals around the pipe.
- Check your local ordinances to make sure it’s OK to dump into the city sewer line. Some municipalities do not allow this.
- Some sanitation district headquarters have dump sites travelers can use, usually for a small fee.
-
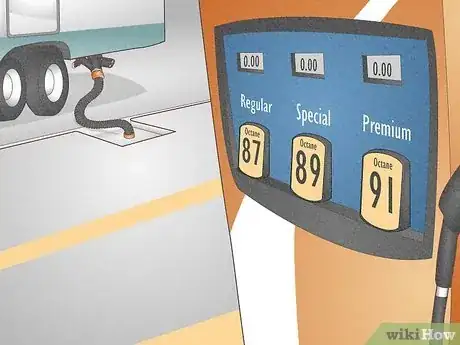
3Gas Stations and Rest Stops: Not all gas stations have RV dump sites, but many large truck stops and independently-owned gas stations have them. There's usually a fee to use them, but they’re highly convenient. Some state-owned rest stops offer dump stations as well.[13]
- Use mobile apps like RV Dump Stations and RV Dumps, or websites like http://www.RVDumps.com and https://www.sanidumps.com to research rest stops and gas station dump sites along your travel route.
-
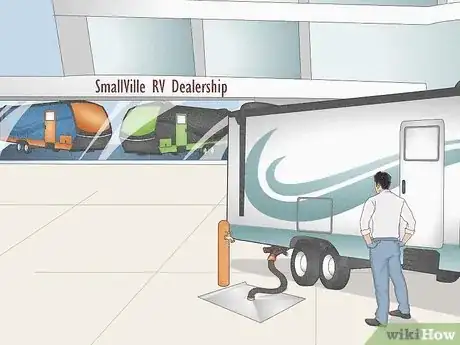
4RV Dealerships: Most RV dealers or camping equipment stores that rent RVs will have a dump station since they service and repair RVs. If you can’t find a dump site, call the nearest RV dealer to see if they have a dump station onsite.[14]
References
- ↑ https://www.rvezy.com/blog/rv-black-water-tank
- ↑ https://www.rvdumps.com/tips/
- ↑ https://www.campanda.com/magazine/rv-tanks-guide/
- ↑ https://www.campanda.com/magazine/rv-tanks-guide/
- ↑ https://www.campanda.com/magazine/rv-tanks-guide/
- ↑ https://www.rvdumps.com/tips/
- ↑ https://www.rvdumps.com/tips/
- ↑ https://www.rvdumps.com/tips/
- ↑ https://campaddict.com/rv-sewer-hose/storage/
