X
wikiHow is a “wiki,” similar to Wikipedia, which means that many of our articles are co-written by multiple authors. To create this article, volunteer authors worked to edit and improve it over time.
This article has been viewed 14,175 times.
Learn more...
The Maple Leaf Flag has been an iconic symbol of the great nation of Canada for years. It was adopted as the official flag on February 15, 1965, two years before the country's Centennial. The red represents the sacrifices Canada made during World War 2, and the maple leaf is a national symbol. Read on for a comprehensive look at how to recreate this beautiful flag.
Steps
Part 1
Part 1 of 2:
Preparation
-
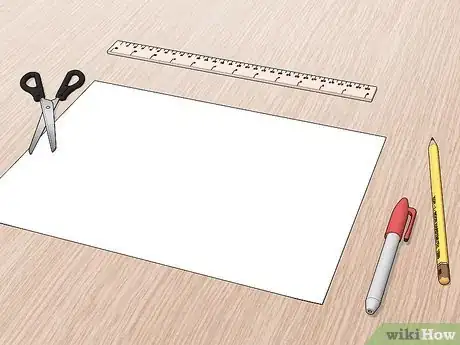
1Gather your materials. To draw the Maple Leaf Flag, you will need a white piece of paper, a ruler, a pencil, a light source, scissors, and a red marker. You can also use a red crayon or pencil crayon, but a marker will give you the best coverage. Depending on your skills, using paint could be a risky decision.
-
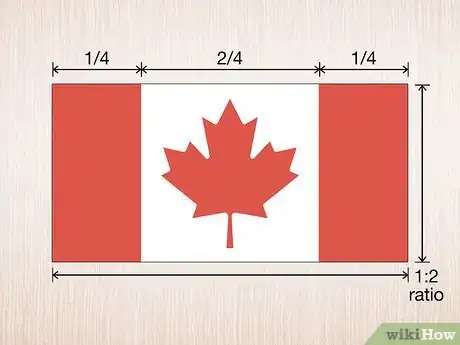
2Study the proportions of the Maple Leaf Flag. The flag's width to height ratio is 1:2. Also, take note of the size of the red and white bands. Unlike the Italian, France, or Irish flags, the Canadian Maple Leaf Flag is divided into fourths. The red bands on the left and right each take up one-fourth of the flag. The white band occupies the middle two-fourths of the flag.Advertisement
-
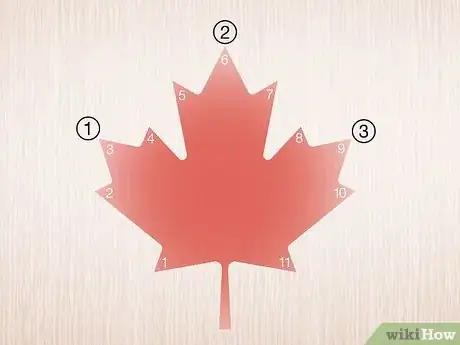
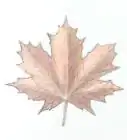
3Study the form of the maple leaf. The maple leaf is so iconic, take care not to mess it up. Note that the leaf has a total of 11 points and three sections, with two points falling outside of the three main sections. The leaf is symmetrical.
Advertisement
Part 2
Part 2 of 2:
Drawing
-
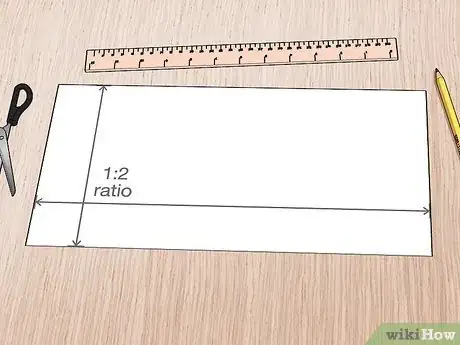
1Make sure your paper fits the 1:2 ratio. If it doesn't, and you want a bigger flag, you will have to find a new sheet. If you are okay with a smaller flag measure and mark the correct proportions, then cut.
- Recommended measurements are ones with which the length units can be easily and evenly divide into 4. These include 2 units: 4 units, 4 units: 8 units, and 8 units: 16 units.
-
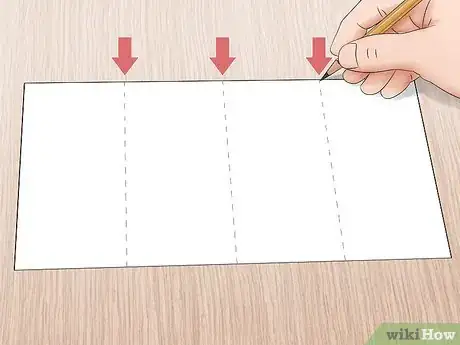
2Divide your paper into sections. Turn the sheet so it is in landscape mode. Lay your ruler horizontally across the width. Make three small, evenly placed ticks at the top of your paper with your pencil. This will section the sheet into four. Lightly erase the tick marks.
-
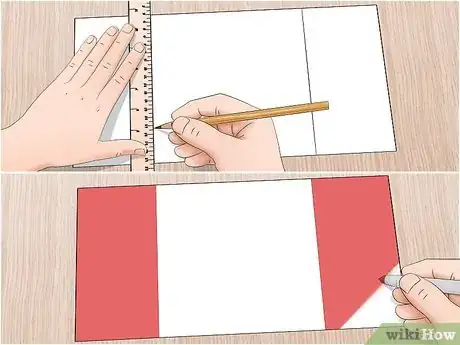
3Make the red sections. Line your ruler up vertically with the first tick mark from the previous step. Use your red marker to draw a line down the paper along the ruler. Color from the line to the edge of the paper. Repeat for the third mark.
-
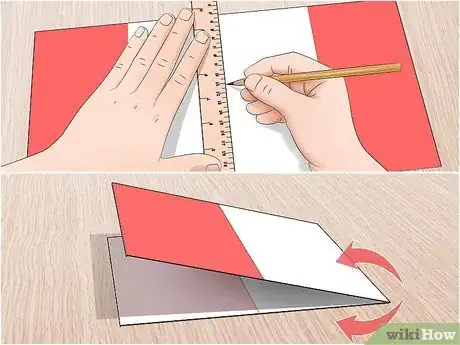
4Find the centerline. Align your ruler with the second tick in the middle of your paper. Using your pencil, lightly draw a line along your ruler. Flip your paper over and fold along this line. The colored side should face out.
-
5Draw half of the maple leaf. Using your pencil, sketch half of the maple leaf. This will include one half-section (1.5 points), one full section (3 points), one point, and half of the stem. Try to center the leaf as best you can.
-
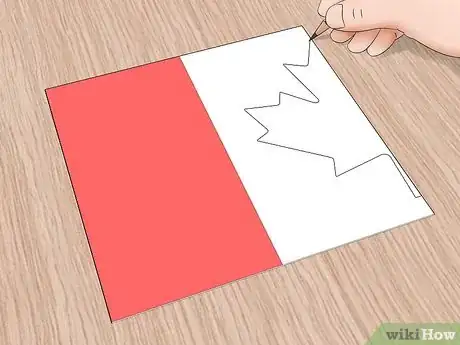
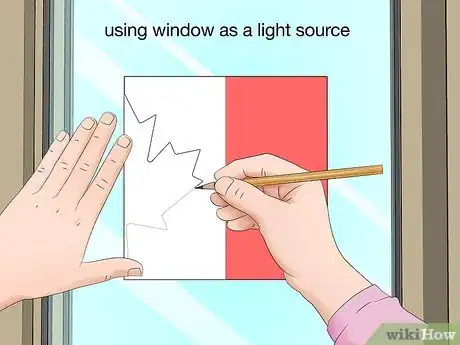
6Draw the rest of the leaf. Flip your folded paper over and set it against a light source. This light source can be a window, lightbox, or computer screen. You will be able to see the outline of the half leaf you drew in the previous step. Trace this with your pencil.
-
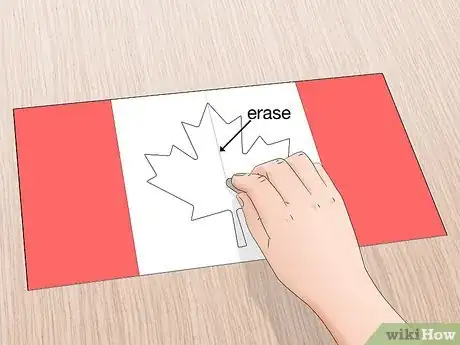
7Unfold your paper. You should now have two colored sections, a centerline, and the outline of a leaf. Erase the centerline completely, and lightly erase your leaf outline.
-
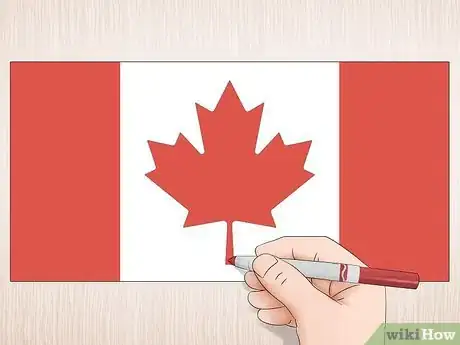
8Color your leaf. Based on the light outline, fill the maple leaf with red. Your flag is done!
- Consider displaying it. You could frame your flag or glue it to a stick. Get creative!
Advertisement
Things You'll Need
- White paper
- Ruler
- Pencil
- Light source
- Scissors
- Red Marker
References
About This Article
Advertisement
