This article was co-authored by wikiHow staff writer, Hunter Rising. Hunter Rising is a wikiHow Staff Writer based in Los Angeles. He has more than three years of experience writing for and working with wikiHow. Hunter holds a BFA in Entertainment Design from the University of Wisconsin - Stout and a Minor in English Writing.
There are 12 references cited in this article, which can be found at the bottom of the page.
This article has been viewed 592,781 times.
Learn more...
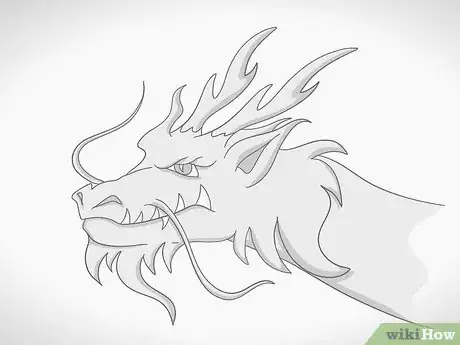
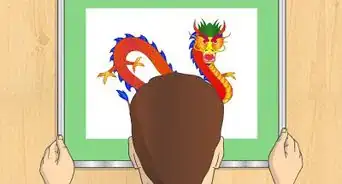
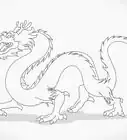
Drawing a dragon is a great way to show your creativity, but it may be challenging to draw the head because it has a lot of detail. Luckily, you can start sketching the head with basic shapes before adding in the features. Fantasy dragons usually have pointier snouts and are the most common types in Western culture, while Chinese dragons have boxier heads. With a bit of practice, you’ll be able to draw any type of dragon head you want!
Steps
Drawing a European Dragon Head
-
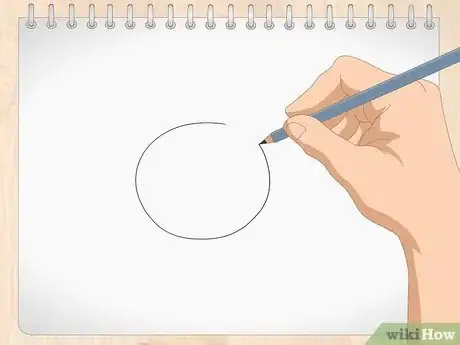
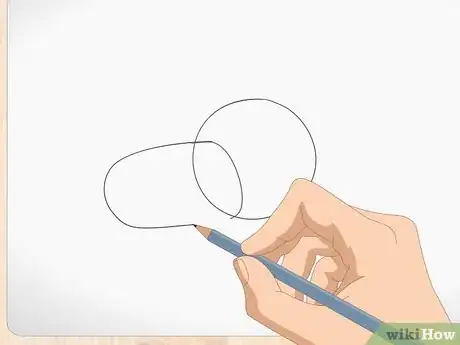
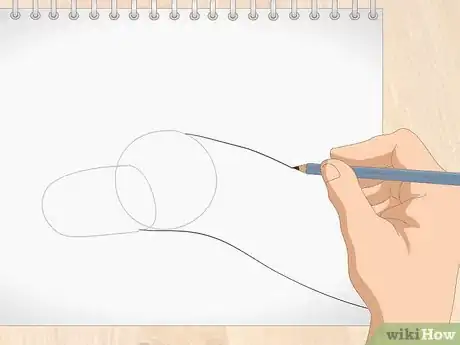
1Draw a circle in the middle of your paper. Use a pencil and sketch your lines in lightly so you’re able to erase them easily. Make the circle in the center of the page, leaving room on each side of it so you have space to add more features. The circle doesn’t need to be perfectly round, but you may use a compass to help you draw your lines if you want.[1]
- The drawing of the dragon head will be in profile view when you’re finished.
- If you plan on adding the rest of the dragon’s body to your drawing, then make sure the circle is small enough so you can fit the body on your sheet of paper.
- If you want your dragon to have a longer face, then make a horizontal oval instead of a circle.
-
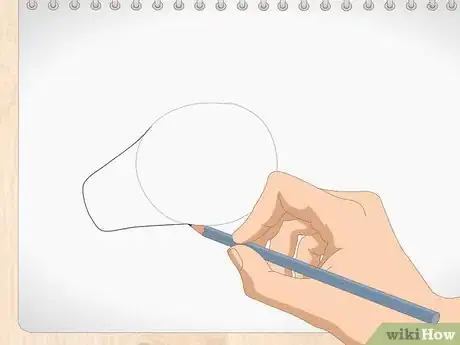
2Add a rounded trapezoid on the side of your circle for the dragon’s snout. Choose either the left or right side of the circle depending on which way you want the dragon head to face. Draw the top horizontal line of the snout coming from the top of the circle so it’s the same length as the circle’s diameter. Make another horizontal line coming from the bottom of the circle to make the bottom of the snout. Connect the 2 lines so the corners are rounded.[2]
- You can make the snout longer or shorter depending on how you want the dragon to look.
- Don’t leave sharp corners on the end of the snout or else your dragon won’t look natural.
Advertisement -
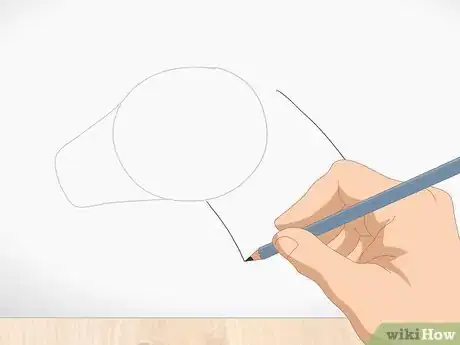
3Make parallel lines coming out the bottom of the circle for the dragon’s neck. Start one of the lines where the bottom of the snout connects to the head. Make a curved line coming down from the head as long as you want it. Then draw another curved line that’s parallel to the first one on the opposite side of the head.[3]
- The dragon’s neck usually gets wider closer to its body, so you can make the lines get further apart near the bottom if you want to.
Tip: Add a neck even if you don’t plan on drawing the rest of the dragon’s body. That way, the head will still have the illusion that it’s connected to something.
-
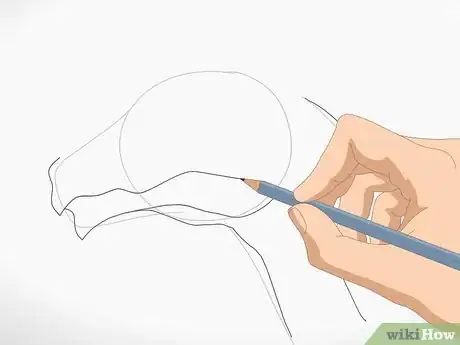
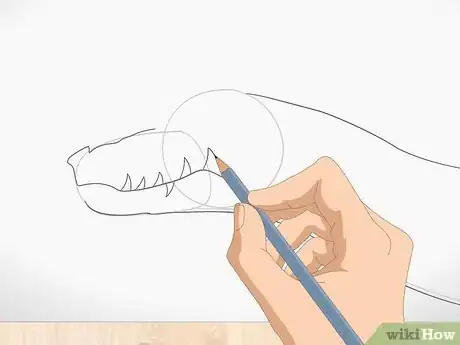
4Sketch a curved horizontal line through the trapezoid to make a mouth. Start drawing the mouth in the middle of the trapezoid’s narrow end. Extend the line horizontally so it ends near the middle of the dragon’s head. Curve the end of the mouth up if you want your dragon to look like it’s smiling, or angle it down if you want it to frown.[4]
- Put a parallel line underneath the mouth if you want it to look like your dragon has a bottom lip.
-
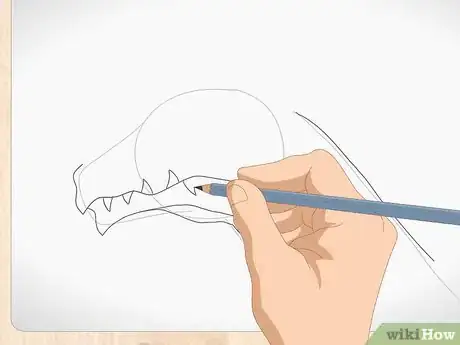
5Draw triangles coming out from the mouth to give your dragon teeth. You can either add teeth that point up or down along your dragon’s mouth. Choose anywhere along the mouth and draw a triangle that points up or down starting from the mouth line. Add 5-6 separate teeth in your dragon’s mouth so it looks more fearsome.[5]
- Don’t line the entire mouth with teeth or else your drawing may start to look messy.
- You can have teeth pointing both up and down.
-
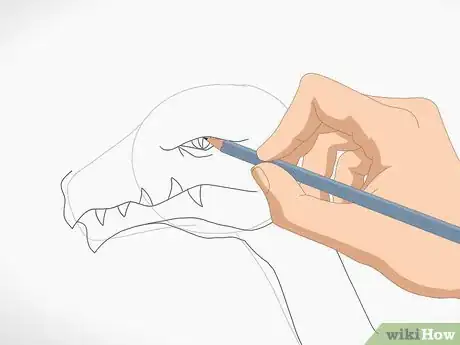
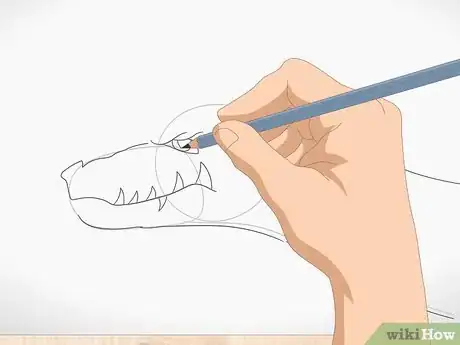
6Put a circle or triangle above the mouth to make an eye. Place the eye next to where the top of the snout connects to the side of the circle. If you want your dragon to look more realistic, draw a small circle for the eye so there’s a small gap between it and the top of the snout. For a dragon that looks angrier, add a horizontal triangle so the point faces the snout.[6]
- Don’t make the eye too large or else you won’t have room to add other features.
- Search for pictures of other reptiles to see what their eyes look like so you can use them as a reference.
-
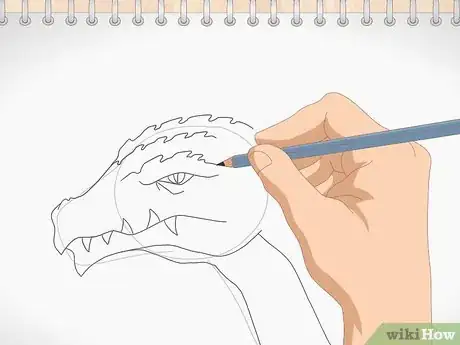
7Add bumps and ridges on the top of the dragon’s head for more texture. Dragons don’t have smooth skin, so their heads will look bumpy and knobby from their scales. Use the outlines you currently have as guides and go over them to add curves to the snout. Use wavy or zig-zag lines going from the end of the snout toward the back of its head.[7]
- For example, you may add a large bump above the dragon’s eye if you want to give it a prominent brow.
- You can add as many or as few bumps and ridges to the dragon depending on how you want it to look.
-
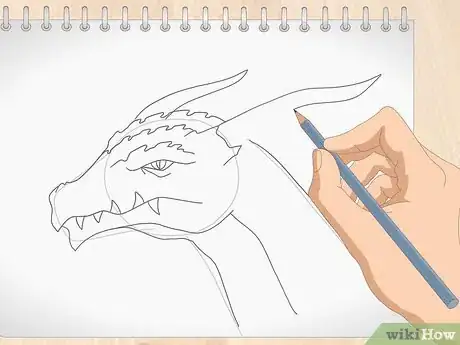
8Give your dragon horns if you want to. If you want to add horns to your dragon, make a vertical line extending out from the top of the dragon’s head. Extend the line out so it’s about the same length as the snout. Add another line that starts on the back side of the dragon’s head and connects to the end of the first line to complete the horn.[8]
- Make the horn shorter if you want to make it seem like your dragon is younger.
- You can make the horns any shape you want. Look up horns on real animals to get influences for what you can include on your dragon.
- You may also choose to add horns or spikes running down the back of the dragon’s neck if you want to.
-
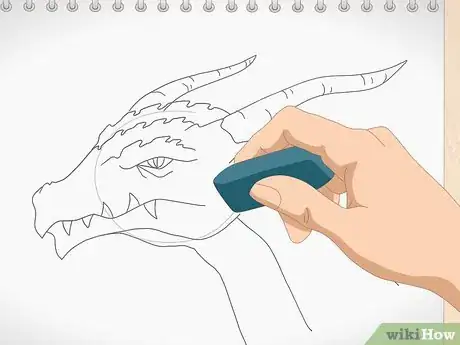
9Erase the lines you used as guides. Go over your drawing with an eraser and get rid of any lines that aren’t still a part of your dragon. For example, you may erase the circle or the original outline of the snout if you added more bumps to it. Continue erasing any guides or mistakes you made, and blow off the shavings when you’re finished.[9]
- Darker lines will be harder to erase than lightly sketched lines.
- Get a clickable detail eraser if you need to erase lines in small areas. You can get special erasers from an art store or online.
-
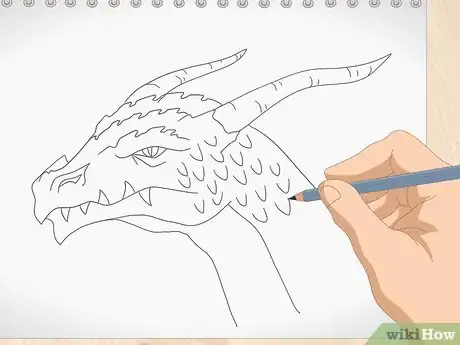
10Add details like scales and nostrils to make your dragon seem realistic. Once you erase the guide lines, start adding the final details into your drawing. Start with small ovals or circles for the nostrils at the end of the snout. Once you add the nostrils, draw in U-shaped lines on the sides of the dragon’s head and down its neck give the illusion of scales.[10]
- You don’t need to draw every scale on the dragon’s face since it could make your drawing look messy or unclear.
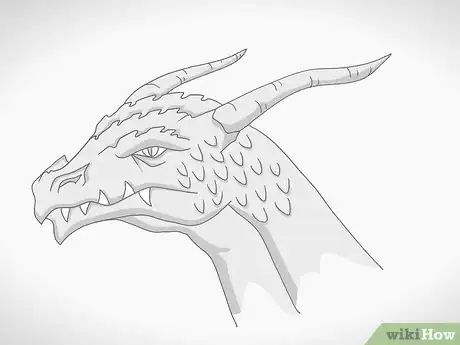
- Shade your drawing with a pencil or colored pencil if you want to add more perspective or color.
-
11Finished.
Sketching an Eastern Dragon Head
-
1Make a circle with a rounded rectangle for the dragon’s head and snout. Start by making a circle in the middle of your piece of paper so you have room to add features on each side. Choose the right or left side of the circle to put the snout depending on what direction you want the dragon to face. Start the rectangle halfway down from the top of the circle and connect the bottom edge to the lowest point of the circle.[11]
- You can choose to make the dragon’s snout thicker if you want.
- When you’re finished, your dragon head will be in profile view.
- Sketch your lines lightly at first so you can easily erase them later on. Otherwise, you’ll leave marks on the paper that you can’t get rid of.
-
2Sketch in the dragon’s neck coming out from the other side of the head. Start a line at the point where the bottom of the snout touches the circle. Curve the line slightly down so it looks like it extends off of the page. Draw the top of the neck coming from the top side of the circle so it’s parallel with the first line you drew.[12]
- While you don’t have to draw the neck for your dragon, it adds to the illusion that the head is connected to a body.
- Chinese dragons have long, snake-like bodies, so the neck will stay the same thickness the entire time.
-
3Draw a horizontal line and triangles to give your dragon a mouth and teeth. Start the line for the mouth so it’s a third of the way up from the bottom of the rectangle. Make a slightly curved horizontal line that ends near the middle of the dragon’s head. Draw small triangles coming out from the top or bottom of the line to give the dragon sharp teeth.[13]
- Give your dragon a smile if you want it to look happy or a frown if you want it to appear more fierce.
- Only add a few teeth to the mouth so the drawing doesn’t look messy.
-
4Add a circle or oval above the mouth for your dragon’s eye. Place the eye for your dragon inside the circle so it’s next to where the top of the snout connects to the head. Make a circle or a horizontal oval for the eye so there’s a small gap between it and the top of the head. Add an angled line above the eye to give your dragon an angry brow.[14]
- The dragon’s pupil can be round like a human, or you can make it look like a slit, similar to a snake or cat.
- Don’t make the eye too large or else the dragon will look unnatural and you won’t have room to place the rest of the features.
-
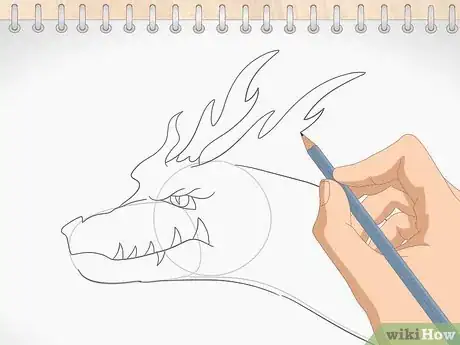
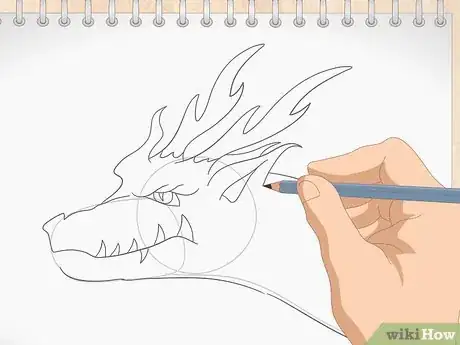
5Draw antlers or horns on top of your dragon’s head. Chinese dragons usually have antlers that look like a deer, but they can also have standard spiked horns. If you want to add antlers, Draw a Y-shape coming out from the back of the dragon’s head. Add lines on either side of the Y-shape so the antler ends in curved points. If you want to make horns, draw a long triangle coming out from the back of the dragon’s head instead.[15]
- You don’t need to add antlers or horns at all if you don’t want to.
-
6Sketch in ears underneath the antlers. Unlike many other dragons, Chinese dragons have ears on the sides of their head that look similar to cow or deer ears. Draw a curved line coming out from the side of the dragon’s head and extend it so it’s about half as long as the head’s diameter. Add another curved line underneath the first one and connect the ends to make the ear.[16]
- You don’t need to draw the ear on the other side of the head since you wouldn’t be able to see it from this perspective.
-
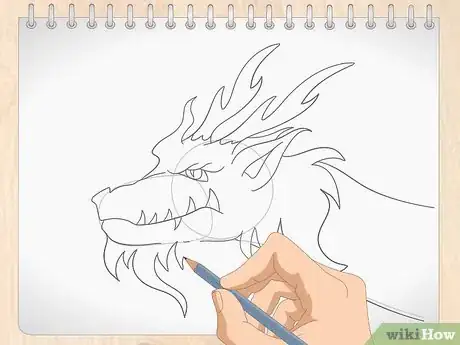
7Give your dragon a beard and mane. Chinese dragons have hair and manes around their heads that resemble a lion. Put in wavy lines that end in points around the bottom of the snout and the back of the head. Draw the hair in tufts rather than adding the individual strands so your drawing doesn’t get muddled.[17]
- The mane will go behind your dragon’s horns or antlers if it has them.
- You can make the hair as long or short as you want.
-
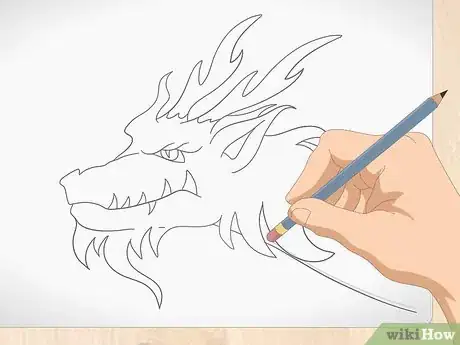
8Erase the guide lines that aren’t a part of your dragon’s head. Use the eraser on your pencil or a block eraser to clean up the lines on your drawing. Erase any of the lines that you were using as guides, such as the sides of the circle or parts that are overlapped by hair. Continue getting rid of lines you don’t need in your drawing anymore and blow the shavings off when you’re done.[18]
Warning: Don’t wipe the drawing with your hand when you’re done erasing your lines since you could easily smudge the pencil.
-
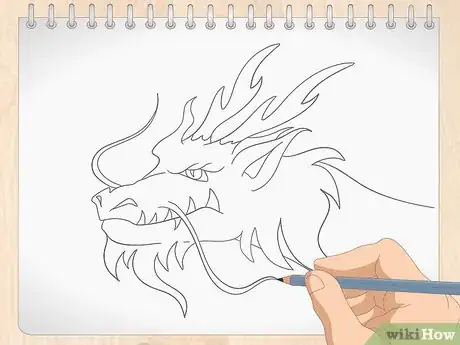
9Add nostrils and whiskers to the snout. Put in small circles or ovals near the front of the snout for your dragon’s nostrils. Leave a small gap beside the nostril before drawing a long wavy line that ends near the back of the dragon’s head. Make another parallel wavy line directly underneath the first one and connect the ends to add the whisker.[19]
- Draw small smoke clouds coming out from the dragon's nostrils if you want to make it seem like it's about to breathe fire.
- Shade your drawing with your pencil to make it look more realistic and add perspective.
- Use colored pencils if you want your dragon to look more colorful.
-
10Finished.
Community Q&A
-
QuestionWhy would I try shading the drawing rather than redoing the color?
 Community AnswerShading makes the art look more real. Redoing the color makes it look more like a cartoon.
 -
QuestionWhat if this is difficult for me?
 Jacquelyn HelmuthCommunity AnswerTry sketching it lightly and use the picture of the dragon you want to draw. Then, lightly draw what you see and, if you happen to get the shape you want, draw a little darker. With practice, you will improve.
 -
QuestionHow do you make epic scenes with dragons that POP out at you?
 Community AnswerUse dramatic shading. For instance, if your dragon is facing slightly left, add shading under its chin, along its neck, at the left end of its eyes, and at the base of its horns.
Things You’ll Need
- Paper
- Pencils
- Eraser
- Colored pencils (optional)
References
- ↑ https://easydrawingguides.com/how-to-draw-dragon-head/
- ↑ https://how2drawanimals.com/8-animals/53-draw-dragon.html
- ↑ https://easydrawingguides.com/how-to-draw-dragon-head/
- ↑ https://easydrawingguides.com/how-to-draw-dragon-head/
- ↑ https://drawinghub.com/tut/how-to-draw-a-dragon-head-17143
- ↑ https://drawinghub.com/tut/how-to-draw-a-dragon-head-17143
- ↑ https://youtu.be/4TZ5ADRMBIg?t=274
- ↑ https://drawinghub.com/tut/how-to-draw-a-dragon-head-17143
- ↑ https://easydrawingguides.com/how-to-draw-dragon-head/
- ↑ https://youtu.be/4TZ5ADRMBIg?t=1024
- ↑ https://www.artistshelpingchildren.org/kidscraftsactivitiesblog/2011/01/how-to-draw-a-chinese-dragon-head-step-by-step-drawing-tutorial/
- ↑ https://how2drawanimals.com/8-animals/237-draw-chinese-dragon.html
- ↑ https://www.artistshelpingchildren.org/kidscraftsactivitiesblog/2011/01/how-to-draw-a-chinese-dragon-head-step-by-step-drawing-tutorial/
- ↑ https://www.artistshelpingchildren.org/kidscraftsactivitiesblog/2011/01/how-to-draw-a-chinese-dragon-head-step-by-step-drawing-tutorial/
- ↑ https://youtu.be/AS1q48xfJ5c?t=94
- ↑ https://youtu.be/AS1q48xfJ5c?t=103
- ↑ https://youtu.be/NPJ95ypzWJs?t=492
- ↑ https://youtu.be/NPJ95ypzWJs?t=908
- ↑ https://www.artistshelpingchildren.org/kidscraftsactivitiesblog/2011/01/how-to-draw-a-chinese-dragon-head-step-by-step-drawing-tutorial/
About This Article
To draw a dragon head using shapes, start by drawing 2 circles close together to make the eyes. Then, draw 2 wedge-like shapes for the snout, and sketch the neck using long, curvy lines, similar to the image of a snake. Next, use triangles and trapezoids to shape the back of the head, and draw cones and mounds to represent parts like the horns or locks of hair. Afterwards, refine the lines and add details such as fins and spikes. Finally, erase any unnecessary lines and color your dragon as desired. To learn more, including how to draw a dragon head using animal references like goats and crocodiles, read on.
