X
wikiHow is a “wiki,” similar to Wikipedia, which means that many of our articles are co-written by multiple authors. To create this article, 30 people, some anonymous, worked to edit and improve it over time.
This article has been viewed 197,054 times.
Learn more...
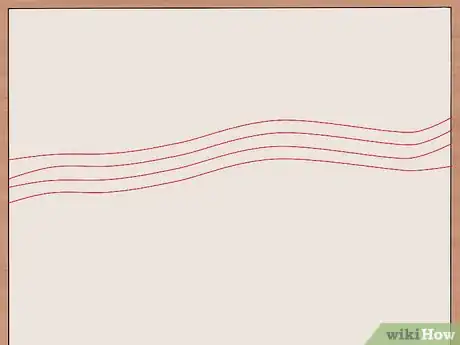
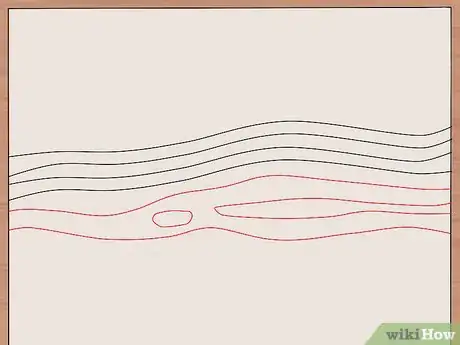
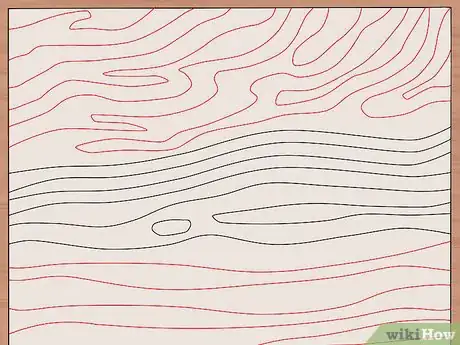
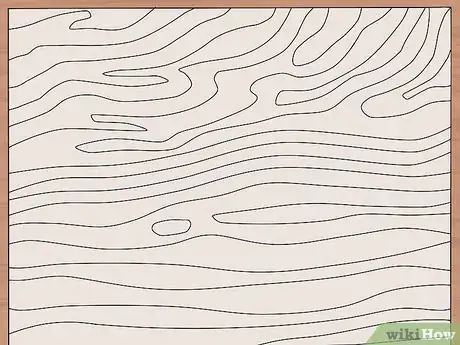
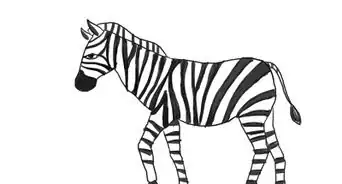
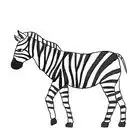
Zebra stripes can be used to decorate anything from a drawing of an Equus quagga to your next piece of artwork, and, you only have to stick to black and white if you're after accuracy. Patterns are fun to doodle, can add a touch of flair to an everyday item or, can be used as a design element. Follow these steps to draw zebra stripes.
Steps
Method 1
Method 1 of 2:
Vertical Zebra Stripes
-
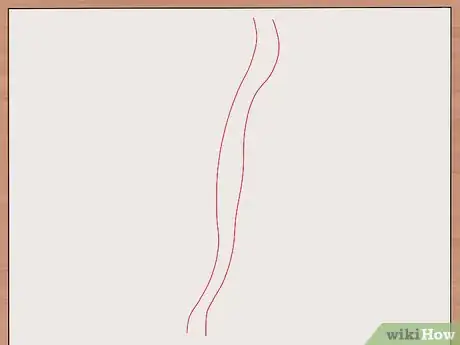
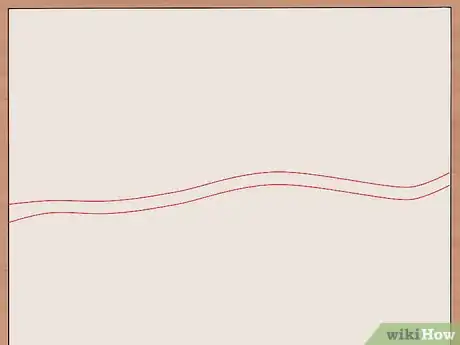
1Draw two parallel curve lines in the centre of the page.
-
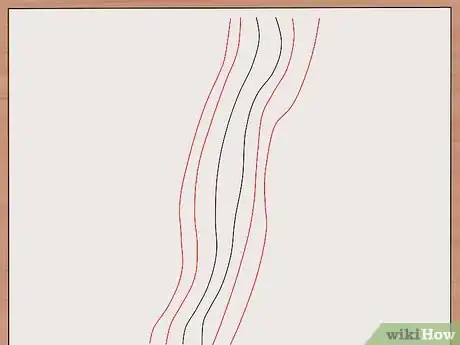
2Draw another pattern of the curve lines to the left and right.Advertisement
-
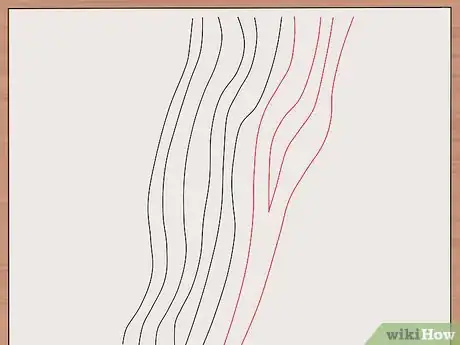
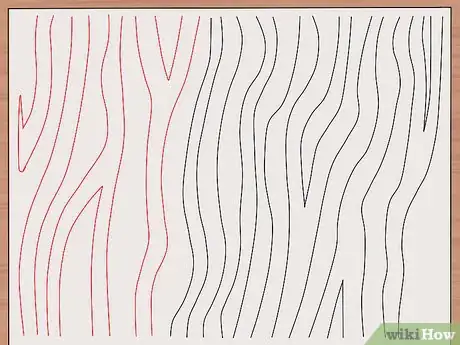
3Draw a different pattern on the right but use the same principle and about the same width as the others.
-
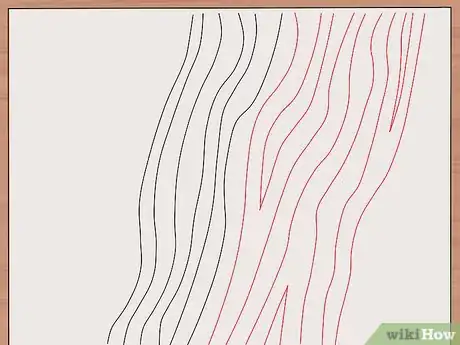
4Draw other curves on the far right with about the same width as the others.
-
5Draw other curves on the left following the same structure or width but with different curvatures.
-
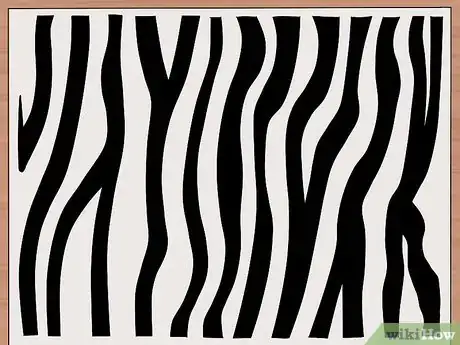
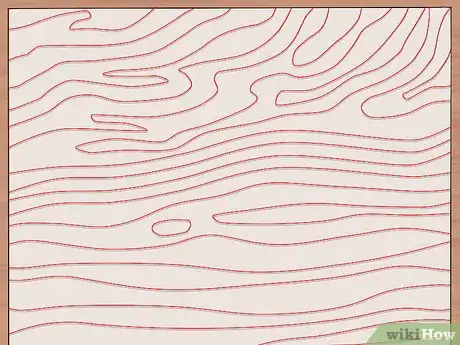
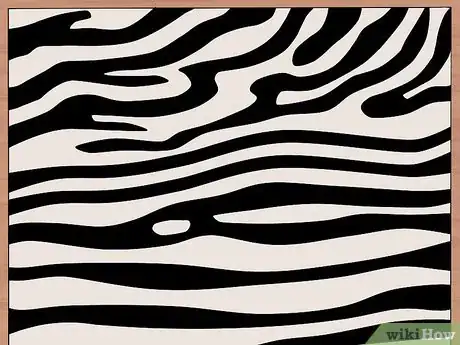
6Trace with a pen and erase unnecessary sketches. Emphasize the stripes using a black or any bold color.
-
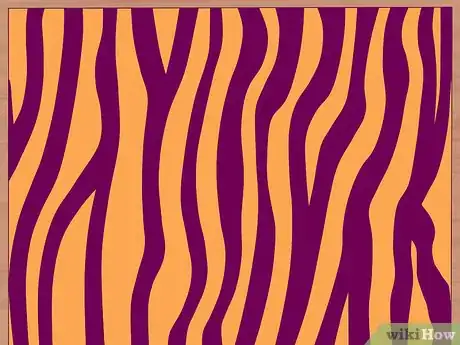
7Refine and enhance the color to your liking!
Advertisement
Method 2
Method 2 of 2:
Horizontal Zebra Stripes
Things You'll Need
- Lead pencils
- Colored pencils (black, white, etc.)
- Paper
About This Article
Advertisement
