wikiHow is a “wiki,” similar to Wikipedia, which means that many of our articles are co-written by multiple authors. To create this article, 18 people, some anonymous, worked to edit and improve it over time.
This article has been viewed 259,251 times.
Learn more...
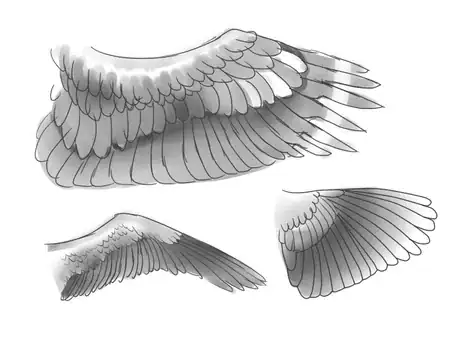
Do you want to draw wings to put on your characters? Follow this simple tutorial to learn how!
Steps
Cartoon Wings
-
1Draw two thin, slightly curved ovals as shown. They should look like connected tree branches, or the skeleton of a bat's arm.
-
2Add in faint curves for the feathers. They should be mostly oval-like in shape, overlapping one another but not going beyond three rows or so per wing.Advertisement
-
3Sketch in thinner, larger feathers. These can be as thick or as lengthy as you like, but try to keep even the proportions of these feathers and the feathers from the previous step.
-
4Draw details for the feathers. You don't necessarily need to have too many extra lines or spots on your feathers, but the image above will show you how if you want those elements.
-
5Outline and color your wing. To create a set, if your character is being viewed from the front rather than the side, simply mirror the drawing you've already done on the other side. And remember, when detailing/coloring, use your imagination!
Traditional Wings
-
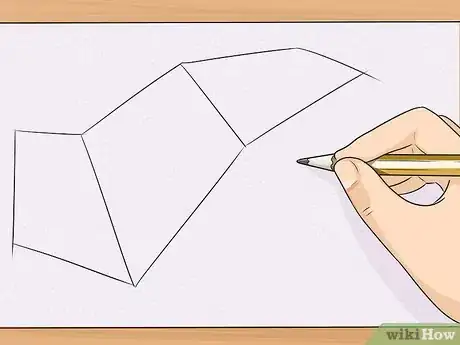
1Draw three trapezoids of different sizes and orientations which are connected to each other. This will be the framework for the wings.
-
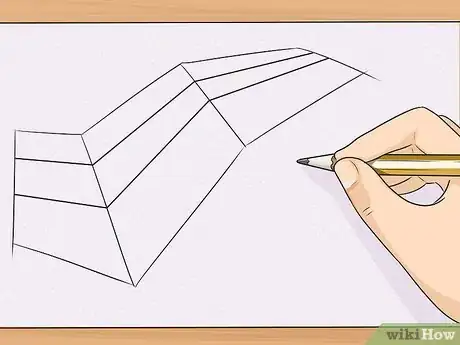
2Draw two straight lines with a space apart and which follow the orientation of the trapezoids – three layers are formed.
-
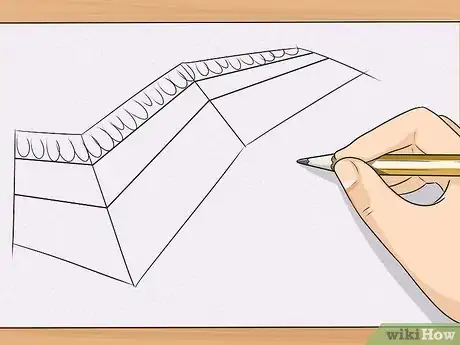
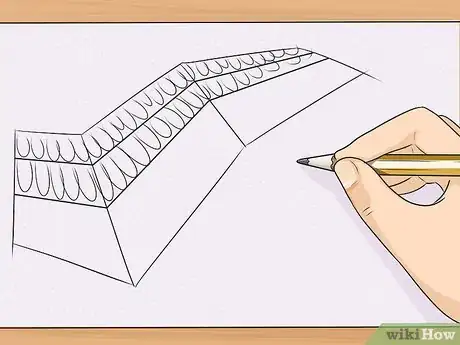
3Draw the feathers for the first layer using simple and rounded curves.
-
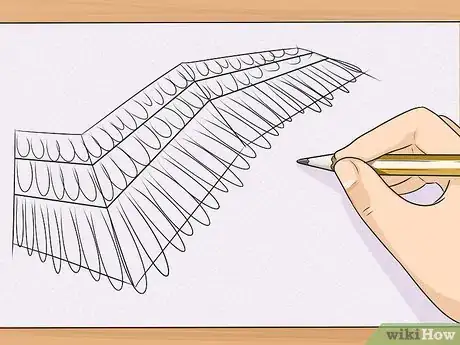
4Draw the second layer of feather using simple curves and longer than the first layer feathers.
-
5Draw the third layer feathers using simple curves. The feathers are longer and more refined.
-
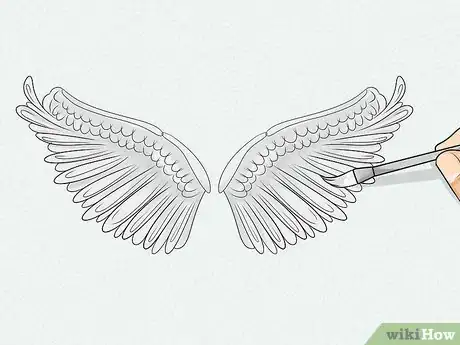
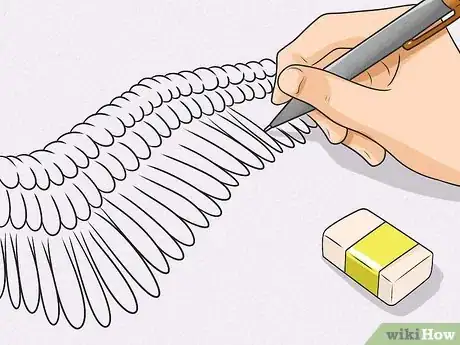
6Trace with a pen and erase unnecessary lines.
-
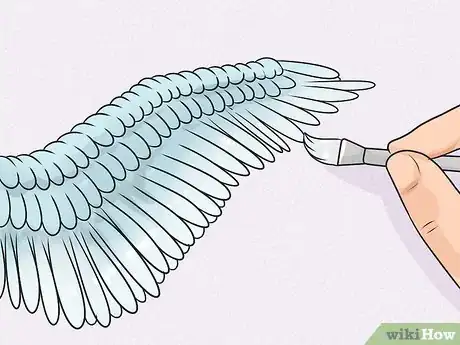
7Color to your liking with shades of white!
Bird Wings
-
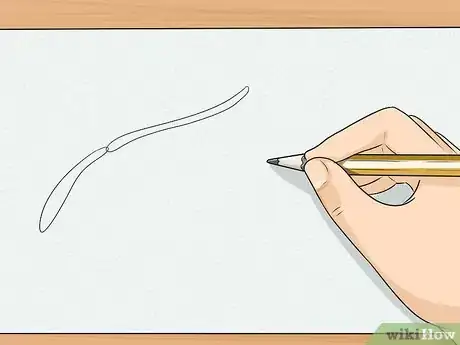
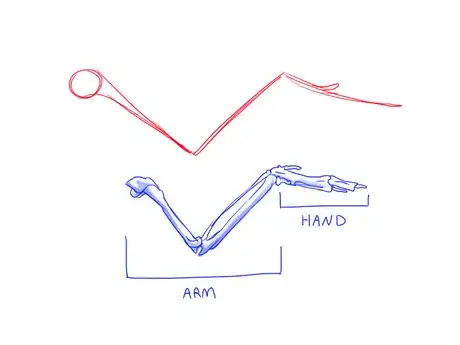
1Sketch the base line. This is the base of your wing which will determine its length. In this example, we'll be drawing an eagle's wing.
- Make sure to lightly sketch the base with a pencil, as you'll want to erase it later.
- Birds with longer wings generally have longer arms and shorter hands, like wandering albatrosses or seagulls. Smaller birds have shorter arms and longer hands, like sparrows or hummingbirds.
-
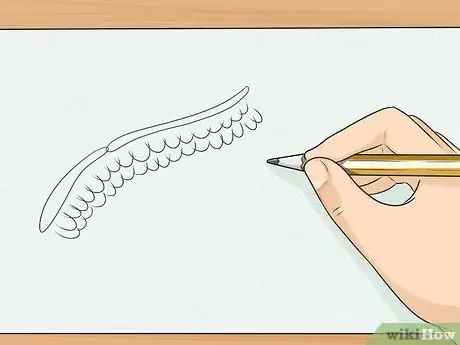
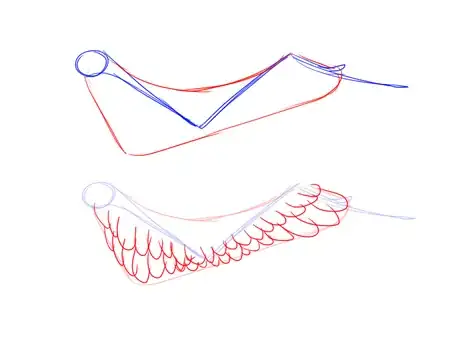
2Draw the first layer of feathers. Do this by sketching a general shape that vaguely follows the wing's base and then fill it in with feathers.
- Don't forget the skin flap between the forearm and the upper arm.
-
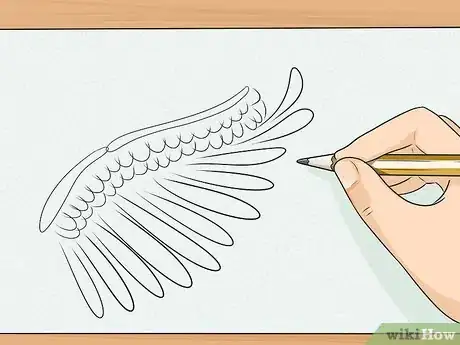
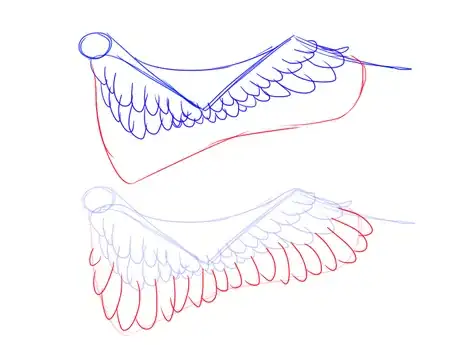
3Draw the second layer of feathers. It's similar to drawing the first layer of feathers, but further out.
-
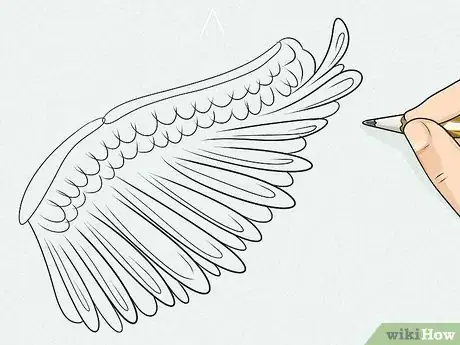
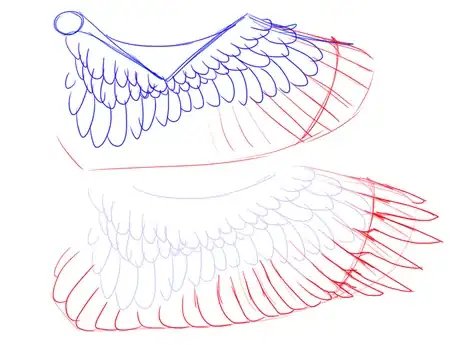
4Draw the outer feathers on the wing. This is a tricky step, because the line of feathers isn't consistent as in the other rows of feathers. You can make it easier for yourself to sketch out lines for the feathers before drawing them.
- Eagle wing feathers look like "fingers" but this doesn't apply to all birds, for example budgerigars.
-
5Finish! Clean up the sketch, erase the base, and use however you want! You can use these exact tips for drawing other kinds of wings too, like vultures, crows, parrots, doves, anything.
Community Q&A
-
QuestionWhat happens if I don't have an eraser?
 SommySombreroCommunity AnswerYou could draw the base very lightly with whatever you've got, and then cover it up with color or shading.
 -
QuestionWhat if I don't draw well?
 Community AnswerKeep practicing. Most people are not naturally gifted artists, the only way to get better is to practice.
 -
QuestionAm I able to put the wings on a person?
 Community AnswerYes, but make sure it's angled, so it doesn't look awkward.
About This Article
Whether you’re creating a bird, an angel, or a winged fantasy character, drawing wings can be a challenge. To create a realistic wing, start by sketching in the basic shapes of the bone structure underneath. Make a ball for the shoulder joint, then sketch the upper arm and forearm in a wide V shape. Next, attach a “hand” section that’s slightly shorter than the forearm section, and angle it back down. Draw in a larger shape on top that follows the basic shape of the bone structure, including a skin flap that connects the shoulder to the “wrist” part of the forearm. Fill the area beneath the wing bones with the first layer of feathers. These should look like a series of overlapping u-shapes. Then draw a second layer of feathers beneath those. Make them a little longer than the feathers in the first layer. Finally, add a layer of longer flight feathers. These will extend out beyond the end of the wing and make it look more elongated. When you’re done, erase the bone structure sketch and any other guidelines you used, leaving just the feathers behind. You can also shade or color your wing if you like. To make a pair of wings, try mirroring the first wing, or experiment with drawing the wings in different poses. You can also make a more cartoony wing by sketching the overall shape of the whole wing, then filling in the shape with feathers and erasing the guidelines when you’re done. However you do it, remember to start with 2 to 3 rows of shorter feathers at the top of the wings, then fill in the longer flight feathers underneath. To learn how to draw a realistic bird wing, scroll down!
