X
wikiHow is a “wiki,” similar to Wikipedia, which means that many of our articles are co-written by multiple authors. To create this article, volunteer authors worked to edit and improve it over time.
This article has been viewed 151,976 times.
Learn more...
Dismantling your old-style "fat" PlayStation 2 can be useful for repairs, cleaning, troubleshooting, and modification. The process is relatively simple, and can be achieved with little more than two screwdrivers. Proceeding means voiding the warranty on your PS2.
These instructions do not apply to the Slim versions of the PS2.
Steps
-
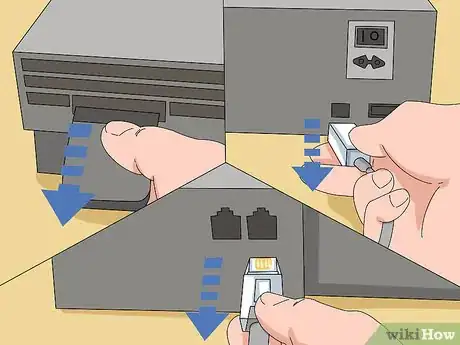
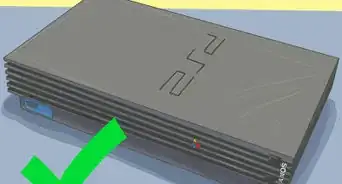
1Be sure your PS2 is unplugged before beginning. Remove any peripherals (memory cards, network adapters, etc.)
-
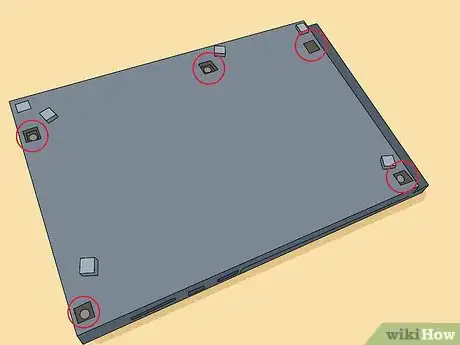
2Turn the PS2 on its top, and remove the screw covers. This will give you access to the rubber feet on the bottom of the unit, as well as the small plastic screw hole covers in the corners. Your unit will have either 8 or 10 screws depending on the version. you may need to use the tip of a small flathead screwdriver to remove the plastic covers.[1]Advertisement
-
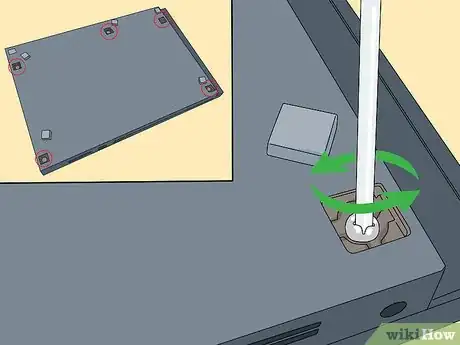
3Use the #2 screwdriver to remove the screws securing the bottom plate. Keep track of which types of screws come from which holes; there are at least two different lengths of screw.
-
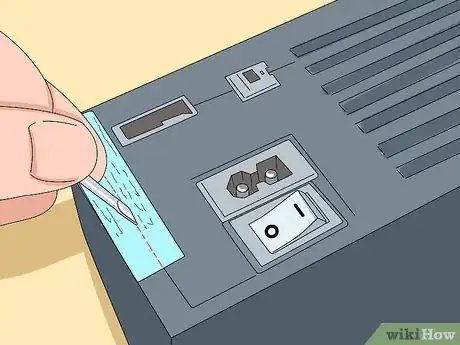
4Flip the entire unit over and score the warranty sticker on the back of the unit. This will, of course, void your warranty, if it is still valid. Use your thumbnail, or if you prefer, a small screwdriver.[2]
-
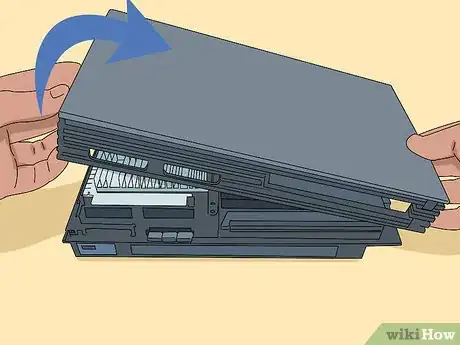
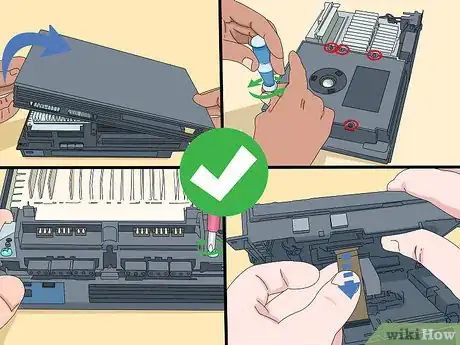
5Carefully lift the top of the unit off. Start at the back, and pivot around the DVD tray cover. At about 45 degrees, the top should be free of the façade. There will still be a fragile cable connecting the eject button assembly to the mainboard. Turn the top to the side and place it upside-down so that the cord is not compromised. You may unplug the eject button assembly from the mainboard by simply pulling on the blue plastic attached to the end of the wire.[3]
-
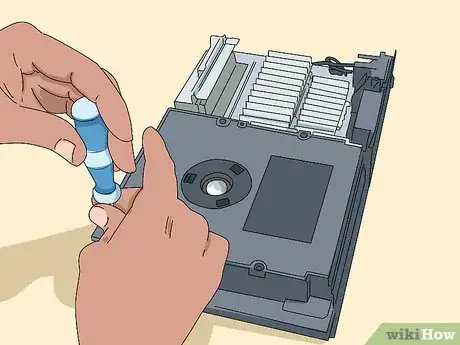
6If you simply wish to access the DVD drive internals to clean or focus the laser (or to bypass the need for a flip-top), remove the four small screws securing the top of the drive. There will be some slight resistance in removal from the magnetized disc holder. You may stop at this step, or proceed to access the remainder of the components. If you are not accessing the DVD internals, leave the cover in place to prevent damage to the laser when maneuvering the console.
-
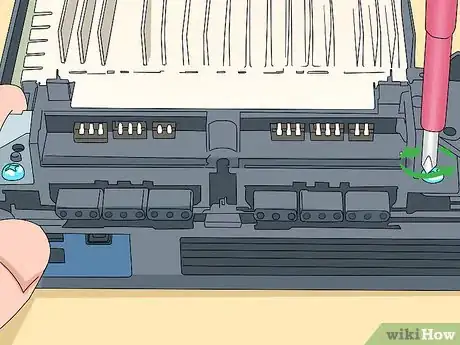
7Remove the screws securing the power socket, controller port, and DVD drive units. Be very careful, as the controller ports and DVD drive are held on by small, flat and very short cables.[4]
-
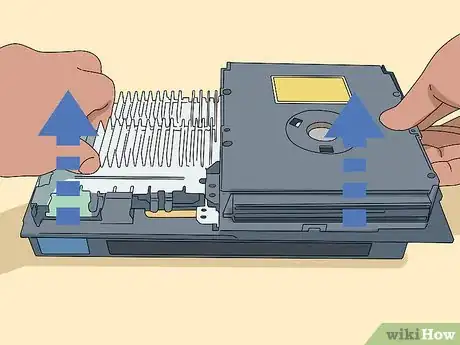
8Carefully flip the entire unit over once again. There will be many loose components, including the DVD drive and the other parts you just unscrewed. You may now remove the lower portion of the PlayStation 2.[5]
-
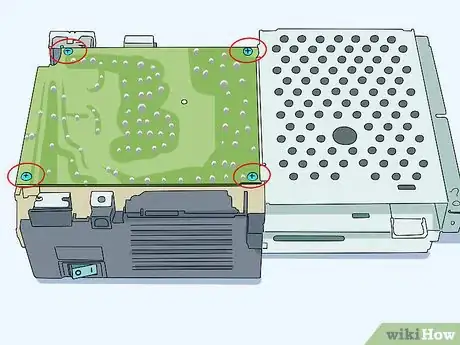
9Remove the four screws securing the power supply unit. The PSU is also plugged into the mainboard by a long 4 pin plug, so a small amount of force is required to remove the board. You may also remove the 2 pin power connector which wraps around the side of the board and attaches to the fan assembly. Preferably, set the PSU on a clean sheet of paper so that it will not get any conductive residue on it. It is also now possible to remove the metal hard drive cage. If desired, you may remove the controller port from its ZIF (Zero Insertion Force) socket. Gently flip up the long brown cover on the board-side socket with a small flat tool, then lift out the wire.
-
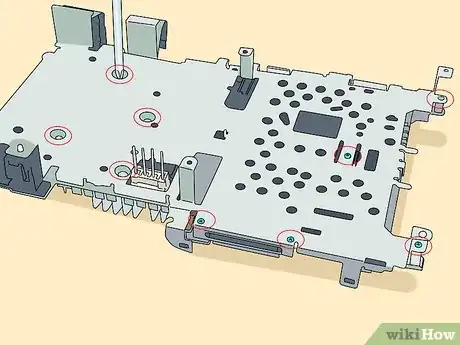
10Carefully remove the screws securing the metal shield to the mainboard. Set it aside so it will not get bent or misshapen.
-
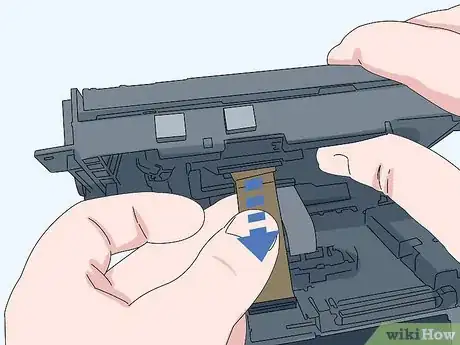
11Remove the small wires which connect the DVD drive and the eject button assembly to the sides of the mainboard. Label which plug goes to which socket. Depending on your version, the wires may either be plug-in, ZIF, or a mix of both types. If there are blue pieces of transparent plastic attached to the wires, then your wires can be simply pulled out.
-
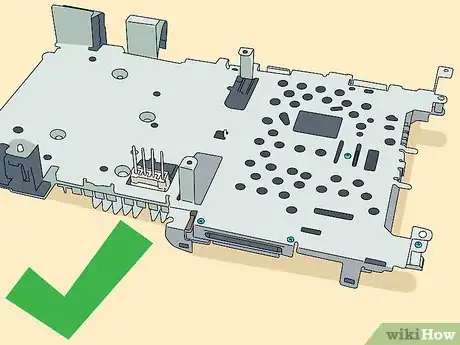
12Your PS2 should now be completely accessible, however, BE VERY CAREFUL when shifting components, as each model of PS2 is different, and there may be further wires or screws attaching other components.
-
13Finished.
Advertisement
Warnings
- Do not turn on your PS2 while it is disassembled.⧼thumbs_response⧽
- There are more than 14 different versions of the PS2, each with a slightly different configuration. Though this guide is meant to be generalized, there may be variations in your model which are not covered here.⧼thumbs_response⧽
- Be sure your PS2 is unplugged and turned off before beginning work. Capacitors on the PSU can hold a charge for a few minutes, make sure that the red standby light is out before continuing.⧼thumbs_response⧽
- Your warranty will be voided when you remove the cover. You may not be able to RMA, return, or even sell your PlayStation 2 after opening it. Proceed at your own risk.⧼thumbs_response⧽
Advertisement
Things You'll Need
- Philips #2 screwdriver
- Philips #00 screwdriver
- Flathead #0 screwdriver, or other small flat object (optional, yet indispensable)
- Tweezers (optional)
References
About This Article
Advertisement


-Step-15.webp)


