This article was co-authored by wikiHow staff writer, Nicole Levine, MFA. Nicole Levine is a Technology Writer and Editor for wikiHow. She has more than 20 years of experience creating technical documentation and leading support teams at major web hosting and software companies. Nicole also holds an MFA in Creative Writing from Portland State University and teaches composition, fiction-writing, and zine-making at various institutions.
The wikiHow Tech Team also followed the article's instructions and verified that they work.
This article has been viewed 36,481 times.
Learn more...
If your old canceled subscriptions still show up in your Apple ID subscription list, you're not alone. As you may have noticed, even after your subscription expires, you'll still see its details when you view your Apple subscriptions on your iPhone, iPad, and Mac. While there's no way to remove expired subscriptions from history, you can rest assured that you'll no longer be billed for any subscriptions you've canceled. This wikiHow article will help you clean up your iCloud or iTunes subscription list and help you cancel any subscriptions you no longer need.
Things You Should Know
- You can't delete expired subscriptions from your iPhone or iPad, but they'll automatically disappear after a year.
- If you don't want to wait an entire year, you can create a new Apple ID to use on your iPhone.
- Check your Active and Inactive subscriptions to make sure you're not still subscribed to services you no longer need.
Steps
Viewing & Canceling Subscriptions
-
1Open the Settings app on your iPhone or iPad. It's the gray gear icon on your Home screen or in your App Library.
-
2Tap your name. You'll see it at the top of the menu.
-
3Tap Subscriptions. It's the 4th option from the top.
-
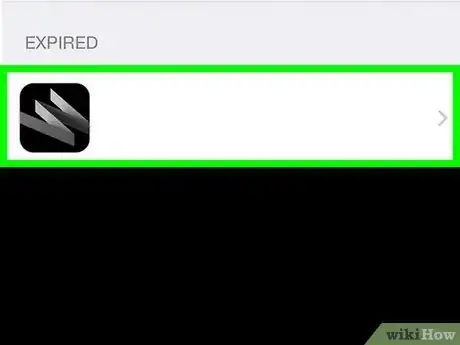
4Find your expired subscriptions under "INACTIVE."
- The first section, ACTIVE, contains all subscriptions that are still in effect. Tap any of the subscriptions to see billing information, including your next billing date, the amount you'll be billed, alternatives to your current subscription, and the option to cancel.
- The second section, INACTIVE, displays subscriptions that you'll no longer be billed for. These subscriptions will be automatically removed 365 days after the expiration date listed below each subscription.
-
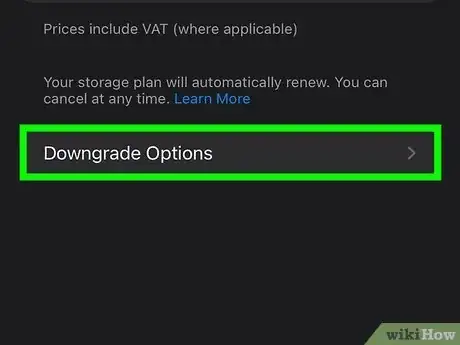
5Cancel any unneeded subscriptions. If you see a subscription in the ACTIVE section that you no longer want, cancelling the subscription is easy—just tap the subscription, select Cancel Subscription, and follow the on-screen instructions. [1]
- If you don't see the option to cancel, you've already canceled the subscription and it hasn't yet expired.
-
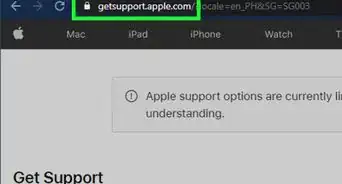
6Request a refund for unauthorized subscriptions (if needed). If you're being billed for a subscription you did not sign up for, you can request a refund from Apple.[2] To do so:
- Go to https://reportaproblem.apple.com in your web browser.
- Choose Request a refund.
- Select your reason and tap Next.
- Select the subscription and tap Next.
- Follow the on-screen instructions to complete your request. You can check the status of your request by returning to https://reportaproblem.apple.com and tapping Check Status of Claims.


