This article was co-authored by Karen Parziale and by wikiHow staff writer, Hunter Rising. Karen Parziale is a Home Stager, Home Organizer, and the Founder of The Real Estate Staging Studio based in Hoboken, New Jersey. Karen has over 15 years of home staging and decorating experience and has staged over 5,000 homes. She specializes in project management, space planning, material selections, and builder, architect, and client relationships.
There are 8 references cited in this article, which can be found at the bottom of the page.
This article has been viewed 80,456 times.
Making a collage is a great way to decorate an empty wall since you can incorporate different media and images into a single cohesive piece. You can use your collage to display your interests, people you care about, or just images you enjoy. After selecting what you want in your collage, all you need to do is plan it out and hang it on the wall. When you’re finished, you’ll have creative wall art that’s unique to you!
Steps
Choosing What to Hang
-
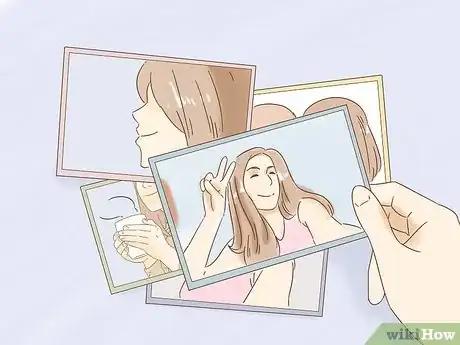
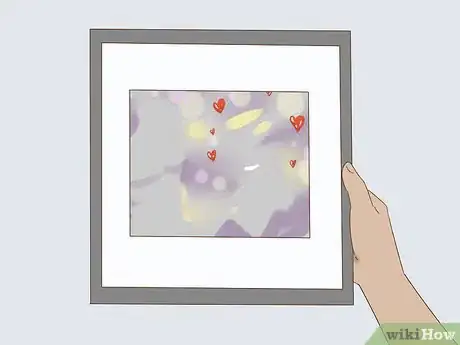
1Get photos to display if you want to make your collage more personal. Get prints of your photos either with a photo printer at home or by going to a store that can print them for you. Choose as many or as few photos as you want to add to your collage. Sort your photos by color so you can plan the main tones in your collage.
- Pick a theme for the photos you select. For example, you may choose family portraits, pictures of you with friends, or photos of a vacation that you took.
-
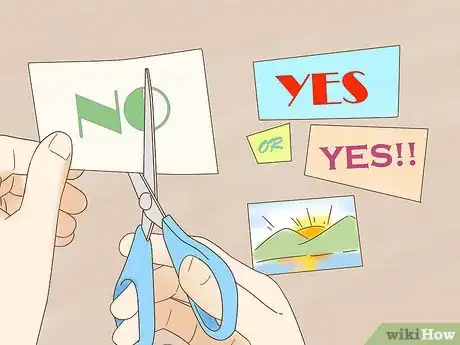
2Cut out pictures and words from magazines to make a stylish collage. Pick a few issues each of magazines that you enjoy and page through them. Use a pair of scissors to cut out any images or text you like and want to incorporate into your collage. Try cutting out different shapes to make the images and text pop more in your collage. Keep collecting as many images as you want from the magazines.[1]
- You can tear images straight out if you’re going to frame them or cover the torn edges with a border.
- Cutting images out of a magazine is a great way to make an inspiration collage for things such as fashion or home design.
Tip: Keep a wastebasket nearby since you’ll be making a lot of paper scraps.
Advertisement -
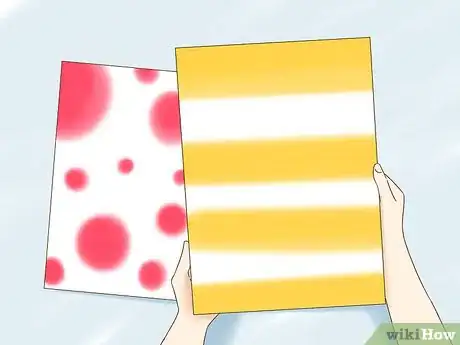
3Get art prints and posters if you want to add large pieces to your collage. Art prints and posters cover a lot of surface area and work great as a background for your collage. Look for prints that match the other decorations in your room so the colors don’t clash with one another. You can include as many or as few posters or prints as you want for your collage.[2]
- You can buy art prints and posters online.
- If you have multiple large prints and posters, you may have to overlap them on your wall. Make sure you aren’t covering any designs that you want displayed.
- If you're an artistic or creative person, consider making your own art prints to customize the space even more.
-
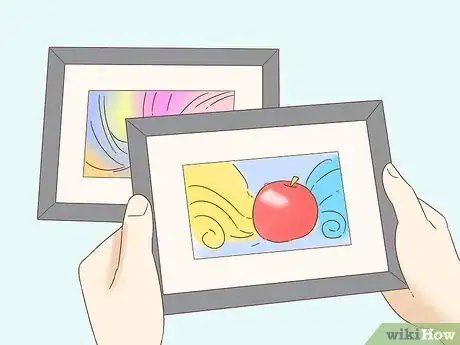
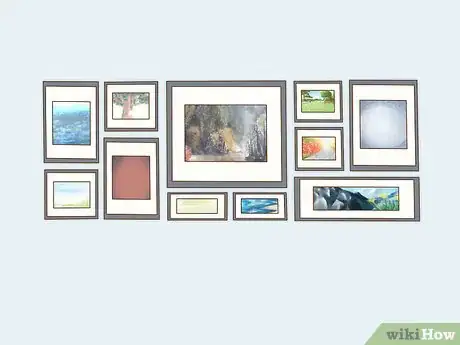
4Include framed items in your collage if you want to create your own gallery wall. Framing the items in your collage can make certain pieces stand out and add a point that draws your focus. Get frames that match or are complementary to one another so your collage looks cohesive on your wall. Try using frames that have different shapes to create more visual interest.
- You won’t be able to overlap framed pieces like you would with photo prints or magazine cutouts.
Planning the Collage Layout
-
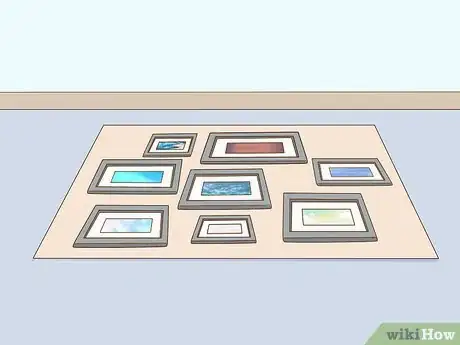
1Organize your collage on the floor to get an idea of what it looks like. Once you have all of the items you want to collage ready, clear a floor space that’s the same size as your wall. Arrange all of your collage elements how you want them on the wall. Keep moving the collage elements around to experiment with different designs.
- Take pictures of each design you lay out so you don’t forget what it looks like while you hang your collage.
Tip: Put a layer of butcher paper on your floor before laying out your collage elements. When you’re happy with a design, trace the collage elements and cut them out. Test putting the butcher paper cutouts on your wall with tape to see how your design looks when it’s hung up.
-
2Choose 1 thing in your collage for the focal point. A focal point helps draw your eye to your collage and it’s usually the main focus of your collage. Pick a photo or poster that has a bright color, or choose a cutout word that relates to the rest of your collage. Put the focal point near the center of your collage so it stands out.[3]
- For example, you may have a printout of the word “FAMILY” and surround it with portraits of your family members.
- Pick items that are similarly colored if you want to make your collage more uniform.
-
3Make a rectangular shape if you want your collage organized. Line the elements of your collage next to one another to make a rectangular collage. Set the edges of photographs next to one another or leave about 1⁄2 in (1.3 cm) between them to stay organized.[4]
- This method works great for pictures or posters that are all the same size.
-
4Overlap items in your collage for a more eclectic look. Combine elements of your collage by gluing photos and cutouts together to make interesting overlaps. Try covering sharp corners on photos or posters with smaller cutouts to make the collage flow naturally. Combine different parts of images, such as a picture of a head with a different picture of someone else’s body, to add creativity to your wall art.[5]
- Overlapping works best for photos and magazine cutouts.
- Your collage may make your wall look cluttered or messy. Make sure it’s not too visually busy or else it will be hard to look at.
-
5Form a cloud shape if you want the option to add more to your collage. Don’t let the outer edges of your collage form a straight line. Instead, vary how the collage elements are lined up to create more visual interest. When you want to add more things to your collage, you can easily put the new elements around the outside. That way, your collage can grow when you have new photos or posters to incorporate.[6]
- Make sure your focal point stays near the middle of the collage.
- Aim to keep each photo about 3 in (7.6 cm) apart, so the collage doesn’t look too cluttered.
Putting up Your Collage
-
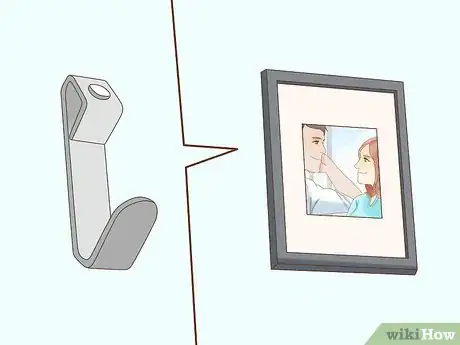
1Use nails or picture hooks if you’re putting up framed photos. Use a pencil to mark the spot on your wall where you want to hang your pictures. Drive a nail or place a hook on the spot so it hangs about 1⁄4 in (0.64 cm) from the wall. Set your picture frame on the nail or hook so it isn’t crooked. Keep hanging up the rest of your photos.[7]
- Some picture hooks have adhesive backs so you don’t have to put holes in your wall.
- You can nail in unframed photos or posters, but they will leave small holes in your prints.
Tip: Put your photos at eye level on your wall so others can easily see them.
-
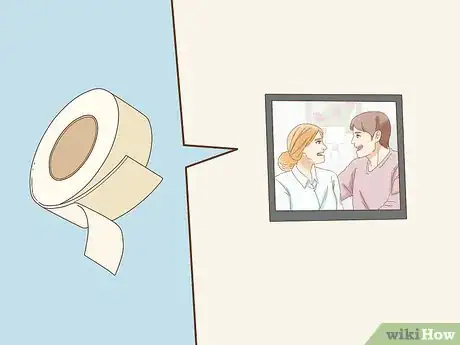
2Try double-sided tape for unframed pictures and posters. Peel the tape off of the dispenser and stick it in the corners of your photos or posters. Then, press the print onto the wall and rub the corners to ensure the tape gets a good hold. Make sure there are no creases or bends when you hang up the print.[8]
- If the print bows away from the wall, put another piece of tape in the center of the print.
- Double-sided tape may not stick as well to textured walls.
-
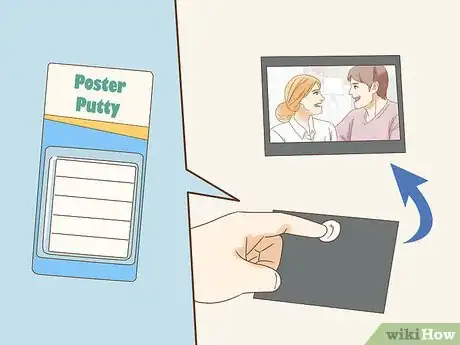
3Stick your collage up with poster putty if tape doesn’t work. Poster putty is a reusable adhesive that works on flat or textured walls. Roll a small ball of poster putty between your fingers before pressing it in the corners of your prints. Hold the print up to your wall and secure the top 2 corners first. Smooth the rest of the print out before pressing on the bottom corners.[9]
- If the print starts falling off the wall, press another piece of poster putty near the center of the print.
-
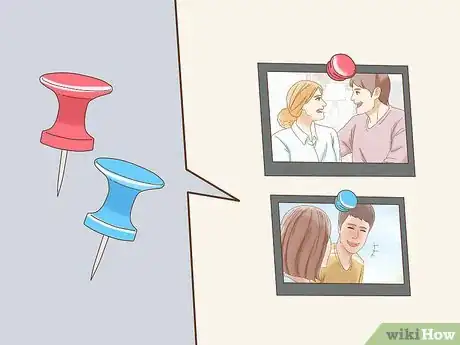
4Use push pins if you want to add a colorful pop to your collage. Choose pins that are complementary colors to your prints. Hold the print up against your wall and push one of the pins through the top corner. Make sure your print is level if you want a straight edge before putting another pin in the other top corner.[10]
- You can also use clear push pins if you don’t want them visible.
- Push pins will leave small holes in your wall.
Community Q&A
Did you know you can get answers researched by wikiHow Staff?
Unlock staff-researched answers by supporting wikiHow
-
QuestionHow can I make a collage on a wall with a textured surface?
 wikiHow Staff EditorThis answer was written by one of our trained team of researchers who validated it for accuracy and comprehensiveness.
Staff Answer wikiHow Staff EditorStaff Answer
 -
QuestionWhat should I use to hang loose photo prints on my wall? Tape or sticky tack?
 Community AnswerSticky tack is best, because if you use tape and try to remove it, it might tear and rip.
 -
QuestionCan I just put pictures or can I use other materials?
 Community AnswerIt's up to you. For example, if you are working with a nature theme, you could add dried leaves and flowers to your work.
Things You’ll Need
- Pictures
- Picture frames
- Notes and letters
- Magazines
- Scissors
- Art prints
- Glue
- Nails or picture hooks
- Double-sided tape
- Poster putty
- Push pins
References
- ↑ https://youtu.be/zd_UTX0qxSo?t=13
- ↑ https://www.apartmenttherapy.com/how-to-create-a-gallery-wall-on-a-budget-188537
- ↑ https://thevirtualinstructor.com/how-to-create-focal-points.html
- ↑ https://www.trendir.com/photo-wall-collage-without-frames-diy-layout-ideas/
- ↑ https://www.trendir.com/photo-wall-collage-without-frames-diy-layout-ideas/
- ↑ https://www.trendir.com/photo-wall-collage-without-frames-diy-layout-ideas/
- ↑ https://youtu.be/_ugKARUatkM?t=39
- ↑ https://youtu.be/lMd9WKkgomY?t=9s
- ↑ https://multimedia.3m.com/mws/media/939436O/scotch-r-removable-mounting-putty-instructions.pdf
