wikiHow is a “wiki,” similar to Wikipedia, which means that many of our articles are co-written by multiple authors. To create this article, 9 people, some anonymous, worked to edit and improve it over time.
This article has been viewed 224,199 times.
Learn more...
VMware Workstation is very useful software, using in developing and testing a system which run in a real network. I will give you an example, showing how to create sophisticated virtual networks in VMware Workstation ,which can be used to test database server system. In this example, a database server connects through a firewall to an external network. An Administrator’s computer connects to the database server through a second firewall. The virtual network shows you as the following:
Four virtual machines will be created and the virtual machine settings editor will be used to adjust the settings for their virtual network adapters. The bridged adapter make virtual machine1 worked in bridged networking so that the virtual machine can connect to an external network by using the host computer’s network adapter. The Custom adapter should be added in making virtual machine1 to make virtual machine1 connect VMnet2.The adapter should also be changed to be added Custom adapter which makes virtual machine2 to make virtual machine1 connect VMnet2.The virtual machine3 should have two Custom adapters. One of them is for connecting VMnet2 and the other of them is for connecting VMnet3. The virtual machine4 only need one Custom adapter for connecting VMnet4.The IP address of each adapter need to be set correctly to make the virtual networks work perfectly!
Steps
-
1Open Virtual Machine1 by click it in the left window, but do not power it on.
-
2Choose VM > Settings.Advertisement
-
3On the Hardware tab, click Network Adapter.
-
4Select bridge as the network type to use.
-
5Click OK.
-
6Choose VM > Settings.
-
7On the Hardware tab, click Add.
-
8Select Network Adapter and click Next.
-
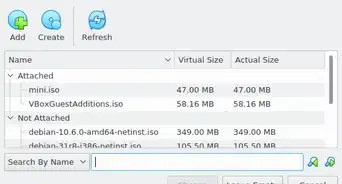
9select Custom, choose the VMnet2 network to use from the drop‐down menu.
-
10Click Finish.
-
11Open Virtual Machine2 by click it in the left window, but do not power it on.
-
12On the Hardware tab, click Network Adapter.
-
13In the right windows,select Custom and choose the VMnet2 network to use from the drop‐down menu.
-
14Open Virtual Machine3 by click it in the left window, but do not power it on.
-
15On the Hardware tab, click Network Adapter.
-
16In the right windows,select Custom and choose the VMnet2 network to use from the drop‐down menu.
-
17Use the virtual machine settings editor to add a second virtual network adapter.
-
18Connect the second adapter to Custom (VMnet3).
-
19Open virtual machine 4 by click it in the left window, but do not power it on.
-
20Use the virtual machine settings editor to add a virtual network adapter.
-
21Connect the adapter to Custom (VMnet3).
-
22Choose Edit > Virtual Network Editor.
-
23On the Virtual Network Editor dialog box, click Add Network.
-
24On the Add a Virtual Network dialog box, choose the VMnet2 network to add from the drop‐down menu.
-
25Click OK.
-
26Add VMnet3
-
27Click DHCP Setting, check the the range of IP addresses for VMnet2 and VMnet2 in the DHCP settings dialog box.
-
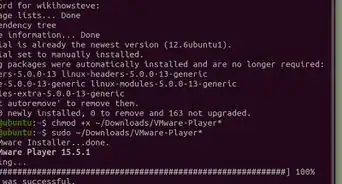
28Power on the four virtual machines
-
29Open the firewall in virtual machine1 and virtual machine 3 but close the others.
-
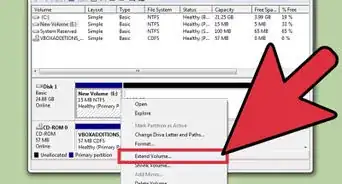
30set IP address for the adapters in Virtual Machine1 by keeping the default settings for the bridged network adapter and assigning IP address for the adapter connect to VMnet2 in the range you are using with VMnet2
-
31set IP address for the two adapters in Virtual Machine2 by assigning IP address for the adapter connect to VMnet2 in the range you are using with VMnet2
-
32set IP address for the adapter in Virtual Machine3 by assigning IP address for the adapter connect to VMnet2 in the range you are using with VMnet2 and IP address for the adapter connect to VMnet3 in the range you are using with VMnet3
-
33set IP address for the adapter in Virtual Machine4 by assigning IP address for the adapter connect to VMnet3 in the range you are using with VMnet3


Warnings
- Subnet VMnet2 and VMnet3 should be add in the list of Virtual Network dialog box, or the connection will be failed.⧼thumbs_response⧽