X
wikiHow is a “wiki,” similar to Wikipedia, which means that many of our articles are co-written by multiple authors. To create this article, 10 people, some anonymous, worked to edit and improve it over time.
This article has been viewed 57,498 times.
Learn more...
This article will teach you how to build a garden sculpture using a Styrofoam form, which is then covered with a concrete shell.
Steps
-
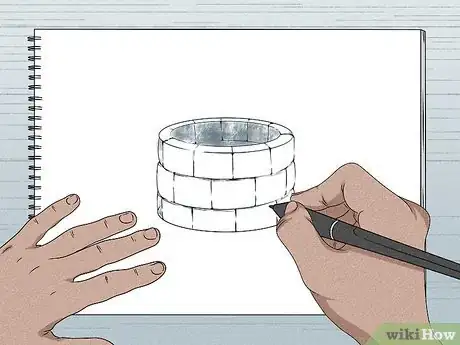
1Plan your project. Be as detailed or vague as you want. Try sketching the sculpture on paper or just let it emerge naturally and organically. Don't be too invested in the outcome, though, because the finished sculpture can be very different from the original idea.
-
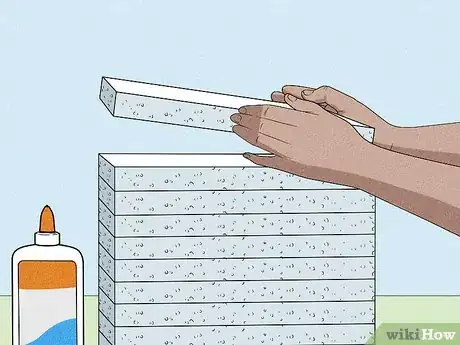
2Buy or build a styrofoam base. Buy a large block of sculpting foam (from a craft shop) or, alternatively, build up the base using pieces of recycled styrofoam that you glue and pin together as described below.
- Join the pieces. Use PVA glue (polyvinyl acetate) or Liquid Nails® together with bamboo skewers and fencing wire. Make sure to use a water based glue because other solvents will probably dissolve the styrofoam. Test your glue before proceeding.
Advertisement -
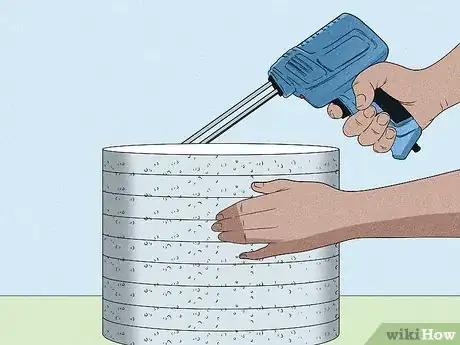
3Carve the foam. Make sure that the glue has dried and the base is stable before you carve. Remove any skewers and wire. Note that the styrofoam will be covered by 5 cm (2") or so of concrete, so try not to carve too much detail-- it will most likely be lost.There are two main ways of carving foam-- heated carver and sharp knife:
- The heated carver will give off toxic fumes so please make sure you are in a well ventilated area.
- The sharp knife (or box cutter) will make an enormous mess, so be prepared to sweep and vacuum.
-
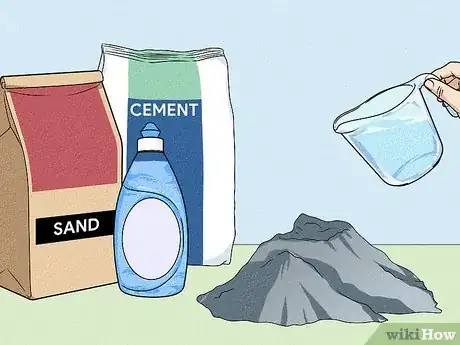
4Prepare the concrete mixture. Mix the concrete and sand in a 1:1 ratio-- one part cement to one part sand (by volume). Add a generous squirt of dishwashing detergent. (This will make the concrete sticky.) Add water until you have the consistency of mud pies-- a ball will flatten in your hand but not drip through your fingers.
-
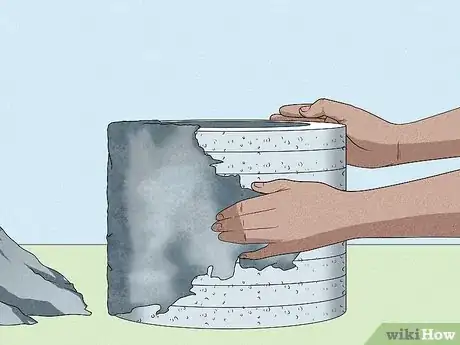
5Coat the form with concrete. Take handfuls of the mixture and pat it gently on to the foam base. This may take a little practise, but you will soon get the feel of it.
-
6Work quickly. After an hour or so, the concrete mixture will start to set and become unworkable.
-
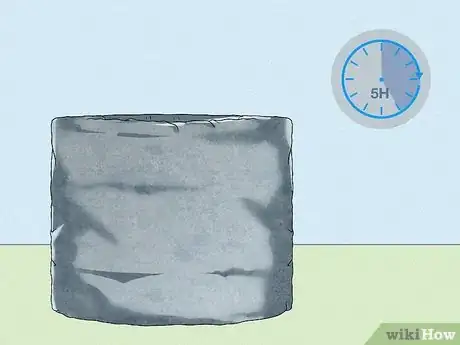
7Allow each layer to set for at least five hours. Make sure that the sculpture is out of direct sunlight. (Perhaps you could fashion an umbrella shade or hang a shade cloth.) Keep the emerging sculpture moist by squirting with water every hour or so, more often if the weather is hot and dry. This will help the cement cure uniformly and will minimize cracking.
-
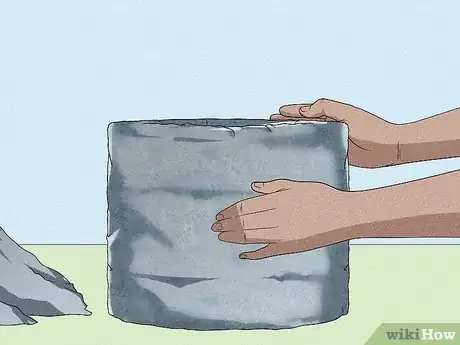
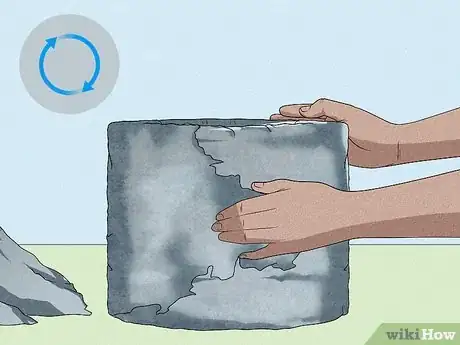
8Apply additional layers. The concrete will stick better if the previous layer is wet, so use a squirt bottle to moisten each section as you go. You can add commercially available oxides (for colour) to the concrete used for the final coat. As you apply the final layer you can also add little features and details. Objects such as tiles, rocks and marbles can be pressed into the final coat before it sets.
-
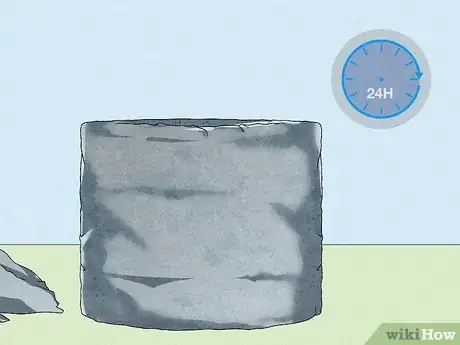
9Wait for the sculpture to cure out completely. Allow at least 24 hours and make sure to keep it moist.
-
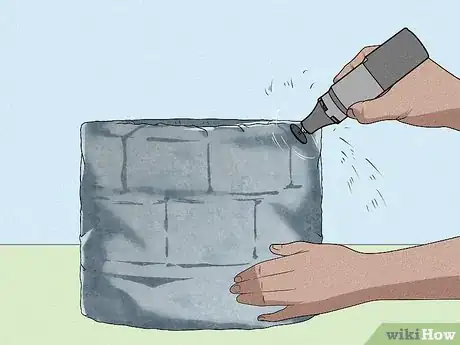
10Add finishing touches. After the sculpture has fully cured, you can further shape it and add detail with a high-speed rotary tool. Make sure that you do not go through the colored layer. (Or have a backup plan just in case you do.) Optionally, the sculpture can either be painted with exterior paint or sealed with clear polyurethane.
-
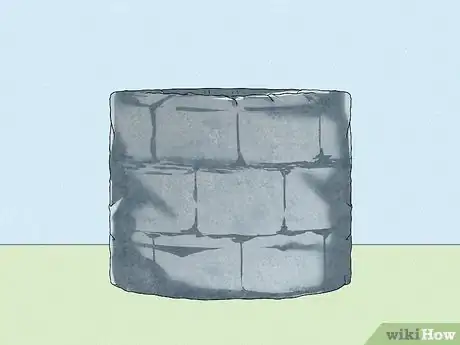
11Finished.
Advertisement
Warnings
- The sculpture will be heavier than you expect, lift with help or create it in place.⧼thumbs_response⧽
- Use a dust mask when mixing cement.⧼thumbs_response⧽
- Always wear gloves when handling the concrete.⧼thumbs_response⧽
Advertisement
Things You'll Need
- Styrofoam
- Joining materials (if you cobble the base together)
- Styrofoam cutting tools
- Dry cement (powder)
- Sand
- Dish washing liquid
- Spray bottle filled with water
- Ornamentation (optional)
- High speed rotary drill and bits (optional)
- Exterior grade paint or polyurethane (optional)
About This Article
Advertisement
