wikiHow is a “wiki,” similar to Wikipedia, which means that many of our articles are co-written by multiple authors. To create this article, 16 people, some anonymous, worked to edit and improve it over time.
There are 10 references cited in this article, which can be found at the bottom of the page.
The wikiHow Tech Team also followed the article's instructions and verified that they work.
This article has been viewed 144,195 times.
Learn more...
Clouds are a prominent aerial feature, both under the daylight sun and in the silvered light of the moon. Adding clouds to your Photoshop illustration can add depth, a sense of majesty, and can even influence the ambiance of a scene. Even if you don't have a steady hand when it comes to drawing these atmospheric puffs, Photoshop tools can help you accomplish this goal in no time.
Steps
Rendering Clouds
-
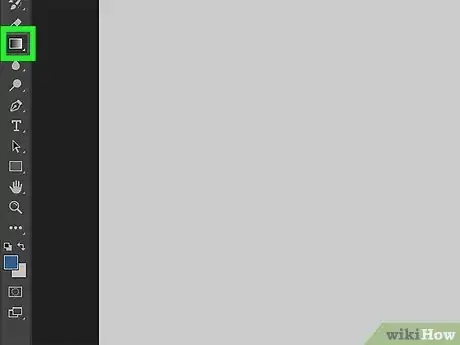
1Create a new document in any size and apply a gradient. Any size will do, but you likely won't need more than a 1500x1500 pixel area to work with. Gradient controls are represented by an icon shaped like a box with color fading from black to white. Click this and apply a gradient of your choosing.
-
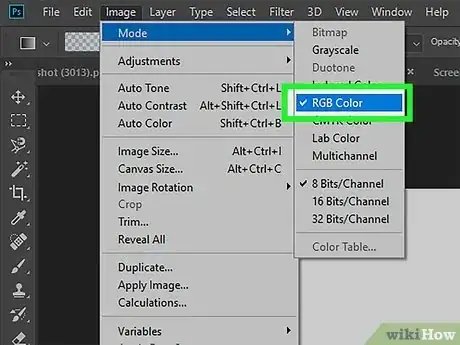
2Set your resolution and the color mode to RGB. Resolution is a matter of preference, but a closer view will allow for greater precision. To change your color mode to RGB, click on "Image" from your menu bar, and "Modes" from the submenu. Here you should be able to choose your desired color mode.[1]Advertisement
-
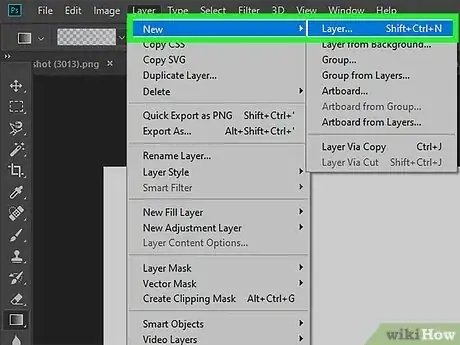
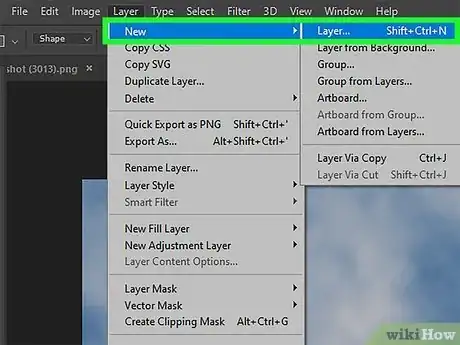
3Create a new layer. Apply a gradient to your new layer by using your gradient tool again. This time, use the gradient editor and select two variations of blue such as midnight blue and royal blue or dark blue and sky blue to be applied to your new layer.
- New layers can be created or adjusted through the Layers Panel, accessible from the submenu under the "Windows" heading on your main menu bar, or through the hotkeys Ctrl+⇧ Shift+N.[2]
- Take care to keep the topmost part of your layer the part with the darker blue.
-
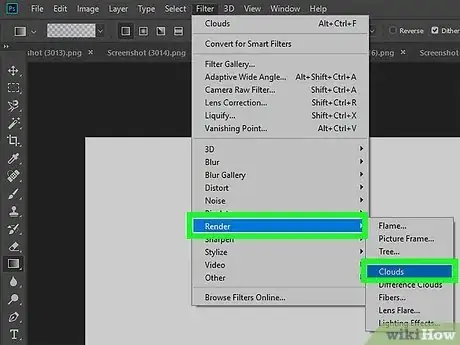
4Render your clouds. Now that you've got your colors and layers ready, you can have Photoshop render clouds. From the main menu bar, click through: Filter → Render → Clouds. This will create your clouds.
-
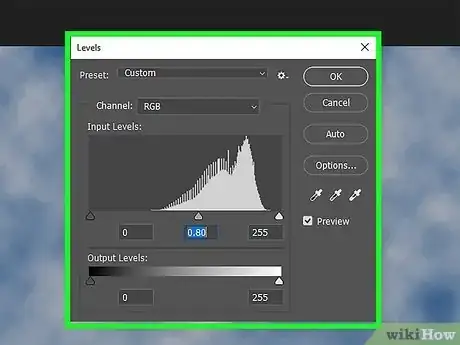
5Adjust the cloud levels. Type in the shortcut Ctrl+L to make the Levels dialog box to appear. Here you should change the levels of the clouds by adjusting each of the three of the arrows evenly through the middle of the distribution.
-
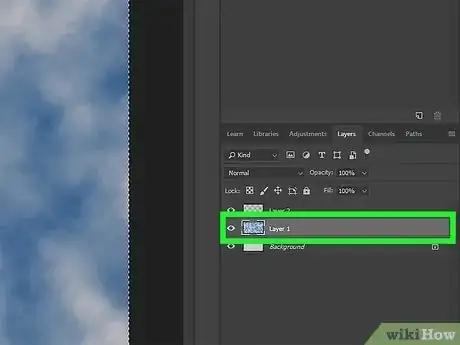
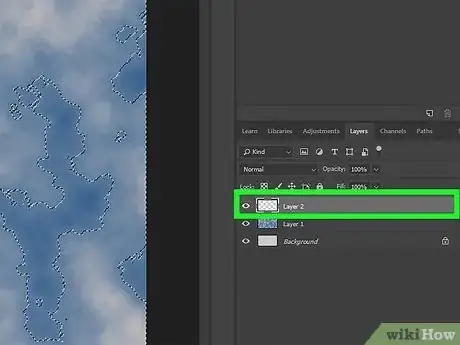
6Create another new layer. This will be the landing zone for the component parts of your cloud layer. Once you have your blank layer taken care of, return to your cloud layer.
-
7Select all the components of your cloud layer. Click on the thumbnail of your cloud layer to select all its parts, or you can use the shortcut Ctrl+A. Then right click and select "copy" to add it to your clipboard, or use the shortcut Ctrl+C.
- Mac users can select all by pressing ⌘ Cmd+A and can quickly copy by pressing ⌘ Cmd+C.[3]
-
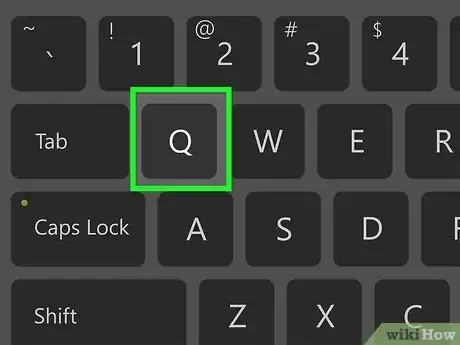
8Enable the Quick Mask Mode. This mode is best suited for quick editing, and is used to add or subtract from your image to make a "mask," like a digital stencil. Click on the new layer and then type Q on your keyboard to open Quick Mask Mode.[4]
-
9Paste the components in your new layer. Speed this process by pressing Ctrl+V to paste in Windows or ⌘ Cmd+V to paste on Mac. After you have added the components of your cloud layer, you can turn off Quick Mask Mode by clicking the layer thumbnail and again pressing Q.
-
10Fill in lines created in Quick Mask Mode. Quick Mask Mode acts similarly to a stencil, allowing you to add or subtract to unprotected areas of your image. Now that you've closed Quick Mask Mode, running lines will appear (sometimes referred to as marching ants). Fill these areas with white, or you can use the keyboard shortcut Ctrl+← Backspace to automatically fill the selected areas.
-
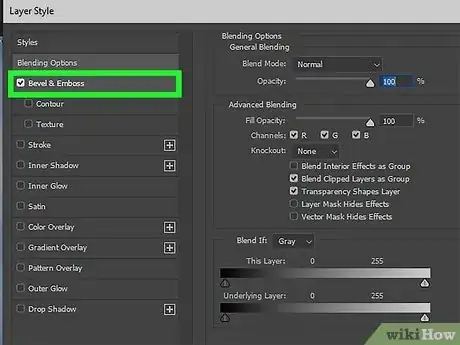
11Add an emboss effect. This can be applied as a filter to the layer by going to your blending options. On the main menu bar, select the "Filter" option, under which you should find "Emboss." Alter settings with regard to the accompanied illustration for the emboss effect, or you can play with the settings until you find an effect you like.
-
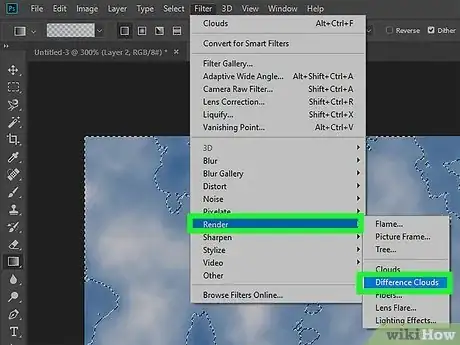
12Use other filters. One you might want to consider is called "Difference Clouds," which can add a more realistic touch to your clouds. Copy the cloud layer by clicking or pressing Ctrl+J. Apply the Difference Clouds Filter moving through the "Filter" heading on the main menu bar, to "Render", where you should find "Difference Clouds." Apply the Filter twice using these commands, or simply press Ctrl+F to apply your most recently used filter again.[5]
Creating a Cloud Brush
-
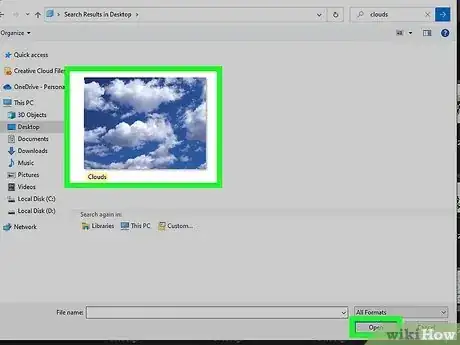
1Find a clear picture of clouds, or take one yourself. When making your custom brush, you will need to derive a black and white image of your cloud to make your custom brush, so try to find an image that will translate well to grayscale and open this image in Photoshop.[6]
-
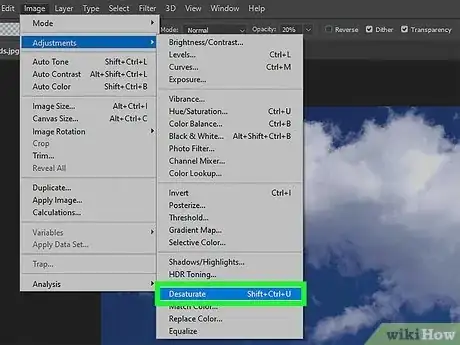
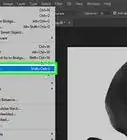
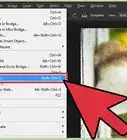
2Turn black and white with the "Desaturate" feature. This is one of several ways to quickly change your image from color to grayscale, and can be found under the "Image" heading on the menu bar. Under "Image," select "Desaturate" to convert your image.[7]
- Windows users can make use of the hotkeys: Ctrl+⇧ Shift+U
- Mac users can utilize the hotkeys: ⌘ Cmd+⇧ Shift+U
-
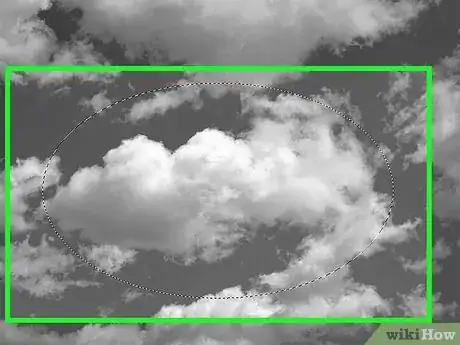
3Select your brush sample. Using the selection tool, chose a sample from your cloud image that you would like your brush to imitate. Be sure to limit your brush size to a maximum of 2500x2500 pixels, as this is the largest brush size.[8]
-
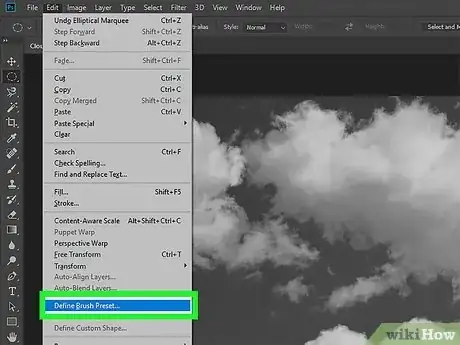
4Set your brush. Now that you have your brush sample in black and white and selected, click on "Edit" from the top menu bar and then choose "Define Brush Preset." This will prompt a dialogue box asking you to name your new brush.
-
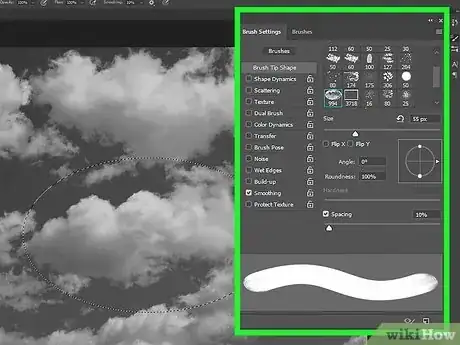
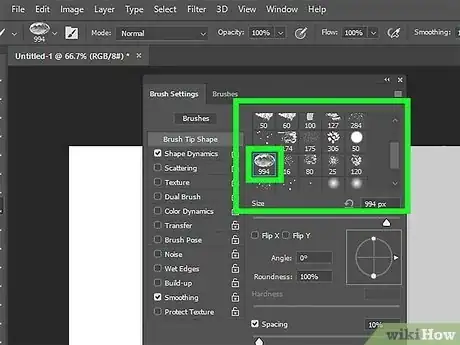
5Adjust settings as necessary. You can quickly open Brush Settings by pressing the F5 key. Opacity and size can be adjusted in brush settings, and these can give the illusion of variety to even repetitive brush patterns.
Downloading a Cloud Brush
-
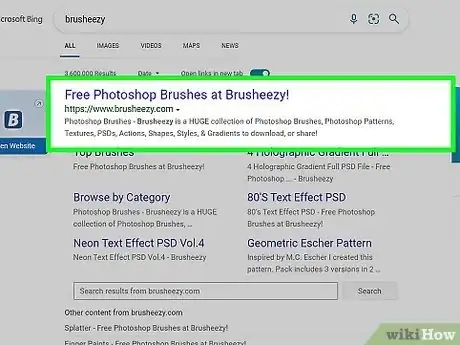
1Search online for Photoshop cloud brushes. There are many third party developed brushes, some of which may cost you money, but there are many free digital brushes available through artistic communities. Some free sites favored by the Photoshop community are:
- DeviantArt
- BrushKing
- Brusheezy[9]
-
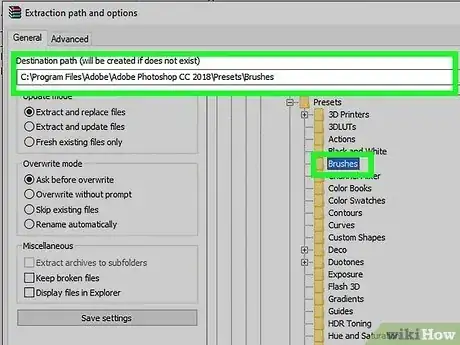
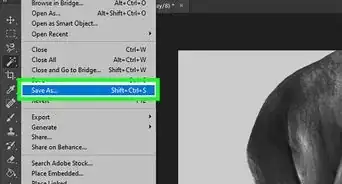
2Save your digital brush in Adobe's "Brushes" folder. You can save the file directly to this folder by routing through the following default Photoshop folders, saving your brush preset in the final folder: Photoshop → Presets → Brushes.
- Photoshop brushes utilize the file extension ".abr". In your brushes folder, you should find several presets ending in this file extension, and your downloaded digital brush should as well.[10]
-
3Decide on the cloud brush you like best. Think about the kind of clouds you will want in your scene. Each style of cloud brush will have different effect when used as a brush tool, so knowing effect you're looking for can speed this process.
-
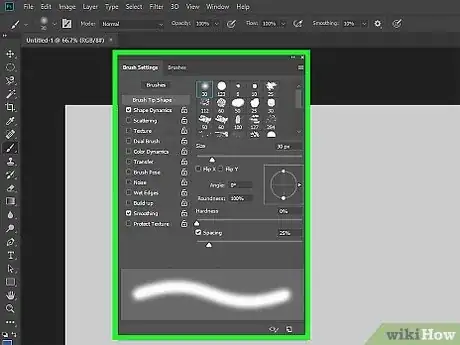
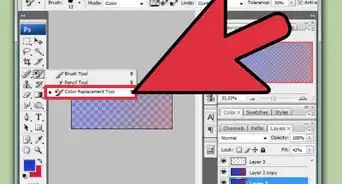
4Open Photoshop and navigate to the Brush Palette. Click on the Brush Tool to open the Options Palette, which is where you can see the settings for your brush. From the Options Palette you can access brush options and load your new digital paintbrush by clicking the downward pointing triangle to the right of the word "Brush."
-
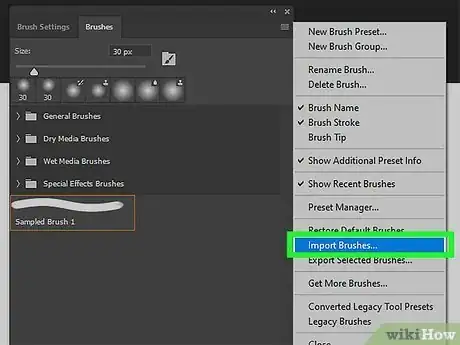
5Navigate to "Load Brushes" in the Brush Palette. You should see a variety of options in your Brush Palette, most notably a grid of default thicknesses for your brush tool. You can access more options through a drop-down menu by clicking the triangle in the upper right corner. From the listed options in that menu, choose "Load Brushes".[11]
-
6Select your brush from the directory and access it from the Brush Palette. Now that you've opened the file directory, you can find your way back to the "Brushes" folder where you've saved your downloaded digital brush. Select and confirm your new brush to load it to your presets.
References
- ↑ https://helpx.adobe.com/photoshop/using/converting-color-modes.html
- ↑ https://helpx.adobe.com/photoshop/using/layer-basics.html
- ↑ https://support.apple.com/en-us/HT201236
- ↑ https://helpx.adobe.com/photoshop/using/create-temporary-quick-mask.html
- ↑ https://helpx.adobe.com/photoshop/using/filter-basics.html
- ↑ https://helpx.adobe.com/photoshop/using/creating-modifying-brushes.html
- ↑ http://www.photoshopessentials.com/photo-editing/black-and-white/desaturate/
- ↑ https://helpx.adobe.com/photoshop/using/creating-modifying-brushes.html
- ↑ http://www.makeuseof.com/tag/6-sites-download-free-photoshop-brushes/
