This article was co-authored by Mobile Kangaroo and by wikiHow staff writer, Jack Lloyd. Mobile Kangaroo is a full service repair shop and Apple Authorized Service Provider headquartered in Mountain View, CA. Mobile Kangaroo has been repairing electronic devices such as computers, phones, and tablets, for over 19 years, with locations in over 20 cities.
The wikiHow Tech Team also followed the article's instructions and verified that they work.
This article has been viewed 397,517 times.
This wikiHow teaches you how to copy everything that's on your computer's hard drive onto a separate external or internal hard drive. You can do this by using either Todo for Windows or the built-in Disk Utility on Mac.
Steps
Preparing to Copy
-
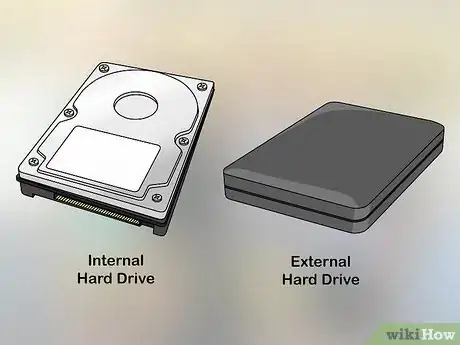
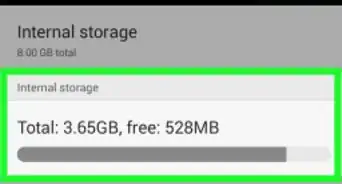
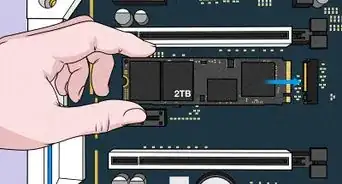
1Make sure that you have the new hard drive. Your new hard drive must be larger than the space that's currently occupied on the hard drive that you want to copy. If you're creating a clone of your hard drive, the new hard drive must be at least the same size. There are two types of hard drive to which you can copy your old hard drive's contents:
- Internal - A hard drive that sits inside of your computer's housing.
- External - A hard drive that connects to your computer via a USB cable. Most external hard drives will work on any computer, though in some cases you must format the hard drive before using it.
-
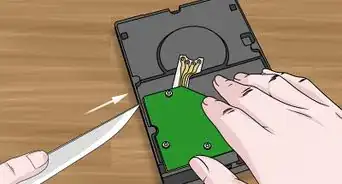
2Buy an adapter for your hard drive if necessary. If you're copying your hard drive's contents onto another internal drive, you'll need a USB adapter so that you can attach the new hard drive to your computer.
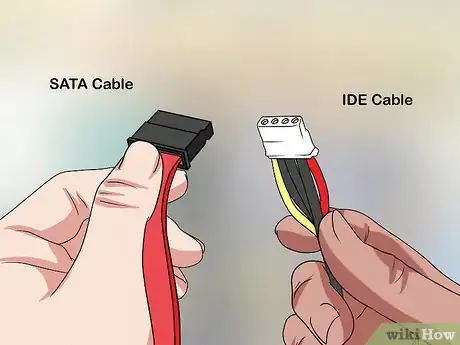
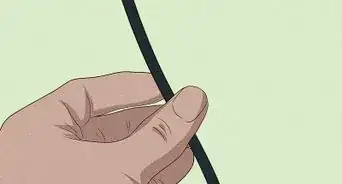
- There are two types of hard drive connections: SATA, which has a narrow cable attaching the connector to the drive, and IDE, which has a several-inch-wide cable attaching the connector to the drive.
- You can buy SATA-to-USB and IDE-to-USB adapters online or in tech department stores such as Best Buy.
- If you're using a Mac, make sure that you get a USB-C to SATA/IDE adapter rather than a USB 3.0 version, as Macs no longer have USB 3.0 ports.
EXPERT TIPMobile Kangaroo is a full service repair shop and Apple Authorized Service Provider headquartered in Mountain View, CA. Mobile Kangaroo has been repairing electronic devices such as computers, phones, and tablets, for over 19 years, with locations in over 20 cities.Computer & Phone Repair Specialists
 Mobile Kangaroo
Computer & Phone Repair SpecialistsMany PCs and Macs have SATA hard drives installed. The process involves removing the SATA drive and connecting it to another system using a SATA-to-USB adapter. You can easily copy your data to a new system through a file manager or, with Macs, through Migration Assistant.
Advertisement -
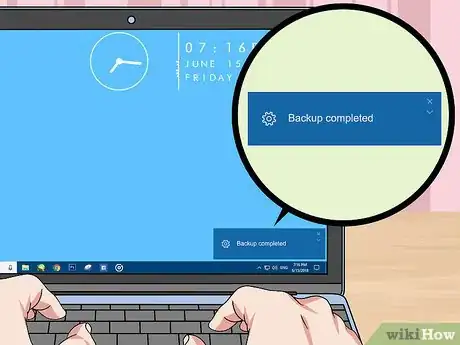
3Back up your computer. Creating a backup on a separate drive is optional, but recommended in case something goes wrong during the copying.
-
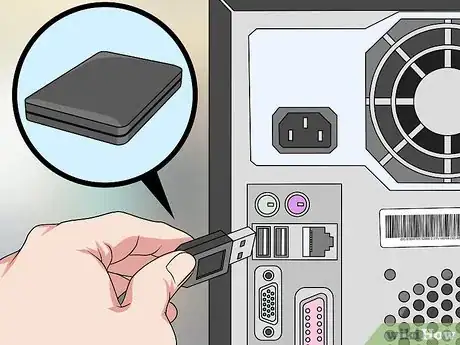
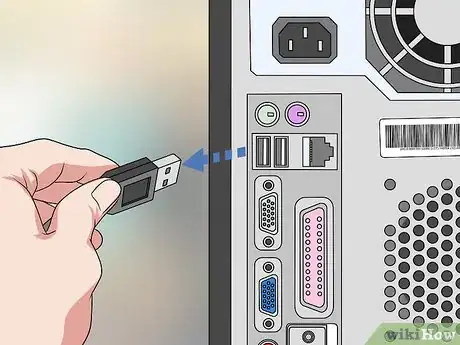
4Attach your hard drive to your computer. Plug the hard drive's USB cable into the computer's USB slot. If you're using an internal hard drive with an adapter, make sure that the hard drive is firmly connected to the adapter as well.
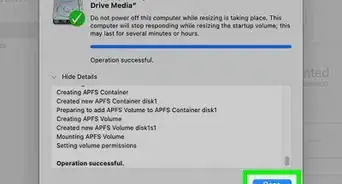
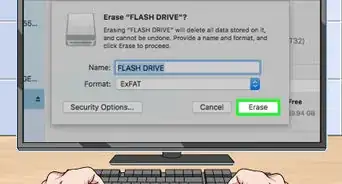
- If you're using an external hard drive on a Mac, you may need to format the drive before you can store your hard drive's contents on it.
Copying on Windows
-
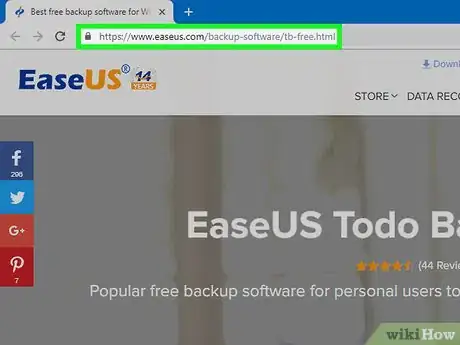
1Open the Todo website. Go to https://www.easeus.com/backup-software/tb-free.html in your browser.
-
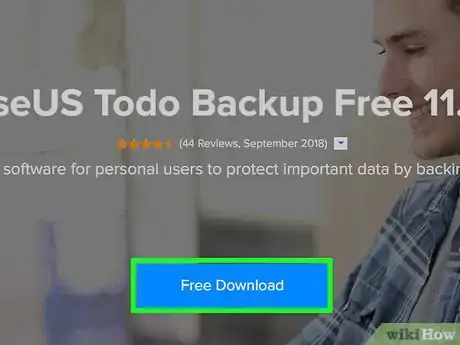
2Click DOWNLOAD NOW. It's a dark-blue button in the middle of the page.
-
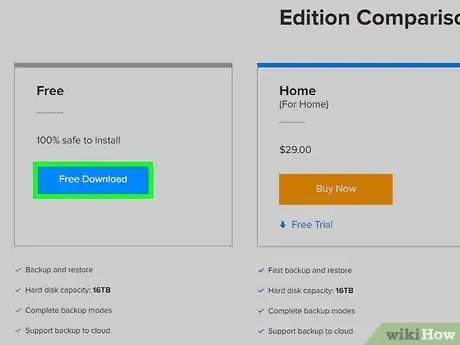
3Click Download. Do so below the "Free" heading. A pop-up window will appear.
-
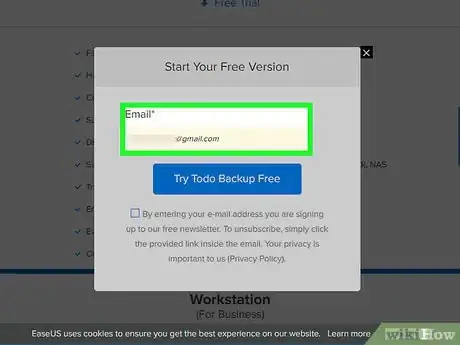
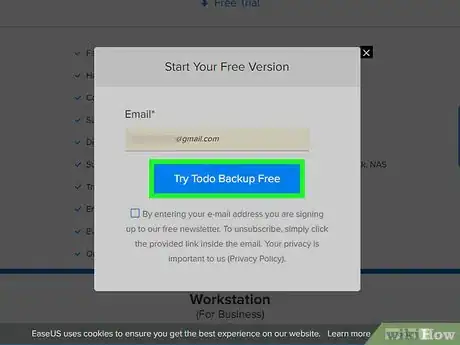
4Enter your email address and click SUBMIT. You'll do this in the pop-up window.
-
5Click the Download EaseUS Todo Backup Free link. It's at the top of the window. The EaseUS Todo setup file will begin downloading to your computer.
-
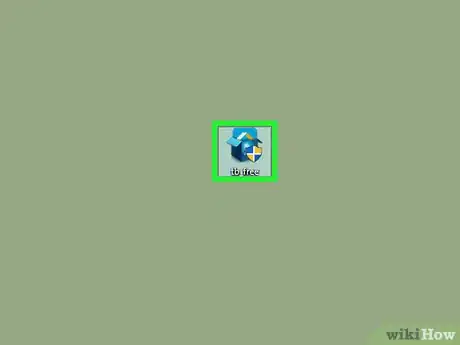
6Install Todo. Double-click the Todo setup file, then do the following:
- Click Yes when prompted.
- Select a language and click OK
- Click Next
- Click Accept
- Click Next
- Uncheck the "Join in the Customer Experience Improvement program" box and click Next
- Click Next
- Uncheck the "McAfee" box and click Next
-
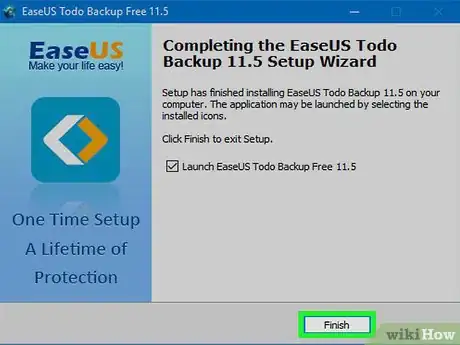
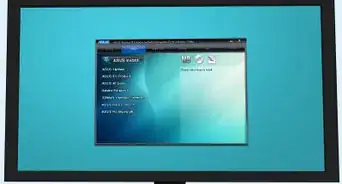
7Click Finish when prompted. This will complete the installation and launch Todo.
-
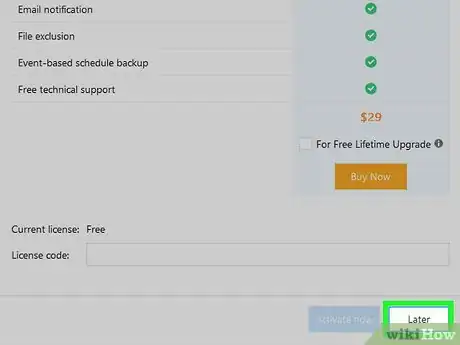
8Click Later when prompted. It's in the bottom-right corner of the window.
-
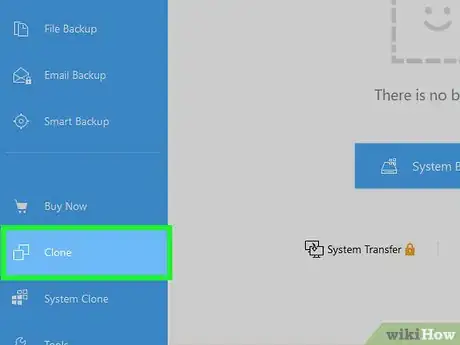
9Click the Clone tab. You'll find this at the top of the window.
-
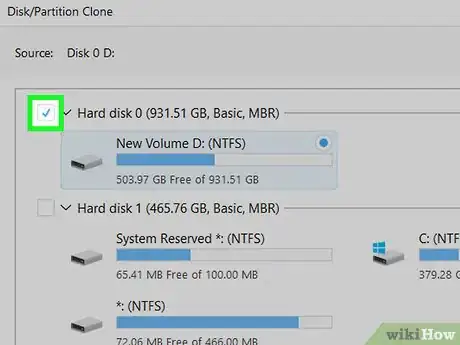
10Check the "Hard disk" box. It's in the upper-left corner of the window.
-
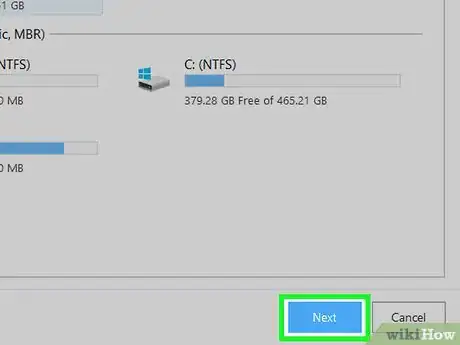
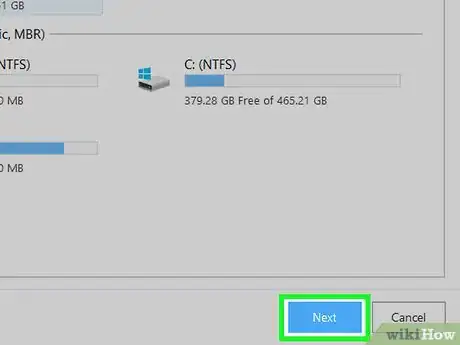
11Click Next. This is in the bottom-right corner of the window.
-
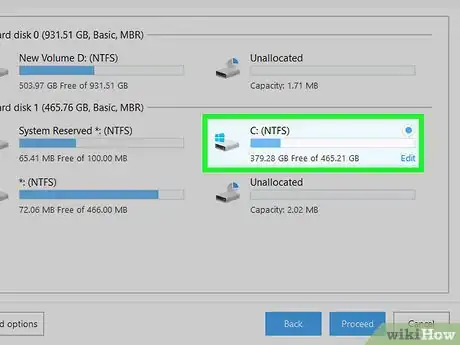
12Select your new hard drive. Scroll down and check the "Hard disk" box near the bottom of the window. This should be your attached hard drive.
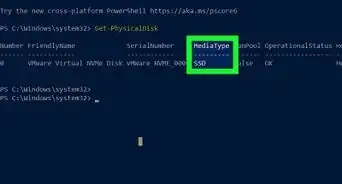
- If your new hard drive is a solid state drive (SSD), click Advanced options in the bottom-left corner and then click Optimize for SSD in the pop-up menu before proceeding.
-
13Click Next.
-
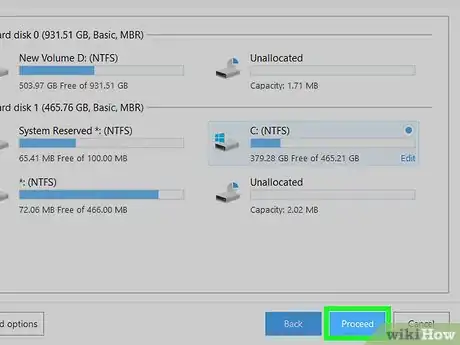
14Click Proceed. It's in the bottom-right corner of the window.
-
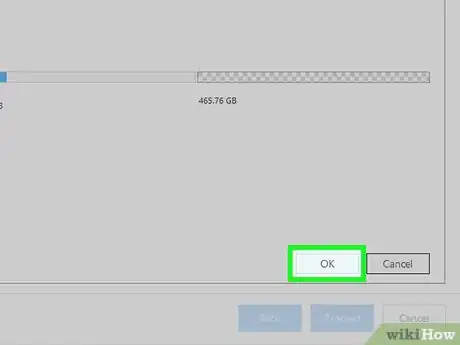
15Click OK when prompted. Doing so will prompt Todo to begin copying your hard drive's contents onto the attached hard drive.
-
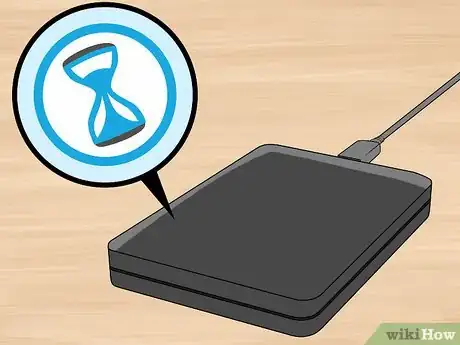
16Wait for your hard drive to finish copying. This can take several hours to complete. Once the process finishes, Todo will notify you.
-
17Eject your hard drive from your computer. Click the flash drive-shaped icon in the bottom-right corner of the screen and click Eject in the pop-up menu, then physically detach the drive from your computer when Windows tells you that it's safe to do so.
- You may first have to click ^ in the bottom-right corner of the screen to view the flash drive icon.
Copying on Mac
-
1
-
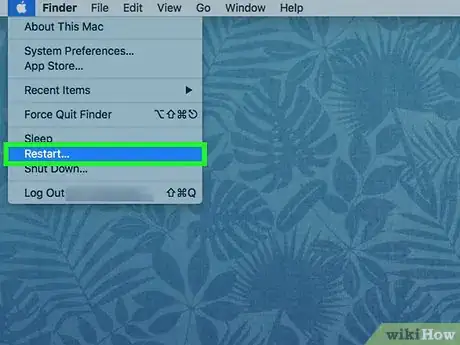
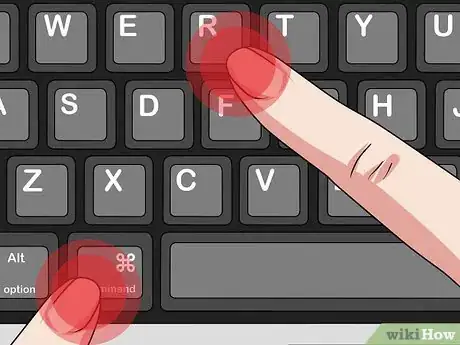
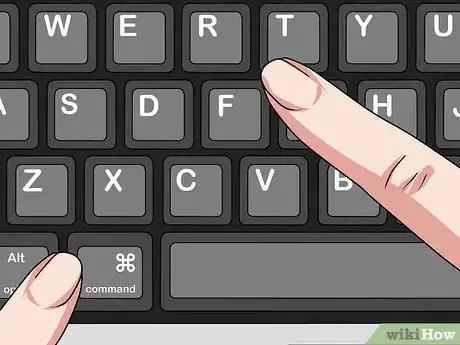
2Press and hold ⌘ Command+R. Do so immediately after your Mac begins to restart.
-
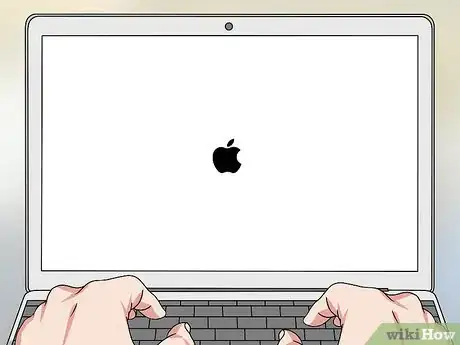
3Wait for the Apple logo to appear. You should keep holding down the keys during this time.
- You may also see a spinning globe appear here.
-
4Release ⌘ Command and R. As soon as you see the spinning globe or Earth icon, release the keys. You should now be at the recovery screen.
-
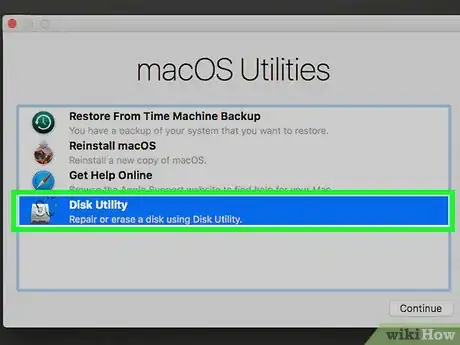
5Click Disk Utility. It's a grey hard drive icon in the window.
-
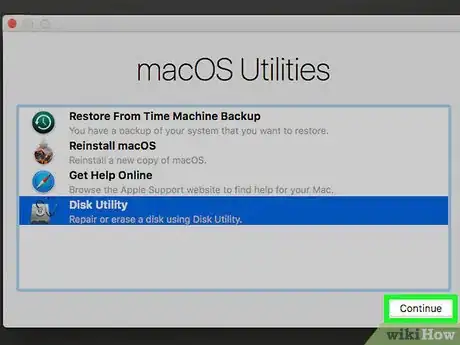
6Click Continue. This is in the bottom-right corner of the screen.
-
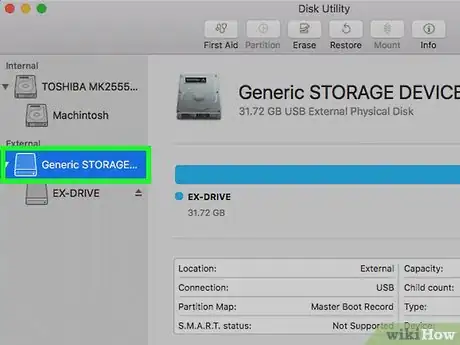
7Select your other hard drive. Click the attached hard drive's name in the top-left side of the page.
-
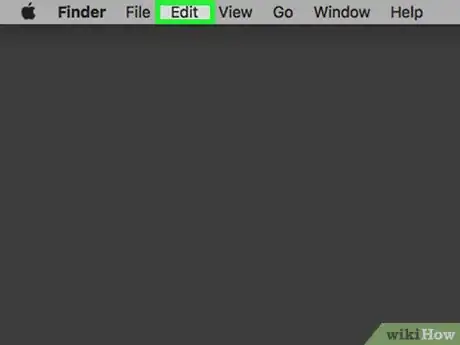
8Click Edit. This menu item is at the top of the Mac's screen. A drop-down menu will appear.
-
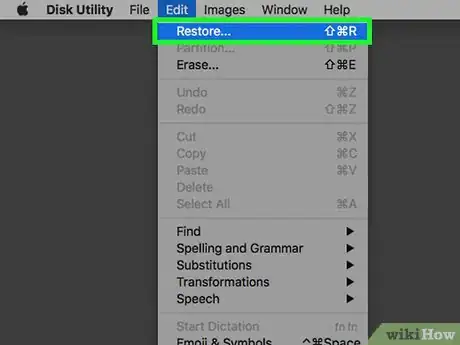
9Click Restore…. It's at the top of the drop-down menu.
-
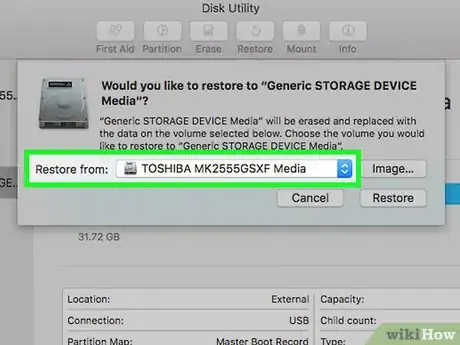
10Click the "Restore from" drop-down box. You'll find this in the middle of the window.
-
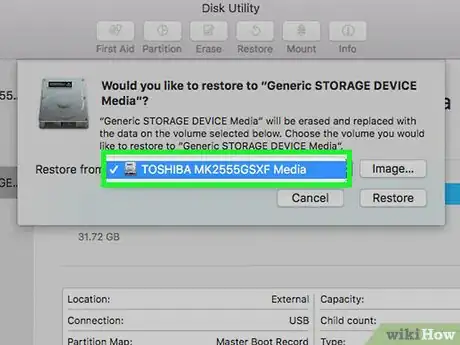
11Select your Mac's hard drive. It's in the drop-down menu.
-
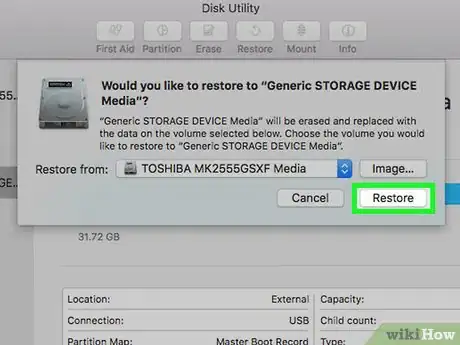
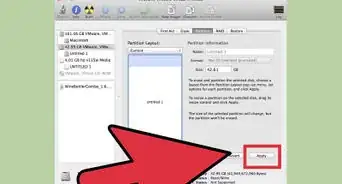
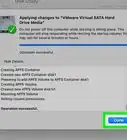
12Click Restore. This blue button is in the bottom-right corner of the window. Clicking it prompts your hard drive to begin backing up to the external hard drive. This can take several hours to complete.
- If you get a "Restoration Failed" error, turn off FileVault and try again.
-
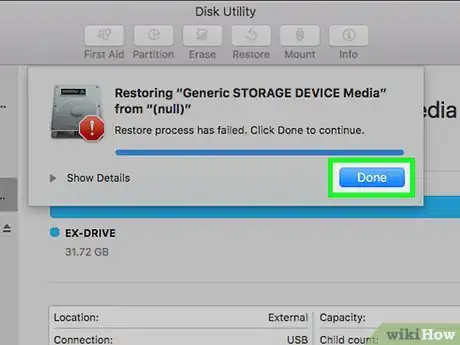
13Click Done when prompted. It's in the bottom-right corner of the window. Your original hard drive is now backed up to the new hard drive.
-
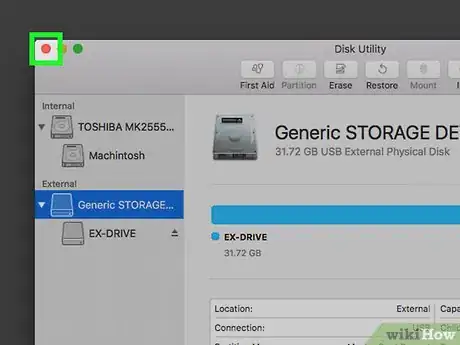
14Close Disk Utility. Click the red circle in the top-left corner of the window.
-
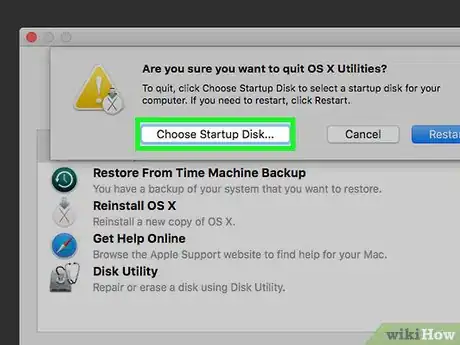
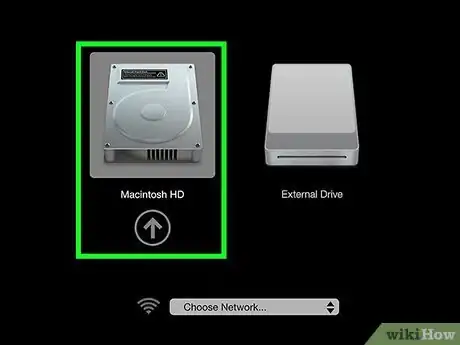
15Click Choose Startup Disk…. It's on the left side of the window.
-
16Select your original hard drive and click Restart. Doing so will restart your computer.
-
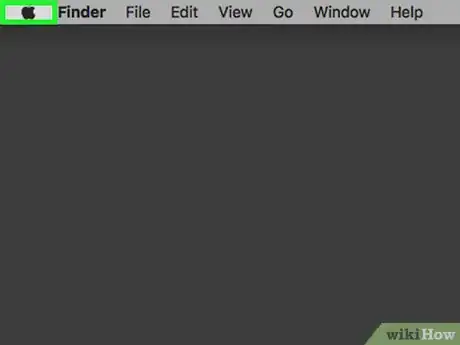
17
-
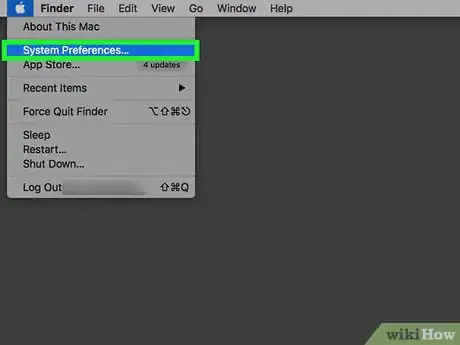
18Click System Preferences…. It's near the top of the Apple drop-down menu.
-
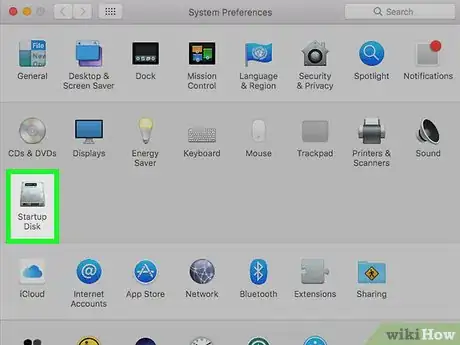
19Click Startup Disk. This grey hard drive icon is in the middle of the System Preferences window.
-
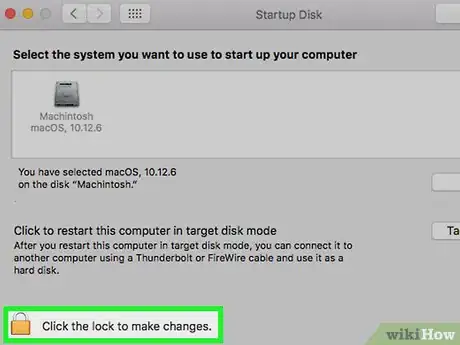
20Unlock the menu. Click the lock icon in the bottom-left corner of the window, then enter your account password when prompted.
-
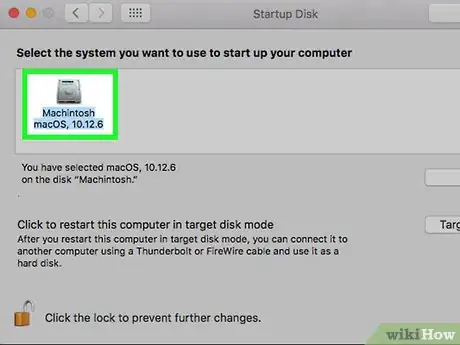
21Select your new hard drive. Click the yellow attached hard drive's icon at the top of the window.
-
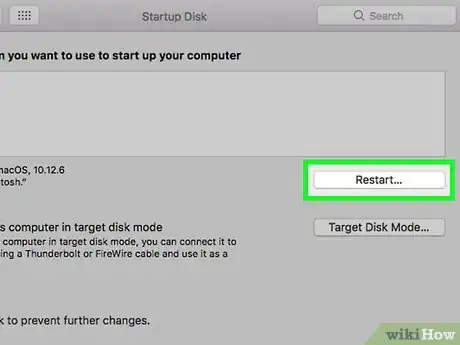
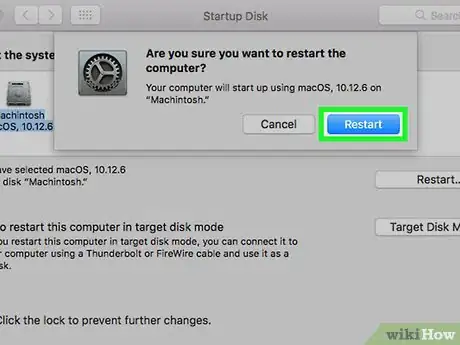
22Click Restart…. It's on the right side of the window.
-
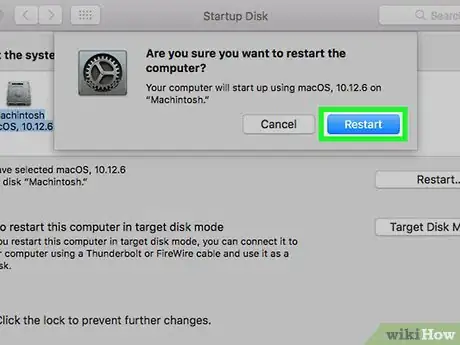
23Click Restart when prompted. Doing so will reboot your Mac from the new hard drive, which will ensure that the hard drive is usable as a bootable drive on any other Mac.
-
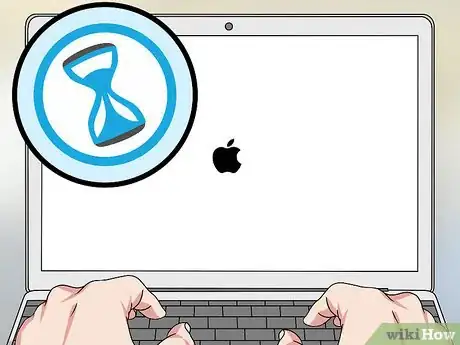
24Wait for your Mac to finish restarting. This can take several minutes.
-
25
-
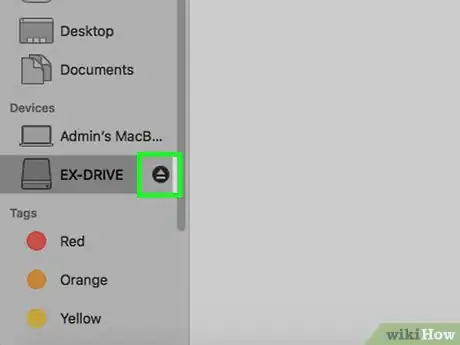
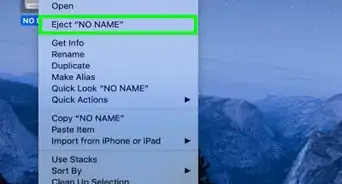
26Eject your new hard drive. Open Finder and click the triangle-shaped "Eject" button to the right of your attached hard drive's name on the left side of the window. When prompted, you can physically detach the drive from your Mac.
Warnings
- Never disconnect the drive while copying information onto it. Similarly, never disconnect a drive without first ejecting it.⧼thumbs_response⧽
