X
This article was co-authored by wikiHow staff writer, Jack Lloyd. Jack Lloyd is a Technology Writer and Editor for wikiHow. He has over two years of experience writing and editing technology-related articles. He is technology enthusiast and an English teacher.
This article has been viewed 225,468 times.
Learn more...
This wikiHow teaches you how to connect your iPad to your computer by using the charger cable, connecting over Wi-Fi, or connecting via Bluetooth on a Mac. Once your iPad is connected to your computer, you can use your computer's iTunes to transfer music, photos, videos, and more in between your iPad and your computer.
Steps
Part 1
Part 1 of 3:
Using a Charger Cable
-
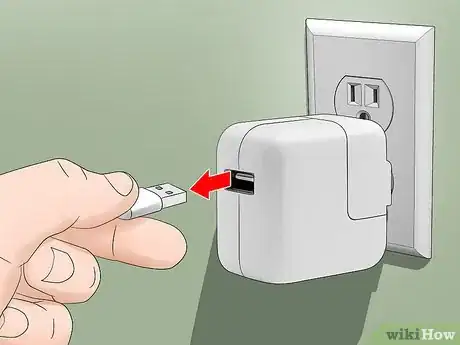
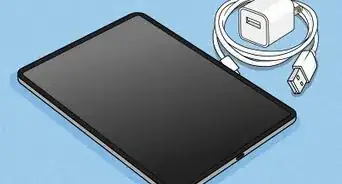
1Remove the charger cable's electrical outlet adapter if necessary. The charger cable is actually a USB cable that plugs into an electrical outlet adapter. You can remove the adapter by tugging the base of the connection away from the adapter until it slides out.
- If your charger cable doesn't have an electrical outlet adapter on it, skip this step.
-
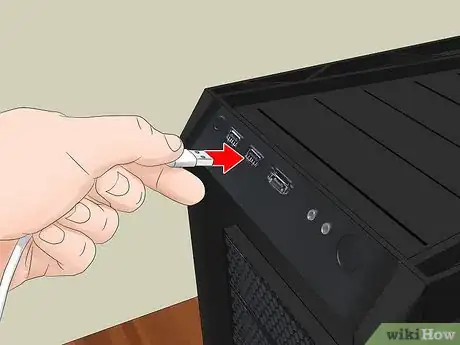
2Plug the USB end of the charger into your computer. The rectangular USB end of the charger fits into a similarly shaped port on your computer.
- If you're using a Mac laptop computer, it most likely doesn't have USB ports that fit the charger. You'll need to buy a USB-C to USB 3.0 adapter and then plug the adapter into one of the small USB ports on the side of the Mac.
- USB plugs only fit one way, so be sure to rotate the plug 180 degrees if it won't fit into the port.
Advertisement -
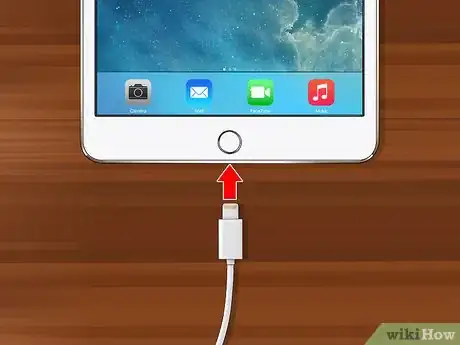
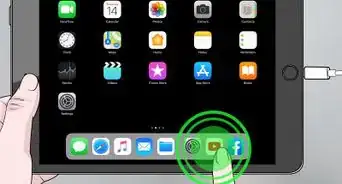
3Plug the charging end of the charger into your iPad. The iPad's charging port is at the bottom of the iPad's housing.
-
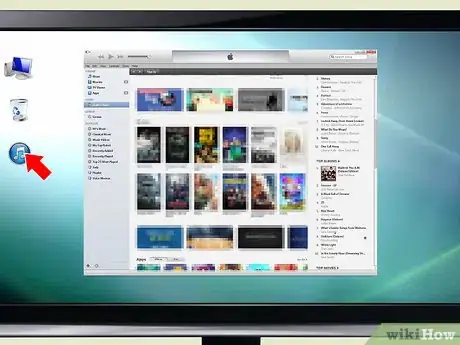
4Open iTunes on your computer. If iTunes doesn't open automatically, double-click the iTunes app icon, which resembles a multicolored musical note on a white background.
- If you don't yet have iTunes installed on your computer, install it first.
-
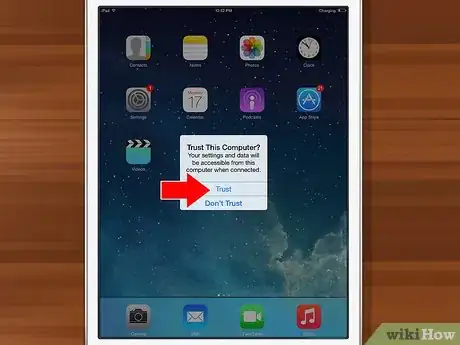
5Tap Trust on your iPad. This will only appear if this is your first time connecting your iPad to your computer. You have successfully connected your iPad to your computer.
- You'll also need to click Continue on your computer if prompted.
Advertisement
Part 2
Part 2 of 3:
Enabling Wi-Fi Sync
-
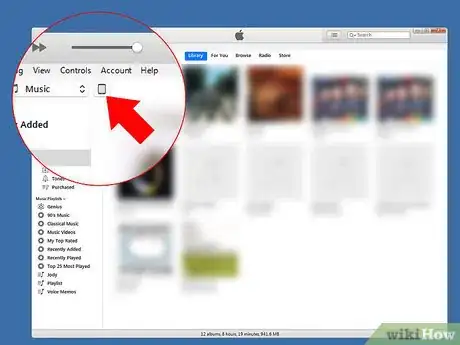
1Click the iPad icon. This iPad-shaped icon appears in the upper-left side of the iTunes window a few seconds after connecting your iPad. Clicking it will open your iPad's page.
- If this is your first time connecting the iPad to this computer, you may be prompted to set up the iPad's preferences on this page before continuing.
-
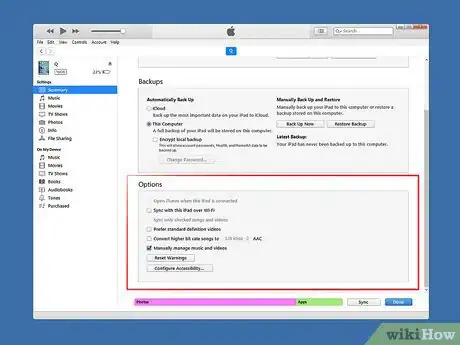
2Scroll down to the "Options" section. This section is in the middle of the page.
-
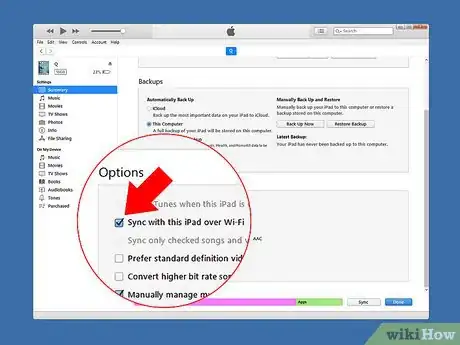
3Check the "Sync with this iPad over Wi-Fi" box. It's near the top of the "Options" section. This will ensure that your iPad and your computer's iTunes can synchronize with each other over Wi-Fi as long as they are both on the same Wi-Fi network.
-
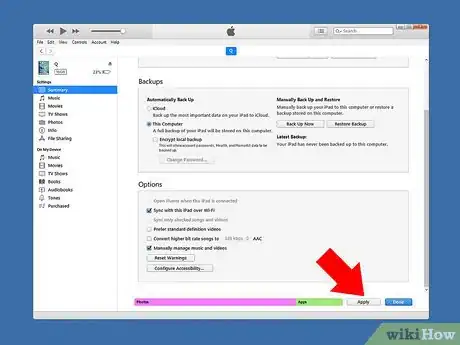
4Click Apply. This grey button is near the bottom-right corner of the iTunes window. Clicking it applies your changes.
-
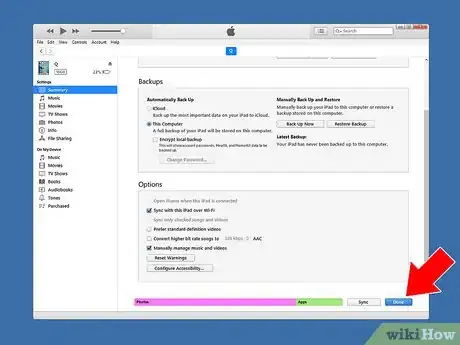
5Click Done. It's a blue button in the bottom-right corner of the iTunes window. You should now be able to connect to iTunes wirelessly whenever iTunes is open on your computer and your iPad is on the same network as your computer.
- For some iPad models, your iPad will need to be actively charging in order for it to appear in iTunes over Wi-Fi. This means that you can plug the iPad into a wall charger.
Advertisement
Part 3
Part 3 of 3:
Using Bluetooth
-
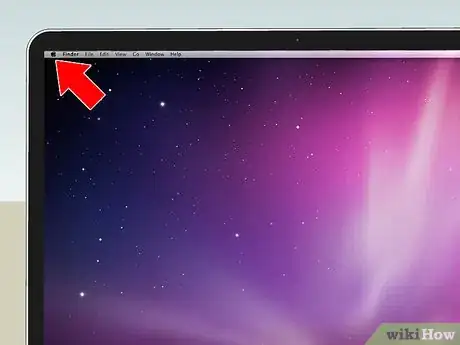
1
-
2
-
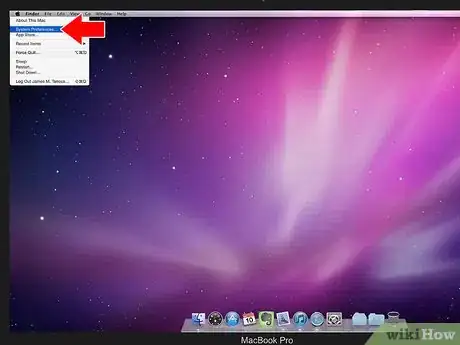
3Click System Preferences. It's in the drop-down menu.
-
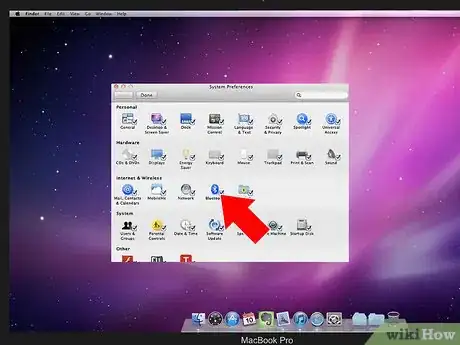
4Click Bluetooth. You'll find this option in the System Preferences window. Doing so opens the Bluetooth window.
-
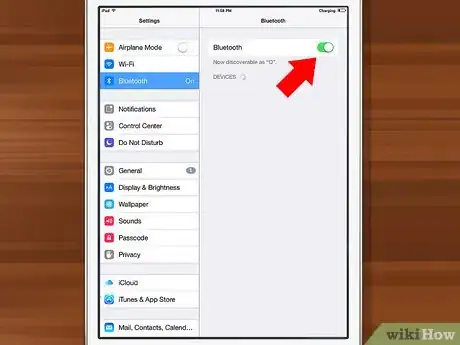
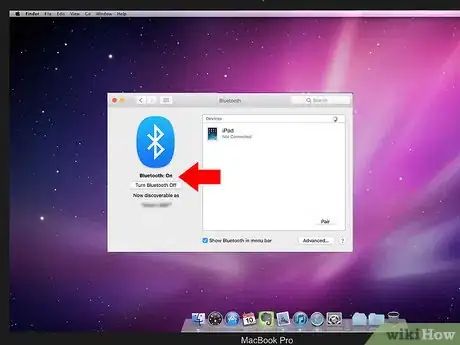
5Enable Bluetooth if it isn't on. Click Turn Bluetooth On on the left side of the window. If you see Turn Bluetooth Off here instead, Bluetooth is already enabled.
-
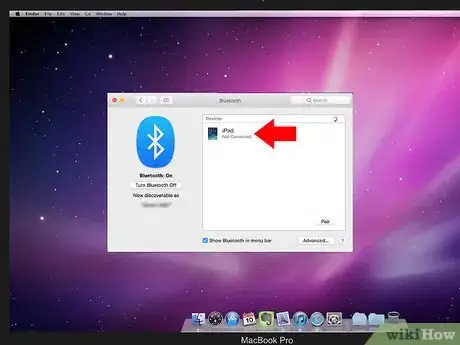
6Find your iPad's name. You should see "Your Name's iPad" appear on the right side of the window.
-
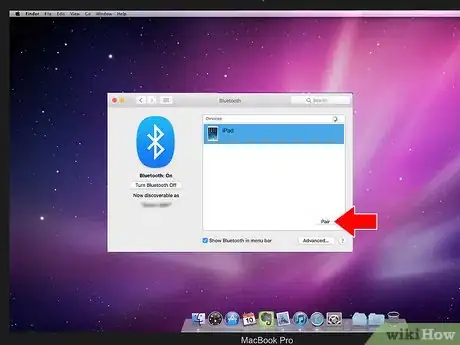
7Click Pair. It's to the right of the iPad's name. This will begin pairing your iPad with your Mac computer.
- For some iPads and Macs, this is all you need to do to pair the iPad and Mac.
-
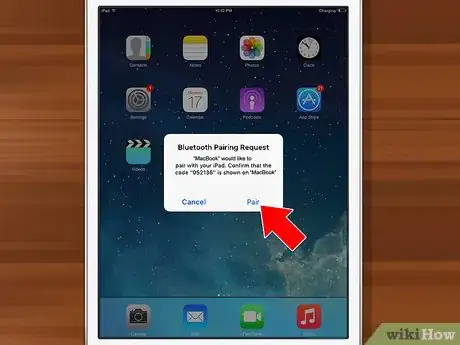
8Tap Pair on your iPad when prompted. Depending on your model of iPad, you may not see this option appear. If so, skip this step and the next one.
-
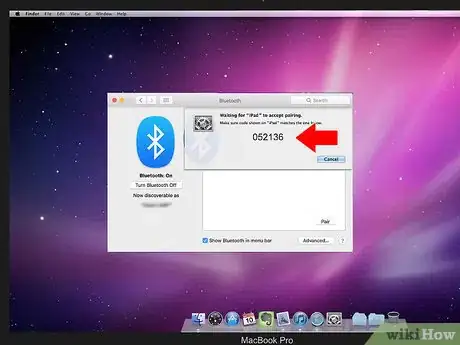
9Enter the code displayed on your Mac. Your Mac may display a code that you'll need to enter on your iPad when prompted to complete the pairing.
- If you don't see this option, skip this step.
-
10
-
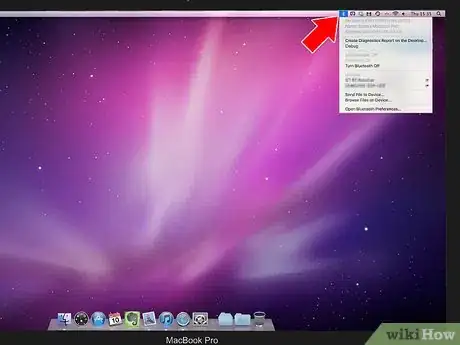
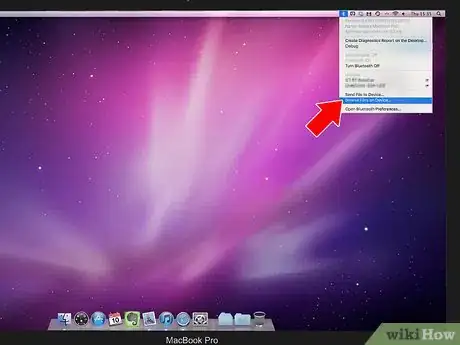
11Click Browse Files on Device…. This option will appear near the bottom of the Bluetooth drop-down menu.
-
12Select your iPad. Click your iPad's name in the pop-up window, then click Browse.
-
13Find a file you want to download. You can scroll through your iPad's files until you find the file in question.
-
14Download the file. Click the file that you want to download, then click Download. Doing so will copy the file into your Mac's Downloads folder.
-
15
Advertisement
Community Q&A
-
QuestionWhat do I do if my PC doesn't recognize my iPad?
 Community AnswerDo you have iTunes installed, and is it updated with the most recent version? There may also be a compatibility issue with your operating system. Ask an Apple associate if you're unsure, they can offer advice based on the specifics of your situation.
 -
QuestionCan I print something from my iPad?
 Community AnswerYes, you can. You just need to connect it to a printer, and then you will be able to print from your iPad.
 -
QuestionHow do I get pictures from the iPad to my computer screen?
 Community AnswerAn easy way is to e-mail the photos to yourself off of your iPad. Then, check the e-mail on your computer and screenshot or save the images. This is what I've always done and I find it works quite well.
Advertisement
About This Article
Advertisement
