This article was co-authored by wikiHow Staff. Our trained team of editors and researchers validate articles for accuracy and comprehensiveness. wikiHow's Content Management Team carefully monitors the work from our editorial staff to ensure that each article is backed by trusted research and meets our high quality standards.
This article has been viewed 18,340 times.
Learn more...
Microscopes are a terrific tool for conducting scientific research and introducing young students to science. Unfortunately, like most things, microscopes tend to get dirty over time. Because they're delicate instruments, it's important that you clean your microscope in a very particular way. Fortunately, whether you're cleaning the microscope's mechanical components or cleaning off the lenses, properly cleaning a microscope is easier than you might think!
Steps
Cleaning the Mechanical Components
-
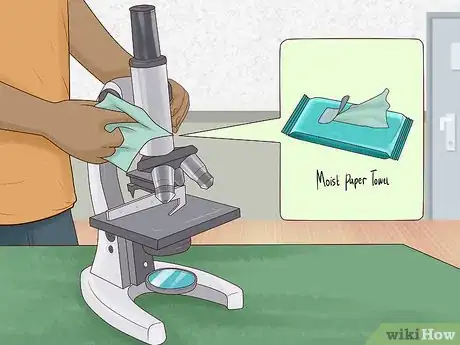
1Unplug the microscope then wipe the outer frame with a moist paper towel. Since the outer frame is less susceptible to damage than the actual lenses of the microscope, it's fine to use a moist paper towel to remove any dust and dirt on the frame. Avoid touching the lenses with the paper towel or letting any of the water drip down into the lenses.[1]
- For best results, use distilled water that doesn't contain any impurities that might inadvertently damage the microscope.
- Be sure to wipe down the microscope frame with a separate, dry paper towel to remove any excess moisture.
-
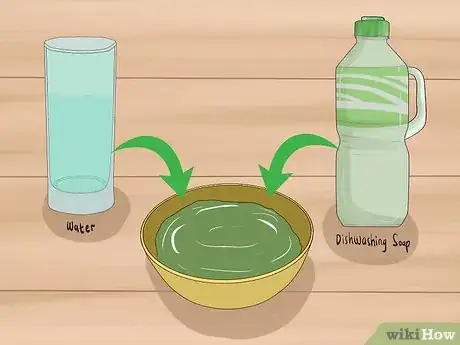
2Make a cleaning solution out of water and a small amount of dish soap. In a small container, mix warm water with a few drops of dishwashing soap. This will be a strong enough cleaning solution for most microscopes. The solution only needs to be a little sudsy, so err on the side of adding too little soap rather than too much. [2]
- If your microscope is particularly oily or dirty, use a larger ratio of dish soap to water or add a small amount of 10% alcohol by volume to the solution.
- If your microscope isn't very oily or hasn't been used that much, you may be able to clean it with just warm water.
Advertisement -
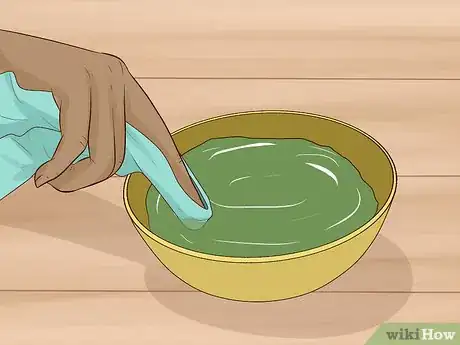
3Dip a cloth into the solution and use it to clean the mechanical parts. This solution should be used to clean the stage and stage clips, the control knobs, the eyepiece tube, the nosepiece, and the illuminator. Use a gentle scrubbing motion to effectively clean these areas. Avoid bringing your damp cloth too close to the lenses of the microscope, especially when you're cleaning around the eyepiece.[3]
- For best results, use a microfiber cloth.
- The stage is the platform where you put the slides you're using the microscope to look at. The stage clips are the metal clips on either side of the stage that are used to hold the slides in place.
- The control knobs are the knobs on the side of the microscope that are used to change the position of the objective lenses and bring the slides into better focus.
- The eyepiece tube is the long tube that connects the eyepiece and ocular lens to the objective lens.
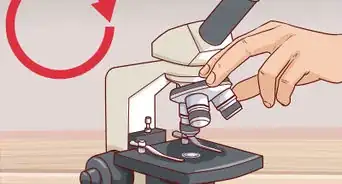
- The nosepiece is the revolving turret above the stage that holds 2 or more objective lenses. This is the piece that you rotate to switch between different lenses.
- The illuminator is the light source beneath the stage that illuminates the contents of the slide you're looking at.
-
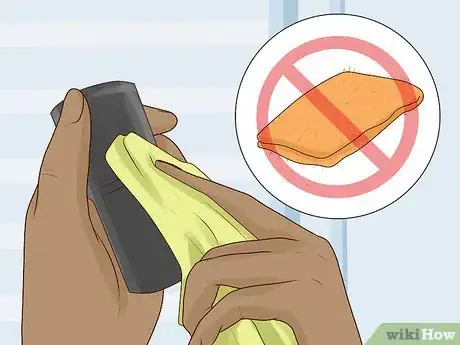
4Use a lint-free cloth to dry the microscope and finish cleaning it. Use this cloth to wipe off any excess liquid left behind from cleaning the microscope with the damp cloth. You can also use this cloth to clean the top of the eyepiece tube if you weren't able to effectively clean it with the damp cloth.[4]
- For best results, use another microfiber cloth.
- Make sure the microscope is completely dry before moving on.
Cleaning the Lenses
-
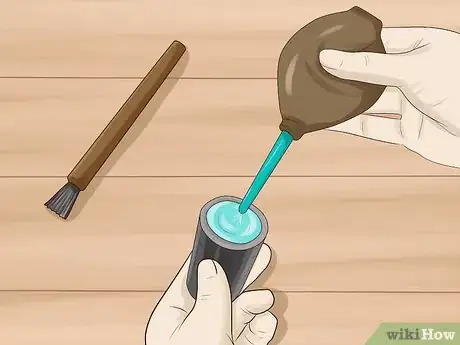
1Use a vacuum or dusting brush to clean dust off of the lenses. Since dust can be highly abrasive to your microscope, you need to remove it with great care. Gently brush the dust off with an optical dusting brush or vacuum specially designed for use with microscopes.[5]
- You can buy this type of brush or vacuum at any store that sells microscopes and other laboratory equipment.
-
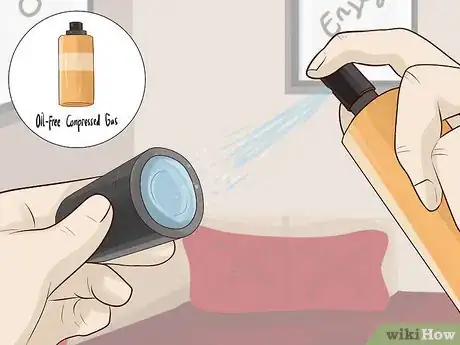
2Spray oil-free compressed gas on the lenses to avoid damaging them. Using compressed air or gas is the best way to easily remove dust from your optical lenses if you don't have a dust brush or vacuum. However, do not use a compressed air product that contains solvents, as these will cause more harm than good to your lenses.[6]
- For example, use dry-nitrogen propelled compressed air instead of an ordinary compressed air product (e.g., a keyboard cleaner).
-
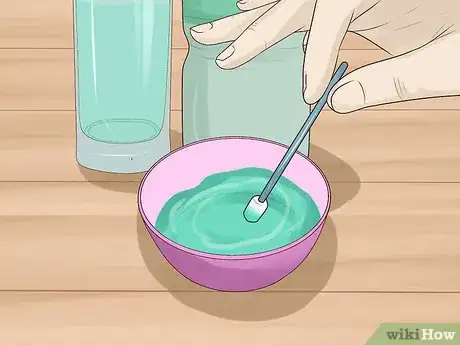
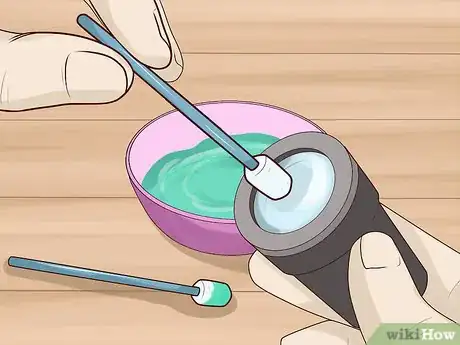
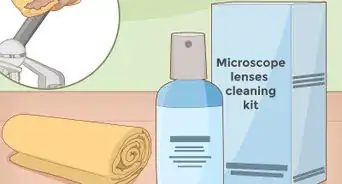
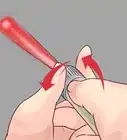
3Dip the end of a lint-free cotton swab into a cleaning solution. This can be a solution of mild dish detergent and water or a pure grade of isopropyl alcohol. Be sure to only use lint-free cotton swabs, since lint may damage the optical lenses.[7]
- You can buy these cleaning supplies at most stores that sell microscopes and other lab equipment.
- Avoid using a large cloth, if you can. Even if the cloth is lint-free, it will probably be too big to clean the lenses without spilling your cleaning liquid somewhere on the microscope.
-
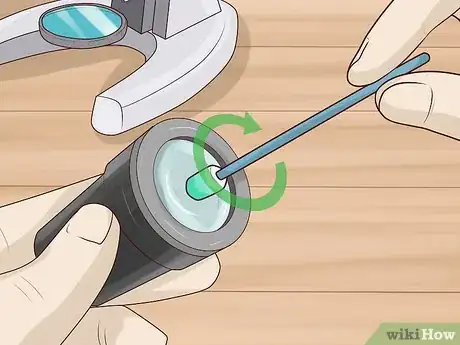
4Scrub the center of the lens very gently with the swab. Move outwards with the cotton swab to clean the rest of the lens. Scrub in a circular motion, moving steadily away from the center of the lens and towards the periphery. Continue this motion until the entire lens is clean.[8]
- Use a light hand in your scrubbing, since the lens is very easily damaged.
- Refrain from cleaning the lens by moving the cotton swab in straight lines. These may leave streaks or even scratches on the lens.
-
5Use a separate, clean swab to wipe away any excess cleaner. Be very gentle with this second swab to avoid damaging the lens. Make sure to only use a lint-free cotton swab or towel.[9]
Keeping Your Microscope Clean
-
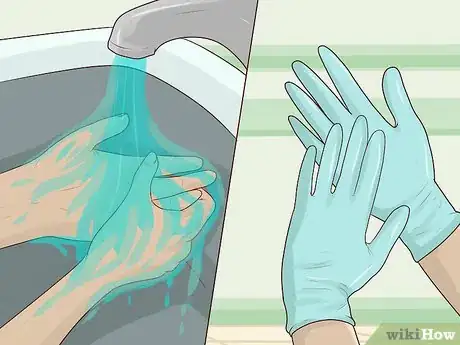
1Wash your hands before handling your microscope. Remove any grease, dirt, or oil on your hands before touching your microscope to keep it from getting dirty. For best results, wear clean latex gloves whenever working with your microscope.[10]
- This is also very important if your microscope is being used by multiple people, since each person's hands may pick up the bacteria left behind on the microscope by someone else.
- To keep your microscope as clean as possible, avoid eating with your hands immediately before you use the microscope and certainly don't eat or drink while you're using it.
-
2Put a cover on your microscope whenever you put it away. Use the dust cover provided by the microscope manufacturer for best results. However, if you no longer have this cover, you can also use a plastic bag to protect the microscope from dust.[11]
- For greater protection, use 2 plastic bags instead of just 1 if you don't have the original dust cover. Place both of these bags over the microscope and tie the outer bag closed to prevent dust from getting inside.
- Refrain from putting your microscope in a dusty environment, such as a storage closet, since this will only make your microscope more likely to get dusty.
-
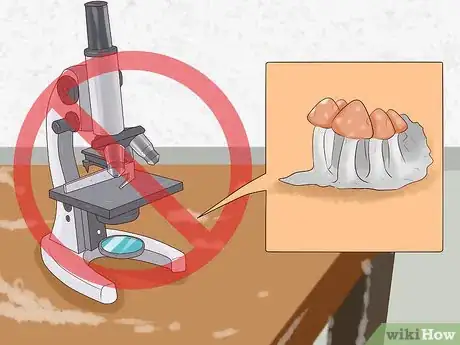
3Avoid storing your microscope anywhere it might be exposed to fungus. Don't leave your microscope in a humid room where fungus is likely to grow. Use air conditioning or an infrared lamp positioned directly above the microscope to best prevent the growth of fungal bacteria.[12]
- Fungus is almost impossible to remove from a microscope, so your best bet is to prevent it from getting on the microscope in the first place.
-
4Keep the microscope away from acidic or alkaline vapors. These vapors are corrosive and might cause serious damage to your microscope. Avoid storing the microscope near a chemical photographic laboratory or any other source of corrosive vapors.[13]
- Acidic and alkaline vapors are often produced during lab experiments in high school and college chemistry courses. Make sure to keep your microscope in a different room during these experiments.
Warnings
- Refrain from using any cleaning materials that contain solvents, as these might cause serious damage to your microscope's lenses.⧼thumbs_response⧽
References
- ↑ https://micro.magnet.fsu.edu/primer/anatomy/cleaning.html
- ↑ http://leedsmicro.rogershore.net/docs/LMS%20Maintaining%20your%20microscope.pdf
- ↑ https://micro.magnet.fsu.edu/primer/anatomy/cleaning.html
- ↑ https://micro.magnet.fsu.edu/primer/anatomy/cleaning.html
- ↑ https://micro.magnet.fsu.edu/primer/anatomy/cleaning.html
- ↑ http://meijitechno.com/tips-on-cleaning-your-microscope
- ↑ http://meijitechno.com/tips-on-cleaning-your-microscope
- ↑ http://meijitechno.com/tips-on-cleaning-your-microscope
- ↑ http://meijitechno.com/tips-on-cleaning-your-microscope
- ↑ http://www.greatscopes.com/act008.htm
- ↑ https://microscopy.duke.edu/sites/microscopy.duke.edu/files/file-attachments/The%20Clean%20Microscsope.pdf
- ↑ https://microscopy.duke.edu/sites/microscopy.duke.edu/files/file-attachments/The%20Clean%20Microscsope.pdf
- ↑ https://microscopy.duke.edu/sites/microscopy.duke.edu/files/file-attachments/The%20Clean%20Microscsope.pdf
