This article was co-authored by wikiHow Staff. Our trained team of editors and researchers validate articles for accuracy and comprehensiveness. wikiHow's Content Management Team carefully monitors the work from our editorial staff to ensure that each article is backed by trusted research and meets our high quality standards.
This article has been viewed 47,222 times.
Learn more...
Fitbit devices are tremendous for encouraging activity, but they get dirty very quickly. Every usage introduces sweat, dirt, and oil that stains the band, clogs the charger ports, and can lead to skin irritation. Wipe off the Fitbit as soon as you take it off. Also, use cotton swabs and rubbing alcohol to clean the tracker and its charging ports. Finally, treat the band with rubbing alcohol or a soap-free cleanser.
Steps
Cleaning the Tracker
-
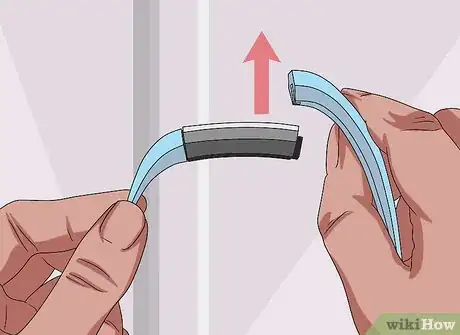
1Remove the tracker from the band. The tracker on some versions, including the Blaze, can be pushed out gently from behind. Others, including the Flex 2, require you to undo the band clasp first.[1]
- Consult your owner’s manual for instructions on how to remove your version’s tracker.
-
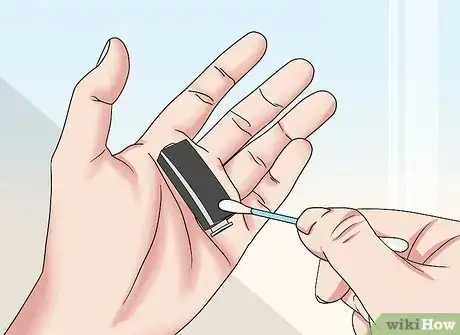
2Dampen a cotton swab in rubbing alcohol. Cotton swabs and rubbing alcohol can be found at general stores and drugstores. Water should not be used, since it can get inside the tracker and damage it. Also, abrasive scrubbers should not be used.[2]Advertisement
-
3Wipe off the tracker. Apply the rubbing alcohol with the cotton swab. Don’t use a lot at any time. While rubbing alcohol does dry quickly, too much of it can still damage the tracker.
-
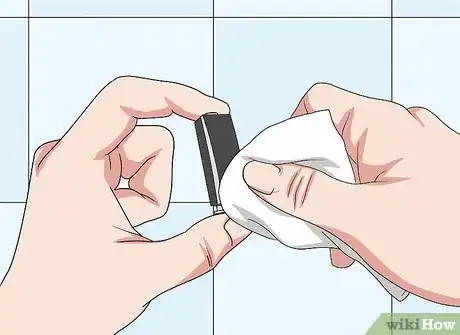
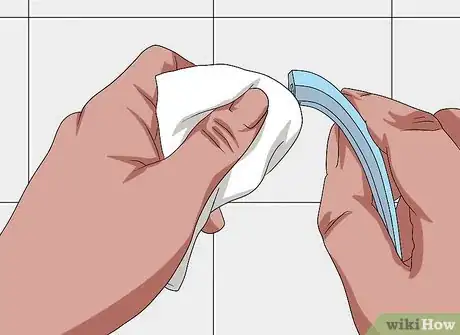
4Dry it with a microfiber cloth. Remove leftover moisture with a soft cloth. Make sure all moisture is removed before returning the tracker to the band. The “pebble” tracker in the Flex 2 can be dried completely with a paper towel. Avoid using paper towels or glass cleaners on tracker screens.
Maintaining the Charging Port
-
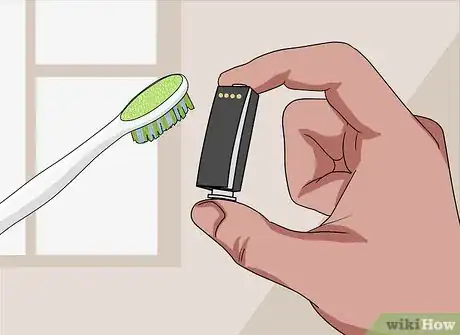
1Dip a toothpick or toothbrush in rubbing alcohol. Rubbing alcohol can be found at any general store or drugstore. Water should not be used, since it can damage the electrical parts inside the tracker. Use a toothpick or old toothbrush rather than a metal scrubber so you don’t scrape the tracker’s plating.
-
2Scrub the charging ports. Locate the gold-colored charging port on the back of the tracker. Scrub using the toothbrush or use the toothpick to pick out any debris you find.[3]
-
3Soak a cotton swab in rubbing alcohol. Cotton swabs (Q-tips) can be purchased alongside rubbing alcohol at general stores and drugstores. Again, avoid introducing water into the electrical circuit or using abrasive scrubbers that damage the metal.
-
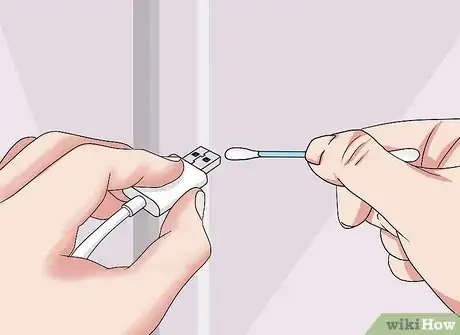
4Press the cotton swab onto the charging cable. Clean out both ends of the charging cable. Push the swab into the openings and brush off the pins inside them. Make sure all debris is removed before you finish.[4]
-
5Dry the tracker and cable before use. Excess moisture can be removed on the charge port by using a soft cloth or tissue. Otherwise, the ports and pins should look dry within a few minutes. Then it is safe to charge your tracker again.
Cleaning the Band
-
1Wipe the band with a dry cloth. After each use, take a microfiber cloth and wipe off the entirety of the band. This will prevent buildup of dirt and oils that damage the band and irritate your skin.
-
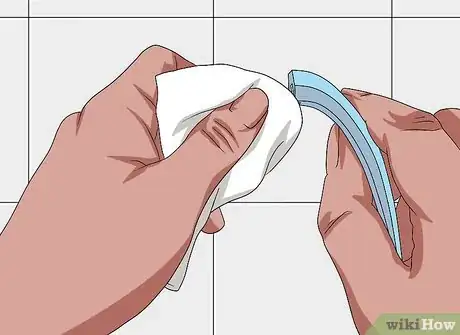
2Lightly dampen a microfiber cloth. For stuck-on debris, a dampened microfiber cloth can help. Make sure the cloth is only slightly damp, not dripping. Use it to wipe over the band’s surface. This can be used on any band type, including leather and metal.
- Excess water will damage leather and tarnish metal, so minimize your water usage as much as possible.
-
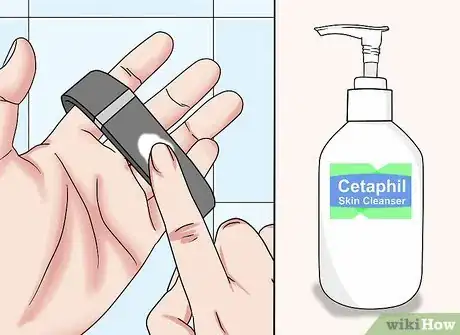
3Treat fabric bands with soap-free cleanser. Oils, deep stains, and smells on elastomer and nylon bands can be treated with a cleanser such as Cetaphil Gentle Skin or Aquanil. Place a small amount on the tip of your finger and spread it over the band. Afterwards, wipe off the band again with a dampened towel.[5]
- Nylon bands can be treated with a neutral pH liquid detergent such as Dawn and washed in cold water.
- Treat leather bands with a leather cleaner and conditioner. This helps remove stains as well as protect against new ones.
-
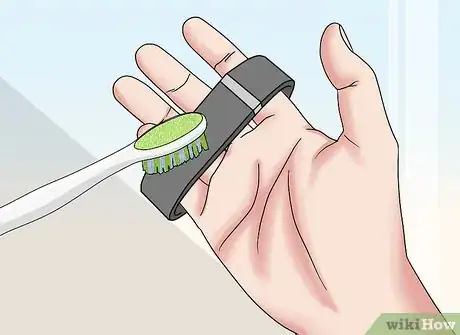
4Scrub with a soft-bristled toothbrush. Use an old toothbrush to loosen stubborn debris and tough stains. These brushes are soft enough that they won’t wear out the band’s fibers. You may also dampen a cotton ball in rubbing alcohol and wipe down the band.[6]
-
5Dry off the band. Pat away as much moisture as you can with a microfiber cloth. Water must not be allowed to sit on metal or leather. Once this is done, place the band aside in a safe location. Keep it out of direct sunlight, heat, and humidity.[7]
References
- ↑ https://help.fitbit.com/articles/en_US/Help_article/2084
- ↑ https://help.fitbit.com/articles/en_US/Help_article/2005
- ↑ https://help.fitbit.com/articles/en_US/Help_article/2005
- ↑ https://help.fitbit.com/articles/en_US/Help_article/2005
- ↑ https://www.wareable.com/fitbit/fitbit-flex-2-essential-tips-and-tricks
- ↑ https://www.fitbit.com/product-care
- ↑ https://www.wareable.com/fitbit/fitbit-flex-2-essential-tips-and-tricks
About This Article
To clean a Fitbit, start by removing the tracker from the band. Dampen a cotton swab with rubbing alcohol and wipe the surface of the tracker gently, then dry it with a microfiber cloth and set it aside. Use a toothpick dipped in rubbing alcohol to clean the charging ports, then dip a Q-tip in alcohol, swab the charging cable, and dry both pieces off with a tissue. Lastly, wipe down the band with a dampened microfiber cloth. If you need to, use a little soap-free cleanser to scrub dirty fabric bands. If you want to learn more, like how to scrub the Fitbit with a toothbrush to clean it, keep reading the article!
