This article was co-authored by wikiHow staff writer, Darlene Antonelli, MA. Darlene Antonelli is a Technology Writer and Editor for wikiHow. Darlene has experience teaching college courses, writing technology-related articles, and working hands-on in the technology field. She earned an MA in Writing from Rowan University in 2012 and wrote her thesis on online communities and the personalities curated in such communities.
This article has been viewed 293,571 times.
Learn more...
By default, every iPad's signature is "Sent from my iPad," but you can change it. This wikiHow article will teach you how to change the email signature on an iPad using settings or by editing HTML in Gmail. If you want to add a handwritten signature, you can find various signature apps by searching "signature" in the iPad's App Store.
Steps
Changing Your Signature
-
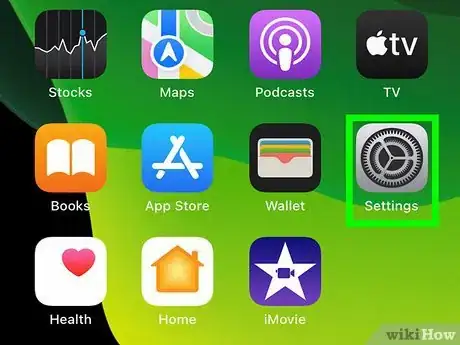
1Open the Settings app on your iPad. To do this, tap the gear app icon.
-
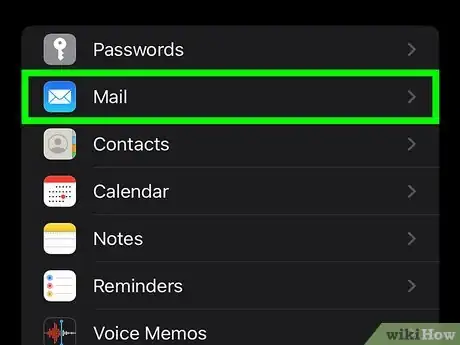
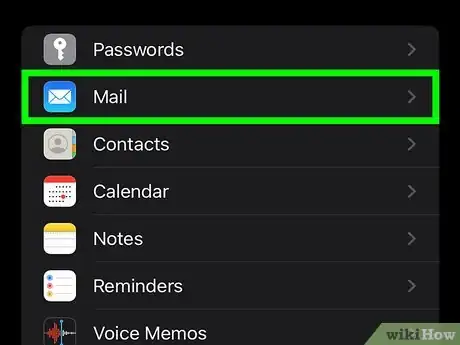
2Select Mail. It's next to an icon of an envelope in the fifth grouping of the Settings menu.Advertisement
-
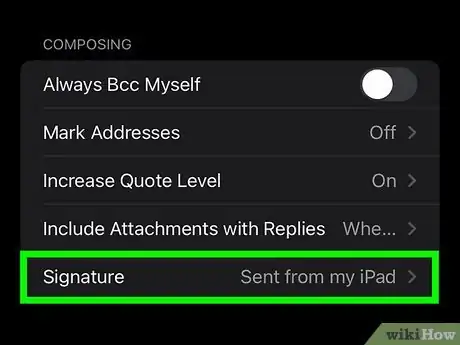
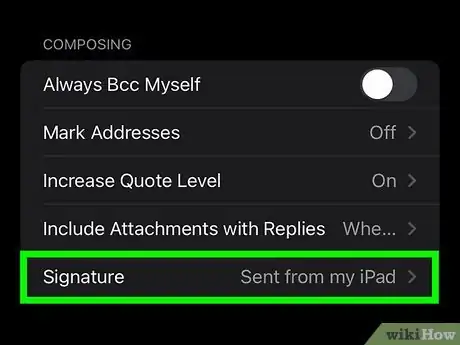
3Tap Signature. It's at the bottom of the menu and will display the current signature for your email account.
-
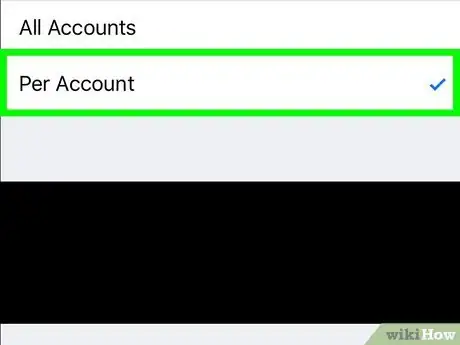
4Tap Per Account if you want to set different signatures for each email account. By default, your iPad will set the same signature for all of your connected email accounts. Tapping "Per Account" will reveal the signature fields for every account on your iPad, allowing you to set a different one for each.
- This option will not appear unless you have more than one account on your iPad.
-
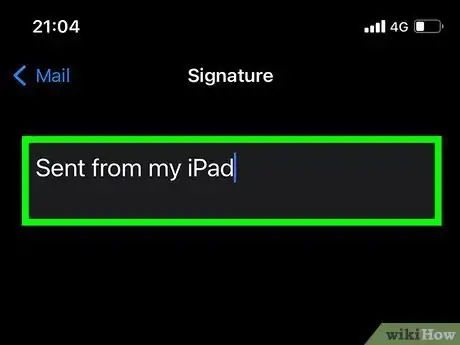
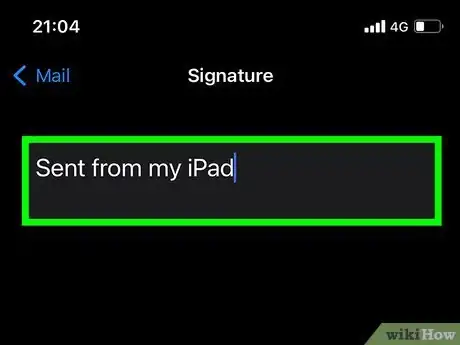
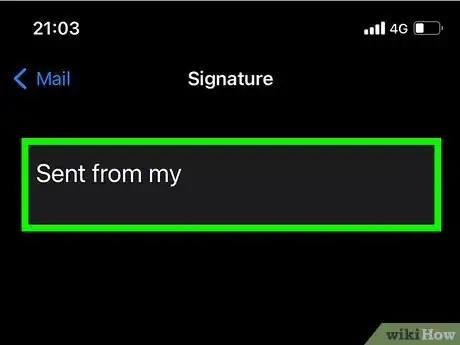
5Delete the default signature. The default signature is "Sent from my iPad." You can tap the end of this and use your keyboard to delete it.
-
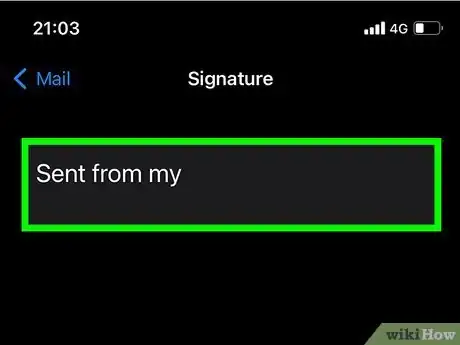
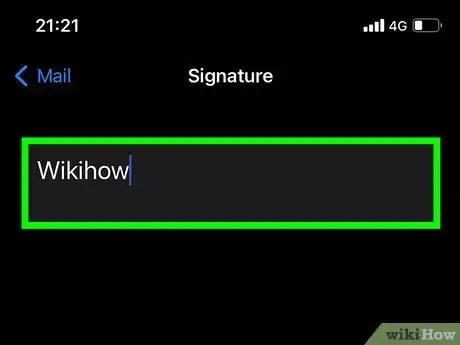
6Type the signature you want to use. Try to keep your signature short and to the point, including only the most pertinent information. You can press the "Return" key on the onscreen keyboard to move down to the next line.
- If you want to create a signature with text formatting and images, see the Creating an HTML Signature section below.
-
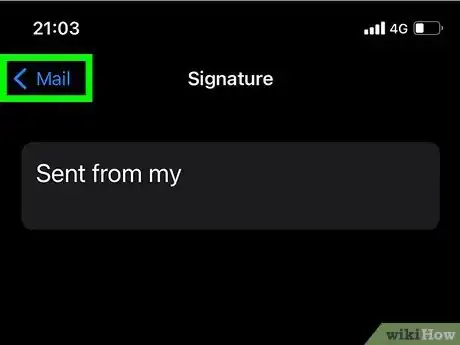
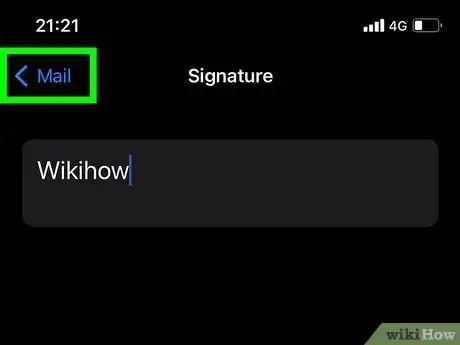
7Return to the previous menu to save your changes. Tap the "< Mail" button in the upper-left corner to return to the Mail menu. Your signature will be saved and applied to all future email messages you send from your iPad.
- To revert your changes, there isn't an easy "one-tap" button. Instead, go back to the "Signatures" field and change the text back to "Sent from my iPad."
Creating an HTML Signature
-
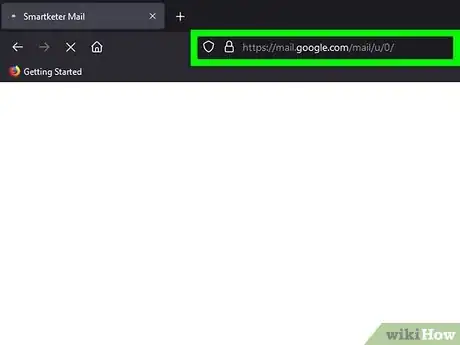
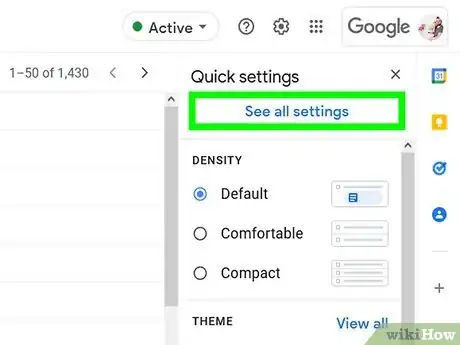
1Log into Gmail on your computer. Create a new account if you don't have one since you'll just be using this email account to create and email the HTML-featured signature to your iPad so that you can add it on your device.[1]
- You don't have to use Gmail, but the signature editor is quick and powerful. You can use an existing account or you can create an account that you won't use other than just for this purpose. See Create a Gmail Account for instructions.
-
2
-
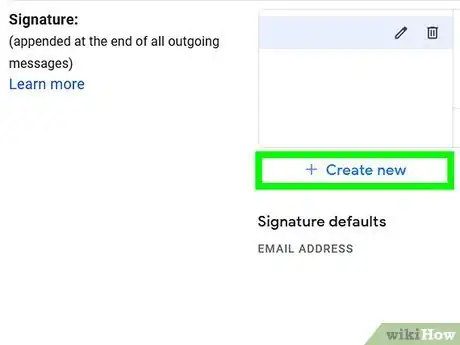
3Click Create new next to "Signature." Name this something like "iPad" so you know that it's the signature you're going to send to your iPad.
-
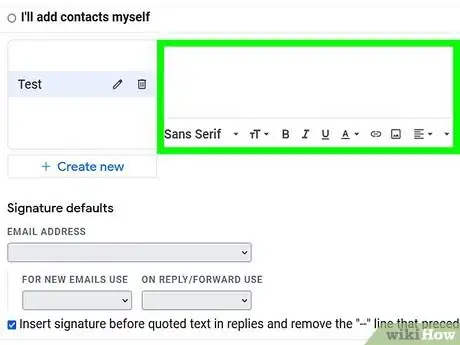
4Use the signature editor to create the signature you want. Use the buttons below the text field to change the formatting and insert images and links. You can insert images from your computer, a URL, or from your Google Drive account.
- Note that any changes to the font will be reverted when you add the signature to your iPad.
-
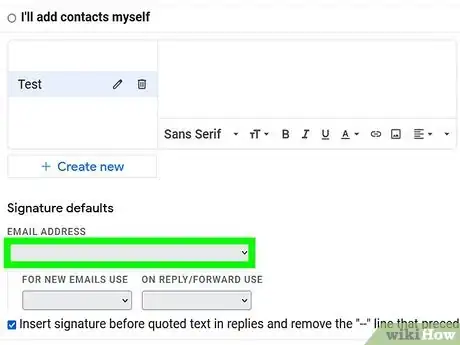
5Set the appropriate email defaults. Since you're sending this signature to your iPad, you want to make sure the signature will be attached to the email. Change the drop-down under "For New Emails Use" to the signature you've created for your iPad, then click Save Changes.
-
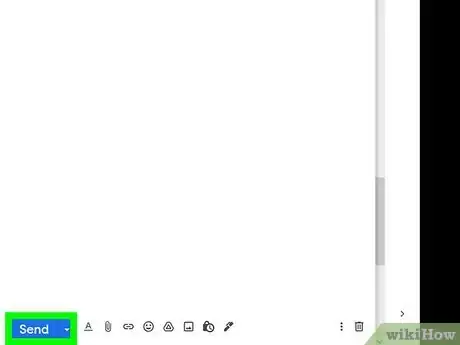
6Send an email from your Gmail account to an email account on your iPad. Return to the Gmail inbox screen and click the "Compose" button in the upper-left corner. Send an email to one of the email accounts on your iPad. It doesn't have to have a subject or text.[2]
- If your Gmail account is associated with your iPad, you can just send the message to yourself from your computer.
-
7Open the email on your iPad. The email from your Gmail account should appear after a few moments.
-
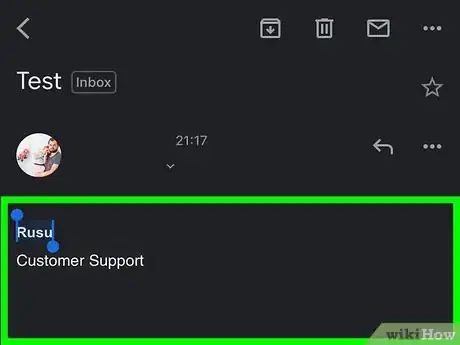
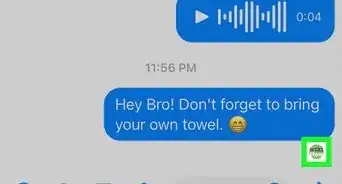
8Press and hold the signature until the magnifier appears. This will let you start selecting text and items in the message.
-
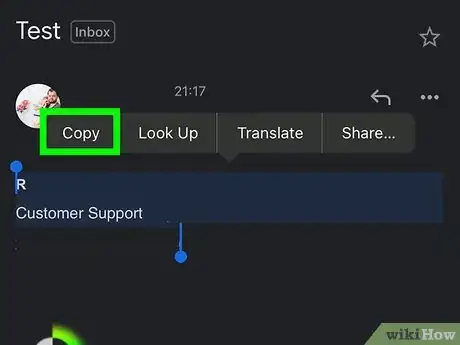
9Drag the bars to select the signature text and images. Make sure you've highlighted the entire signature, including any images in it.
-
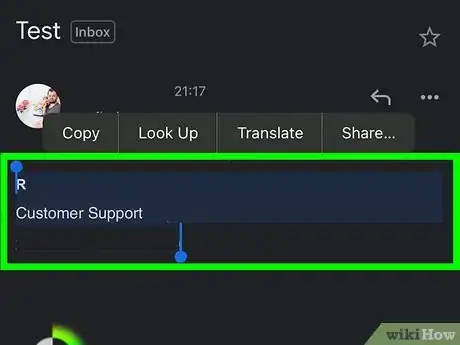
10Select Copy from the menu that appears. This will copy the entire signature to your iPhone's clipboard.
-
11Select Mail. It's next to an icon of an envelope in the fifth grouping of the Settings menu.
-
12Tap Signature. It's at the bottom of the menu and will display the current signature for your email account.
- Per Account if you want to set different signatures for each email account.
-
13Tap the field for the signature you want to change. This will place the cursor in the field. Delete any signature already there that you don't want to use.
-
14Press and hold the text field until the magnifier appears. You'll see the menu appear above the cursor.
-
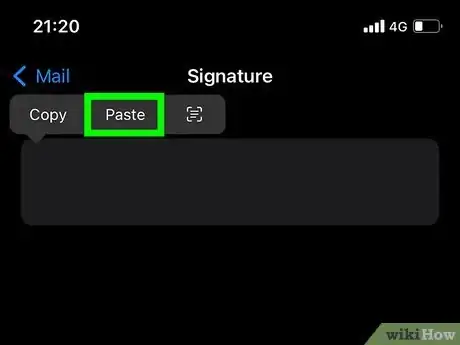
15Select Paste from the menu. This will paste the entire HTML signature into the field, including any images and links.
-
16Make any necessary adjustments. Some formatting may not have been copied properly, so make any adjustments to the signature to make sure it looks good.
-
17Return to the previous menu to save your changes. Tap the "< Mail" button in the upper-left corner to save the changes to your signature. It will automatically be attached to any messages sent from that email account.[3]
- If the image in your signature does not work when you send an email, you need to save a copy of the image on your iPad or whatever device you're emailing from. The emails you send then will be larger files (which might confuse some people), but will contain the image in your signature.
- You can also use third-party mail apps like Gmail or Spark to be able to easily create HTML signatures.
Community Q&A
-
Questionmy ipad wont attach signature when is write a new email, even after i've set up new signature
 wikiHow Staff EditorThis answer was written by one of our trained team of researchers who validated it for accuracy and comprehensiveness.
Staff Answer wikiHow Staff EditorStaff AnswerBe aware of what email address is connected to the signature you created. Make sure that's the same email address that you're using when you're in the Mail app. These instructions will not work if you edit your signature in "Mail" and then don't use the Mail app.
 -
QuestionMy ipad runs version 14.4. It doesn’t have ‘Mail, Contacts, Calendar’ as one option. They are now 3 separate options. There is no ‘signature’ option under ‘Mail’.
 wikiHow Staff EditorThis answer was written by one of our trained team of researchers who validated it for accuracy and comprehensiveness.
Staff Answer wikiHow Staff EditorStaff AnswerDo you have an email account associated with your iPad? Is iCloud email enabled (your @me or @icloud email). When you create a new Apple ID or set up a new iPad/iPhone, you don't get an email address enabled by default. You have to take those extra steps. Go to "Settings > tap your iCloud name > tap iCloud > Mail" and follow the on-screen instructions to create an email account.
 -
QuestionHow do I underline a phone number so when a customer taps it it will call me?
 Community AnswerYour customer's phone will highlight phone numbers automatically if it can, allowing them to tap to call. This is dependent on the customer's phone, not your signature. Just make sure your phone number uses standard formatting.
References
About This Article
1. Open the Settings app on your iPad.
2. Select Mail.
3. Tap Signature.
4. Tap Per Account if you want to set different signatures for each email account.
5. Type the signature you want to use.
6. Return to the previous menu to save your changes.
