X
This article was co-authored by wikiHow Staff. Our trained team of editors and researchers validate articles for accuracy and comprehensiveness. wikiHow's Content Management Team carefully monitors the work from our editorial staff to ensure that each article is backed by trusted research and meets our high quality standards.
This article has been viewed 11,024 times.
Learn more...
The Xbox gaming console allows you to change your gamertag, the name that represents you when using the Xbox Live service. This wikiHow shows you how to change your gamertag.
Steps
-
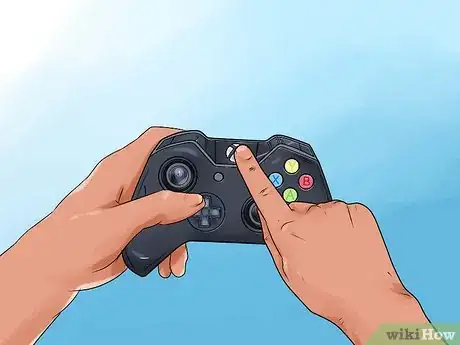
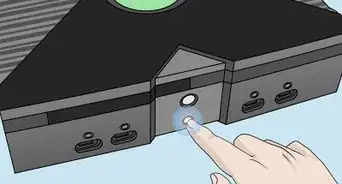
1Press the Xbox button to open the guide. The Xbox button is the large silver and black button in the top center of the controller.
-
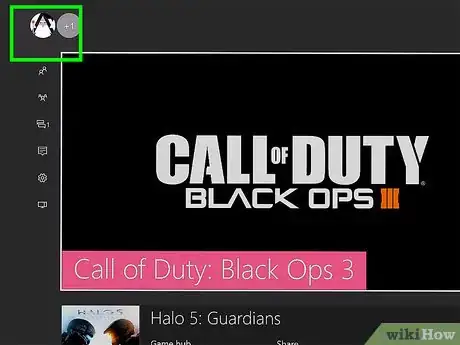
2Select your picture in the upper left corner of the screen. You can use either the directional pad or the left analog stick to move the highlight to your picture.Advertisement
-
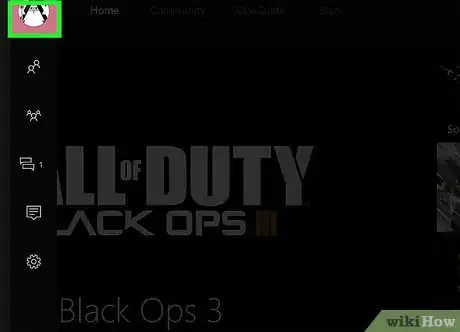
3Press the A button.
-
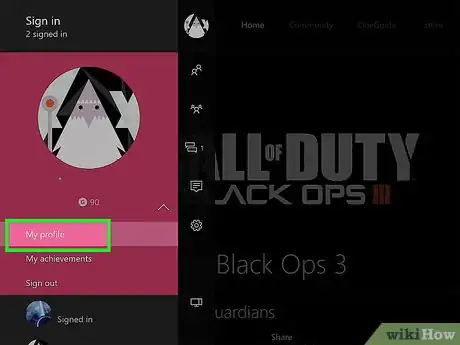
4Select My Profile and press A.
-
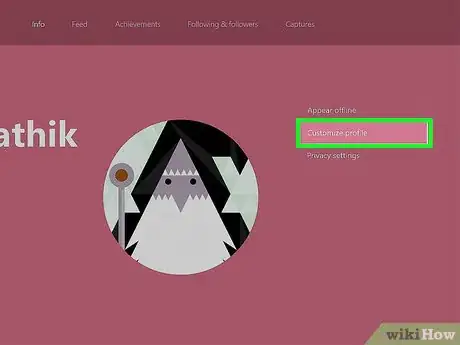
5Select Customize profile and press A. This brings you to a screen with suggested available gamertags.
-
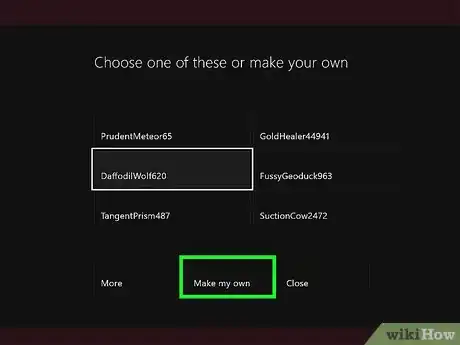
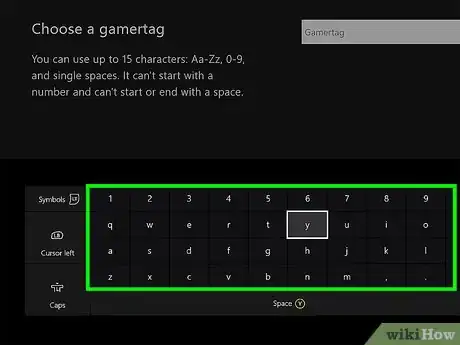
6Select Make my own and press A. Enter your desired gamertag into the field.
- Gamertags must be unique. If the gamertag you enter is already taken by somebody else, you must choose a different gamertag.
- You can also pick one of the suggested gamertags. Select "More" to see a longer list of options.
-
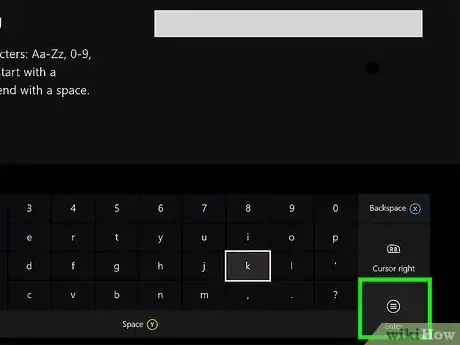
7Select Claim it and press A when you find an acceptable gamertag.
- You can change your gamertag once for free. Xbox may charge you at this step if you're changing your gamertag after having done so once before.
-
8
Advertisement
References
About This Article
Advertisement
-Step-13.webp)







-Step-13.webp)


