X
wikiHow is a “wiki,” similar to Wikipedia, which means that many of our articles are co-written by multiple authors. To create this article, 9 people, some anonymous, worked to edit and improve it over time.
This article has been viewed 54,089 times.
Learn more...
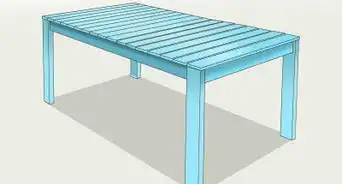
This project was built with a round top from a broken table and two 2x4’s. The top in this project is 30 inches (76.2 cm) in diameter. However, the design can be scaled up or down based on your top diameter and/or desired table height. See drawing and video for build instructions.
Steps
-
1Find, buy, or make a table top. This top was taken from a 1970s round table. It took a little bit of sanding to remove the blemishes.
-
2Cut the attachment pieces.
- Cut lower attachment pieces to 14.5” long. Chamfer the width dimension to a 60 degree angle. Chamfer the thickness dimension to 15 degrees.
- Cut the upper attachment pieces to 7” long. Chamfer the width dimension to a 60 degree angle. Chamfer the thickness dimension to 15 degrees.
Advertisement -
3Attach the lower and upper attachment sections together as shown. Use a pocket-hole jig to drill the connection holes. Think ahead at this point to make sure the holes are on the bottom (floor) and under the table top. Add glue to the joint before screwing together.
-
4Once complete, you should have two attachment assemblies.
-
5Cut the legs to 31” long. Chamfer the thickness dimension on both ends to 15 degrees – see picture.
-
6Attach legs to upper attachment assembly.
-
7Attach lower attachment assembly.
-
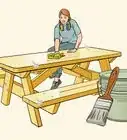
8Sand. Use wood filler to cover the screw holes and any gaps in the wood. Sand to remove wood filler and clean up the joint lines.
-
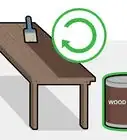
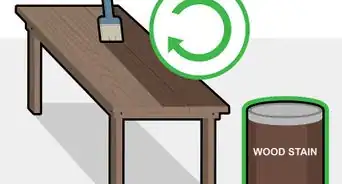
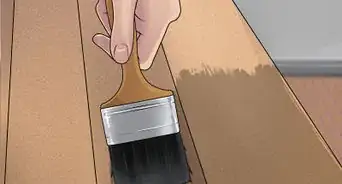
9Paint or stain the legs and top to your desired color. This version used white for the legs and green for the top.
-
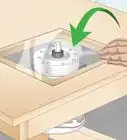
10Add a guide hole for the leg assembly. Drill a small hole at the intersection of the upper attachment assembly. This will be the center location for the round top.
-
11Drill an alignment hole in top. Find the center of the round top. Measure the diameter. Use a string or tape measure set to the radius and draw a light arc. Move the string to another point on the edge of the table and draw another arc. The intersection of these two arcs is the center. Try a third arc to verify. Drill a hole at the intersection.
-
12Attach the top to the leg assembly. Use a nail or rod to line up the hole in the leg assembly and the hole in the round top. This will keep the top centered on the leg assembly. Drill pilot holes through the upper attachment subassembly. Use wood screws to attach the leg assembly to the top. Make sure the screws don’t protrude through the top.
-
13Finished!


.JPG)
.JPG)

.JPG)
.JPG)
.JPG)
.JPG)
.JPG)


Advertisement
Things You'll Need
Tools:
- Saw
- Drill and bits
- Pocket-hole jig (optional)
- Sander
- Tape measure
Materials:
- Round table top (30” diameter used for this project)
- Two 8 foot (2.4 m) long 2x4s
- Screws or nails
- Wood glue
- Paint


-Step-9.webp)
References
- http://www.instructables.com/id/Simple-Round-Table/ - original source, shared with permission
About This Article
Advertisement