This article was co-authored by Stan Kats. Stan Kats is the COO and Chief Technologist for The STG IT Consulting Group in West Hollywood, California. Stan provides comprehensive technology & cybersecurity solutions to businesses through managed IT services, and for individuals through his consumer service business, Stan's Tech Garage. Stan has over 7 years of cybersecurity experience, holding senior positions in information security at General Motors, AIG, and Aramark over his career. Stan received a BA in International Relations from The University of Southern California.
The wikiHow Tech Team also followed the article's instructions and verified that they work.
This article has been viewed 303,076 times.
Want to keep people in your household from accessing certain sites? You could pay for expensive parental control software, but there are some built-in tools that you can use to block specific sites. You can also use your router to set a blocking schedule and block certain sites and keywords for free.
Steps
Blocking with the Windows "hosts" File
-
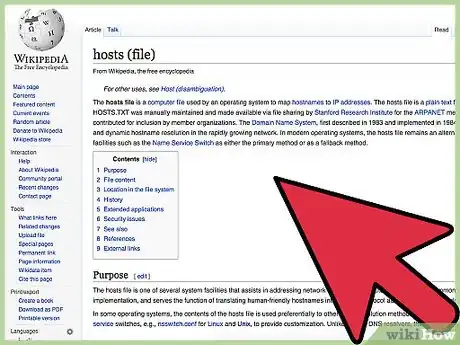
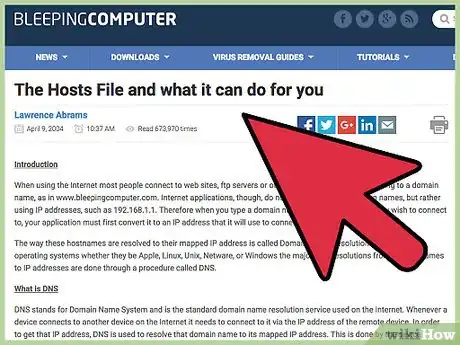
1Understand what the "hosts" file does. When you enter a website address in your browser, your computer contacts a domain name system (DNS) to determine what the actual IP address of the website is. This allows your browser to connect to the website. The "hosts" file allows you to override anything the DNS sends you. When you block a site using the "hosts" file, you're actually redirecting traffic to a blank page on your local computer.
-
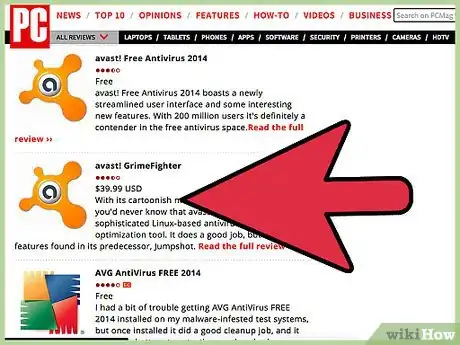
2Disable your antivirus. Many antivirus programs prevent anything from making changes to the "hosts" so that viruses can't reroute you to different sites. You'll need to disable your antivirus for a few minutes while you make the necessary changes to the "hosts" file.
- In Windows 8 and 10, you'll need to add the "hosts" file to the Windows Defender exclusions list. In these versions, Windows Defender will automatically revert your "hosts" files when it detects changes. Open the Windows Defender utility (search for it on the Start screen or menu), select "Settings", and find the "Exclusions" section. Add your "hosts" file to the exclusions (see the location in Step 5), but be aware that this leaves you a little more vulnerable to adware.[1]
Advertisement -
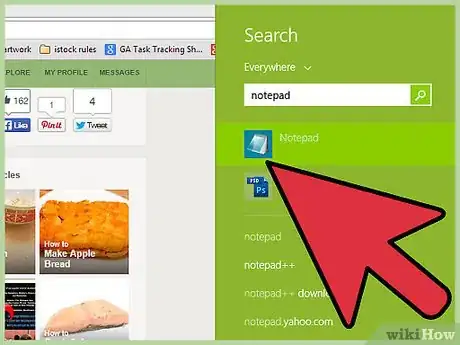
3Find Notepad in the Start menu. You can find this in the "Accessories" category. If you're using Windows 8, you'll find it in the "Windows Accessories" category of the Apps screen.
-
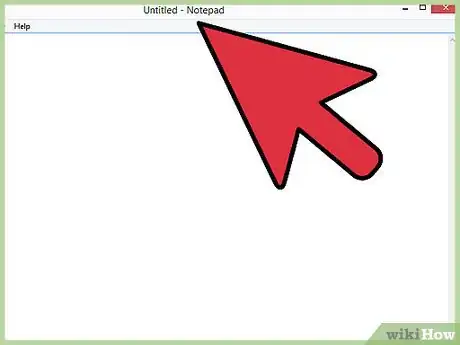
4Right-click on Notepad and select "Run as administrator". If you aren't logged in as an administrator, you'll be prompted for the administrator password. You'll need administrator access to change this file.
-
5Open the "hosts" file in Notepad. Click "File" → "Open". Click the "Text Documents" drop-down box and select "All Files". Navigate to C:\Windows\System32\drivers\etc, changing C: to whatever drive letter you have Windows installed on. Select "hosts" to open it. If you don't see anything in the \etc folder, switch the view from text documents to all files.
-
6Start a new line at the end of the file. Place your cursor at the end of the last line and press ↵ Enter to start a new one.
-
7Type .127.0.0.1 and press Space. This tells the computer that the following website will instead load 127.0.0.1, which is a blank local page.
-
8Enter the website that you want to block after .127.0.0.1. You don't need to include the http:// part of the address. For example, if you wanted to block Twitter, the entire line would look like the following:
- 127.0.0.1 www.twitter.com
-
9Repeat for additional sites that you want to block. You can add as many lines as you'd like. Just make sure that each line starts with 127.0.0.1.
-
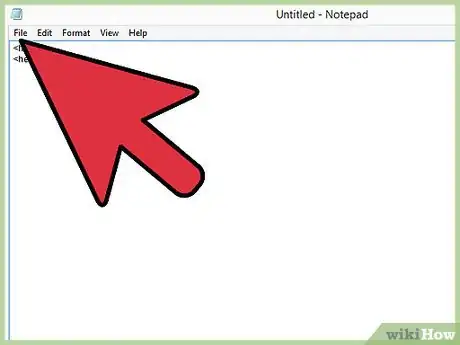
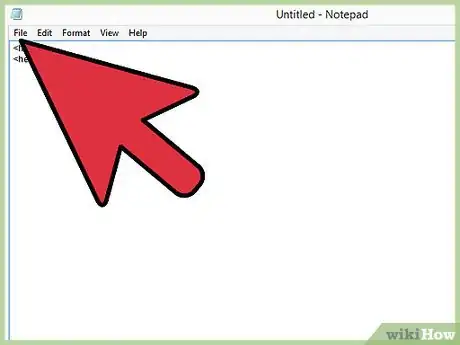
10Save your changes and close the file. If you didn't close your antivirus, you may be prompted to confirm that you want to accept the changes. The websites that you listed will now be blocked for all users on that computer.
-
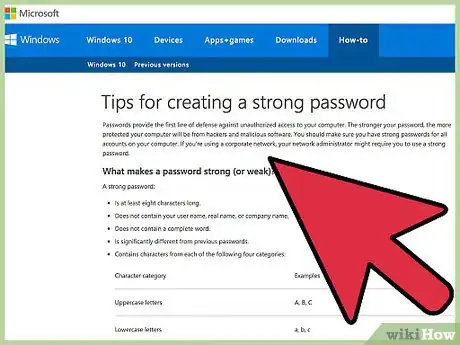
11Make sure your administrator password is secure. Anyone with the administrator account can make changes to the "hosts" file. If everyone using your computer uses the same account to log in, the person you're blocking the websites for can easily change the file back. To prevent this from happening, each person should log in with their own standard account, and the administrator password should be unknown to anyone but you.
Blocking with the Mac "hosts" File
-
1Know what the "hosts" file does. A website's written address is used for easy access by visitors, because its numerical (IP) address may change on a regular basis. When you enter the website's written address, your browser contacts a DNS server to find the current numerical address for the site. Your "hosts" file allows you to override the results of a DNS lookup. You can block websites using the "hosts" file by redirecting a website address to a blank page on your local computer.
-
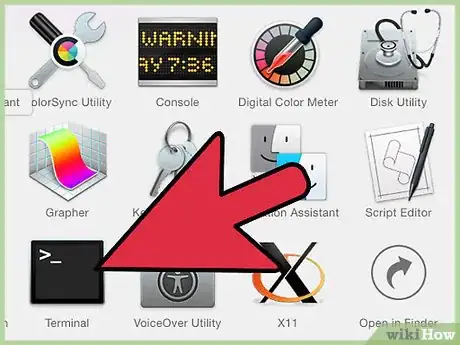
2Open the Terminal. You'll need to use the Terminal utility to access the "hosts" file. You can find the Terminal in the Utilities folder.
-
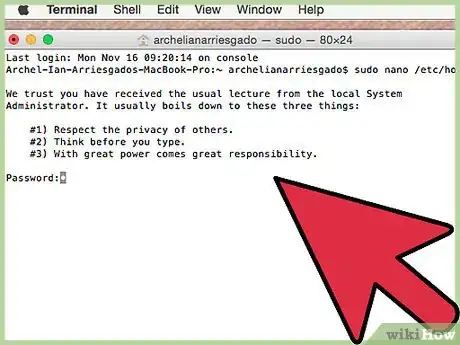
3Type .sudo nano /etc/hosts and press ⏎ Return. Enter your administrator password when prompted. You need administrator access in order to edit the "hosts" file. This command will open the "hosts" file in a text editor.
-
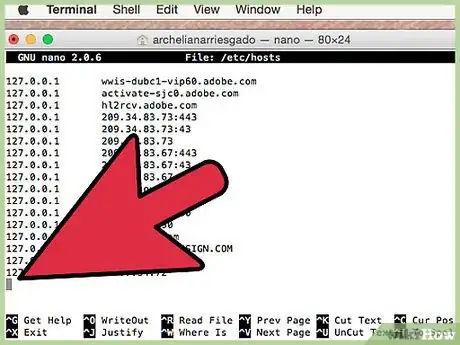
4Start a new line at the bottom of the file. You can add a new line for each website that you want to block
-
5Type .127.0.0.1 and press Space. This will tell your computer that the following website should be redirected to 127.0.0.1, which is a local blank page.
-
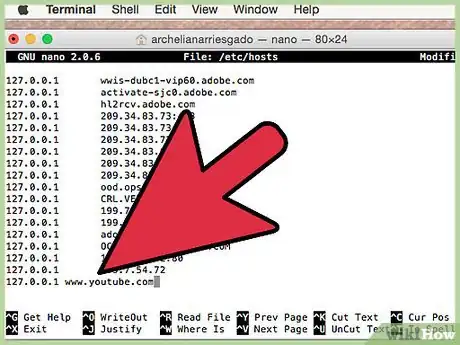
6Enter the website that you want blocked after .127.0.0.1. You don't need to include the http:// part of the address. For example, to block YouTube type the following:
- 127.0.0.1 www.youtube.com
-
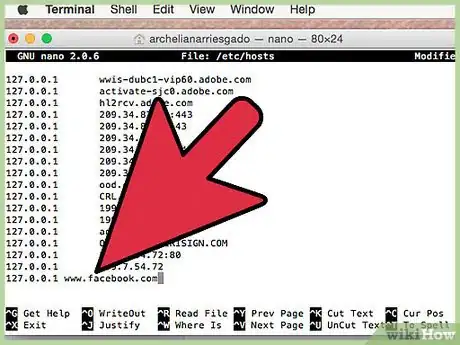
7Add additional sites. You can reroute as many websites as you'd like to 127.0.0.1 by creating new lines for each. Make sure that each line starts with 127.0.0.1.
-
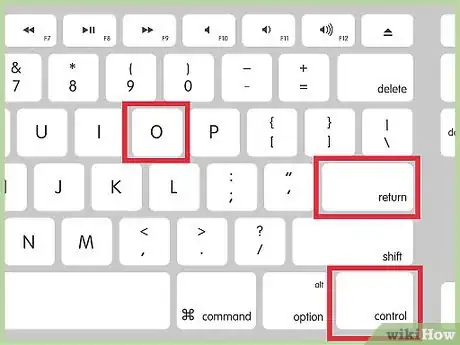
8Press .Ctrl+O and then ⏎ Return to save the file. Your changes will be saved and the file editor will be closed.
-
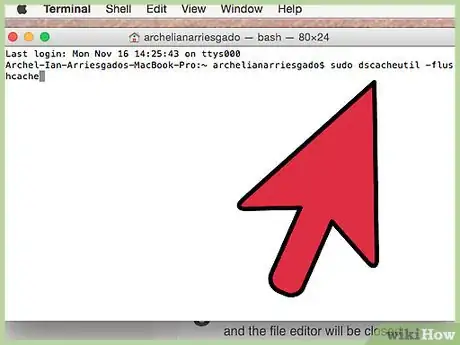
9Type .sudo dscacheutil -flushcache and press ⏎ Return. This will clear the DNS cache and make the new rules take effect. You may need to enter your administrator password.
-
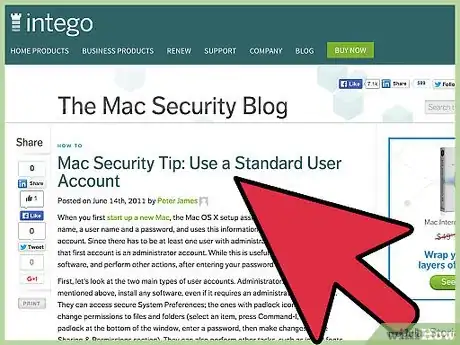
10Make sure that your administrator account is secure. Anyone that knows the administrator password can make changes to the "hosts" file. Make sure that each user logs into the Mac with a standard account, and that only you know the administrator password.[2]
Blocking with the Router
-
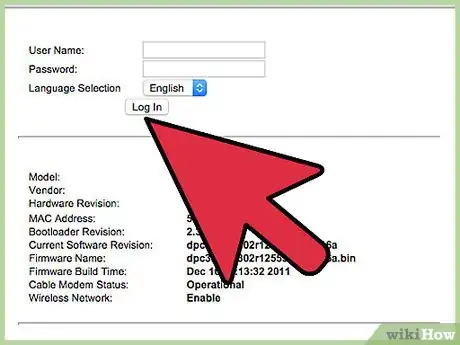
1Log into your router's configuration page. Many routers allow you to block websites and create a schedule for the blocking, which can be more powerful than blocking the website for everyone all the time. This can allow you to set "browsing times", such as an hour for Facebook after dinner. Not all routers allow you to block sites, but most modern ones do.
- You can access your router by typing the router's address into a networked computer's web browser. Most routers use 192.168.1.1 for their address, but some use 192.168.0.1 or 192.168.2.1. Refer to your router's documentation if you can't figure out the address.
- You'll need to log in with your router's administrator account. Different routers have different default accounts, so refer to your documentation or look the model up online to find the default admin account.
-
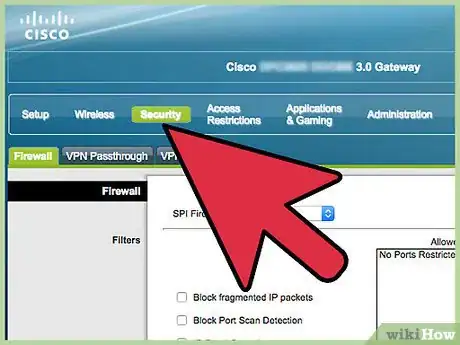
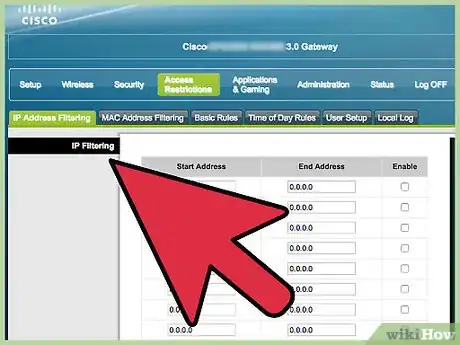
2Open the Security, Blocking, or Access Restrictions section. The label of this section will vary depending on the model router that you have. Some routers have this option in the Advanced section.
-
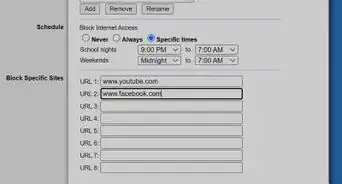
3Enter websites or keywords to block. You can enter specific websites, or enter keywords that you want to scan for. Block specific sites when you know what you're trying to block, and use keywords to block general subject matter. Click the Apply or Save button when you're finished.
-
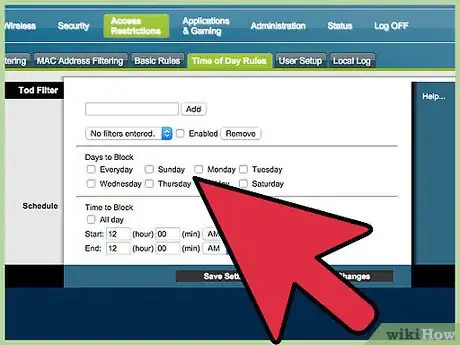
4Set a schedule. The scheduling options may be on the same page, or in a related section. Set the schedule to your specific needs. Blocks will apply to all connected devices by default. Click the Apply or Save button when you're finished.
-
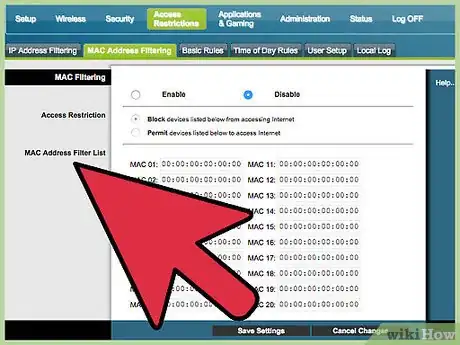
5Add exceptions. Many routers allow you to set a computer or device to be trusted, which will allow that computer to access any of the blocked sites. Enter the IP address of your private computer if you still want to be able to access the blocked sites. Your router's Devices section will tell you the IP address of each of your connected computers.
-
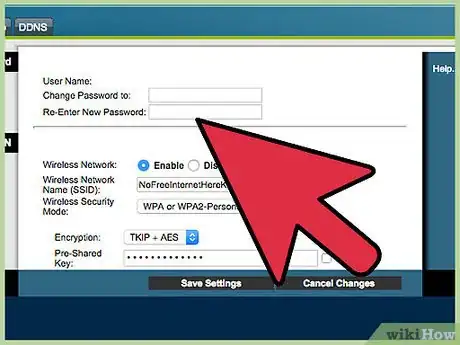
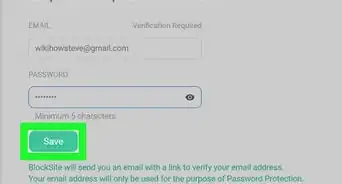
6Change your administrator password. If you leave the administrator password at the default settings, anyone on the network can look up the defaults and change your router configuration. If you want your blocking rules to be secure, change the router login information to something that only you know. You can find these options in the Administration section, which may be in the Advanced section.
iPhone/iPad/iPod Touch
-
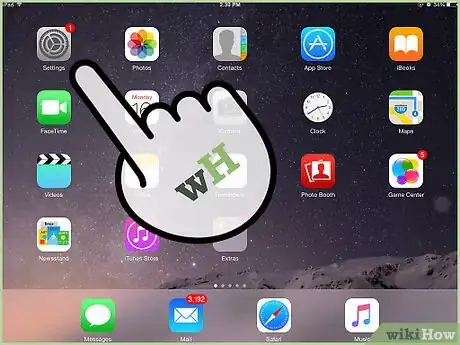
1Open the Settings app and select "General". This will open the general settings for your iOS device.
-
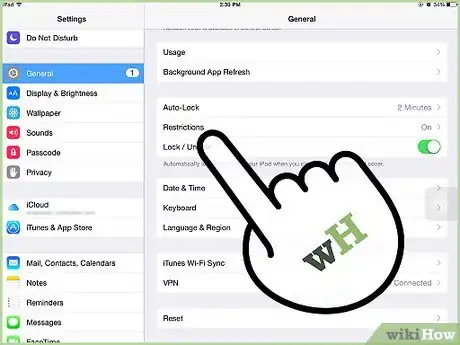
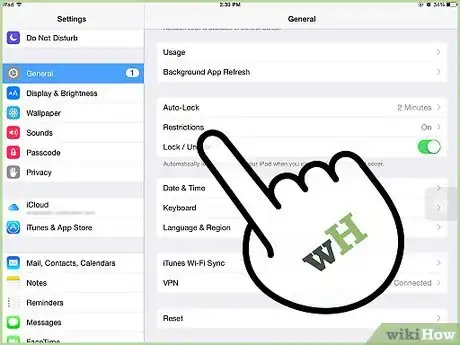
2Tap the "Restrictions" option and then tap "Enable Restrictions". You will be prompted to created a passcode for the restrictions. Make sure that only you know it, or the other person will be able to disable restrictions
-
3Scroll down to the "Allowed Content" section and tap "Websites". This will allow you to adjust the website blocking tools.
-
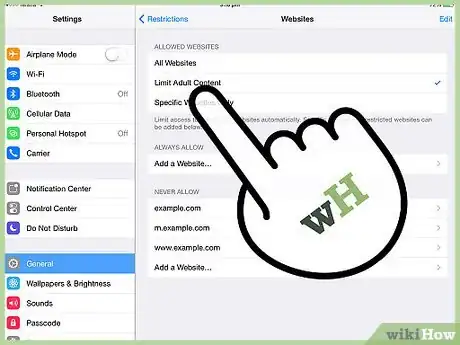
4Check the "Limit Adult Content" option. This will enable you to block specific websites, as well as automatically block many adult websites.
-
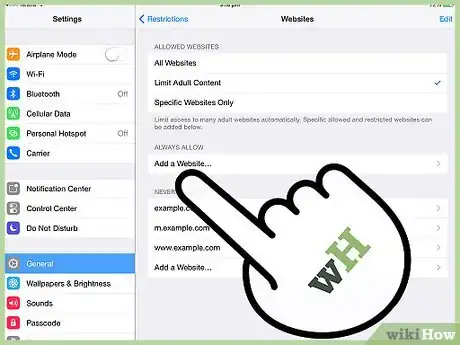
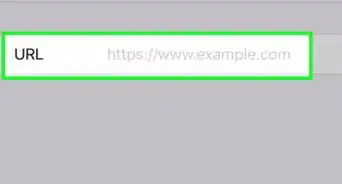
5Tap "Add a Website" in the "Never Allow" section. Type the website address that you want to block. This will allow you to specify websites that you want to block on the device. Websites that you list will be blocked in any browser app, including Chrome. You can add multiple sites.
Community Q&A
-
QuestionWhat if I cannot save using the Windows notepad method because it says that I need permission from administration?
 Community AnswerMake sure you run notepad as an administrator when doing this method. The hosts file is an important system file, and because of this Windows wants to make sure you really want to make the changes that you are making. Thus, Windows will require that you to run notepad as an administrator.
 -
QuestionHow do I block websites from my Samsung phone?
 Community AnswerThere might be filtering apps you can run which will probably be labeled as something like "child proof your phone." Check the Play Store.
 -
QuestionWhen saving the Notepad edited host file, what file type should I use?
 LayardCommunity AnswerThe host file is a plain text file but you should save it without the .txt extension.




-Step-18-Version-2.webp)


