This article was co-authored by wikiHow staff writer, Hannah Madden. Hannah Madden is a writer, editor, and artist currently living in Portland, Oregon. In 2018, she graduated from Portland State University with a B.S. in Environmental Studies. Hannah enjoys writing articles about conservation, sustainability, and eco-friendly products. When she isn’t writing, you can find Hannah working on hand embroidery projects and listening to music.
This article has been viewed 517,963 times.
Learn more...
Email is the communication tool of the modern world, but that communication often comes with a price. Spam filters might not catch all of your unwanted emails, and anyone who has your email address can send you a message whenever they want. Fortunately, you can either use Gmail itself or add an extension to your browser to block unwanted messages once and for all. The senders that you block won’t be able to tell that you blocked them, so you can avoid any sticky situations as you declutter your inbox.
Things You Should Know
- Whether using a computer, phone, or tablet, just click the three dots on a message and select "Block (sender)."
- When you block a sender, any emails they send you will be filtered to your Spam folder.
- The person you block will not know you've blocked them.
Steps
On a Computer
-
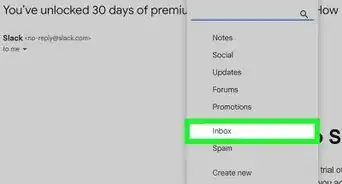
1Open Gmail. Type gmail.com into your browser and sign into your account, if you aren’t already. Navigate to your Gmail home page and click on “Inbox” to view all of your messages.[1]
- If your password is saved on your computer, you probably won’t have to sign in again.
-
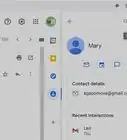
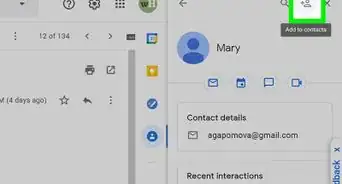
2Open the email from the sender you’d like to block. Find the message from the sender that you’d no longer like to get emails from. Click on their message to open it up.[2]
- If you deleted the message, check your trash folder instead of your inbox. If you sent it to spam, look in your spam folder.
Advertisement -
3Press “More” in the top right corner of the message. Navigate to the top corner of the message where it says “More” with the 3 dots next to it. Click on the button to open the dropdown menu for your options.[3]
- On some displays, the button will just look like the 3 dots, and it won’t say “More.”
- You can also use this dropdown menu to report phishing or spam.
-
4Click “Block (sender).” The block option will be the fourth option down from the dropdown menu. Click on the “Block (sender)” option to automatically remove their email from your inbox and block any future messages.[4]
- This block option will automatically send any emails from the sender to your spam folder. It will not bounce the emails back, and the sender won’t be able to see that you’ve blocked them.


On a Mobile Device
-
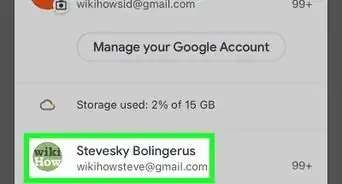
1Open the Gmail app. Click on your Gmail app and make sure that you’re signed in. Navigate to your inbox to see all of your messages.[5]
- If you don’t have the Gmail app, you can open up gmail.com on your web browser and follow the steps for blocking senders like you’re on a computer.
-
2Click on the message from the sender. Find the message from the person that you’d like to block and open it up. If you can’t find it, check your spam or trash folders.[6]
- If you’ve emptied the email from your trash folder, you won’t be able to block the sender until they send you another email.
-
3Tap “More” in the top right corner of the message. Look for the 3 dots in the top right corner of the message, then click on them. This will open up a dropdown menu with a few different options for the email.[7]
- On iPhones, the 3 dots will be vertical. On Androids, the 3 dots are horizontal.
- You can also use this dropdown menu to report phishing or spam.
-
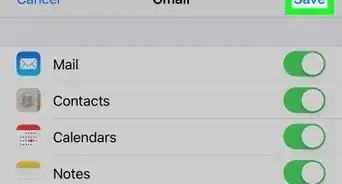
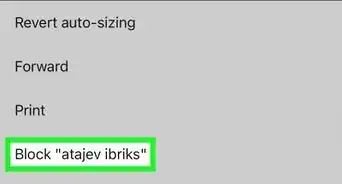
4Tap “Block (sender).” In the dropdown menu, click on the block sender option to automatically remove the email from your inbox. Now, any emails you receive from the sender will be automatically sent to your spam folder.[8]
- The sender won’t be able to see that you blocked them, and their emails won’t get bounced back to them.


Try a Chrome Extension
-
1Install the Block Sender Chrome Extension. The Block Sender extension is made specifically for Google Chrome web browsers. Head to their website and click on “Install the Plugin” to start the installation process.[9]
- With the free version of Block Sender, you can link 1 email address and block senders, but you won’t be able to bounce emails back.
- With the Plus version of Block Sender, you can link 1 email address and block senders, and you can also bounce emails back. This version costs $5 per month.
- With the Pro version of Block Sender, you can link 3 email addresses and both block senders and bounce emails back, plus other perks. This version costs $9 per month.
- You can download Block Sender by visiting https://blocksender.io/.
-
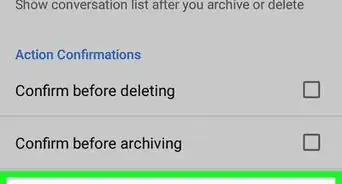
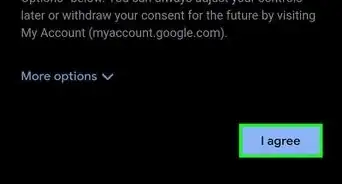
2Open your Gmail account. Once Block Sender has downloaded and installed on your computer, head to your Gmail account and make sure that you’re signed in. If you don’t see a “Block” button at the top of your inbox options, refresh your page until you do.[10]
- If you still aren’t seeing the “Block” button, try signing out of your Gmail account and signing back in.
-
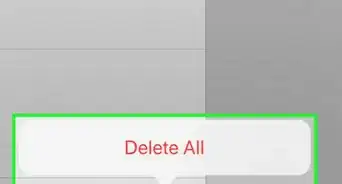
3Select the messages from the sender you’d like to block. In your inbox, click the checkmark box next to the message or messages from the sender. You can check one box at a time, or you can check multiple boxes from multiple senders to mass block them.[11]
-
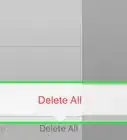
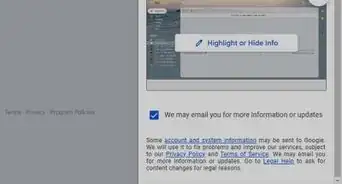
4Click “Block Selected Emails” in the “Block” box. At the top of your inbox underneath the search bar, find the “Block” button and click on it to open the dropdown menu. Click on “Block Selected Emails” to automatically block all messages from the senders that you’ve selected.[12]
- With the free version of Block Sender, the emails will never reach your inbox or spam folder, and the sender won’t be able to see that you’ve blocked them.
- With both paid versions of Block Sender, you can choose to stop receiving emails and/or bounce the emails back with a fake “incorrect email address” message. This will not tell the sender that they are blocked, but it can trick them into thinking they have the wrong email address.


Community Q&A
Did you know you can get answers researched by wikiHow Staff?
Unlock staff-researched answers by supporting wikiHow
-
QuestionI want to block someone altogether, not just put his letters in my spam folder. Is it possible to do that somehow?
 wikiHow Staff EditorThis answer was written by one of our trained team of researchers who validated it for accuracy and comprehensiveness.
Staff AnswerwikiHow Staff EditorStaff AnswerIf you download the paid version of Block Sender, you can bounce back the sender's email with an error message to make it seem like your email address is no longer valid. That way, the email won't be in your inbox or your spam folder so you don't have to see it at all.
Support wikiHow by unlocking this staff-researched answer.
-
QuestionCan I block all emails other than those from people on my contact list?
 Community AnswerNo, this is not possible with Gmail.
 -
QuestionWill the sender know I have blocked his e-mails?
 Community AnswerYes, they will see that the email was not received.
Warnings
- If you receive an email asking for personal information, use the “More” dropdown menu to “Report phishing.”[13]⧼thumbs_response⧽


References
- ↑ https://support.google.com/mail/answer/8151?co=GENIE.Platform%3DDesktop&hl=en&oco=1
- ↑ https://support.google.com/mail/answer/8151?co=GENIE.Platform%3DDesktop&hl=en&oco=1
- ↑ https://support.google.com/mail/answer/8151?co=GENIE.Platform%3DDesktop&hl=en&oco=1
- ↑ https://support.google.com/mail/answer/8151?co=GENIE.Platform%3DDesktop&hl=en&oco=1
- ↑ https://support.google.com/mail/answer/8151?co=GENIE.Platform%3DAndroid&hl=en&oco=1
- ↑ https://support.google.com/mail/answer/8151?co=GENIE.Platform%3DAndroid&hl=en&oco=1
- ↑ https://support.google.com/mail/answer/8151?co=GENIE.Platform%3DiOS&hl=en&oco=1
- ↑ https://support.google.com/mail/answer/8151?co=GENIE.Platform%3DiOS&hl=en&oco=1
- ↑ https://blocksender.io/
About This Article

1. Sign in to Gmail.
2. Click the arrow next to the Search bar.
3. Enter the recipient's email address in the "To" field.
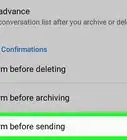
4. Click 'Create filter.
5. Select Delete it.
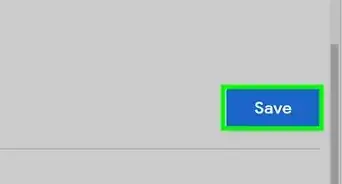
6. Click Create filter.