wikiHow is a “wiki,” similar to Wikipedia, which means that many of our articles are co-written by multiple authors. To create this article, 13 people, some anonymous, worked to edit and improve it over time.
There are 10 references cited in this article, which can be found at the bottom of the page.
This article has been viewed 239,605 times.
Learn more...
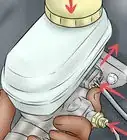
Bleeding a master cylinder is a very straightforward job, but is critical to make sure your brake system is safe and free of air. The problem with air is that it is compressible, while the fluid that goes in your braking system is not. You should bench bleed your master cylinder first, then bleed on the car after installation.
Steps
Bleeding a New Master Cylinder on a Bench
-
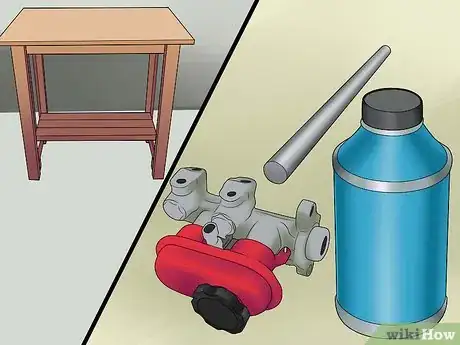
1Gather your supplies. Bleeding from the bench is much easier than bleeding using the pump method, which takes a very long time and may not work. It is also much less expensive than taking your master cylinder into a mechanic, who will quickly (and expensively) do it with vacuum pumps. It is also necessary if you are installing a new master cylinder. To bleed your master cylinder from the bench, gather the following supplies:[1]
- Your master cylinder with bleed kit.
- Fresh brake fluid.
- A workbench or table with a fixed vise. If you have neither of these, it will be more cost-effective to go to the next method, which does not require a specialized workspace.
- A wooden or plastic dowel. Make sure this is strong, because you don't want it to snap while you're working.
-
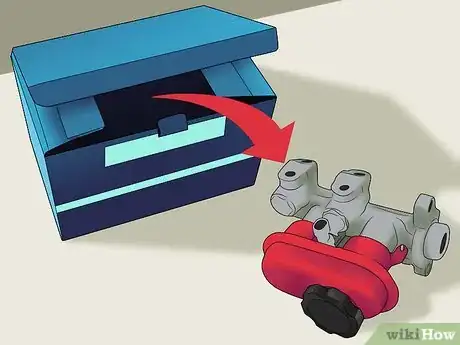
2Remove your master cylinder from the packaging. Set aside the bleed kit that comes with the cylinder, as you will need it later.
- If the new part didn't come with a reservoir, be sure to remove the one from the old part.
Advertisement -
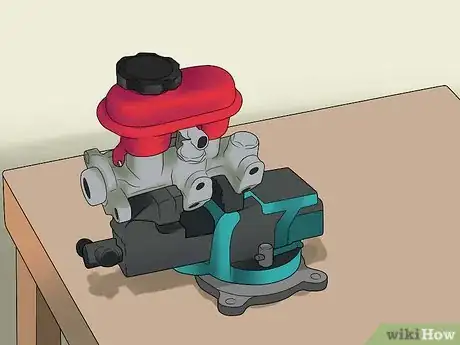
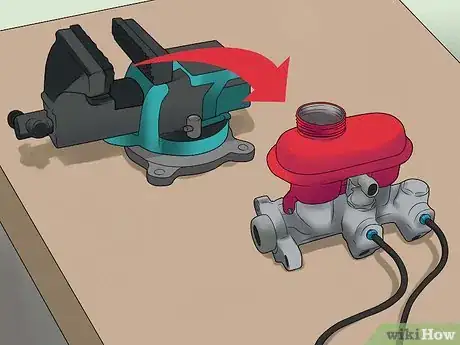
3Mount your master cylinder in the vise. Steadiness is key when bleeding your master cylinder in this way. Before doing anything else, mount your master cylinder in the vise on your workbench or table, and make sure it is level.[2]
- Hold the master cylinder by its flared mount, and make sure it is level. This way, the air will leave properly, and it will fill with brake fluid evenly without gaps.
- It needs to be firmly secured, but not so tight you crush or damage cast aluminum parts. Make sure the plastic fittings are not crushed or blocked when putting the cylinder in the vise.
- If your table does not have a pre-installed vise clamp, you can buy a separate vise that clamps on to the table if you do not have one pre-installed.
- If you like the appearance of this table, it might be best not to use it, as vise clamps leave a mark on wood or metal. If you have no other usable tables, wedge a rag in between the vise clamps to avoid leaving a mark. This may not work, so proceed at your own risk.
-
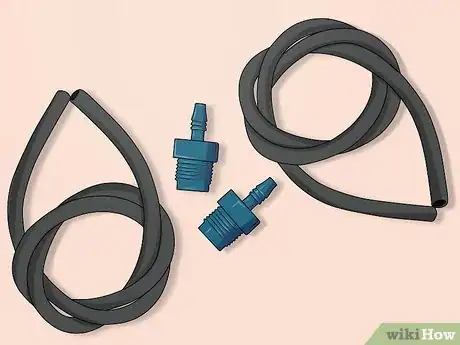
4Prepare the bleeding kit. This should come with your master cylinder, and consists of two rubber hoses and two plastic threaded inserts.
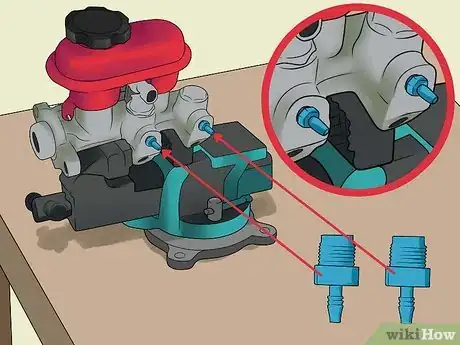
- The inserts will be threaded on one side, and the other will be a smooth adapter for taking the hose.
- Check the color of your hose, too. If you have opaque hose, you might want to replace it with clear hose, because then you can see the air bubbles passing through the fluid more easily.
- You can also opt not to use the bleeding kit, as it isn't necessary. However, this guide will assume that you are using the bleeding kit.
-
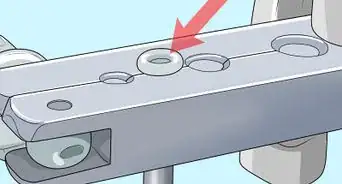
5Screw the inserts into the outputs of your cylinder. These are located on the side of the cylinder past the flared mount.
- Install these into the bosses (the threaded holes) without cross threading them. Make sure they are finger tight.
-
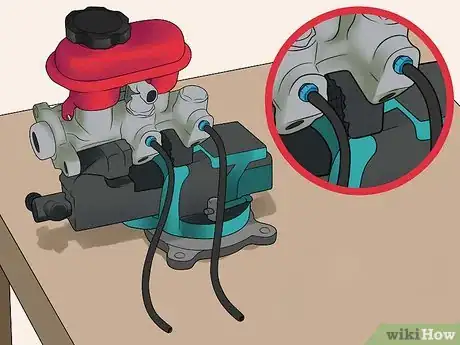
6Insert the rubber hoses. Once you have attached the inserts into the cylinder, you can attach the rubber hoses to these inserts.
-
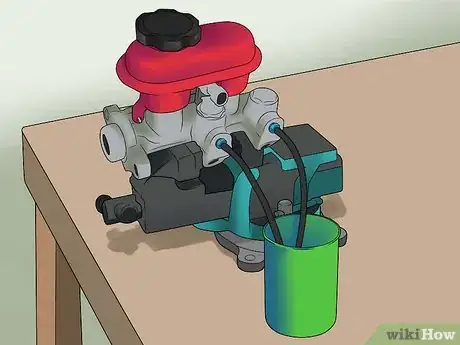
7Place the ends of the rubber hoses into a container. This container will be used for catching the excess brake fluid, so make sure you don't mind that it gets dirty.
- Consider attaching the hoses to the container in some way. Once you begin pumping, they will begin flailing about and spray blake fluid everywhere if they are not anchored down in some way.
- An old coffee can works especially well for this, as does any cylindrical container with a wide, flared opening.
-
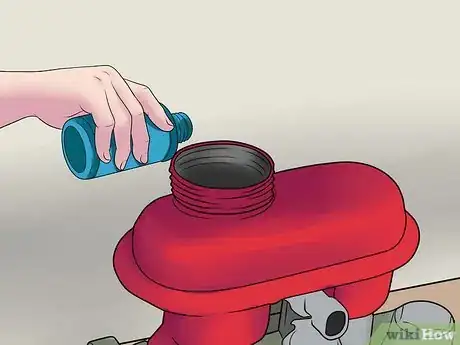
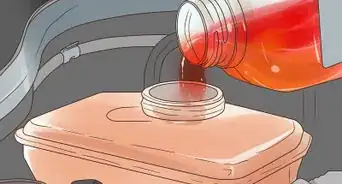
8Fill the attached reservoir with brake fluid. If your reservoir runs out of brake fluid at any time during your bleed, you'll have to start from the beginning.[3]
- You should only put clean brake fluid that is less than two years old into the reservoir.
- Make sure it's in between the "max" and "min" marks and covers the ends of the hoses. Brake fluid is very hygroscopic, which means it absorbs moisture and will degrade, and this damages the seals. Do not reuse brake fluid
-
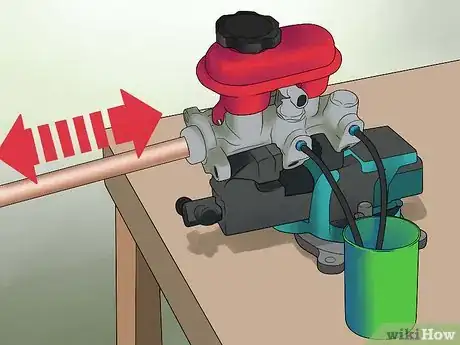
9Begin pumping the master cylinder. Make sure you do this slowly to avoid allowing air into the apparatus, or allowing the wooden dowel to snap.
- Don't bottom out the piston, otherwise this might allow the entrance of air.
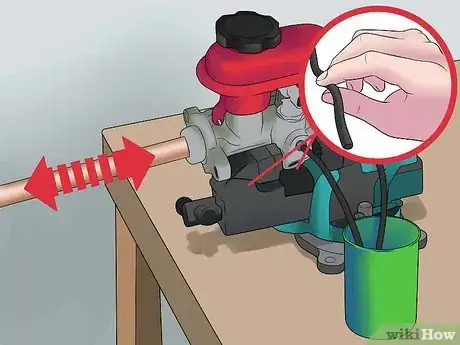
- You have to pinch the rubber hoses closed each and every time you release pressure on the cylinder.
-
10Push in the cylinder and pinch the hoses. This will compress the brake fluid, so it will shoot out when you release the hoses.
- This also prevents air from entering the master cylinder by not providing a vacuum for it to fill.
-
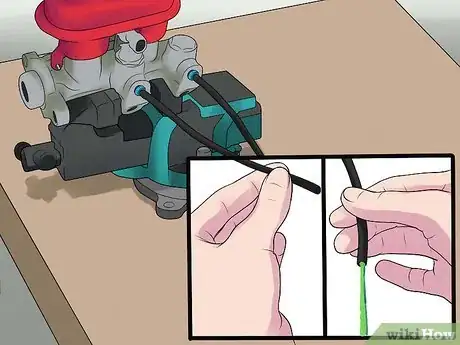
11Release the hoses and let the brake fluid out of the master cylinder, then immediately pinch the hoses again.
-
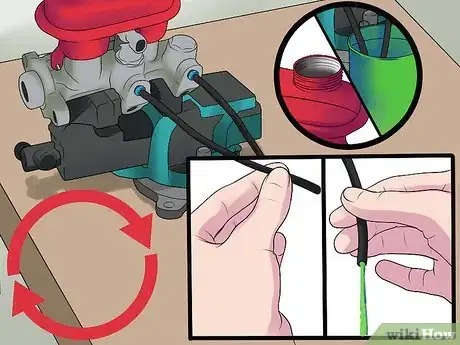
12Repeat this until there is no more air in the fluid.
- You will know you're finished pumping when there are no more air bubbles rising in the reservoir or present in the container of spent brake fluid.
-
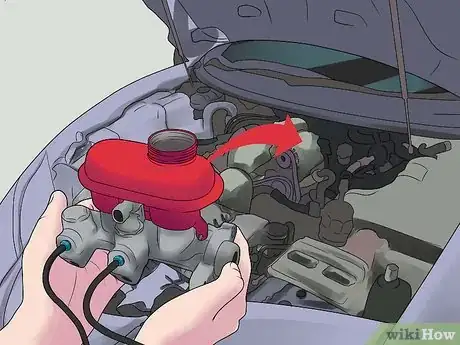
13Remove the master cylinder from the vise with the bleeding kit still attached.
-
14
-
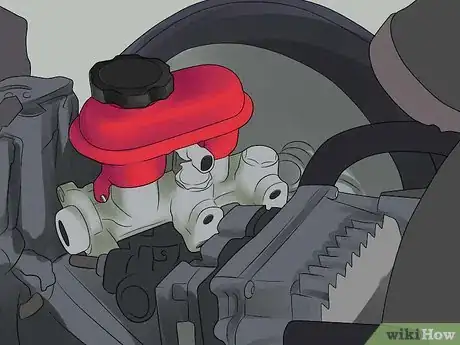
15Remove the inserts and hoses, then place the caps on your master cylinder. These should have come with the cylinder, and will prevent leakage.
-
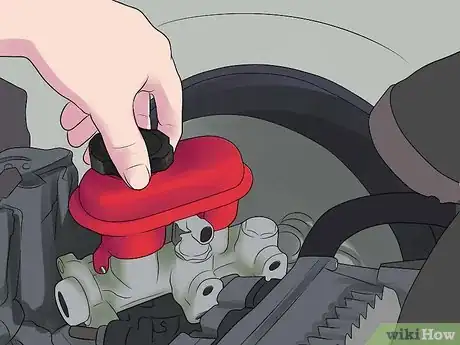
16Replace the cap on the master cylinder's reservoir. Otherwise brake fluid will leak out from the reservoir.
-
17Test the brakes before returning the vehicle to service. You need to make sure that your brakes actually work before you begin driving your car.
- If you've done it right, the brakes should feel clean and crisp when you pump them.
- If you've done it wrong, the brakes will feel "squishy" when you pump them from your car, indicating there is still air in the master cylinder. If the break pedal feels soft after installing the master cylinder, follow the instructions for the method on bleeding the master cylinder from the car, or this guide on bleeding brake lines.
Bleeding from the Car
-
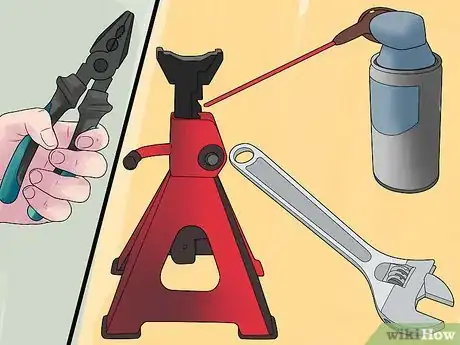
1Gather your supplies. Unlike with bleeding a separate or new master cylinder, you can do this without gathering new parts or equipment. You will need:
- A brake bleed screwdriver or wrench. You will have to loosen the screws that hold the hoses in place in order to bleed the master cylinder.
- Pliers. You will need these to pinch the hose attached to your master cylinder in between pumps
- WD-40 or other water-displacing solvent. Your brake bleed screw may be caked with oil or other contaminants and be difficult to unscrew. You'll use the WD-40 to remove this material and allow yourself to loosen the screw.
- A helper. He or she will pump your brakes while you fiddle with the hoses and screws underneath your car.
-
2
-
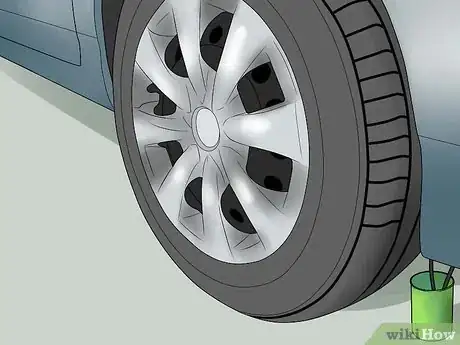
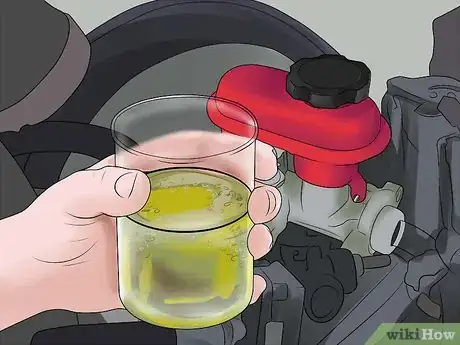
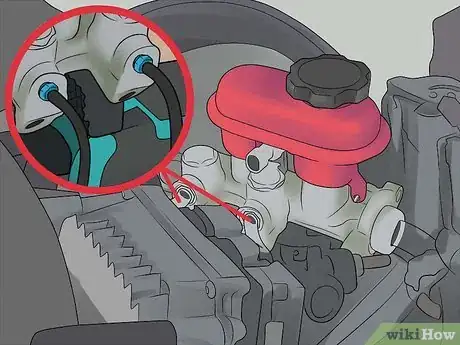
3Place a container or jar underneath the master cylinder's bleeder nozzle or the place for the hose attachment. This container will be used for catching the excess brake fluid, so make sure you don't mind that it gets dirty.
- Consider attaching the hoses to the container in some way. Once you begin pumping, they will begin flailing about and spray blake fluid everywhere if they are not anchored down in some way.
- An old coffee can works especially well for this, as does any cylindrical container with a wide, flared opening.
-
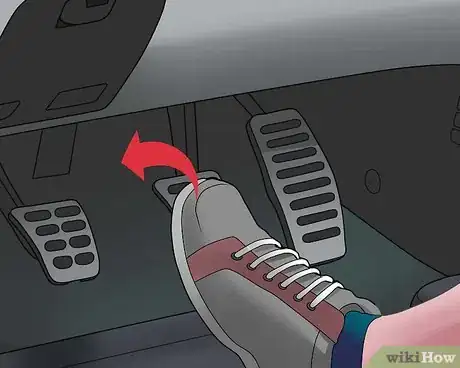
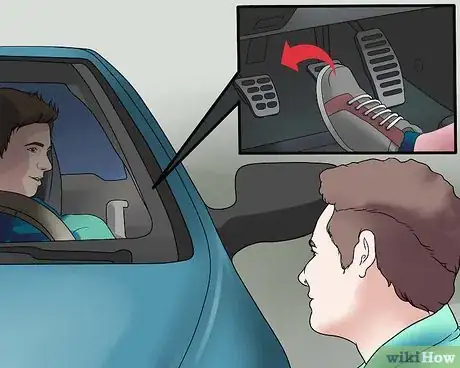
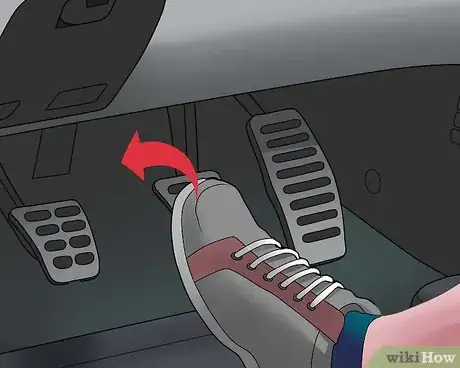
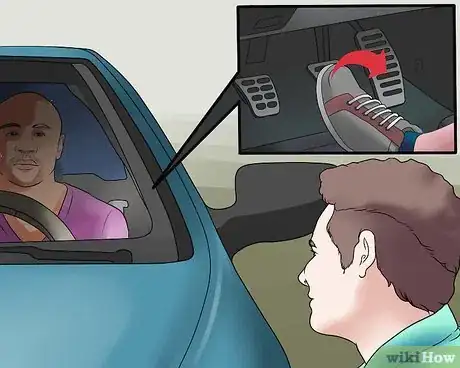
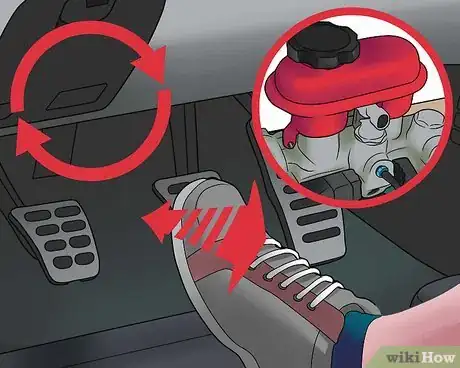
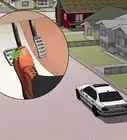
4Ask your helper to slowly pump your brake pedal several times. Have him or her indicate to you what he or she is doing by calling out "down" when pressing the brake pedal and "up" when letting it go.
-
5Have your helper press and hold down the brake pedal. Now you will begin doing some work on the master cylinder.
-
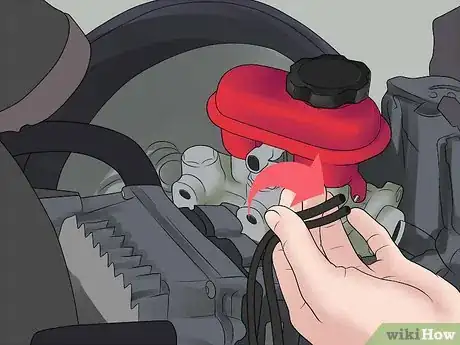
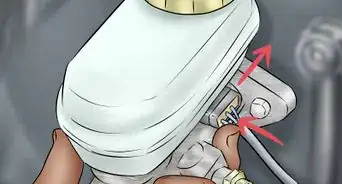
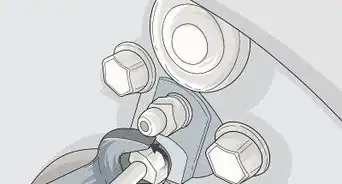
6Detach the hoses connecting the brakes and the master cylinder. This isolates your master cylinder and keeps you from bleeding your brakes as well.
- You're trying to bleed your master cylinder, and not your brakes, so you don't want to affect the latter by messing with the former.
- Likely, brake fluid will instantly fly out. This is why you want to have a container attached.
- Before your helper releases the pedal, make sure you have the hoses back on.
-
7Examine the brake fluid. If there is air in the fluid, you will see air bubbles in what was discharged.
- This is also why it is important to have a container or jar, because without collecting the fluid, you will have no idea whether there is fluid in the brakes or not.
-
8Reattach the hoses to the master cylinder. Failing to do so will allow air back in to the cylinder.
-
9Have your helper release the pedal.
-
10Repeat until the air is out of the master cylinder.
- Don't forget to continue topping up the master cylinder with brake fluid. Otherwise, you may introduce air into it and have to begin again.
Community Q&A
-
QuestionHave a 1997 Grand Am. I replaced the master cylinder and power booster, no brakes still. What did I leave out?
 Community AnswerThere may be air in the brake line. Try bleeding the line.
 -
QuestionWhy should a master cylinder be bled on the vehicle after installation?
 Community AnswerAfter you change your brake/clutch master cylinder kit or replace the master cylinder assembly, you must bleed air/fluid to prevent 'trapped air' in the system after installing. There would be an 'air pocket' in the line. You have to pump many times by quickly opening and closing the bleed valve so as not to let air come back into the system.
 -
QuestionWhat is the purpose of the ABS system?
 Kristin SharpCommunity AnswerTo keep brakes from locking up. ABS will vibrate, keeping brake pads from staying locked. This way, your vehicle will stop smoother without danger of flipping or sliding sideways.
Warnings
- If there is any doubt as to the safety and reliability of the braking system, do not put the vehicle back into service. Call a professional. This is cheaper and much less consequential than a crash you could have prevented.⧼thumbs_response⧽
- Do not use oils to clean anything that brake fluid is supposed to go into. This will destroy the seals.⧼thumbs_response⧽
- Do not reuse brake fluid that has been bled or poured out of the braking system. This will contaminate your new parts and damage them.⧼thumbs_response⧽
- Finally, it you have a sophisticated brake system such as ABS, EBD, or BA brakes, it may not be possible for you to avoid getting air into actuator. If you have this type of brake, you should have a professional bleed the brakes rather than doing it yourself.⧼thumbs_response⧽
- Brake fluid is very corrosive to paint and many plastics, even watch crystals. If you spill it on paint, wash it off immediately.[8]⧼thumbs_response⧽
References
- ↑ http://www.classicperform.com/TechBook/BrakeBleed.htm
- ↑ http://www.misterfixit.com/brakbld1.htm
- ↑ http://www.vw-resource.com/bench_bleed.html
- ↑ https://www.2carpros.com/articles/how-to-replace-a-brake-master-cylinder
- ↑ https://www.2carpros.com/articles/how-to-bleed-or-flush-a-car-brake-system
- ↑ https://www.dummies.com/home-garden/car-repair/how-to-safely-jack-up-your-vehicle/
- ↑ https://www.familyhandyman.com/automotive/tires/car-repair-car-jack-safety/
- ↑ https://www.poison.org/articles/2016-sep/brake-fluid
- https://www.youtube.com/watch?v=Uz4OwuUGVOA&vl=en
About This Article
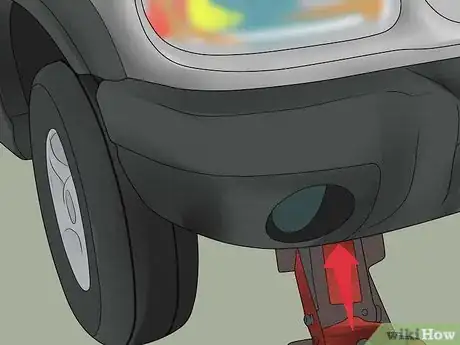
To bleed a master cylinder, start by lifting up the car with a jack so you can work underneath it. Next, have a helper slowly pump the brake pedal several times before keeping it held down. While the brake pedal is down, detach the hoses from the brakes to the master cylinder and let the brake fluid drain into a container. Finally, reattach the hoses so that air doesn’t get in and have your helper release the brake pedal. For tips on how to bleed a master cylinder using a bleed kit, read on!
