This article was co-authored by Barry Zakar. Barry Zakar is a professional handyman and the founder of Little Red Truck Home Services based in the San Francisco Bay Area. With over ten years of experience, Barry specializes in a variety of carpentry projects. He is skilled at constructing decks, railings, fences, gates, and various pieces of furniture. Barry also holds his MBA from John F. Kennedy University.
There are 9 references cited in this article, which can be found at the bottom of the page.
This article has been viewed 21,629 times.
Over time, garage doors can become unbalanced, causing them to continue sliding up or start closing on their own when you leave them partially open. Test your garage door’s balance by disconnecting the opener if applicable, then leave the door open at different positions and watch for up and down movements to determine whether you need to add or remove tension from the springs. It’s important to know that there are two types of garage door springs, torsion springs and side-mounted springs, and each type requires a different adjustment procedure. Keep in mind that torsion springs can be dangerous to adjust without the proper tools and know-how, so you might want to call in a professional to do it for you.
Steps
Checking the Balance of the Door
-
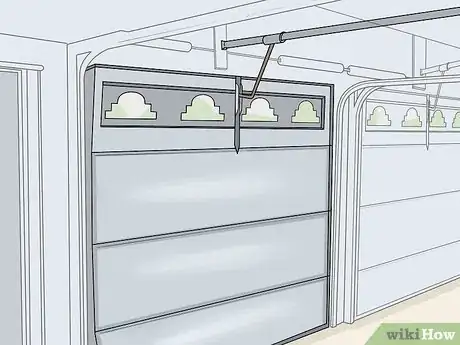
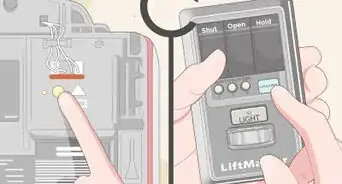
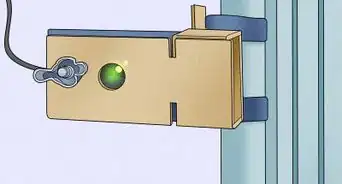
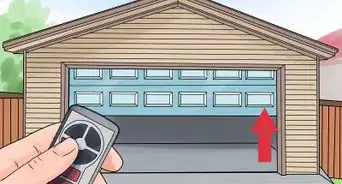
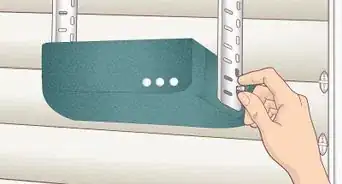
1Close the garage door all the way. Press the button on the garage door opener to close the door if it has an opener. Use the handle to close the door all the way if it doesn’t have an opener.[1]
- You need to start with the door in the down position so you can lift it up to various heights and check the balance.
-
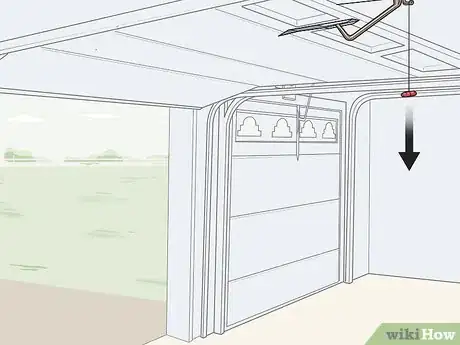
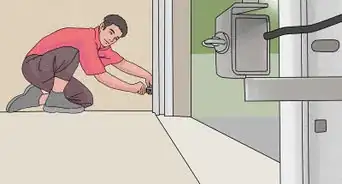
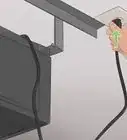
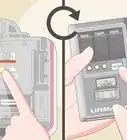
2Pull the emergency release cord down and back to disconnect the opener. Grab the handle on the red cord if your garage door has an opener. Pull the handle down and back away from the garage door to release the opener mechanism from the garage door.[2]
- This isn’t necessary if your garage door does not have an automatic opener.
Advertisement -
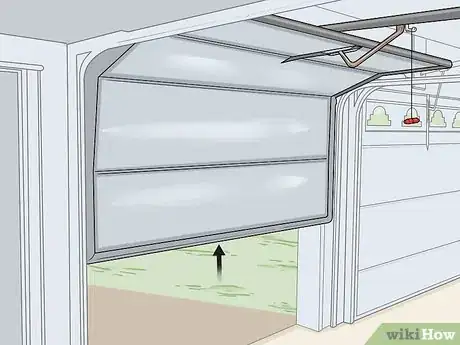
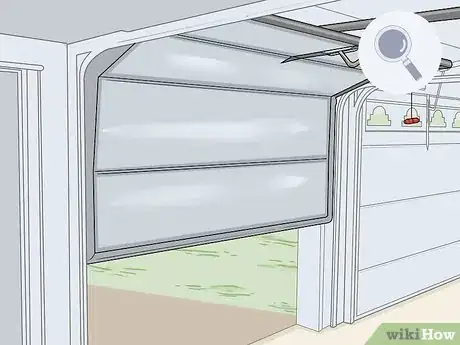
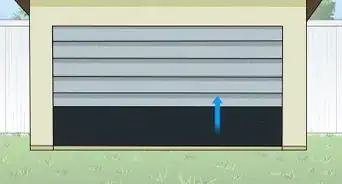
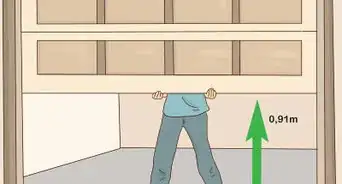
3Lift the garage door halfway up and let go of it. Grab the handle at the bottom of the garage door. Lift it up to about halfway and let go of the handle. Watch whether the door moves up or down on its own after you release it.[3]
- A balanced garage door will stay open with little movement when you open it to the midpoint.
- Be careful to stand clear of the garage door when you let it go, and don’t put your feet under it, because it could come crashing down.
-
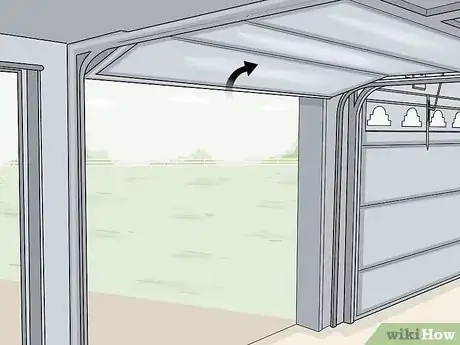
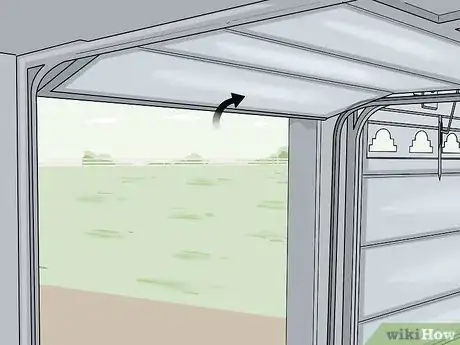
4Raise the garage door all the way and release it. Use the handle of the garage door to lift it up as far as it will go. Let go of it when it is all the way open and watch how it moves.[4]
- A balanced garage door will rise slightly when it is in the fully open position and won’t start sliding closed.
Tip: Be ready to catch the garage door if it starts quickly sliding closed so it doesn’t slam shut.
-
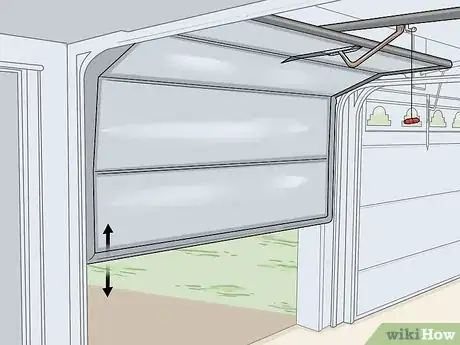
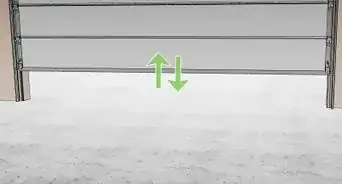
5Balance the garage door if it lowers or raises on its own. Watch how the garage door moves when you let it hang freely at the halfway open and fully open positions. A door that starts sliding down, slams closed on its own, or that opens further on its own needs its springs adjusted.[5]
- Garage doors that are extremely difficult to open or slide open way too fast can also be fixed by adjusting their springs to balance them.
Adjusting the Balance of Torsion Springs
-
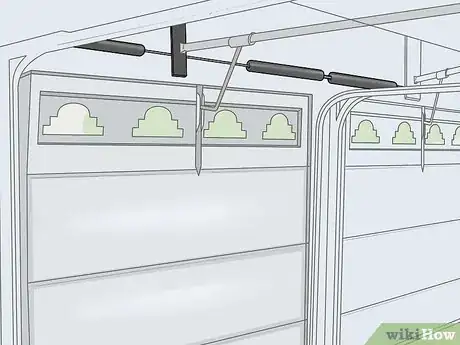
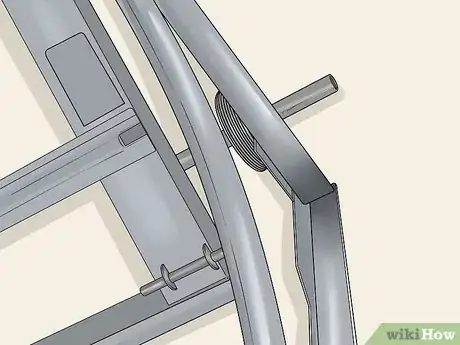
1Locate the torsion springs on the bar above the garage door. Look at the wall just above the garage door. Spot the bar that runs parallel to the top of the garage door and has 2 springs on it.[6]
- The bar also has a pulley at each end, through which the garage door cables that open and close it pass.
-
2Ensure that the garage door is closed all the way. Use the garage door opener to close the door if it has an opener. Close the door all the way using the handle if there is no opener.[7]
- Torsion springs must be adjusted with the door all the way closed, so that there is tension on the springs.
Warning: Adjusting garage door torsion springs can be dangerous because of the high amount of energy that they hold. It’s better to call a professional garage door repair company to make the adjustments for you if you are not experienced in this type of home improvement project.
-
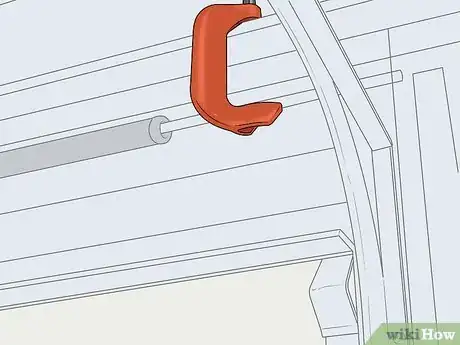
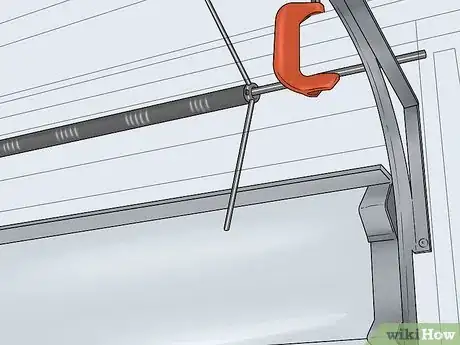
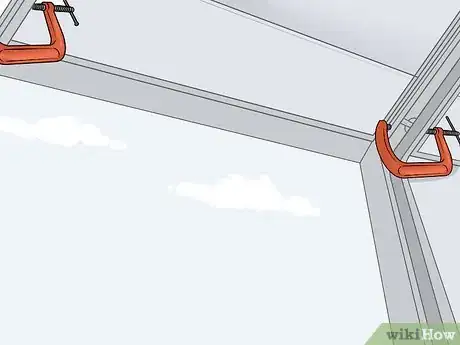
3Place a C-clamp on each garage door track above the top-most roller. Open up a C-clamp just enough that you can slide it onto the garage door roller track. Put it on the track right above the top-most roller on the door, then tighten it as much as possible. Do the same on the other side.[8]
- If you are going to be tightening the torsion springs, the garage door can rise unexpectedly and cause injury. Placing clamps on the tracks above the rollers will prevent this from happening.
-
4Insert a garage door torsion spring winding bar into 1 spring’s adjustment collar. The adjustment collar is the metal fitting at the end of the spring that has a screw and holes in it for adjusting the spring. Insert the tip of a garage door torsion spring winding bar into 1 of the holes.[9]
- A garage door torsion spring winding bar is a metal rod that is made specifically for adjusting the torsion springs of garage doors. You can order them online if you don’t have one or measure the diameter of the holes and use a solid metal rod of a matching diameter.
- Wear work gloves and safety glasses when you are performing this procedure to protect your hands and eyes in case of any accidents.
-
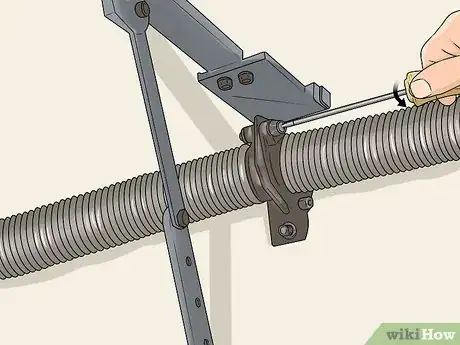
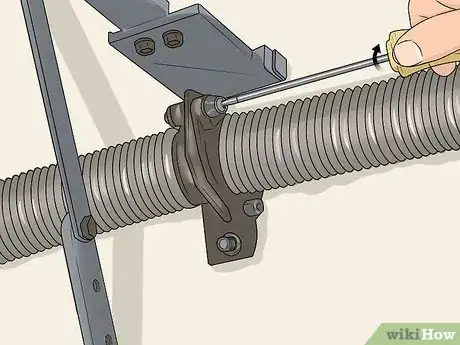
5Loosen the set screw in the adjustment collar. Locate the flathead set screw in the adjustment collar. Use a flathead screwdriver to loosen it by rotating it counterclockwise until it is no longer against the garage door spring bar.[10]
- You must have a torsion spring winding bar inserted into 1 of the holes before you can loosen the set screw. Make sure the bar is inserted all the way and hold it in place while you loosen the screw.
-
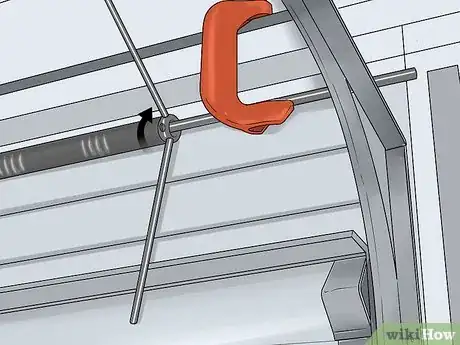
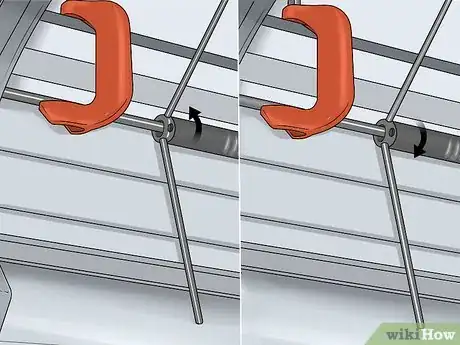
6Tighten the tension on the spring 1/4 of a turn if the door is closing on its own. Rotate the adjusting collar about 1/4 of a turn up using the torsion spring winding bar. This will increase the tension on the spring so the door is easier to open and doesn’t slide closed on its own.[11]
- Make adjustments of only 1/4 of a turn at a time, or, if the door is closing on its own particularly fast, you can do 2 1/4 turns. Don’t do any more than this at a time or you might put too much tension on the spring.
-
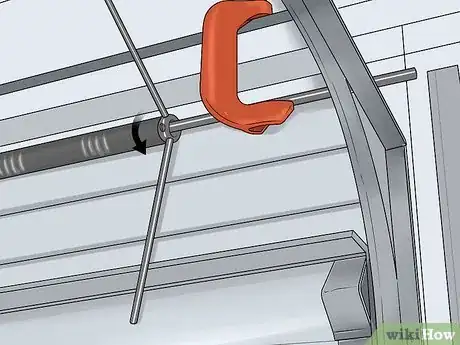
7Loosen the tension on the spring 1/4 of a turn if the door is opening on its own. Use the torsion spring winding bar to rotate the adjusting collar 1/4 of a turn down. This will decrease the tension on the spring so the door doesn’t keep sliding up when you release it midway.[12]
- Remember to only make adjustments of 1/4 of a turn at a time, or at the most 1/2 a turn if the door is sliding up on its own very rapidly or opens way too fast.
-
8Tighten the set screw in the adjustment collar. Keep the torsion spring winding bar fully inserted in the adjusting collar and continue holding it in place. Tighten the set screw by turning it all the way clockwise with a flathead screwdriver.[13]
- This will set and hold the newly adjusted springs in place. You can remove the torsion spring winding bar only after the screw is tightened all the way.
-
9Adjust the other spring exactly the same way so the door is balanced. Use exactly the same procedure to adjust the torsion spring in the same direction on the opposite side. Make sure to adjust it the exact same number of 1/4 turns so the door will be equally balanced on each side.[14]
- For example, if you just tightened the tension on the right-hand torsion spring by turning it up 1/2 a turn, turn the left-hand torsion spring 1/2 a turn up.
-
10Test the door and make further adjustments if needed. Remove the clamps and lift the door to the midway point, then release it and watch for any up or down movement. Open the door all the way and check for movement again. Replace the clamps and repeat the adjustment process, adjusting the springs by 1/4 of a turn at a time, to get the door perfectly balanced if it is still sliding up or down on its own.[15]
- Remember to always make the exact same adjustments on both the left and right springs. Only make 1/4 adjustments and continue to test the door after each adjustment until you have tweaked it just right.
Correcting the Balance of Side-Mounted Springs
-
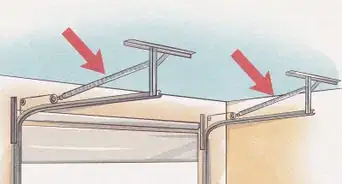
1Locate the side-mounted springs on either side of the ceiling track. Look up at the tracks on the ceiling on either side of the garage door. Spot the springs on both sides that are stretched out and tense when the garage door is closed.[16]
- Side-mounted springs are easier and safer to make adjustments to yourself than torsion springs and you don’t need any special tools.
-
2Open the garage door all the way to release spring tension. Press the button on the opener, if the door has one, to open the garage door all the way. Lift the door all the way open with the handle if there is no opener.[17]
- Adjustments to side-mounted springs must be made with the door fully open so that there is no tension on them.
-
3Use the emergency release cord to disconnect the opener, if the door has one. Grab the handle at the end of the cord. Pull it down and back towards the opener to release it.[18]
- Even if the garage door is all the way open, the springs can still have some tension on them when connected to an opener. Using the emergency release cord will ensure that there is no tension on them before you make adjustments.
-
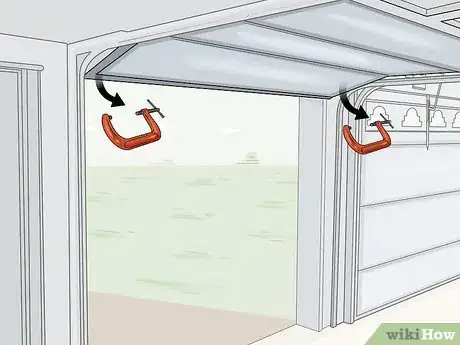
4Put a C-clamp on both tracks below the lowest door rollers. Loosen a C-clamp so that you can slip it over the track on 1 side of the door. Place it over the track just below the bottom-most roller, then tighten it as much as possible. Repeat this on the other side.[19]
- This will ensure that the door stays open and there is no tension on the springs while you adjust them.
-
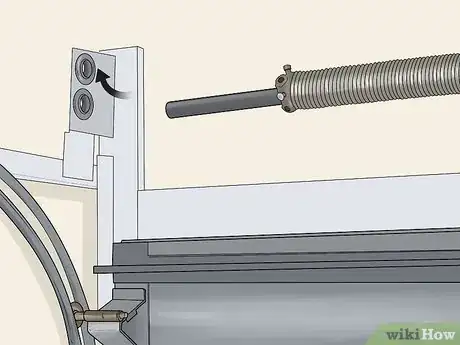
5Move both springs up by 1 hole for a garage door that is closing on its own. Unhook 1 of the springs from the hole in the bracket that holds it in place towards the back of the garage, then move it up to the next hole. Make the exact same adjustment to the spring on the other side.[20]
- This adds tension to the springs, which will balance a garage door that is sliding closed on its own or is hard to open.
Tip: It’s best to make adjustments 1 hole at a time, then test the door’s balance after each adjustment to see if any further tweaks are required.
-
6Adjust both springs down by 1 hole for a garage door that is opening on its own. Unhook 1 of the springs from the hole in the bracket that holds it in place towards the back of the garage, then move the hook up to the next hole. Repeat this for the spring on the other side.[21]
- Lowering the springs will decrease the tension and balance a garage door that is sliding up on its own or slams closed too quickly.
-
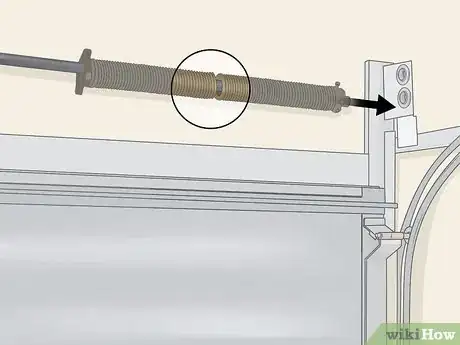
7Replace both springs if 1 of them is broken. This only applies if your garage door is unbalanced because 1 of the side-mounted springs is broken. Purchase a new set of springs, then follow the same process for adjusting the springs, but replace them both with new ones instead.[22]
- This will ensure that both of the springs have the same strength, as opposed to putting a brand new spring on one side and leaving an old spring with a potentially short lifespan on the other side.
-
8Remove the C-clamps from the tracks after you move the springs. Unclamp both the C-clamps from the garage door tracks and put them aside. This will allow you to close the door and see if your adjustments worked.[23]
- If you need to make any more adjustments, remember to put the clamps back on with the door open before you move the springs again.
Expert Q&A
Did you know you can get expert answers for this article?
Unlock expert answers by supporting wikiHow
-
QuestionHow can I fix the door springs on my garage door?
 Barry ZakarBarry Zakar is a professional handyman and the founder of Little Red Truck Home Services based in the San Francisco Bay Area. With over ten years of experience, Barry specializes in a variety of carpentry projects. He is skilled at constructing decks, railings, fences, gates, and various pieces of furniture. Barry also holds his MBA from John F. Kennedy University.
Handyman
-
QuestionHow can I fix a squeaky garage door?
 Barry ZakarBarry Zakar is a professional handyman and the founder of Little Red Truck Home Services based in the San Francisco Bay Area. With over ten years of experience, Barry specializes in a variety of carpentry projects. He is skilled at constructing decks, railings, fences, gates, and various pieces of furniture. Barry also holds his MBA from John F. Kennedy University.
Handyman
-
QuestionIs it hard to fix a garage door? I don't want to pay someone to do it.
 Barry ZakarBarry Zakar is a professional handyman and the founder of Little Red Truck Home Services based in the San Francisco Bay Area. With over ten years of experience, Barry specializes in a variety of carpentry projects. He is skilled at constructing decks, railings, fences, gates, and various pieces of furniture. Barry also holds his MBA from John F. Kennedy University.
Handyman
Warnings
- Wear work gloves and safety glasses whenever you are adjusting torsion springs on your garage door.⧼thumbs_response⧽
- Torsion springs hold enough energy to cause serious injury or damage if incorrectly handled. Unless you are a very confident home improvement person or DIYer, it’s best to have these types of garage door springs balanced by a professional.⧼thumbs_response⧽
- Always adjust both springs on your garage door equally to balance it correctly.⧼thumbs_response⧽
- If you need to replace a broken side-mounted spring on your garage door, replace both of them so they are equally as strong.⧼thumbs_response⧽
Things You’ll Need
Adjusting the Balance of Torsion Springs
- Work gloves
- Safety glasses
- Garage door torsion spring winding bar
References
- ↑ https://www.youtube.com/watch?v=ldMtiqESGNg&feature=youtu.be&t=22
- ↑ https://www.youtube.com/watch?v=ldMtiqESGNg&feature=youtu.be&t=38
- ↑ https://www.youtube.com/watch?v=iPwL-FDKX4o&feature=youtu.be&t=35
- ↑ https://www.youtube.com/watch?v=iPwL-FDKX4o&feature=youtu.be&t=52
- ↑ https://www.youtube.com/watch?v=iPwL-FDKX4o&feature=youtu.be&t=40
- ↑ https://www.naturalhandyman.com/iip/infgar/infgar1b.html
- ↑ https://www.naturalhandyman.com/iip/infgar/infgar1b.html
- ↑ https://www.youtube.com/watch?v=AZOUUuRwUSI&feature=youtu.be&t=120
- ↑ https://www.naturalhandyman.com/iip/infgar/infgar1b.html
- ↑ https://www.naturalhandyman.com/iip/infgar/infgar1b.html
- ↑ https://www.naturalhandyman.com/iip/infgar/infgar1b.html
- ↑ https://www.naturalhandyman.com/iip/infgar/infgar1b.html
- ↑ https://www.naturalhandyman.com/iip/infgar/infgar1b.html
- ↑ https://www.naturalhandyman.com/iip/infgar/infgar1b.html
- ↑ https://www.youtube.com/watch?v=AZOUUuRwUSI&feature=youtu.be&t=175
- ↑ https://www.seattletimes.com/business/real-estate/replacing-both-springs-keeps-garage-door-in-balance/
- ↑ https://www.seattletimes.com/business/real-estate/replacing-both-springs-keeps-garage-door-in-balance/
- ↑ https://www.naturalhandyman.com/iip/infgar/infgar1b.html
- ↑ https://www.naturalhandyman.com/iip/infgar/infgar1b.html
- ↑ https://www.naturalhandyman.com/iip/infgar/infgar1b.html
- ↑ https://www.naturalhandyman.com/iip/infgar/infgar1b.html
- ↑ https://www.seattletimes.com/business/real-estate/replacing-both-springs-keeps-garage-door-in-balance/
- ↑ https://www.naturalhandyman.com/iip/infgar/infgar1b.html
