This article was co-authored by Patrick Johns. Patrick Johns is a Home Improvement Specialist and the Owner of CatchAll Handyman Services. With more than 28 years of experience, he has worked on a variety of home improvement projects, such as carpentry, plumbing, and door and window installations in both commercial and residential properties.
This article has been viewed 64,388 times.
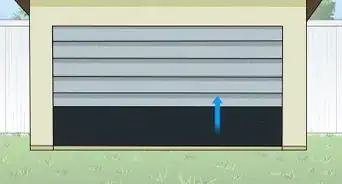
Trying to put your new overhead garage door together? Don’t get frustrated. Installing an overhead garage door can seem like a headache at first, but if you’re patient, work slowly, and enlist a friend for help, this won’t be too difficult. First, the lower door panel needs to be set up in the center of the doorway. The remaining panels and tracks are held in place with hinges, brackets, and screws. Set up an easy-to-install torsion spring system to ensure that your door lifts properly for many years to come, and you’re good to go. We’ll walk you through the steps and explain the nuances involved here.
Steps
Placing the First Panel and Track
-
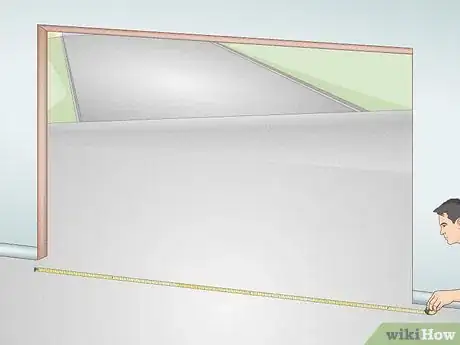
1Measure the garage door opening before purchasing panels. Use a tape measure to carefully record the length and width of the opening. Order this size so the panels will be made slightly smaller, fitting perfectly in the doorway.
- The panels will be about 1⁄4 in (6.4 mm) smaller than the opening.
-
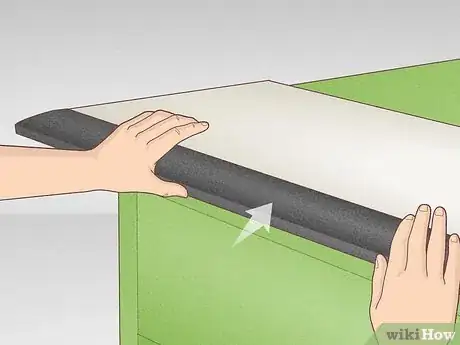
2Lay weather stripping over the bottom door panel. At a home improvement store, purchase some rubber weather stripping. Lay the panel flat on a workbench. The stripping is shaped like a tube, and you can fit the edge of the door panel in the tube's groove.[1]
- Any of the panels can be used as the lower panel. Pick one, but remember that the one with the weather stripping is the one that needs to be placed first.
Advertisement -
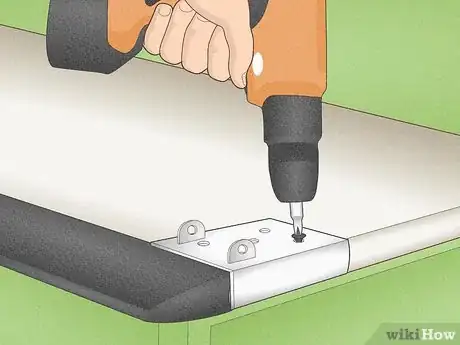
3Place brackets over the panel's lower corners. Place 1 bracket on each side of the door over the weather stripping. When the brackets appear level with the door's edges, secure them to the panel with lag screws and a cordless screwdriver.[2]
-
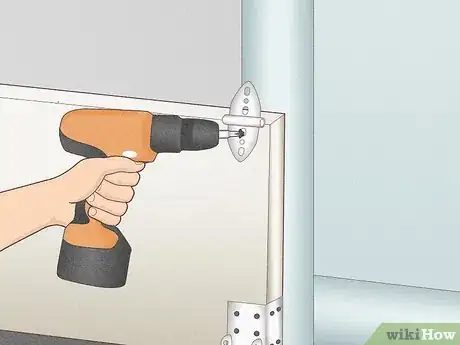
4Center the door panel in the garage doorway. Have a friend help you pick up and move the heavy panel to the doorway. Position the panel in the center of the doorway, then hold a level over the panel to make sure it's level. Use shims to adjust the panel as needed.[3]
- Shims are small wood strips you can slide under the door panel to even out the sides. Purchase packs at a home improvement store.
-
5
-
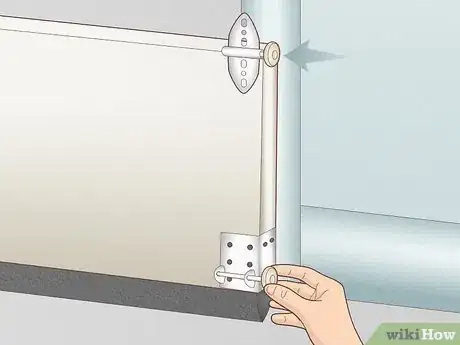
6Insert rollers into the hinges and brackets. The rollers have metal rods that you slide into the holes on the hinges and brackets. Set 1 roller in both of the brackets as well as both side hinges.[5]
-
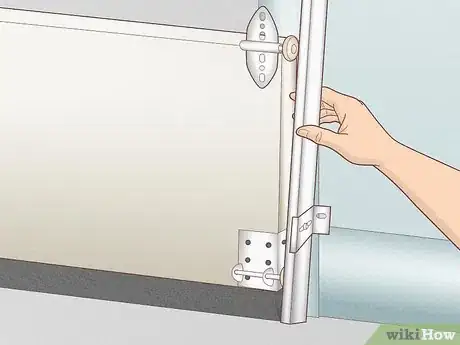
7Wrap the roller track around the wheels. Pick a side to focus on first. Get the bottom piece of the track and work it onto the wheels. It'll have an indentation that the wheels fit into cleanly. Once you have the wheels in place, line up the track against the door frame.[6]
-
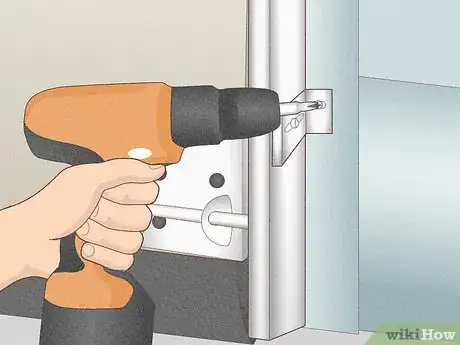
8Screw the track to the door frame. Make sure there's a little bit of space between the track and door frame so the door doesn't create friction later. Find the track's brackets, then use lag screws to secure the track directly to the door frame.[7]
Fastening the Other Panels and Track
-
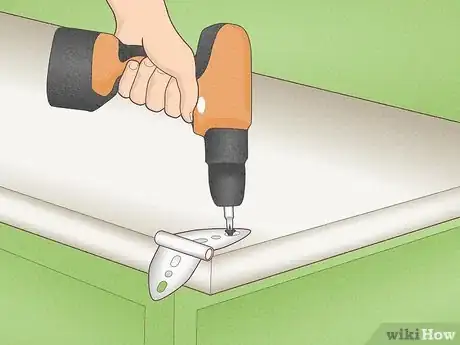
1Install 2 hinges on the next door panel. Lay the next door panel on the workbench. You'll install the hinges the same way you did before, only this time you'll leave the trackless side empty. Align a hinge in 1 of the corners and in the center of the panel, then screw them in place.[8]
- Leaving 1 side bare makes fitting and installing the track easier, so do this for every panel.
-
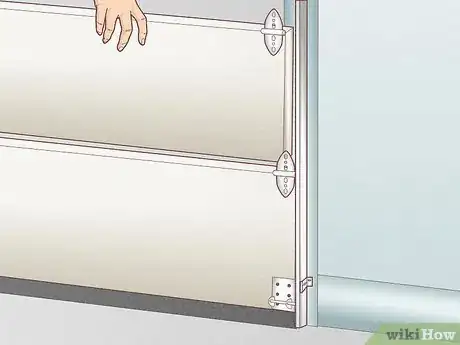
2Place the second panel on top of the first one. With a friend, pick up the new door panel. Fit it on top of the first one, taking care to line up the side edges.[9]
-
3
-
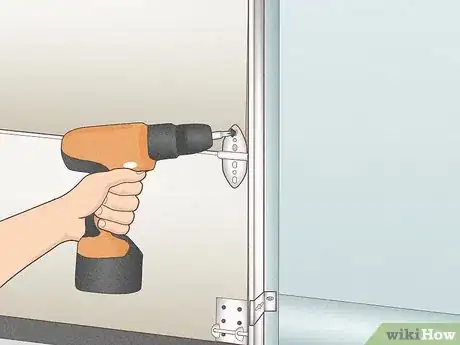
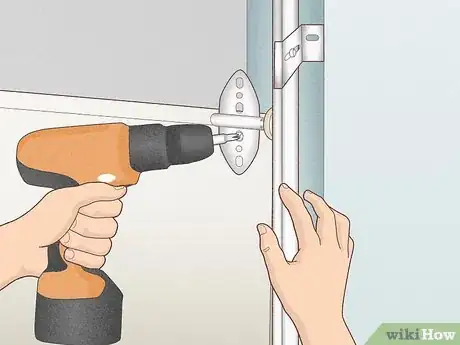
4Install the remaining hinge and roller. First, place the roller in the hinge. Place it over the empty corner of the door panel, but don't fasten it yet. Bring the remaining roller track over and fit it around the wheels, then screw the hinge in place.[11]
-
5Fasten the track to the wall. Line up the remaining track so it's against the door frame. Slip screws into the brackets to secure the track directly to the door frame. Before moving on, tighten up the screws in both track brackets as needed.[12]
- Remember to leave a little bit of space between the track and door frame.
-
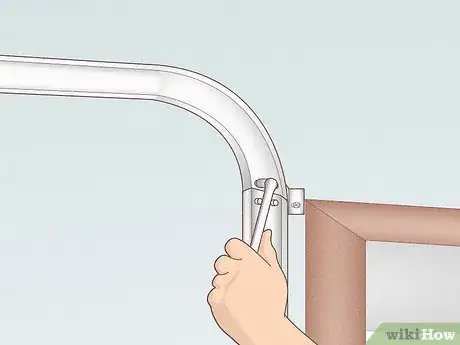
6Connect the horizontal track pieces to the vertical ones. Set up a couple of ladders on 1 side of the door. You'll need someone to help you lift the track and hold it in place. Line up the curved section of the track with the track piece you placed earlier. Slide screws into the track holes and ratchet them in place.[13]
-
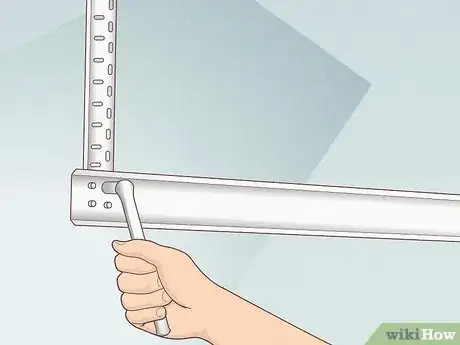
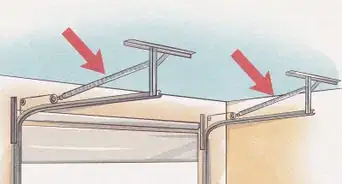
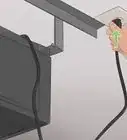
7Fasten the tracks to perforated angle irons. You'll need a pair of 1 1⁄4 in (3.2 cm) angle irons from the home improvement or hardware store. These need to be screwed to joists in the ceiling. Near the end of the tracks, connect the angle irons and tracks with a pair of supporting brackets.[14]
- To find the joists, use a stud finder.
-
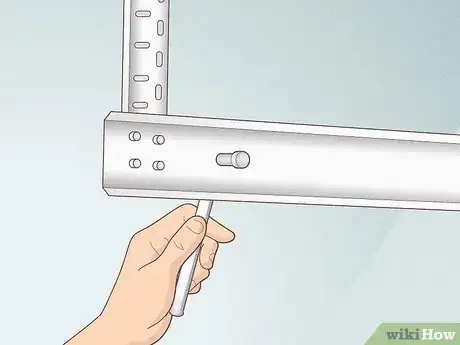
8Complete the tracks with stop bolts. Purchase a pair of 1 1⁄2 in × 1⁄4 in (3.81 cm × 0.64 cm) stop bolts. These go at the end of the upper tracks. Slide them into the holes, facing the threads towards the inside of the track. Then fasten them with a ratchet wrench.[15]
-
9Set the other door panels in place. Continue stacking and securing the panels together with hinges and screws. When you reach the last panel, don't install the hinges or wheels yet. Be careful, since the panel will fall forward if no one's holding it in place.[16]
-
10Secure the top hinges and rollers to the curved track. The hinges on the top panel need to be placed partway down the door. Line it up so the wheels rest on the curved part of the track. Finish by fastening the hinges in place with screws.[17]
Installing a Torsion Lifting Spring
-
1Purchase a torsion spring system. You can find DIY-friendly torsion spring kits at the home improvement store. They come with all the parts and directions needed to install the spring system safely and effectively. If you're still uncertain, you can always hire a professional to get the job done.[18]
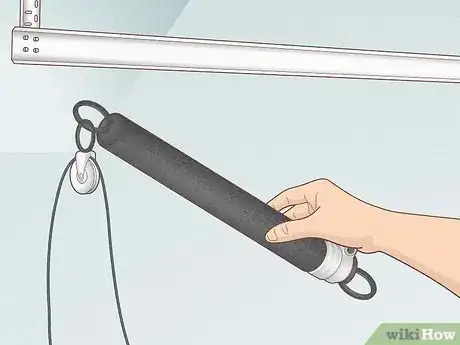
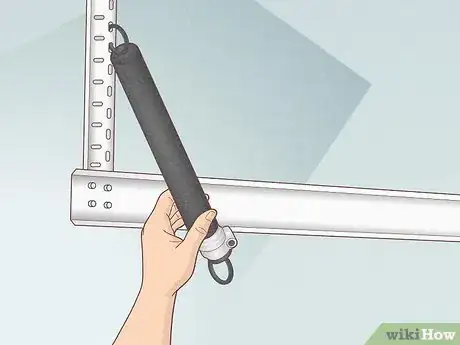
- You may instead use tension springs to lift the door. These are cheaper but more prone to breaking. Installation involves running cables over pulleys and through springs hooked to the angle brackets.
-
2Attach the spring to wall brackets above the door. Measure the length of the spring to find out how to space the brackets. Screw the holding brackets above the garage door opening, then rest the spring's metal ends on top of the brackets.[19]
-
3Thread the lifting cables onto the spring. Check the owner's manual included in the spring kit for directions on how to thread the cables. You'll need to slide cable drums onto the ends of the spring, then thread the cables through the hinges down to the brackets on the lower door panel.[20]
-
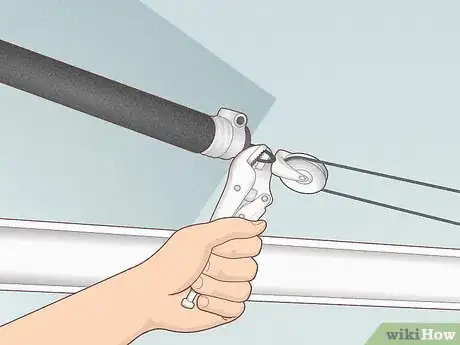
4Hold the torsion bar still with locking pliers. Clamp pliers on the metal ends of the torsion spring. This will prevent the spring from turning as you add tension to it.[21]
-
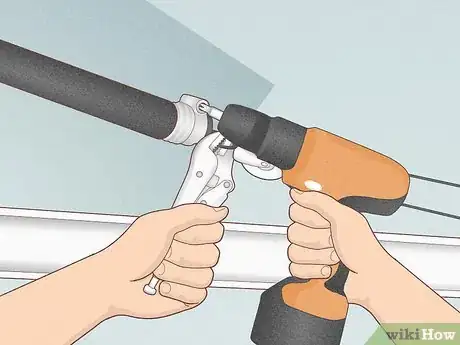
5Turn the spring with a drill to wind it. Look for a raised piece with a hole at one end of the torsion bar. Stick the end of a drill inside it and turn on the drill to add tension. Look for a painted line on the spring, which shows you when it's time to stop winding.[22]
- Winding the spring too tight can cause it to break, resulting in injury. Make sure you follow the manufacturer's instructions.
-
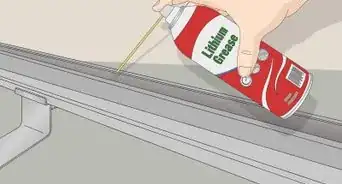
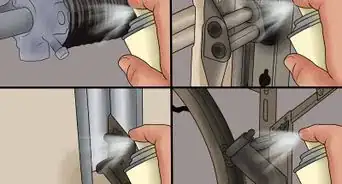
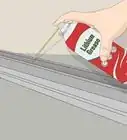
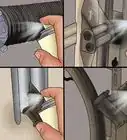
6Lubricate the spring. It helps to slide cardboard or another surface behind the spring to protect the garage. When that's done, spray the spring with a garage door lubricant.[23] Then you're ready to remove the pliers and test the door.
- You shouldn't use WD-40 to lubricate your garage door, as it will attract moisture, which will end up corroding and breaking the mechanisms.[24]
-
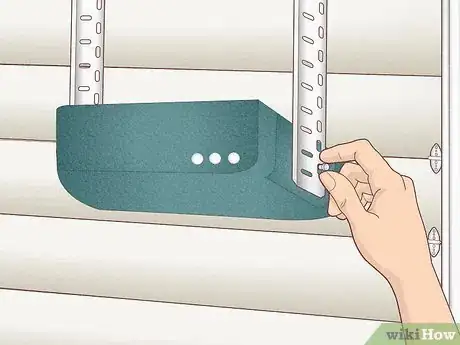
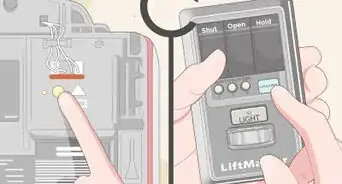
7Install the garage door opener. To install the opener, you'll need to hang another angle iron from the center joist on your garage's ceiling. Follow the included instructions to hook up the opener and fasten it to the spring system with a pulley and cable.[25]
- Garage door openers come in several varieties. Chain drives are the cheapest but loudest option. Belt drives are the quietest and most expensive type. Screw drives are in the middle.
Expert Q&A
-
QuestionHow do you maintain a garage door?
 Patrick JohnsPatrick Johns is a Home Improvement Specialist and the Owner of CatchAll Handyman Services. With more than 28 years of experience, he has worked on a variety of home improvement projects, such as carpentry, plumbing, and door and window installations in both commercial and residential properties.
Home Improvement Specialist Keep an eye on the lubrication from time to time if you have a chain or other similar mechanism, since occasional lubrication can prevent rust. Make sure you lubricate the wheels, too.
Things You'll Need
- Cordless screwdriver
- Ratchet wrench
- Cordless drill
- Level
- Locking pliers
- Lag screws
- Tape measure
- Stepladders
- Tension system kit
- Weathering strip
- Door panels
- Shims
- Stop end bolts
- Brackets
- Hinges
- Rollers
- Roller tracks
- Perforated angle irons
References
- ↑ https://www.thisoldhouse.com/how-to/how-to-install-garage-door
- ↑ https://www.thisoldhouse.com/how-to/how-to-install-garage-door
- ↑ https://www.familyhandyman.com/doors/garage-door-repair/how-to-install-a-garage-door/view-all/
- ↑ https://www.familyhandyman.com/doors/garage-door-repair/how-to-install-a-garage-door/view-all/
- ↑ https://www.thisoldhouse.com/how-to/how-to-install-garage-door
- ↑ https://www.thisoldhouse.com/how-to/how-to-install-garage-door
- ↑ https://www.familyhandyman.com/doors/garage-door-repair/how-to-install-a-garage-door/view-all/
- ↑ https://www.thisoldhouse.com/how-to/how-to-install-garage-door
- ↑ https://www.thisoldhouse.com/how-to/how-to-install-garage-door
- ↑ https://www.thisoldhouse.com/how-to/how-to-install-garage-door
- ↑ https://www.thisoldhouse.com/how-to/how-to-install-garage-door
- ↑ https://www.familyhandyman.com/doors/garage-door-repair/how-to-install-a-garage-door/view-all/
- ↑ https://www.familyhandyman.com/doors/garage-door-repair/how-to-install-a-garage-door/view-all/
- ↑ https://www.familyhandyman.com/doors/garage-door-repair/how-to-install-a-garage-door/view-all/
- ↑ https://www.familyhandyman.com/doors/garage-door-repair/how-to-install-a-garage-door/view-all/
- ↑ https://www.thisoldhouse.com/how-to/how-to-install-garage-door
- ↑ https://www.thisoldhouse.com/how-to/how-to-install-garage-door
- ↑ https://www.familyhandyman.com/doors/garage-door-repair/how-to-install-a-garage-door/view-all/
- ↑ https://www.familyhandyman.com/doors/garage-door-repair/how-to-install-a-garage-door/view-all/
- ↑ https://www.familyhandyman.com/doors/garage-door-repair/how-to-install-a-garage-door/view-all/
- ↑ https://www.familyhandyman.com/doors/garage-door-repair/how-to-install-a-garage-door/view-all/
- ↑ https://www.familyhandyman.com/doors/garage-door-repair/how-to-install-a-garage-door/view-all/
- ↑ Patrick Johns. Home Improvement Specialist. Expert Interview. 26 October 2021.
- ↑ Patrick Johns. Home Improvement Specialist. Expert Interview. 26 October 2021.
- ↑ https://www.familyhandyman.com/doors/garage-door-repair/how-to-install-a-garage-door-opener/view-all/
