This article was co-authored by wikiHow Staff. Our trained team of editors and researchers validate articles for accuracy and comprehensiveness. wikiHow's Content Management Team carefully monitors the work from our editorial staff to ensure that each article is backed by trusted research and meets our high quality standards.
There are 10 references cited in this article, which can be found at the bottom of the page.
This article has been viewed 39,094 times.
Learn more...
Ceruse is a type of decorative finish that involves using different colored pigments to highlight a wood’s natural grain pattern. Though the end result looks remarkably painstaking and elegant, applying ceruse yourself is actually a fairly straightforward project. After brushing the wooden surface to open up the pores, you’ll spread on a layers of stain and pigment, then strip away the excess to leave the wood with a muted coloring and beautiful contrasting veins.
Steps
Opening the Pores in the Wood
-
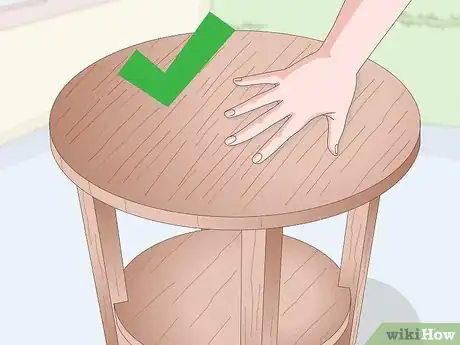
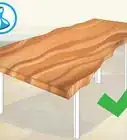
1Choose pieces with a prominent natural grain. Ceruse can be applied to any type of hardwood furniture, flooring, cabinet, shelving or even trim. Because it’s such a versatile finish, it makes a great way to spruce up old, humdrum wooden items and give them some contemporary flair. The key is to look for surfaces with distinct grain patterns that you can coax out with layers of color.[1]
- Experiment with used or salvaged pieces before attempting to refinish more expensive items.
- Working in a bright, well-ventilated area will allow you to see in better detail and disperse the fumes from stains, pigments and sealants.
-
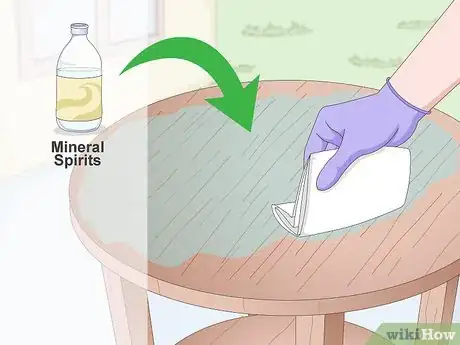
2Strip and clean the wood. Unless you’re starting with an unfinished piece of wood, you’ll first need to remove any paints and sealants that are already in place. Use mineral spirits or a chemical wood stripper to eat away at the existing finish. When the original wood has been uncovered, wipe it down with a mild soap solution.[2]
- Adding moisture to the stripped wood will cause the grain to expand, helping it stand out after being buried beneath a sealed finish for so long.
- Make sure the surface is completely dry before you move on.
Advertisement -
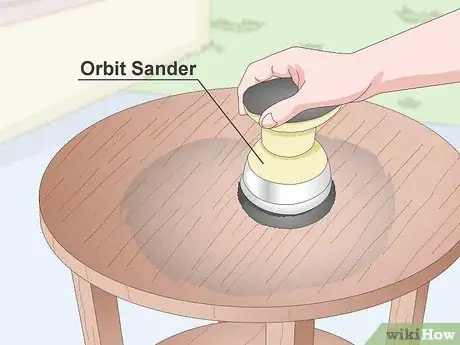
3Buff the wood with an orbit sander. If you have access to an automated sander, it can be a big help for removing leftover bits of finish and smoothing out the wood. Run the sander lightly over the surface, buffing the grain to an even depth. You’ll now have a nice level base to start with.[3]
- Use a soft-bristled brush or blower to clear away dust.
- Sanding is also a great way to remove the finish from varnished wood so you won’t have to bother with messy, noxious chemical strippers.[4]
-
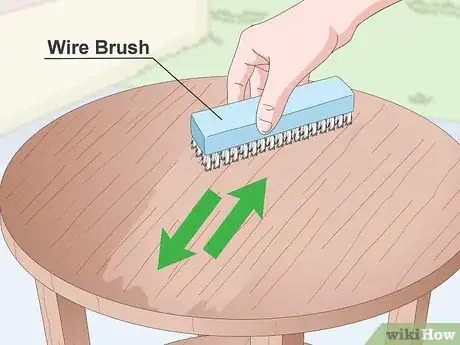
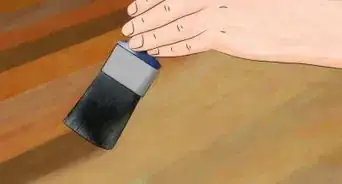
4Brush the wood with a wire brush. Run the brush along the length of the wooden surface, making sure to go with the grain. You’ll need to brush vigorously in order to properly open up the pores—don’t be afraid to really dig in. Work from one end to the other, applying the same amount of pressure all the way across.[5]
- As you work, you should immediately be able to see the grain becoming more pronounced.
- Brushing against the grain can ruin its appearance, and may make it harder for the pigment to set up inside.[6]
Applying the Stain
-
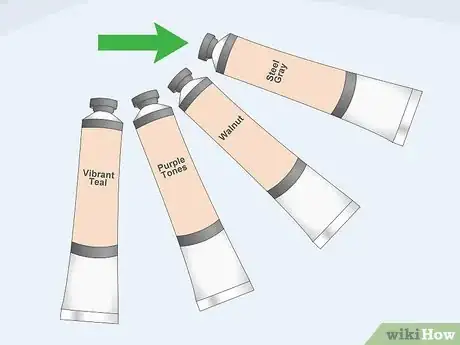
1Choose a color. For a custom ceruse finish, any shade will do. You can make old, outdated furniture pop by reimagining it in vibrant teal or purple tones, or go with a darker shade like black, walnut or steel gray for a more subtle, sleek finish. The color you choose will be totally dependent on your vision for the completed piece.[7]
- You can also use aniline dye in place of traditional wood stain, which will change the color of the outer surface without filling the grain.[8]
- Blend together different stains to create a unique original color.
-
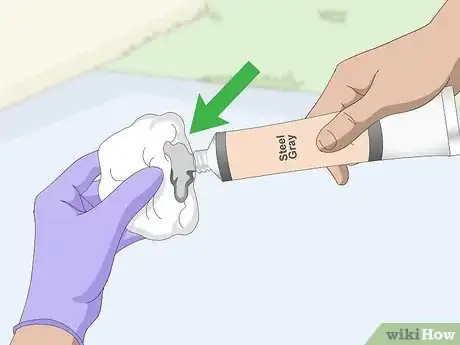
2Soak up the stain with an applicator rag. Ball up the rag and grip the loose ends in one hand. Then, saturate the bunched end with stain and let the excess drip off into the container. That way, you'll get the perfect amount of coverage with every application.[9]
- As their name implies, stains can get very messy. Pull on a pair (or a couple pairs) of disposable gloves before you begin applying the color.[10]
-
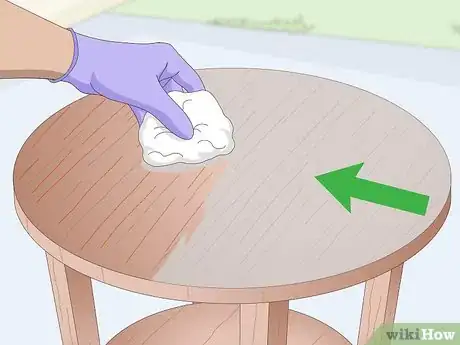
3Spread a thin layer of stain over the surface of the wood. Starting at one edge of the piece, begin rubbing on the stain. Go back over the wet stain using smooth polishing motions to work it deep into the wood. Continue applying the stain until the entire piece is covered.[11]
- Just like when you were brushing, following the wood’s natural grain pattern will make for the best results.[12]
- Be careful not to apply the stain too heavily. There should be no wet spots or standing moisture on the wood.
-
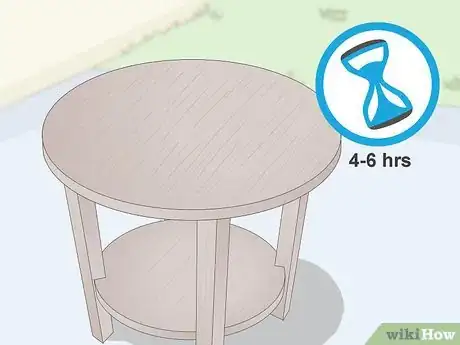
4Allow the stain to dry for at least 4-6 hours. Avoid touching the surface of the wood while it’s still wet, as this can leave streaks or blotches. If possible, keep a fan running in your workspace to promote airflow around the drying stain. After the first few hours, you can test stain’s progress by dabbing it gently with a cloth.[13]
- If you’ve stained a piece on multiple sides, setting it on a dropcloth to dry will keep the stain from rubbing off on other objects.[14]
- It may be easiest to do your staining on one day and save the remaining steps for another.
Filling and Sealing the Wood Grain
-
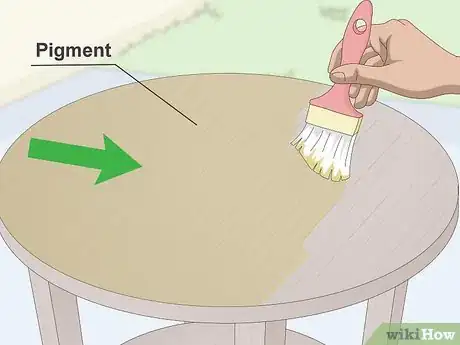
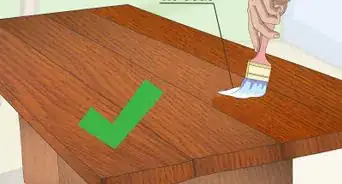
1Apply the pigment. Brush a thin layer of pigment directly over the entire surface of the piece. This can be done with either a wide painter’s brush or a piece of cheesecloth. Be sure to mix the pigment thoroughly before you begin and use long, smooth strokes to ensure that it goes on evenly.[15]
- In most cases, a basic white shade will stand out most clearly in the wood grain.
- Alternatives to plain pigment you can try include interior latex paint and white liming wax. All of these materials will be applied in the same fashion.[16]
-
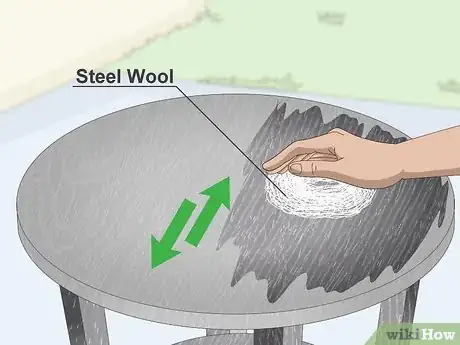
2Strip the pigment to reveal the grain underneath. Using a handful of steel wool, lightly scour the wood while it’s still wet. This will lift most of the pigment from the outer surface while leaving the pigment in the grain untouched. The end result is a rich, complex finish that’s distinguished by the depth of color within the grain.[17]
-
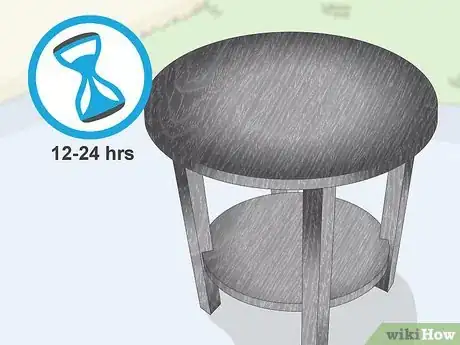
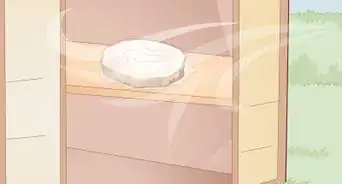
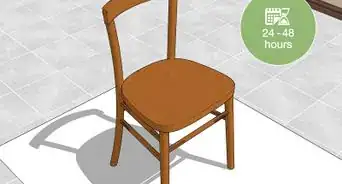
3Leave the finish to dry. Depending on the size of piece, it will most likely require 12-24 hours to completely cure. During this time, it’s best not to handle wood.[20]
- Store the drying piece in dry, temperate conditions. Humidity may cause the wood to swell and interfere with the pigment’s ability to dry.[21]
-
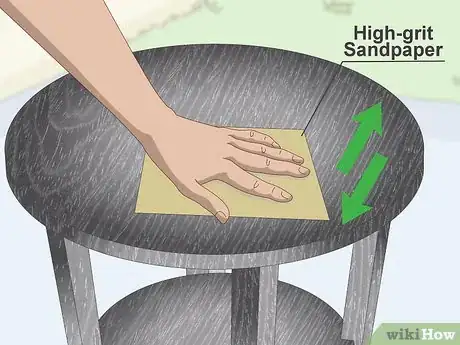
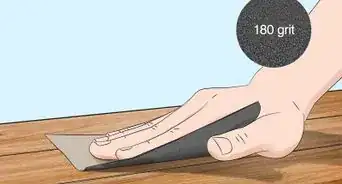
4Sand the wood smooth. Once the remaining paint is dry, go over the entire surface with a square of high-grit sandpaper. This will work out rough spots and inconsistencies to give the finished piece a more uniform appearance. It will also give you an opportunity to chip away at areas where the pigment is a little too thick.
- Sanding will also help remove unattractive chalky residue from the lighter colored pigment from the outside of the wood.
- Avoid applying too much pressure with the sandpaper, or you could accidentally scrape off some of the pigment.
-
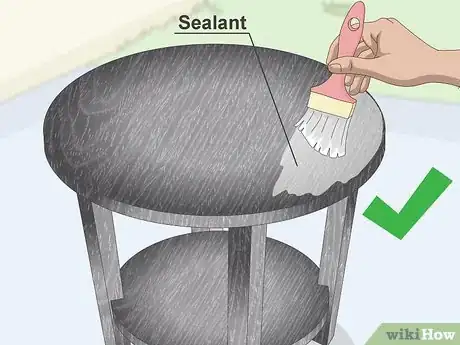
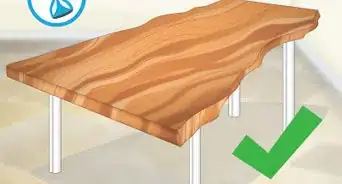
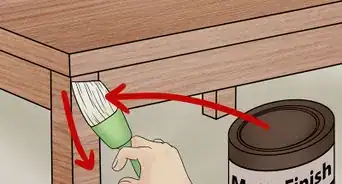
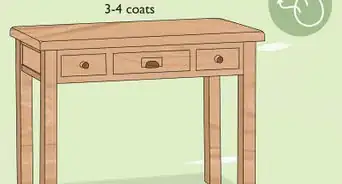
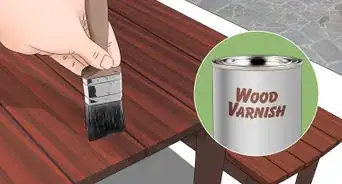
5Seal the finish. Brush on a clear coat to protect the wood and seal the exposed pores, then let it dry overnight. Once the sealant cures, the elegant finish will be resistant to moisture, dirt and minor bumps and scratches. Enjoy the revamped look of your dining table, bureau or kitchen cabinets![22]
- If you’re adding a ceruse finish to outdoor furniture, choose a durable varnish that’s formulated to safeguard against the elements.[23]
Warnings
- Don’t attempt to apply a ceruse finish to soft varieties of wood like pine or cedar. These types of wood are too absorbent to hold stains and pigments effectively.⧼thumbs_response⧽
Things You'll Need
- Wood stain
- Light-colored pigment
- Clear coat sealant
- Mineral spirits or chemical wood stripper
- Industrial wire brush
- 0000 grade steel wool
- Orbit sander (optional)
- High-grit sandpaper
- Paint brush
- Disposable rags or cheesecloth
References
- ↑ http://www.addicted2decorating.com/cerused-oak-dining-table-table-makeover-finished.html
- ↑ http://www.ornamentalist.net/2010/12/ebony-limed-oak-step-by-step.html
- ↑ https://www.youtube.com/watch?v=4xklG5TMppg
- ↑ https://www.bobvila.com/articles/how-to-remove-varnish/#.WThYo2jyvIU
- ↑ http://littlegreennotebook.com/2015/09/diy-cerused-oak-secretary.html/
- ↑ https://www.youtube.com/watch?v=4xklG5TMppg
- ↑ https://www.youtube.com/watch?v=4xklG5TMppg
- ↑ http://littlegreennotebook.com/2015/09/diy-cerused-oak-secretary.html/
- ↑ https://www.familyhandyman.com/woodworking/staining-wood/how-to-stain-wood-evenly-without-getting-blotches-and-dark-spots/view-all
- ↑ http://www.apartmenttherapy.com/how-to-stain-a-108589
- ↑ http://www.ornamentalist.net/2010/12/ebony-limed-oak-step-by-step.html
- ↑ https://www.sherwin-williams.com/homeowners/ask-sherwin-williams/staining/interior-stains-howto/interior-stains-applying
- ↑ https://www.youtube.com/watch?v=4xklG5TMppg
- ↑ http://www.apartmenttherapy.com/how-to-stain-a-108589
- ↑ https://www.youtube.com/watch?v=4xklG5TMppg
- ↑ http://www.ornamentalist.net/2010/12/ebony-limed-oak-step-by-step.html
- ↑ https://www.youtube.com/watch?v=4xklG5TMppg
- ↑ http://www.addicted2decorating.com/cerused-oak-dining-table-table-makeover-finished.html
- ↑ http://www.ornamentalist.net/2010/12/ebony-limed-oak-step-by-step.html
- ↑ http://www.addicted2decorating.com/cerused-oak-dining-table-table-makeover-finished.html
- ↑ https://www.extension.purdue.edu/extmedia/ncr/NCR-133.html
- ↑ http://www.woodweb.com/knowledge_base/Tips_on_a_Ceruse_Finish.html
- ↑ https://www.extension.purdue.edu/extmedia/ncr/NCR-133.html
