X
wikiHow is a “wiki,” similar to Wikipedia, which means that many of our articles are co-written by multiple authors. To create this article, volunteer authors worked to edit and improve it over time.
This article has been viewed 13,634 times.
Learn more...
Images are an important part of Wikipedia articles, because they show the reader what is being talked about. This article tells you how to add one into a Wikipedia article.
Steps
Method 1
Method 1 of 2:
Adding an Image Into The Gallery Section
-
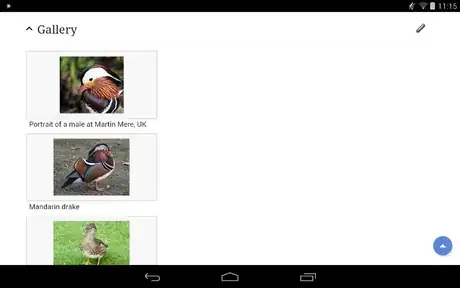
1Scroll down to the section that says 'Gallery' on the Wikipedia article, and click the pencil next to it. This takes you into edit mode.
- Note that not all articles have gallery sections.
-
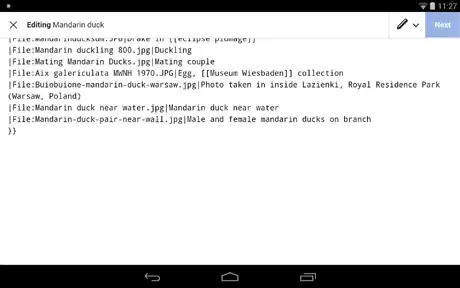
2Leave a line break after the last image, put a | before the image code, and copy and paste the image name. All Wikipedia image names begin with 'File:'Advertisement
-
3Add another | and put a caption next to it. The caption needs to describe the image well, for example, 'mandarin duck pair on branch.'
-
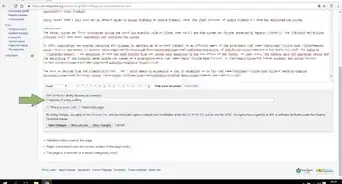
4Click next and put something in the edit summary box. Something like 'added image for gallery' describes the edit well. Make sure to click publish or save changes, depending on which browser you are in.
Advertisement
Method 2
Method 2 of 2:
Adding an Image to a Wikipedia Article Section
-
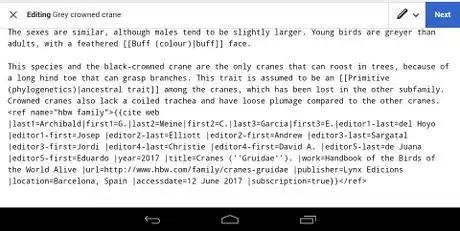
1Go to the section you would like to add an image to and press the pencil button next to it. This takes you into edit mode.
-
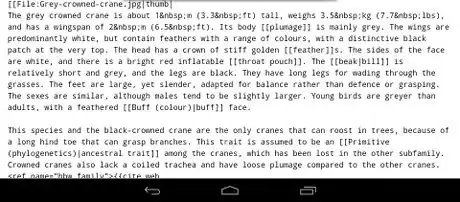
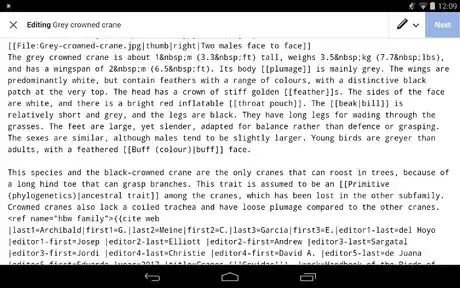
2Type [[File: and then the image name under the section header. After the image name, type |thumb.
-
3Add |right. This means that the image appears on the right-hand side of the Wikipedia article, like most articles have.
-
4Add |image caption here]]. The caption should be a simple description of the image.
-
5Click next and put something in the edit summary box. Something like 'added image and caption to article' describes the edit well. Make sure to click 'publish' or 'save changes', depending on which browser you are in.
Advertisement
About This Article
Advertisement
