This article was co-authored by wikiHow staff writer, Travis Boylls. Travis Boylls is a Technology Writer and Editor for wikiHow. Travis has experience writing technology-related articles, providing software customer service, and in graphic design. He specializes in Windows, macOS, Android, iOS, and Linux platforms. He studied graphic design at Pikes Peak Community College.
This article has been viewed 9,376 times.
Learn more...
Do you want to create a duplicate photo in Adobe Lightroom? Virtual copies allow you to clone and edit images in Lightroom without creating separate files that take up space on your computer. If you're using the mobile app or really need a duplicates of the same photo, you can export a copy from Lightroom and then import the copy back into the app. This wikiHow article will teach you three easy ways to add duplicate images in the Lightroom using the mobile app and on your PC or Mac.
Steps
Duplicating Photos in the Mobile App
-
1Open Lightroom on your Android, iPhone, or iPad. Lightroom has a blue icon that says "Lr" in the middle. Tap the Lightroom icon on your Home screen or Apps menu to open Lightroom.
-
2Import a photo that you want to duplicate. Lightroom for mobile devices does not allow you to import photos that are already in your library, but you can import a photo and save a copy of it. Use the following steps to import a photo into Lightroom:
- Tap the icon that resembles a photograph with a plus sign (+) in the lower-right corner.
- Select the location of your photo.
- Tap the photo you want to duplicate.
- Tap Add in the lower-right corner.
Advertisement -
3Select a photo you want to duplicate. Use the following steps select an imported photo in Lightroom:
- Tap the icon that resembles three books side-by-side in the lower-left or upper-left corner to open your library.
- Select an album or tap All Photos.
- Tap a photo you want to duplicate.
-
4Make adjustments to the photo (optional). If you want to make any edits to the photo before exporting a duplicate, use the options at the bottom of the screen.
-
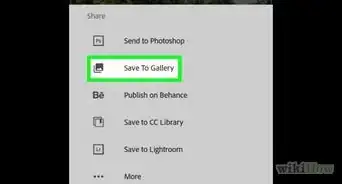
5Export the photo. Use the following steps to export a copy or duplicate of the photo:
- Tap the Share icon in the upper-right corner. On Android it resembles three connected dots. On iPhone, it resembles a box with an arrow pointing up.
- Tap Save to Device (on Android) or Export to Files (on iPhone and iPad).
- Select a folder to save the image to (iPhone and iPad only. On Android, photos are automatically saved to the Lightroom album in your Gallery).
- Tap Save in the upper-right corner (iPhone and iPad only).
Creating Virtual Copies on PC or Mac
-
1Open Lightroom. Lightroom has a blue icon that says "Lr" in the middle. Click the Lightroom to open Lightroom.
- Adobe Lightroom is part of Adobe's Creative Cloud Suite. You can download and install Lightroom using the Creative Cloud desktop app or directly from Adobe's website. You can start a free trial of Lightroom at https://www.adobe.com/products/photoshop-lightroom/campaign/pricing.html
-
2Right-click the image you want to duplicate. It should be in the filmstrip panel at the bottom of the screen. Right-click the image you want to duplicate to display a pop-up menu.
- If you don't see the filmstrip panel at the bottom of the screen, click Window in the menu bar at the top. Then click Panel followed by Filmstrip.
-
3Click Create Virtual Copy. This creates a new virtual copy of the image. Virtual copies have an icon that resembles a turning page icon in the lower-left corner of the thumbnail image. You can make independent edits to a virtual copy as if it was an actual copy of the image.
- Virtual copies only exist inside Lightroom. They do not create a separate image file outside of Lightroom.
Duplicating Photos on Windows and macOS
-
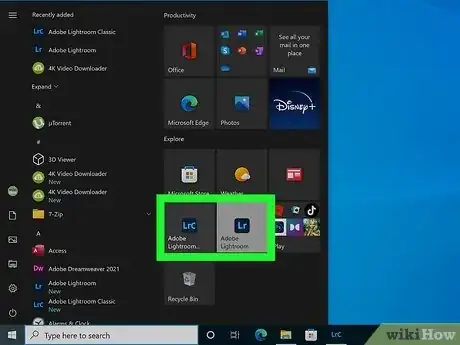
1Open Lightroom. Lightroom has a blue icon that says "Lr" in the middle. Click the Lightroom to open Lightroom.
-
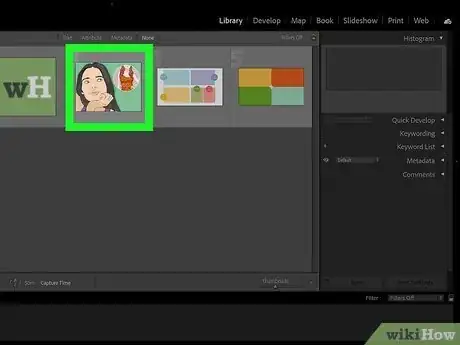
2Select the photo you want to duplicate. Click the photo to select it. You can select a photo in the grid or filmstrip panel.
-
3Open the Export menu. Use the following steps to open the Export menu:
- Click File in the menu bar at the top.
- Click Export.
-
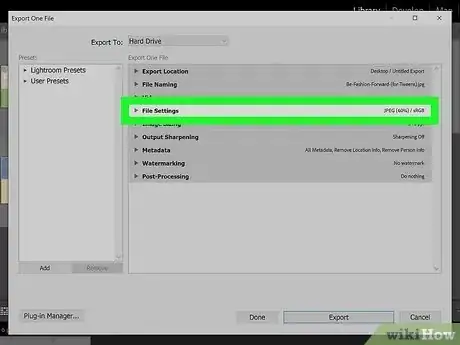
4Expand the File Settings menu. To do so, click the arrow icon (⏵) next to "File Settings" in the Export menu.
-
5Select "Original." It's under "Image Format" below "File Settings."
-
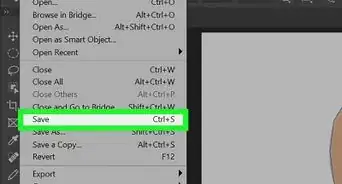
6Click Export. It's in the lower-right corner of the Export menu. This exports a duplicate of the image.[1]
- Alternatively, you can duplicate an image outside of Lightroom. To do so, right-click the image and click Copy (or Duplicate on Mac). Then right-click a blank area inside the same folder and click Paste.
-
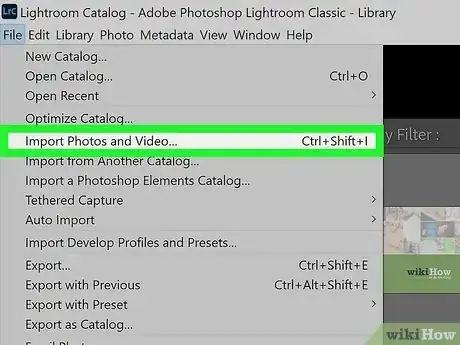
7Open the Import menu. Use the following steps to open the Import menu in Lightroom:
- Click File in the menu bar at the top.
- Click Import Photos and Videos.
-
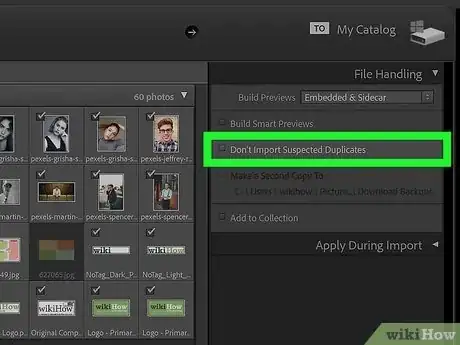
8Uncheck "Don’t Import Suspected Duplicates." By default, when you import images into Lightroom, it automatically tries to detect duplicates and not import them. You need to turn off this feature. To do so, click the checkbox next to "Don’t Import Suspected Duplicates" in the panel on the right.
-
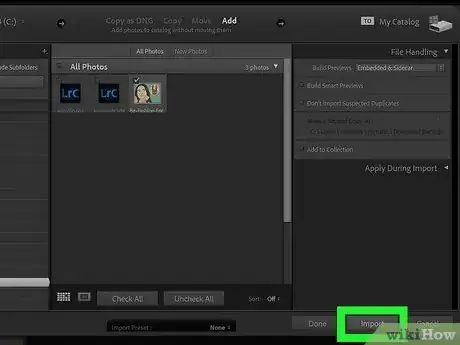
9Select your duplicate photo. Use the menu panel on the left to navigate the different folders on your PC. Then click the folder your image duplicate is located in. Click the checkbox in the upper-right corner of the thumbnail image of your image duplicate.
-
10Click Import. This imports your image duplicate into Lightroom. You can make edits to either image.[2]











-Step-9-Version-2.webp)


